How to Mix a Snare Drum with Layers of Parallel Processing
The song is called ‘Champion.’ It’s by Pablo Villatoro, a good buddy of mine. My production partner is Vic Encarnacion out of Chicago, Illinois. This is unreleased, so pretty stoked to be able to play this for you guys. I’m going to hit play and we’ll dive into what we’re doing on the snare.
Diving right into the snare drum, I want to go over a couple of things. Try to avoid the rabbit trails. The snare is going out to a snare level. The snare level is an aux. It’s down here. You can take a look at that. That’s coming in snare level, self-explanatory.
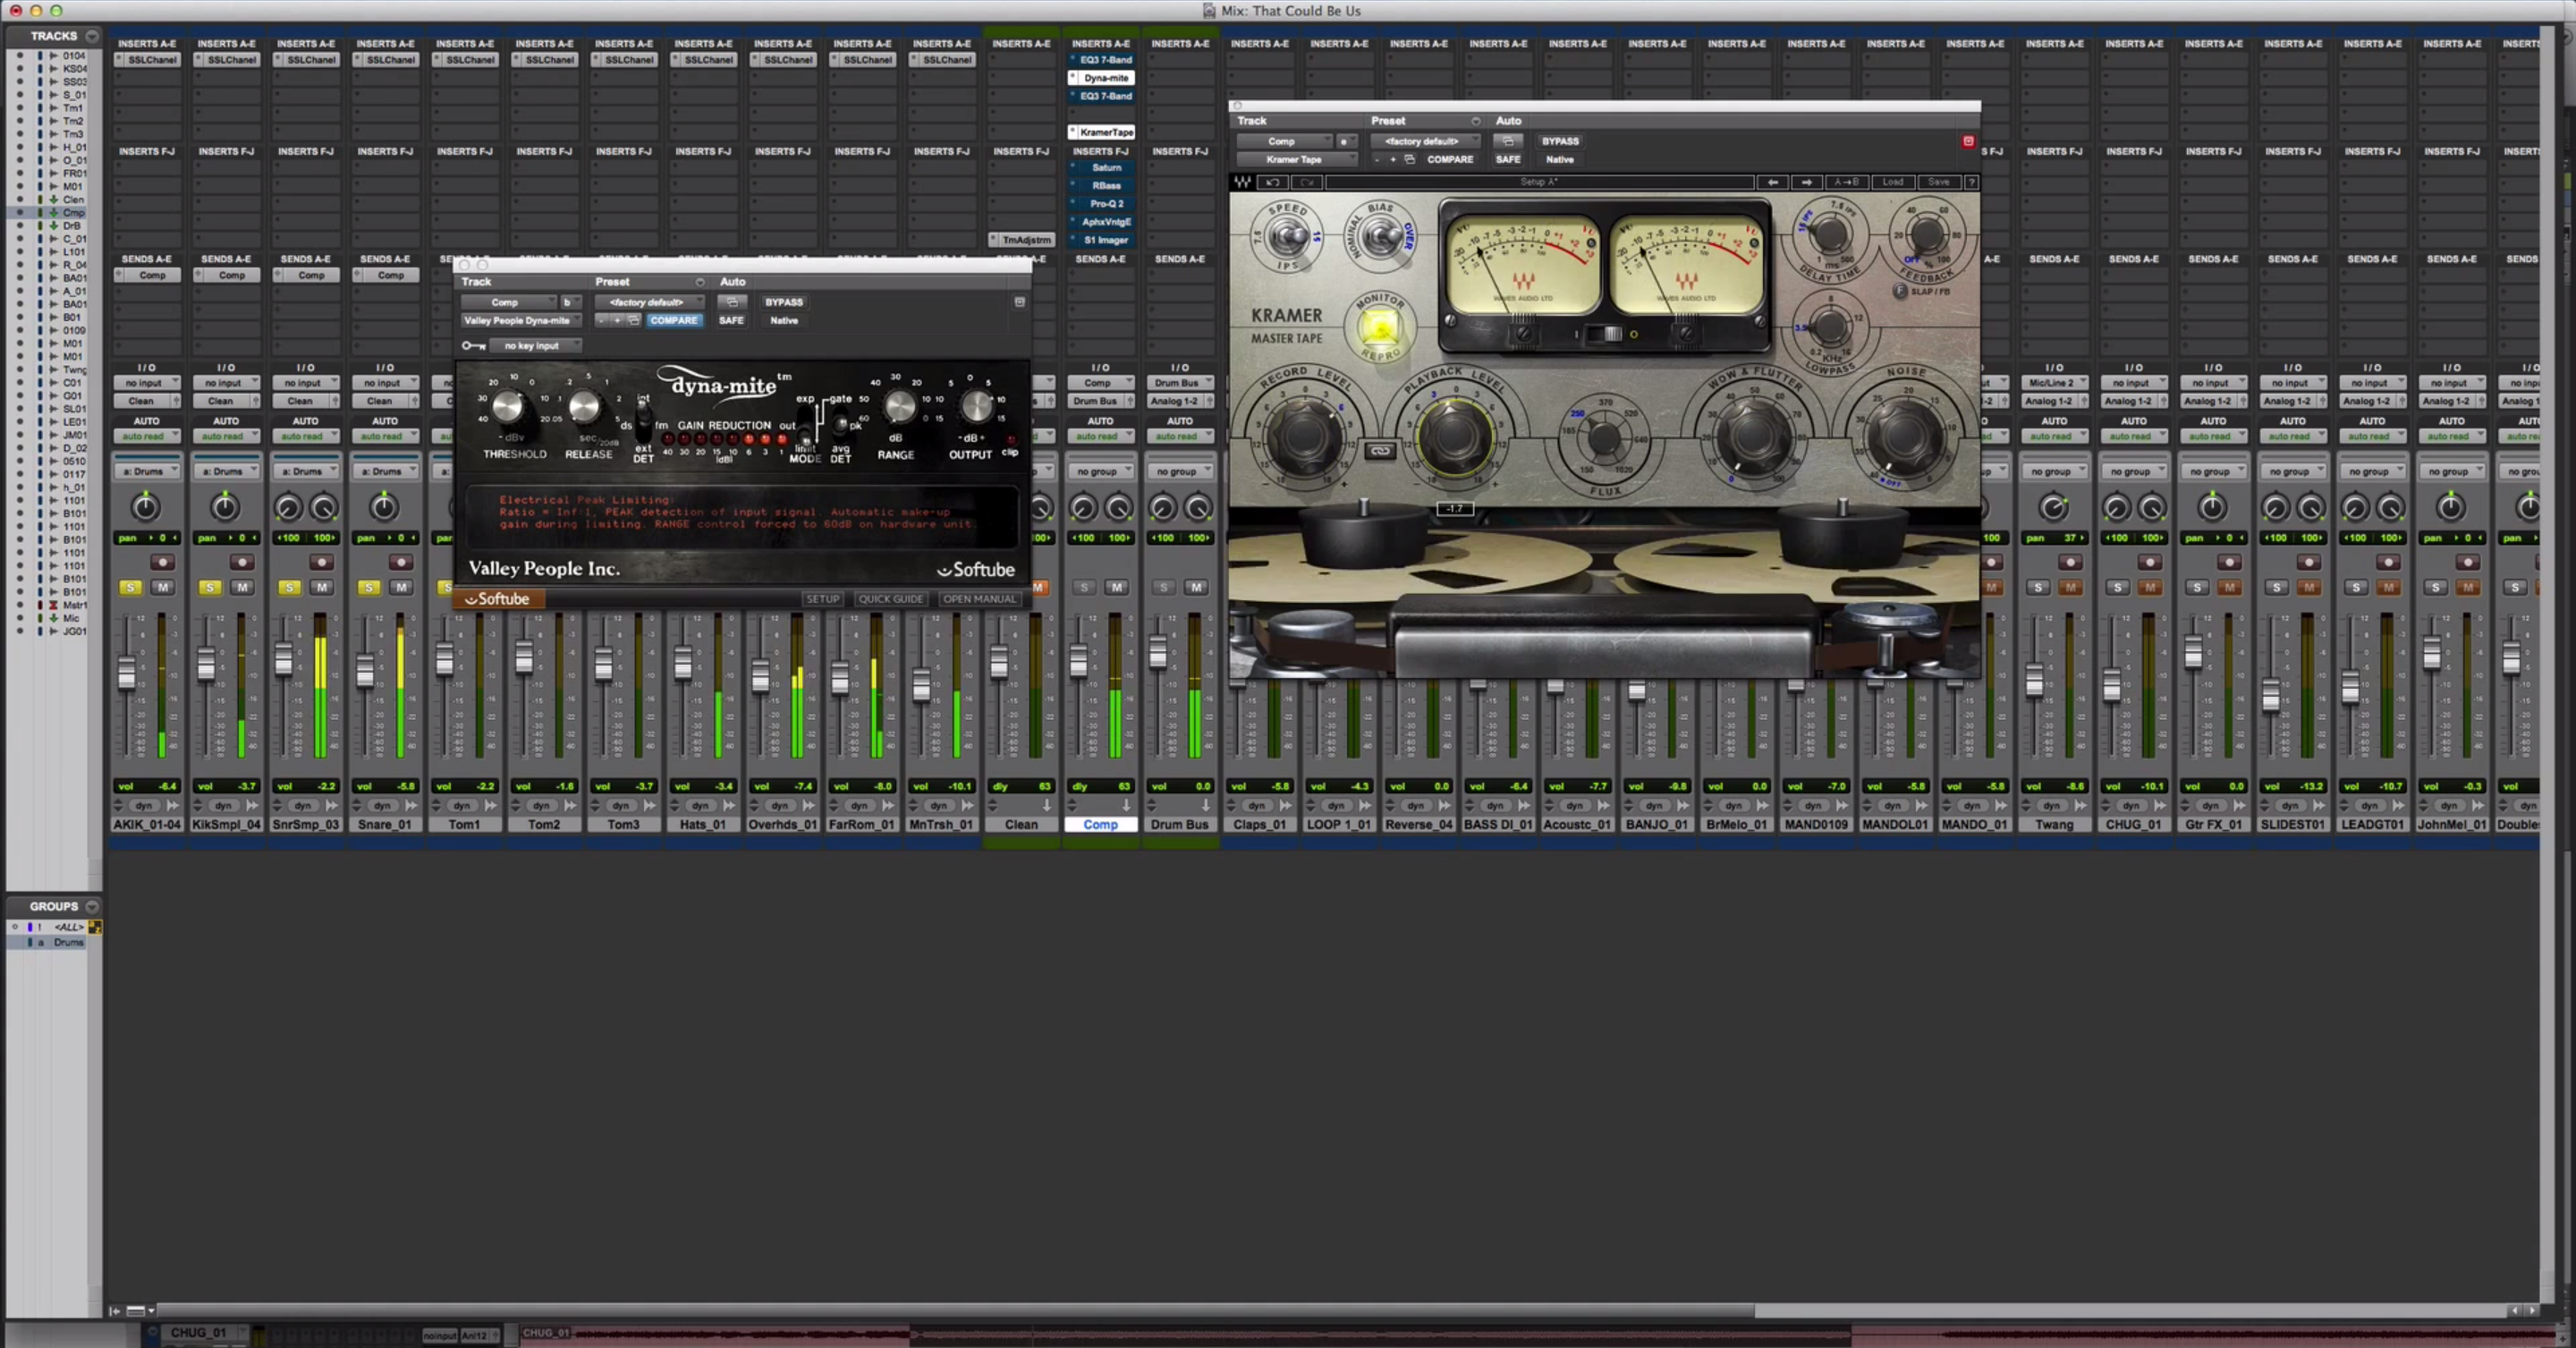
What I’m doing is I’m parallel compressing. That’s right here, that snare comp. So, the snare dry and the snare compression… Actually, pull that guy up. I’m going to show you the Waves SSL with the Dave Pensado snare setting. They are meeting at this guy, and the snare compression are meeting at snare level.
What that does for me is, first of all, it gives me an extra layer of processing. I can compress the crap out of it, blend in that parallel compression. Then, use the aux, the snare level, to EQ it, maybe compress it a little more, send it to some effects, I think we’re sending it to the snare plate, and control some things in there, process it that way.
Then I also use it for level. It’s called the snare level for a reason. From section to section, from the verse to the pre-chorus to the chorus, whatever I’ve got going on, it gives me an extra layer of control over the volume as well and then panning, any kind of cool stuff that I do with automation.
The snare drive by itself… Let’s mute the reverb. It was given to me like this. Cool. I like the sample, but in the track…
I felt like I could mangle that a little bit and get something cooler out of it. Let’s put that volume back where it was. Let’s pull in the snare compression and the distortion. The compression is kind of… Lifted it up a little bit. The distortion…
Let’s hear it before distortion. After distortion. Now, let’s also hear it… The distortion, you can see right here, snare distortion, and I’ve processed that with the Manny Marroquin Distortion. Love this plugin. I’m using it on all kinds of stuff now. Actually, leave that up for you guys if you want to jot down the settings if you like them.
Then, the snare distortion is going to a widener. The widener is a trick I picked up. Year ago I was on the Digidesign Forum, The Duck. Kenny, some of you guys know him from his tutorials over at Groove3 and whatnot, posted a… Actually, let me just show it to you, delay 35 milliseconds on the left, 35 milliseconds on the right.
What that did was it created a widening or a spreading effect. Some of you guys may not have the Waves S1 or any of that. You may want to try giving this a shot, 35 milliseconds on the left, 35 on the right, like I said. Some people I’ve seen will do that a little bit different. But, how it was taught to me was it was exactly like this, zero percent wet on the left and 100 percent wet on the right.
What we’ll do is we’ll go back up here and we’ll listen to a before and after. Now we’ve got that snare in. Here’s the distortion with no widener. Then, let’s add the widener.
All kinds of stuff you can do. Actually, in this track, this is an unfinished version of it. Mixed it last week. I think what I actually did was bypassed it for the first hit and then un-bypassed it for the second. So, you can automate it to come in and out to create kind of a cool effect.
Let’s jump ahead a little bit to the hook. I added a clap into the hook from the machine bundle. Let’s take a listen to that by itself before any processing. Okay. Let’s bring some of the goodness back in.
Yeah, you couldn’t even really hear it before because most of the sound’s coming from that parallel compression. Anyway, distorted on that, and then that’s also going to the widener. Let’s hear that before the widener. And, after.
Let’s hear the two together.
Let’s show you, I’ve got the plate muted there.
Let’s look at why I’ve got this automated up. I talked about how you can use it as an extra layer of processing, but let’s talk about this. We’ve got this snare in the verse. Let’s listen to the tail end of this section, and then when the pre-chorus hits you’ll notice a lot more elements.
The arrangement was done really well, so a lot of more… A lot of more? Goof. A lot more elements come in and the snare kind of got lost. So, I lifted it up, but I didn’t want to lose that blend that I had from the dry snare and the parallel compression that I set it at. What I did is I just lifted that on the snare level track. Let’s ‘take a listen to that.
I hope that gives you guys some ideas kind of open ended going down some rabbit trails with it. Parallel compression, some distortion, the level giving me that last kind of creative step to choose EQ, compression, effects. It’s going to a UAD snare… UAD snare? UAD plate.
If you guys didn’t check out the one on the vocal, I took care of that in a previous video so feel free to check that one out. Similar things going on, but it’s a vocal. I’m going to continue on with bass and kick.
I’ll keep making these videos if you guys keep watching them. Feel free to hit me up at David[at]davidglennrecording.com If you have any questions, anything you’d like me to elaborate on further in future videos, feel free to shoot me a message and we’ll go from there. I hope you guys are doing well, and we’ll catch you soon.


