Tips for Mixing Drums with Parallel Processing
In this video, I’m going to show you some extra effects that I like to use on my parallel compression channels.
Here’s the session that I’m working with. If you guys like it, you can head over to mixnotes.com, and actually find this session and download it and work with it for yourself.
Here’s what it sounds like.
[song]
To begin with, parallel compression is a technique where an uncompressed signal is blended together with a separate signal that is compressed.
In my session, I’m going to be using parallel compression on my drums. Let me show you what I’ve got setup so far.
Here are my individual drum tracks, starting down here at my kick drum, going up to my room mics right here. I’ve already setup some basic signal processing on the individual tracks. Using the SSL channel strip, I’ve got some simple equalization and subtle compression going on.
The output from the individual tracks is getting routed to a bus that I’ve renamed to be “clean.” It’s going to send the signal over here to this auxiliary track, right here, that I’m going to be using as my uncompressed, or unprocessed signal right here.
Then, I’m running alongside of it in parallel my other auxiliary track I’m going to be using for parallel compression. I’ve got the output of both of these tracks going into my overall drum buss right here.
Then, on the individual tracks, I’ve gone in and used auxiliary sends on my kick drum, snare, and overheads to send different levels over to my parallel compression channel right here.
So, let me play you what my drums sound like without parallel compression, and then add in a little parallel compression.
[drums play]
So, that sounds pretty good on it’s own, but I want to use parallel compression to add in some more life to them, and give them more energy.
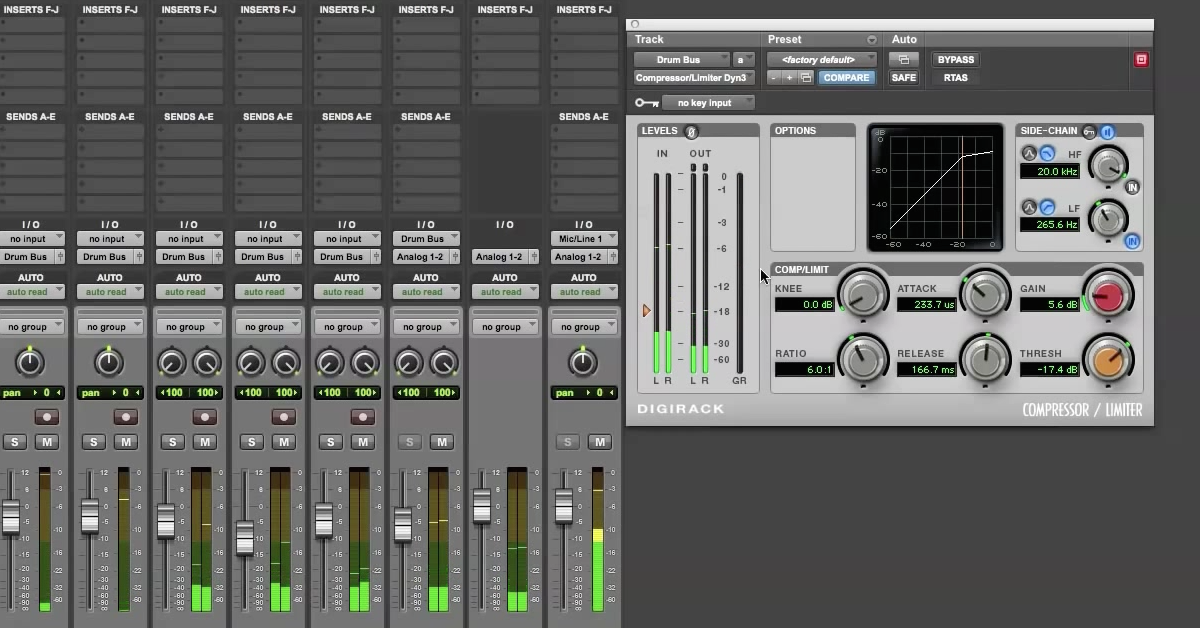
So, on my parallel compression track, I’m using the Softube Dynamite model of a compressor. I think this is a fantastic plug-in to use, specifically for parallel compression, although you don’t necessarily have to use this one. You can use all kinds of different compressors. Find which one you like for your particular song.
This one’s great because it’s actually going to add in a lot of pumping. It responds very quickly to transients, and so I’ll let you hear what it sounds like and what it does to drums.
[drums play, compressed]
You know, on it’s own, it doesn’t sound very good. But when I start to mix it in with the clean channel, you’ll hear how it’s going to add a lot of that energy.
[drums, blending in parallel channel]
So, in isolation, my uncompressed and compressed signals sound good by themselves, but when you add them together, that’s when you’re going to get that full drum sound.
Now, this kind of technique of parallel compression, it will achieve different results than just simply sending your signal here in series through a compressor, like let’s say I pull up the H-Comp like this. I’ll achieve different results in parallel. You can experiment with this on your own guys, and hear the differences, but what I want to talk about next is that I’ve got this setup as kind of the old-school way of doing parallel compression.
I’ve got a separate channel specifically for parallel compression. Now, there are some plug-ins that come with a mix knob built in. So, if you wanted to do parallel compression, what you could do is use the H-Comp, then use the mix knob right here to blend between the dry and the wet.
That’s going to do internal parallel processing; built in parallel compression.
But, what I want to show you, is that because I’ve used this old-school way, having separate channels is actually going to open up a lot more creative opportunities and control. Specifically, because you guys can add in all kinds of other processors just to the compressed signal.
So, let me get rid of H-Comp and get back to this. Now, most people when they setup parallel compression, like what I’ve got here, they just insert the plug-in on this channel, and that’s all they’ve got going on. They’ve got the compression in parallel and that’s it.
But, what I’m going to show you is that you can use other kinds of processors to really sculpt and control the sound of your compressed signal. As an example, let’s say that I notice on this compressor that I think it’s responding a bit too much to my kick drum. It’s kind of taking the life out of the low-end frequencies in my signal. So, focus on that when I play it back.
[parallel compressed drums play]
It’s really pumping from my kick drum, but I want to try and avoid that. I want to keep my low-end being really tight.
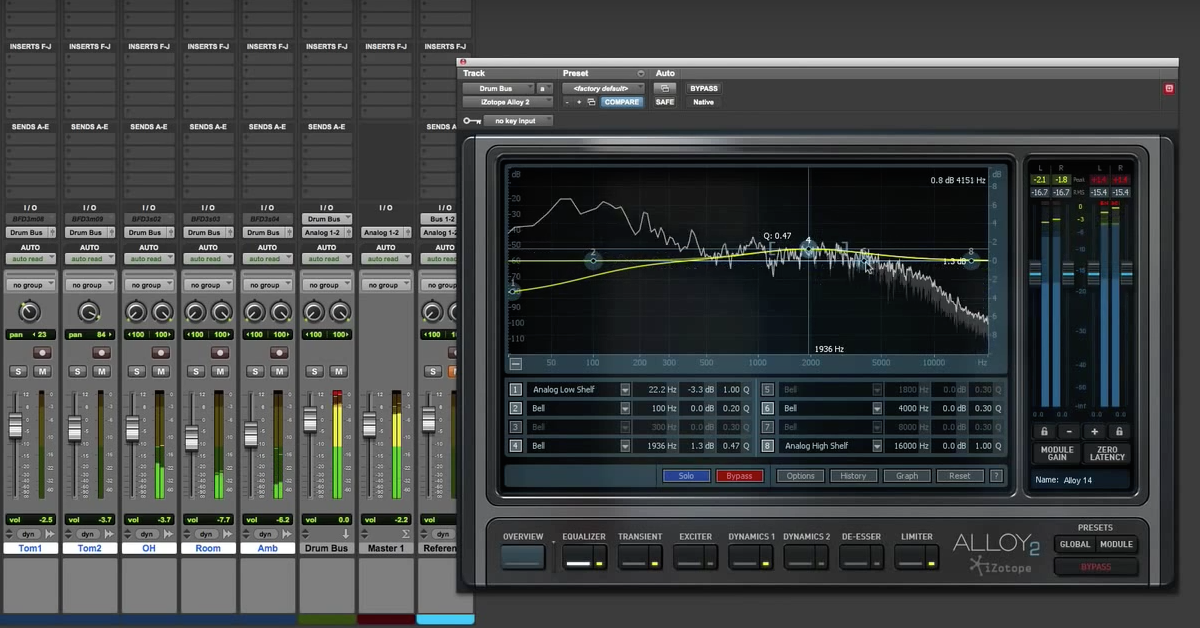
Let me show you a technique you can use, using spectral processors to avoid this. So, what I’m going to do is insert an equalizer before my compressor, and on this one, what I’m actually going to do is set it up so that it’s going to cut the low frequencies.
I’m using a shelf where I cut it by 6dB below 150Hz. Then, the signal’s going to go into my compressor. Right after it then, I’m going to use a different EQ that’s going to boost the signal by 6dB. It’s going to complement the processing that I’ve got going on. I turn down the low frequencies before my compressor so it doesn’t respond to them as much, then I add them back in.
It’s really going to tighten up my low-end. This is what it can sound like.
[drums play]
Listen to that kick drum. If I bypass these, now it starts to sound pillow-y and pumpy. Tighten up that low-end, the compressor doesn’t respond as much to my kick drum.
So, that’s one technique to kind of have extra control over what’s happening in your parallel compression, and to avoid a common thing that comes up when you use a compressor, especially across something like your drum buss.
So, let me show you some other techniques that I like to use then. Other processors that I add in regularly on my parallel compression channel.
Another kind of effect that I like to use, and I’ll show you a couple of different examples, is saturation, or harmonic distortion going on.
So, I can bring up here, like the Kramer tape plug-in. This is an emulation of a tape machine, and a tape machine, you can use it, especially if you drive the input, and add in some of this flux here in this plug-in, to add some extra saturation and harmonics.
That’s just going to change the parallel sound a little bit more. It’s kind of a combination of parallel compression and parallel distortion.
So, let me show you what this one can sound like if I add in Kramer tape.
[drums play, enabling and disabling Kramer tape]
Now, one thing to know is tape emulations, not only will they do harmonic saturation, but they also have some compression built into them by themselves, so you might have to control and back off of a little of the compression happening over here, and add in a little bit more on your tape if you like that sound. Really drive the input.
[drums play]
Let’s see how that works with my processing.
So, I think that sounds like a good example, but you don’t necessarily have to use tape. Here’s another plug-in. This is the FabFilter Saturn. I’ve got it set on the warm tube setting. Listen to how this one’s going to change the characteristics of my parallel compression sound.
[drums play, adjusting FabFilter Saturn]
It’s even fatter than it was before. So, those are examples of using some saturation.
A different kind of harmonic enhancement would be to use a plug-in like the R-bass, which is going to add in specifically some harmonics in the really low frequencies, that’s really going to fill out the low-end of your mix, and if you do it in parallel, that’s going to achieve some different results than you would get if you just did it in series.
So, let me add some ofthis in and you can hear for yourself.
[drums play, adjusting R-bass]
Pretty good right there.
So, that’s one way you can add some extra low-frequency in to your drum mix by using it in parallel.
But, let’s say instead, you wanted to add a little more high frequencies. I’ve got an equalizer setup here that’s going to happen after my compressor, and I specifically set it up to dial back some of the low-end, and really enhance, or excite, some of the high frequencies.
Again, if you do this in parallel, it’s going to give a little bit of a different result.
[drums]
Really brighten up the highs. Let’s hear that in parallel.
It’s going to add more excitement, if that’s what you’re looking for.
So, these are some ideas of how you can enhance maybe something that’s missing in your drum mix. If you’re listening to it and it doesn’t really fit with your overall mix, you need to add some high-end, rather than just using an equalizer in parallel, you can do something like that.
Or, you can use a specific, dedicated exciter. Like this. This is the Waves model of the Aural Exciter. Listen to what it’s going to do when I bring it in.
[drums play, enabling and disabling Aural Exciter]
This one had a mix knob of it’s own, where you can get extreme. It’s up to you to decide then how much you want to add in, and how it’s going to excite when you blend it in with the original.
So, those are a couple different techniques to add some extra high-end in on your parallel compression channel.
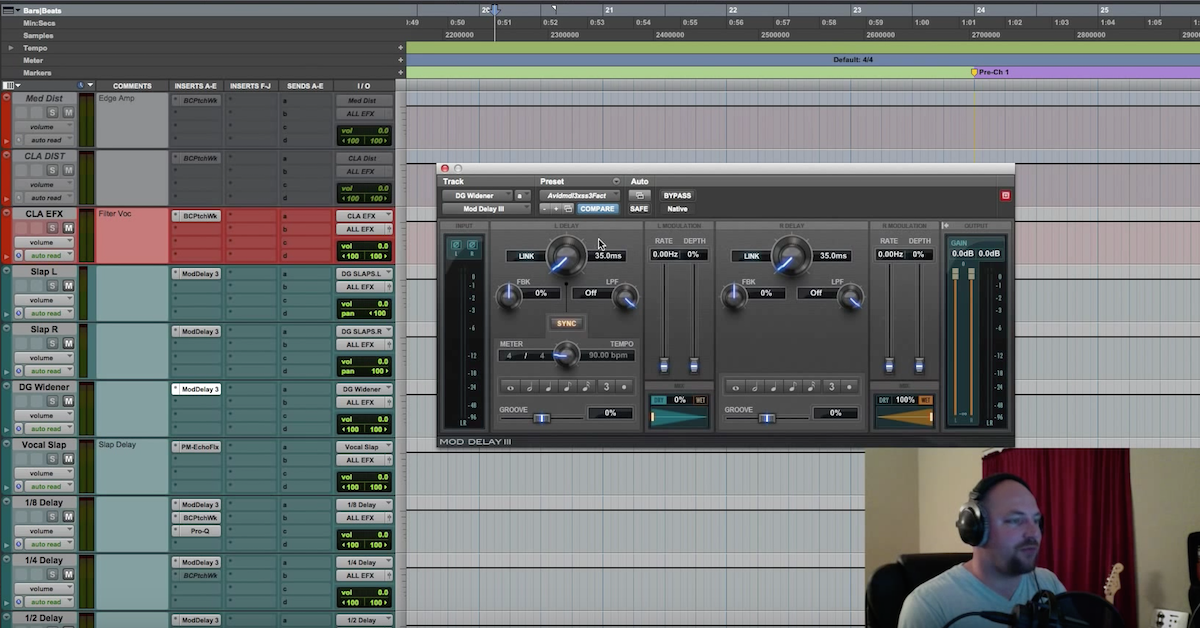
The last technique that I’ll show you is how to control the stereo width.
You know, most people don’t think of adding in a stereo imager on their parallel compression channel, but what you can use it for then is, you know, to control how wide things are, or narrow things are. Maybe you want that fullness to be very tight and very centered, or you might really want the drums to sound huge, and adding it in here just on a parallel compression, you can get more extreme settings without it being too – I don’t know, taking away too much from your mix.
[drums, adjusting Stereo Widener]
Widen things out, or make it narrow.
Now, listen to it when I’m doing it in parallel.
Very tight and focused.
So, there you have it, guys. I hope this video gave you some creative ideas about how to use parallel compression.
If you have your own ideas, make sure to post them below in the comments section. I’d love to hear about them.
I’ll catch you next time. Take care, guys.


