How to Mix Vocals with Parallel Processing
02/13/2014

Specifically, today I’m going to talk about a lead vocal, then I’ll do more tutorials on how I treat the bass, the kick, the snare, the main elements of what I’m using parallel processing for.
The song is Mi Amas, from the very talented Samantha Encarnacion. Her brother Vic produced it, and shouts out to Steve Blackman, who recorded the strings out of Nashville, very last minute session so we’re stoked about that. It turned out incredible, first I’m going to give you guys a listen and then I’ll get into what I’m doing. Here we go.
Now I’m going to jump ahead real quick. I love it when the strings build up before the chorus.
[strings]
So back over here to the verse, let’s talk about what I’m doing. So, a lot of you guys have seen parallel processing; I’m not going to go over how to set that up necessarily, or how to get the compressor EQ or any of that stuff going.
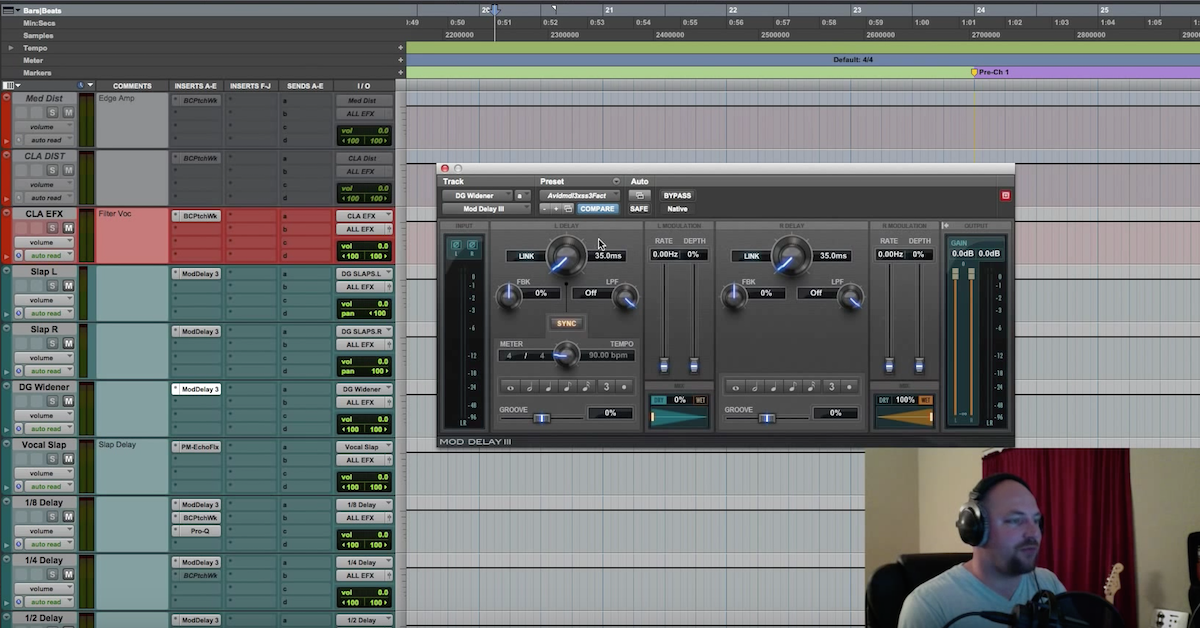
But what I do want to show you is something that I do that I haven’t seen anyone else do in their tutorials. Maybe it’s just because I’m OCD, but here we go, we’ve got the lead vocal level. I’m setting this lead vocal track, processing it with some EQ, some compression, and that’s going out to a lead vocal level.
The lead vocal level is down here, and that’s getting treated with more EQ, compression, that kind of stuff. The wav, why am I skipping over one when I can just treat it with EQ and compression up here? I’m parallel compressing it, and if you look at parallel compression lead p-comp is being sent out also to the lead vocal level, so the dry and the parallel compression are meeting at what I’m essentially using as a last chain of processing. But more importantly, level, and how I’m using that to shape the final overall volume between parts.
You may have the verse at a certain volume, and then the chorus will lift that up, you may split those into two different sets of tracks and treat the verse one way and then the chorus one way. But if you’re like me and you’re working on a native system you may not have all of the resources and computer power to be able to do that and still get away with parallel processing on every single one of those.
Let me walk you through what I’ve got. Let’s solo her vocal, let’s go to verse two here, let’s mute the parallel chain. Mute this stuff, bypass, and let’s hear what we got.
Now I’m going to unmute the parallel chain.
For me to just treat the dry with some EQ and compression a little bit, and then the parallel processing to be slamming that with the compressor. I wanted to be able to get my hands on it a little bit more so I’ve got them both going to this, so the lead vocal level then has a little bit of EQ.
Let’s pull that up, actually, this is quite subtle. So let’s ignore that for a second, and let’s pull this guy up. And then we’ve got the Manny Marroquin, what do we have here? I’ll pull this from my other screen, here we go. Got the Manny EQ and I’m using that after all of that compression to bring some classiness, some air into, as we say with all the fancy words and terminology.
Then I’ve got the vocal rider, love this guy. Now, what I’m doing is something you may have seen in some other videos where I’ll side chain the music to the vocals so that I can keep the vocal on top. But what I’ve done is I’ve given the lead vocal quite a bit of love when it comes to automation there. So that’s impacting how that signal gets sent into the compressors, as well as the parallel compression.
Then what this is doing, this vocal rider on the back end, is going to be just kind of nudging it up or down according to the music, according to maybe some quieter phrases that maybe I didn’t get. I want it pretty intensive here with the automation, but you get the point. Then we’ve got the Studer adding just kind of a last bit of love to the vocal before it hits the all-vocal chain, and if you guys haven’t seen that before, I’m running a bunch of aux’s down here.
The all vocals, all drums, percussion, low-end, all music, and the only two getting compression are the all drums and then I’m treating the music a different way with the slate stuff; create plugins there. Then what I’ll do is, like you see, I’ll dip out, raise the drums up a little bit with some fills, kind of treat that with some love, then come down here to all music. I think there’s a section there that got in my way a little bit, let’s actually hear that, what does it do?
So I wanted the drums to be heard there more than the music so I dipped the music out at that one little section, stuff like that.
On this song I didn’t do what I normally do, which is drop the overall level by one dB, and then pull up at the pre-chorus by half a dB, and then pull up for the chorus back to zero. So it kind of gives the impression of building. I didn’t do that because I felt like, in this song, the elements did that for me.
Between the pre section you’ve got some percussion that comes, some beat production, and then the drums, the strings, all of that. It comes in at those parts, it was really well. So I didn’t have to any kind of trickery or anything like that.
I’m kind of getting ahead of myself, but the parallel processing there if you can see. A lot of guys, you’ll learn from Dave Pensado, and he’ll send the lead vocal to all vocals, and he’ll send the parallel compression chain to all effects.
And that’s what I’ve seen in most of his ITL’s. I took it a step further, and I send both of those together to the lead vocal level. I treat them together there, take out some of the muddiness that maybe the parallel compression is applying, some of the harshness and maybe some frequencies. I’m going to treat that a little bit. I don’t know, for me it gets the job done.
The last thing I want to note here before I’m bowing out, is the effects; I’ve got the effects going off the lead vocal level, and what I like great about that is that’s where having the two send to the lead vocal level together. It’s going to give me, in my opinion, a smoother result from my effects, which you may or may not want. For me, I do like that. I like it to be compressed and nice and smooth so that whenever it hits the reverb or it hits the delays, I’m getting a consistent sound that just happened to work in this type of song.
I’ve got a lot of elements going on, a lot of things competing and I wanted to be able to have those effects, they balance it so I don’t have to go in and do any kinds of rides to my delays or reverbs and that kind of stuff.
I hope you guys are enjoyed that, I hope you learned something. If you’re OCD, like me, you’ll like that greater level of control. If you have any questions, feel free to shoot me a message at david[at]davidglennrecording.com. Once again, for theproaudiofiles.com, and we’ll catch you soon.
Elevate Your Ears