How to Mix Bass with Layers of Parallel Processing
These just happen to be the four main things that I’m using parallel compression on and the aux trick with pretty much every mix that I’m doing now. So we’re going to jump right in, the song is called’ Keep Holding On’, it’s by Antoine Jordan, produced by Rico Clark out of Atlanta. Shout out to his son Devonda Davis, just 16 years old and tore up the drums. I’m going to hit play and we’re going to dive right in and hear what we got going on with the bass.
[music]
Lots of energy in this track. Let’s bypass, I’ll tell you what, before I jump into what I’m doing with the bass, let me explain for those of you who haven’t seen the other videos. We’ve got an aux track right here; it’s called the bass level. That bass level receives a signal, bass level; it goes out to the low land. Which I have the low land going to my stereo bust. The DI appears to dry signal, that’s going out to the bass level.
You see I also got the bass DI being parallel compressed and I’m sending that from the dry signal to the parallel compression chain. And they’re both meeting and that’s also going out to the bass level. So you got a dry bass and then you got a parallel compressed bass, blending in and they’re both meeting at an aux track that I’ve labeled bass level. That bass level track I’ll use for additional EQ, maybe a little bit compression.
In this case I’m using the auto, not auto tune but the Antares warm plug-in and then I’ll treat the bass level with some automation for some volume rides and I will also send the kick into the compressor and do my side chaining from the kick to the bass. At the end of the chain, on bass level. So kind of an overview of what I’m doing there, but the signal as it was given to me, let’s kind of walk through one thing at a time and then we’ll… hear it in the track. Here’s soloed, just the bass, the way it was sent to me.
It sounds like it’s just the direct signal, plugged into an audio interface and then shipped off to me. So, nothing wrong with that, it gives me some extra control that I can do with it. But I want to bring some life into it. The first couple of steps are just some very subtle changes, so I’ll kind of do a before and after. But this is pretty minimal, here again the dry.
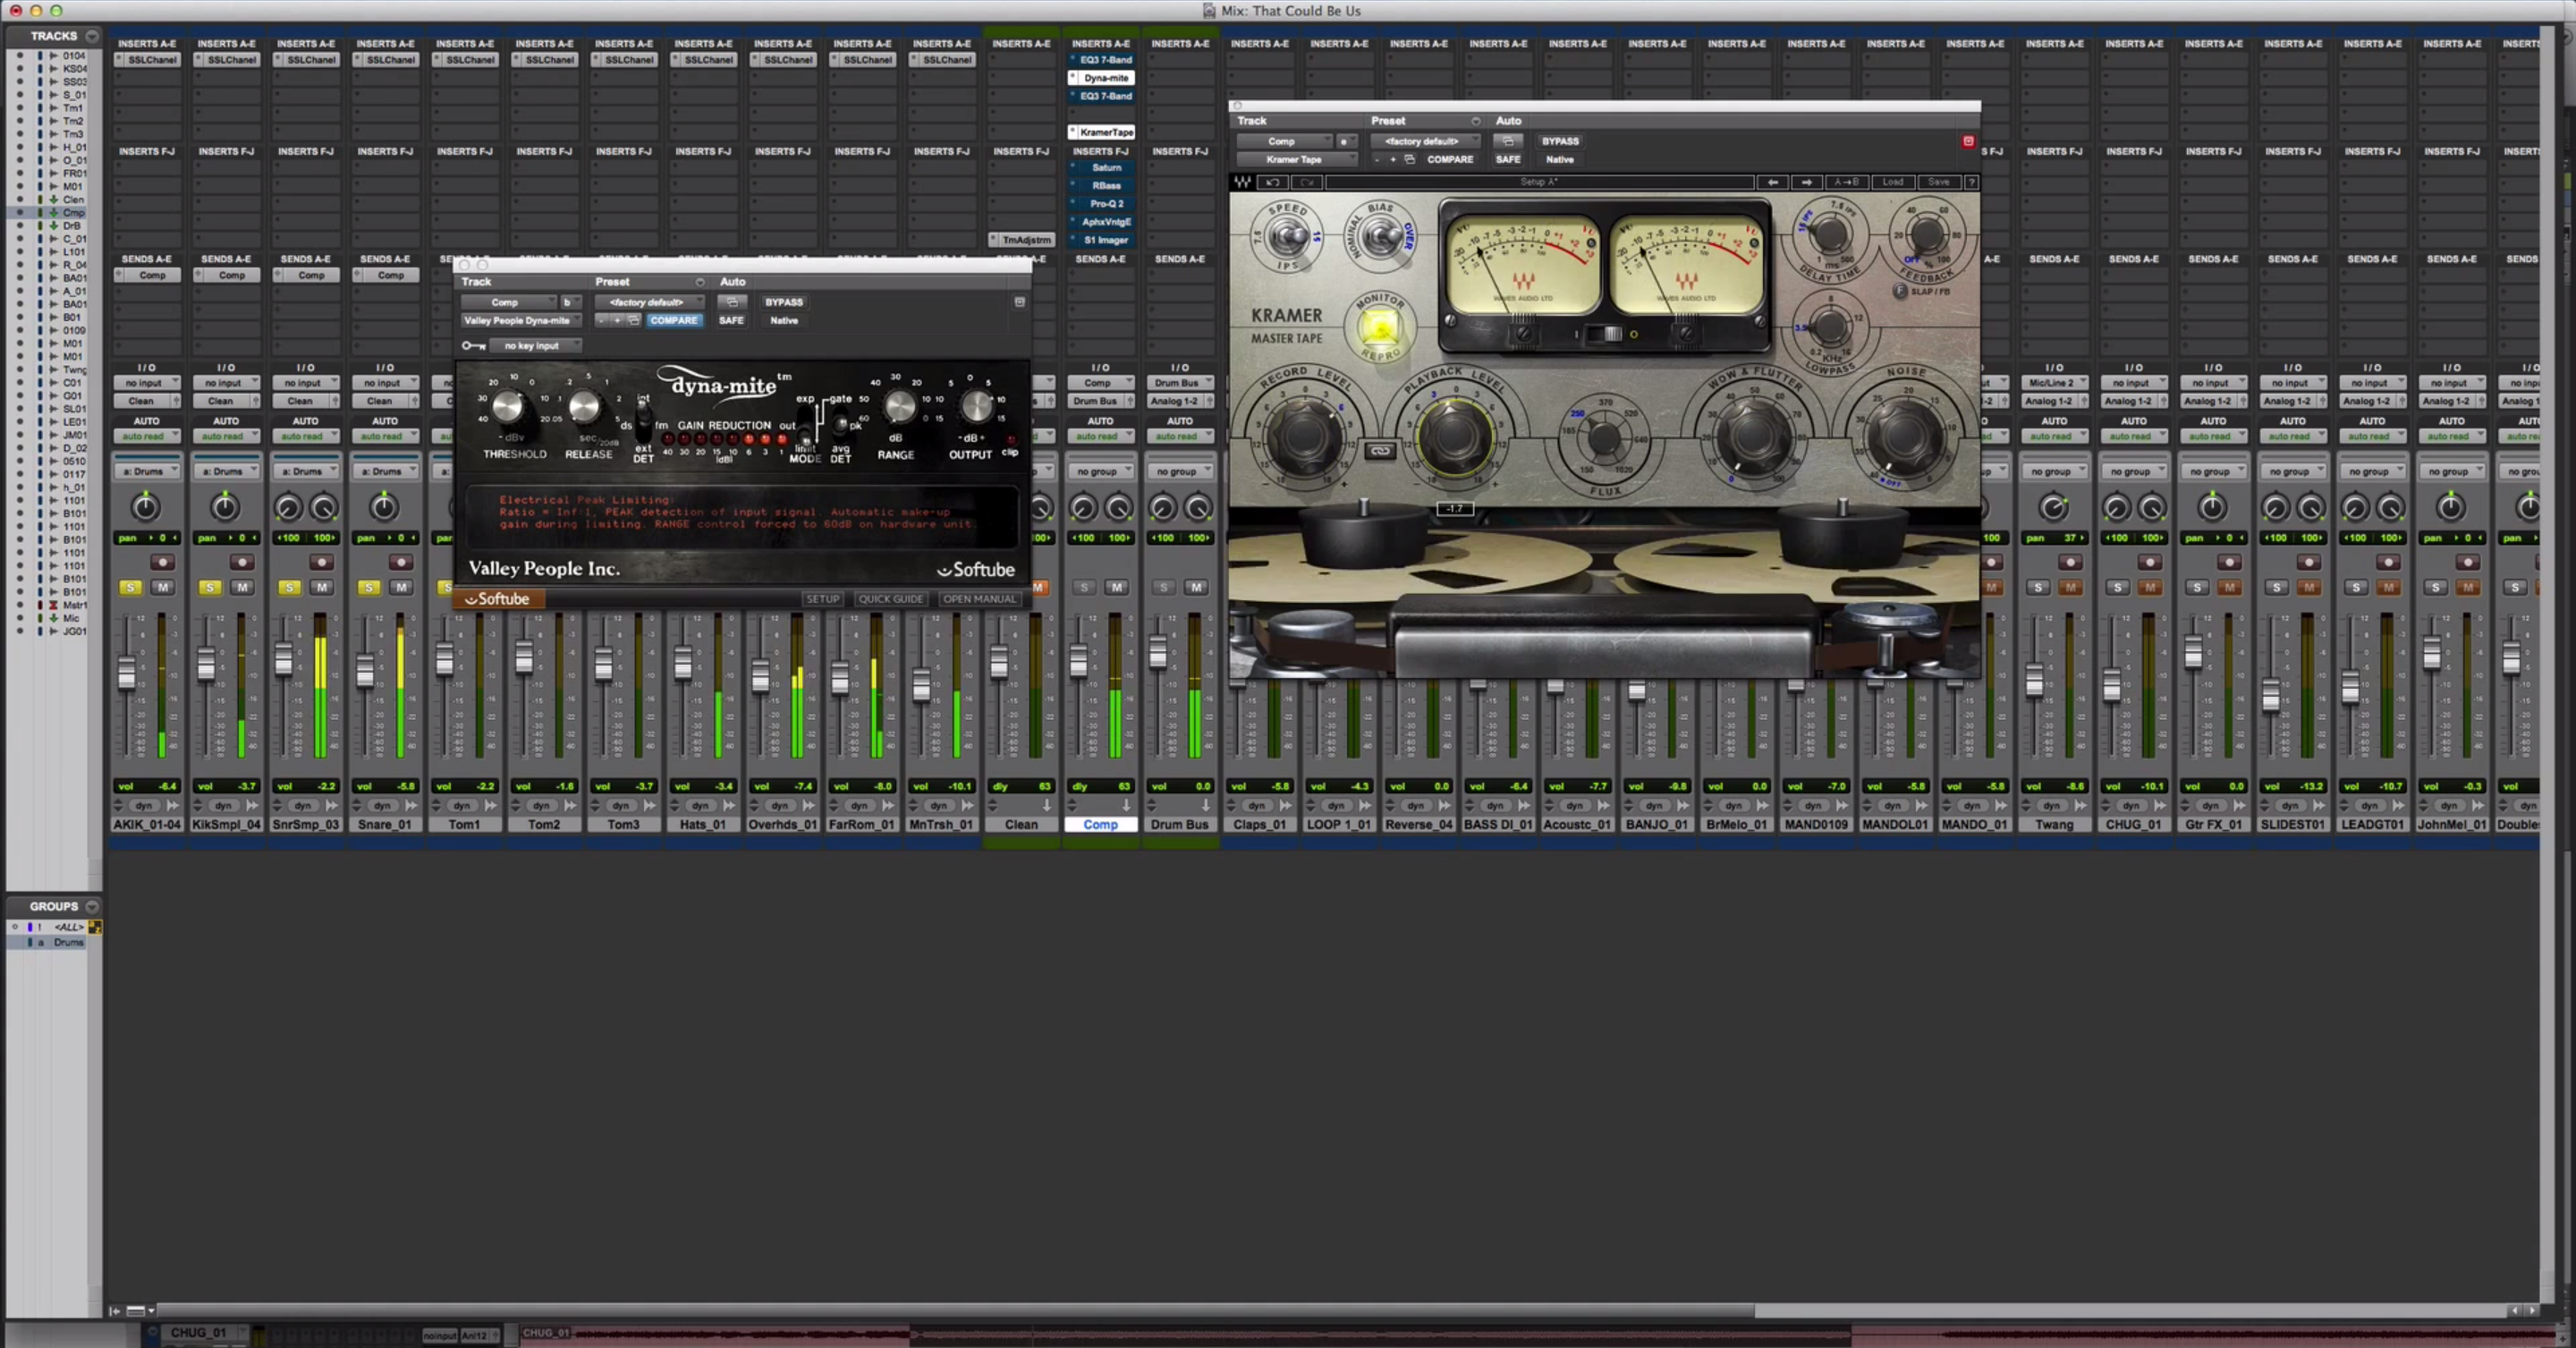
Then here’s the Studer. So a little bit of love to it, let’s pull that up, you can see what I got. Pulled up the bass preset, I like what it was doing, kind of dialed in some input there. Let’s also do the same thing for the LA-2 here, before. Cool and then the LA-2A engaged. Cool, so we’re not killing it, but just a touch. And then we’re sending that signal to a parallel compression chain. The parallel compression is down here. And let me get this guy over here, pull that over. I got the waves, 1176 and there we go medium attack, fast release and probably about 10 DB of reduction there. Let’s hear before parallel compression one more time.
So we’re really bringing that forward in the mix and then I didn’t want to stop there. I wanted to be able to take that blend that I liked, and control it a little bit more. Let’s go to the bass level and let’s see what we got going on. This looks like we’re going to have some volume rider, bass rider. And we’ll see what this is doing; kind of take a look at that. Cool. I like the way that felt, so we’ll leave that one alone. And we jump over to an EQ that I got, the pro Q. I love this EQ but it’s a little top in, kind of cleaning it up, dialing in a little bit of the frequencies to get it to gel with the kick and actually let’s play a before and after this. And after. It looks like we didn’t stop there, we went through the Antares, what is this play called? The warm plug-in, add a little bit of saturation. Let’s hear what that is doing before. After.
Still some subtle changes but it’s contributing to the overall sound. And then we got the D3 I’m using here. The DigiDesign compressor, sorry an Avid compressor. For side chaining the kick and if we want to show that off, we can come up here and solo the couple kick drums that I’m using. And hear what that’s doing, here’s before. And after. Alright cool, so there’s kind of what I’m walking you through it, going through some of the stuff I’m thinking and contributing to the overall sound. Now what I want to show you guys is this down here, the automation. And… This style of music, you got a bass player who’s going to get pretty fancy, you got some sick musicians in the gospel world. And he’s going to do some fills, he’s going to do some stuff, he’s going to pick his spots and he’s going to do his thing.
Whenever I’m mixing this type of music is I’ll go through and I’ll listen to the keys, the drums, the bass, I’ll pick the different parts where they want to be featured, where they kind of giving me something special. And I’ll go in and I’ll lift them up for those parts and kind of put them back down. And that’s the case with this bass guitar here, so if you look, let’s take a listen without the automation on… Disengage that for a minute, so this won’t be active right now. My bad, let’s go take the kick out. And one more time with the bass, without the automation.
Let’s put it back in. Cool, so you can hear how in just those spots, you’ve got… excuse me, the bass pulled up. It’s going to sit on top of the track a little bit more and you can see I’ve done that throughout the song in these different parts. Maybe let’s play a couple more of these, let’s see what he’s doing right here. Alright cool, so there’s one, let’s play another one. Cool. Now that sounds like a good one to go with, let’s play it in the track and then I’m going to mute the automation and then we’ll hear the difference.
Now if I take the automation off, you’ll hear the bass kind of disappears on us. I shouldn’t say disappear, because it’s still there but what I wanted to do was bring that up so that you can really feel the fancy work that he had going on there. You got great players, you got great musicians, you want to be able to bring, those up whenever they play something worth hearing. Above the mix, and then put them back down so that they can be a part of the foundation again. So, man I hope you guys are learning from this, this is the bass guitar; it’s kind of a quick overview. But if you have any questions, feel free to hit me at david[at]davidglennrecording.com and man I look forward to bringing you more videos. We’ve got tons more to come now that we’re jumping away from this aux series. Feel free to hit me up with some messages, I’ll talk to you guys soon.


