Pro Tools Tips: Memory Locations and Zoom Presets
12/5/2013

It does take a bit of extra work on the front end to set up your session to do all these things, however if you do it, a lot of times this can, in fact, speed up a lot of your workflow for the remaining time that you’re having to edit in that session.
I’m gonna be showing you a couple different things. First is how you can use memory locations to do a bunch of different things. Also how to use zoom presets. So let’s first start out with the memory locations.
Many people are familiar with the basics of memory locations and what you can use them for, so for instance, as the name would suggest, you can have your computer kind of memorize the different locations or store in it’s memory the parts of your song that you’re interests in marking. So if you want to make the introduction, the chorus, and the verse, it’s just a matter of bringing the playback head or the cursor to that location and marking it. On my computer keyboard I can use function and enter, that’s gonna create a location. I’ll call this intro. Next up is my first verse. I know that it’s at this location right here. And create another one, call it verse 1. My chorus comes in right here. I can continue to do this for the remainder of the different sections of my song. And then, all you have to do is just click on these different memory locations, and the playback head will jump to those different parts. So if you just wanna quickly jump to the first verse — listen to that.
[music]
Jump to the chorus. Or the intro. This is kind of the simplest way that you can use memory locations, so I’ll come back to these in a little while, and show you some more advanced features of how to use memory locations.
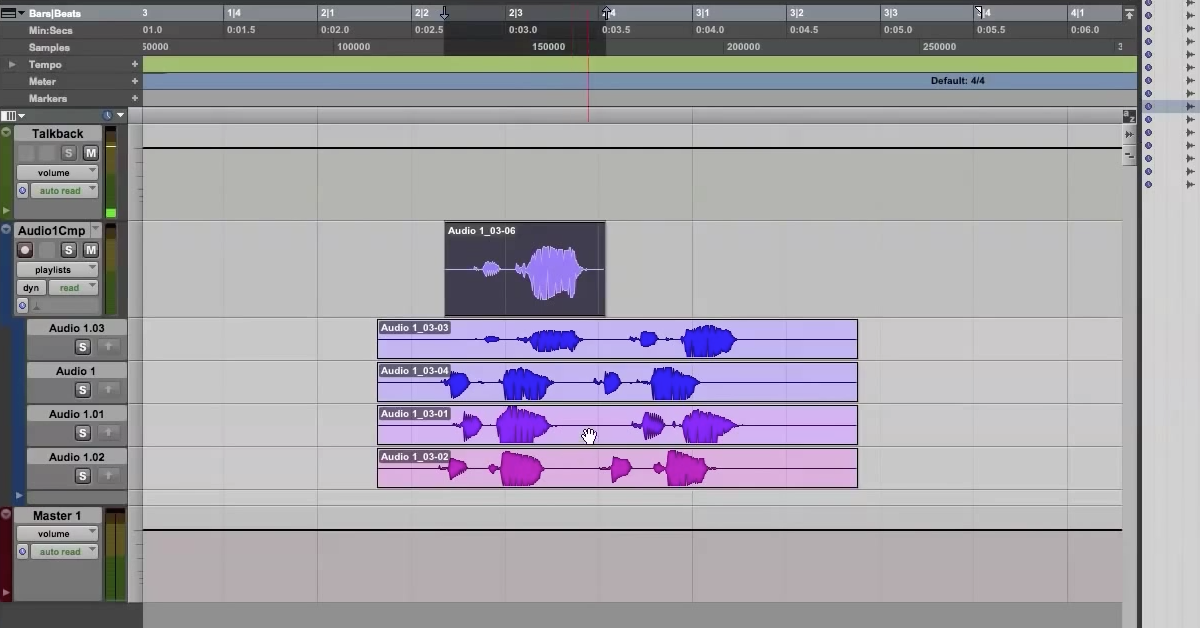
Next I want to show you zoom presets. The idea with zoom presets is you can set the relative level that you’ve either zoomed in or zoomed out on your session and set them to hot keys, or buttons up here. So, for instance, the most basic way to zoom is to use the zoom tool. You can zoom in and out like this. You hold the Option key, you can zoom out. So, the way that I like to do it in my sessions is to kind of start from a global perspective for the broad big picture view of my session and set this to one of the zoom presets and then kind of zoom in at these different levels and set them as different presets.
So if I start out, click this and make it zoom preset 1 by holding it down. I can save this as my zoom preset. The global view of my session, then zoom in a little bit farther to a certain level, maybe this is good. Set this as zoom preset 2. Zoom in very close, zoom preset 3. The thing to know about these zoom presets is it actually doesn’t necessarily zoom into that particular section of the song, it always zooms to the relative level based on where the cursor is. So for instance, if I wanna zoom out to zoom preset 1, click it here I can see the bros view of my session. If I move the cursor to this part right here, and I click on zoom preset 2, it’s gonna zoom into the level that I set, but based on wherever my cursor is now. So you can see the cursor is still there. pom in more. Zoom preset 3. As you might expect, the keyboard shortcuts for these things are just numbers on the actual computer keyboard. Zoom out to 1. Zoom in. And you can zoom in either further and set up to 5 presets. Now this is really handy for jumping around different parts of your song. When you’re playing back you might want to zoom out. When you want to go in for editing you click on one of the presets, and now you’re right in focused on where you want to edit.
Coming back to memory locations now. You can use memory locations not only just to mark the different places of your song, but to actually zoom to that section of your song too, so it’s kind of like a zoom preset and memory location in one. Let me show you that.
Let’s say this is my next chorus. I’m gonna zoom in and just focus on this part of my song. So I’ll zoom in really far, fill the screen with this chorus. Go back to my memory locations window. I’m gonna create a new one now. Call this chorus 2. Now, what I had selected before is just this marker. You can actually do things like move on and use a selection tool. What this is gonna do is allow me to set a location or a memory and store in memory the fact that I have selected with the cursor just chorus 2. So if I’ve got it in loop record, I don’t have to go in and find that location of the song and drag it out (the cursor) just to focus on that area. I just set up that selection right here. I can go in and click on zoom settings now. And click ok. I’ve got chorus 2, you’ll see that it’s got different things over here for the selection zoom. That way now, if I go back to a different part of my song: verse 1, now I click on chorus 2, it zooms me right back in on that chorus and then it’s highlighted that part so that I can just listen back just to that part if that’s the way I want to edit it.
[music]
So that’s just a different way to use the memory locations kind of in the same way as you would with zoom presets to zoom in and out, but in this case you have the ability to control not only the zoom but the location in your track where you’re going to zoom.
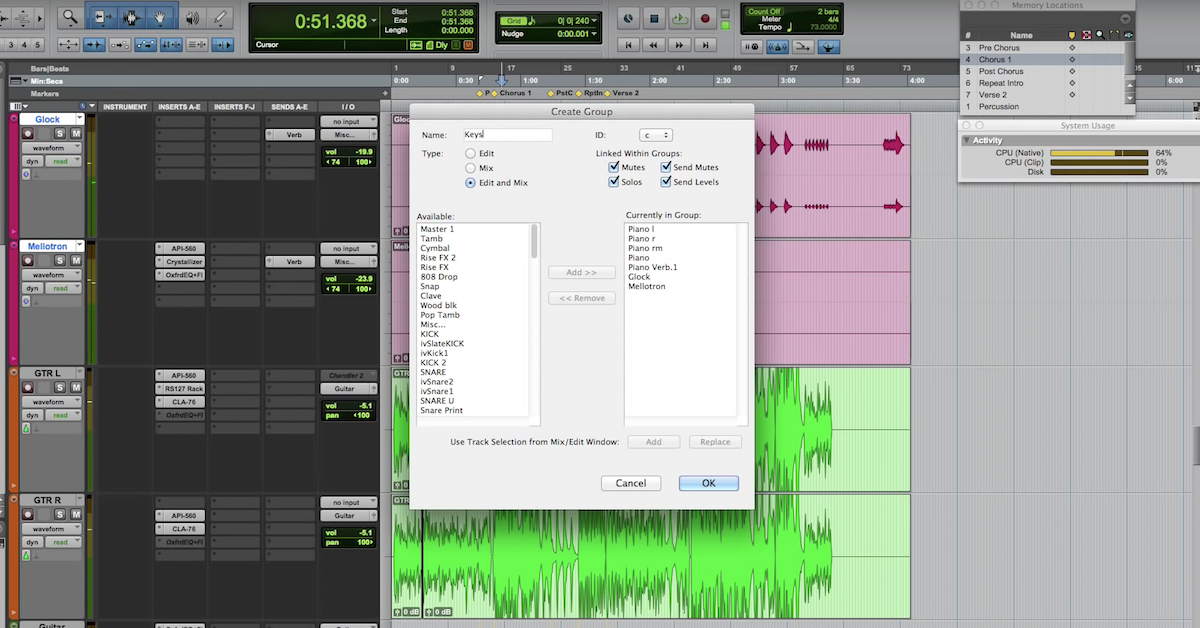
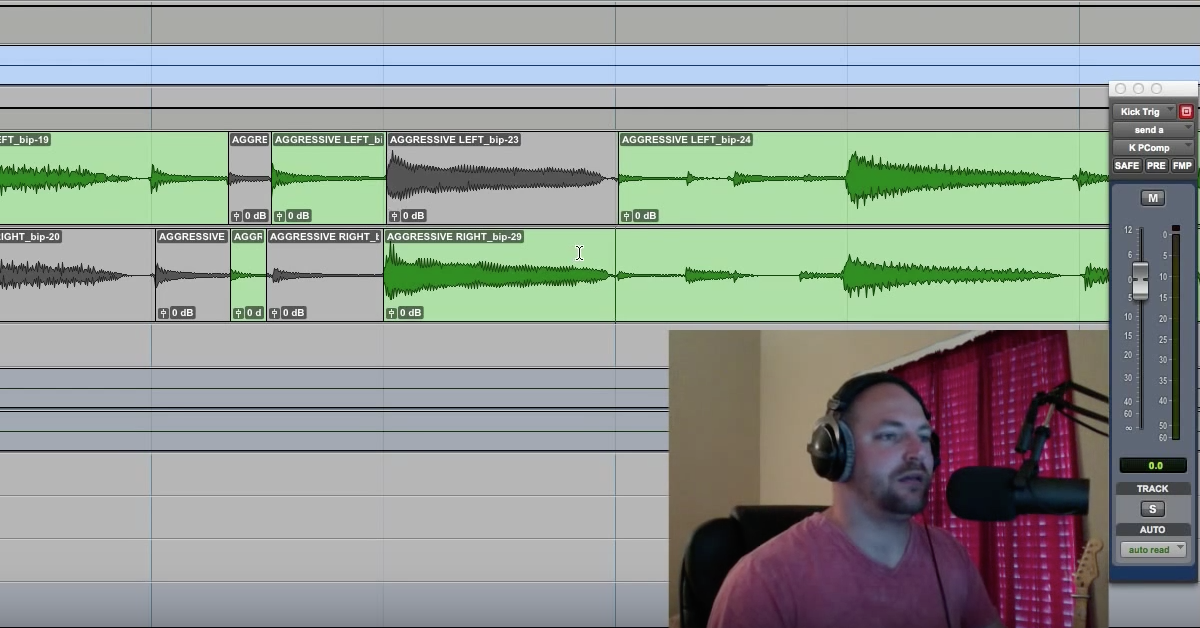
The last thing I want to show you that’s pretty cool with the memory locations is you can actually set it up so that you only focus on certain tracks. So for instance, let’s say I want to focus on my electric guitar tracks. Get rid of the other ones. So I’ll just hide all these others ones. Let’s see what I’ve got going on with my electric guitar tracks.
So I’ve got all these auxiliary tracks going on, with reverb and my electric guitar bus, and then I have these electric guitars going on here. Now, you can go in with the memory locations, create another one, call this guitars, click on tracks show and hide. Now I can go from things like verse 1 — zoom out on this — then click on guitars. If I show all my other tracks now that I just hid, I can click on these things like chorus 2. If I click on guitars, it’s gonna hide all these others ones and just allow me to focus on these individual instruments.
So you can do this kind of thing if you want to set it up for guitars, for drums — it’s really just a matter of being as creative as possible and speeding up your workflow. If you know you’re gonna be doing a lot of editing on guitars, you want to group them together, or group together all your drums or percussive elements. You know, it’s really up to you to figure out what’s gonna speed up your time when you’re actually editing.
So hopefully this video gave you an opportunity to look at some different functions and things that go on behind the scenes of Pro Tools that you can use, they’re kind of workflow improvements, but you just have to weigh out for yourself which things are gonna be helpful for you and which things are just gonna be too much time to set up.
Elevate Your Ears