How to Use FabFilter Pro-Q 3 EQ for Mastering
FabFilter just released the Pro-Q 3, which is an update to their flagship equalizer plugin. The Pro-Q 2 is something that I use on each and every mix of mine. It’s great for cleaning up problem frequencies, it has a mostly transparent sound, tons of great features, and a beautiful user interface that provides you a lot of useful information.
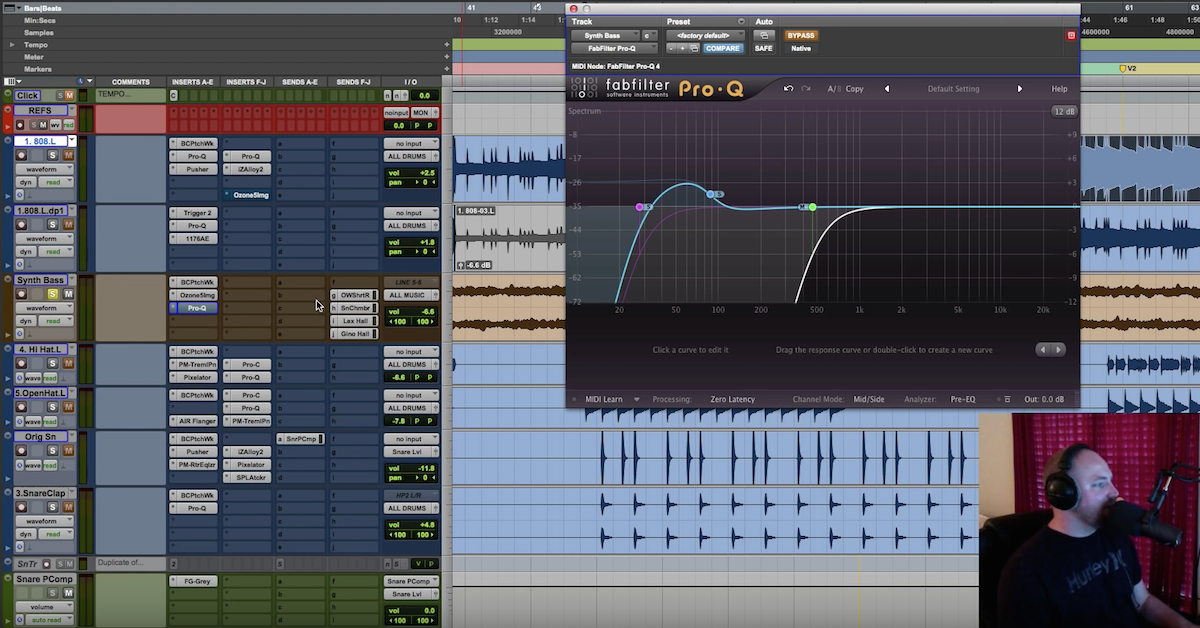
The Pro-Q 3 has all of that and even more, including an extremely useful dynamic EQ function, and now, per band, you can choose to apply processing in mid/side mode, which essentially allows you to process the center separate from the sides, you can work in traditional stereo, left, or right.
So what was already a great plugin is even more flexible. Because of this, I’ve found the Pro-Q 3 to be an excellent tool for when mastering. So today, I’m going to show you how I would use the Pro-Q 3 when mastering a track. The song that I’m going to be using was just released. It’s called “Shirt” from the band Plake, featuring Hunter Plake, who was on NBC’s The Voice.
Obviously, he’s got an incredible voice, beautiful tone, great singer.
So let’s start by listening to about 45 seconds to a minute of this track. The song is really well produced, but there are some problem frequencies and areas where I think that I could enhance what was there.
So let’s have a listen.
[mix]
Alright, awesome track. So I have a couple of thoughts. I think that there’s a little bit too much low end in the vocals in just the verses. Once the chorus comes in, I think it’s fine. I also think that the kick drum is a little bit muddy, and once the chorus kicks in, there’s a little bit too much buildup in the one to 4 or 5kHz range. In particular because of the guitars.
So I’m going to use this new feature in Pro-Q 3 that’ll help me identify unwanted peaks in the frequency spectrum.
[mix]
So Pro-Q 3 did tell me that there were some peaks, including at 2kHz and 2.8kHz. This is great information to have moving forward.
So what I’d like to do now is go through my process and show you how I’d use Pro-Q 3, and let’s discuss the details afterwards.
[mix, adjusting Pro-Q 3]
So now let me show you what I did and describe why. First, I did a high pass filter, but only to the sides, because I thought there was some unwanted mud that wasn’t adding anything to the program material, just in the sides. I didn’t want to affect the center.
Next, I enlisted the dynamic EQ only in the sides at about 60. I did this because I wanted the kick drum, which is straight up the middle, to dominate that area of the frequency spectrum.
Next, I found there to be an unwanted resonance at about 120, so just stereo traditional EQ, notched that out a little bit.
Next, I used the dynamic EQ again, but only in the sides, and that was for the purpose of carving out a little bit of two and 2.8kHz in those wide panned guitars.
Here, I use the dynamic EQ again, but it’s only processing the middle where the vocals live, to get rid of some harsh, unwanted vocal sibilance.
And lastly, I wanted to open up the sides a little bit using a traditional EQ to really allow us to hear those hi-hats a little clearer, and there were some cool vocal effects that I think were being buried that I wanted to enhance, so I’m doing a high shelf up there.
So as you can see and hear, I’m doing mostly subtractive EQ here. I find that the FabFilter Pro-Q 2 and now the Pro-Q 3 are unmatched in that utility. If I have unwanted harshness, sibilance, boxiness, muddiness, whatever, I can find those frequencies really easy with the visual feedback the plugin provides me, and remove them.
If I want to add vibe, character, or tone to something, I might reach for an analog emulator, but for this utility, I love the Pro-Q 2, and now, the Pro-Q 3. So well done FabFilter on another great update to this equalizer. It is an extremely useful tool, and I can see myself using it for individual tracks, busses, and now, mastering.


