How to Use Drum Samples to Trigger Reverb
There’s a solution for that, and I’m going to show you how to use it.
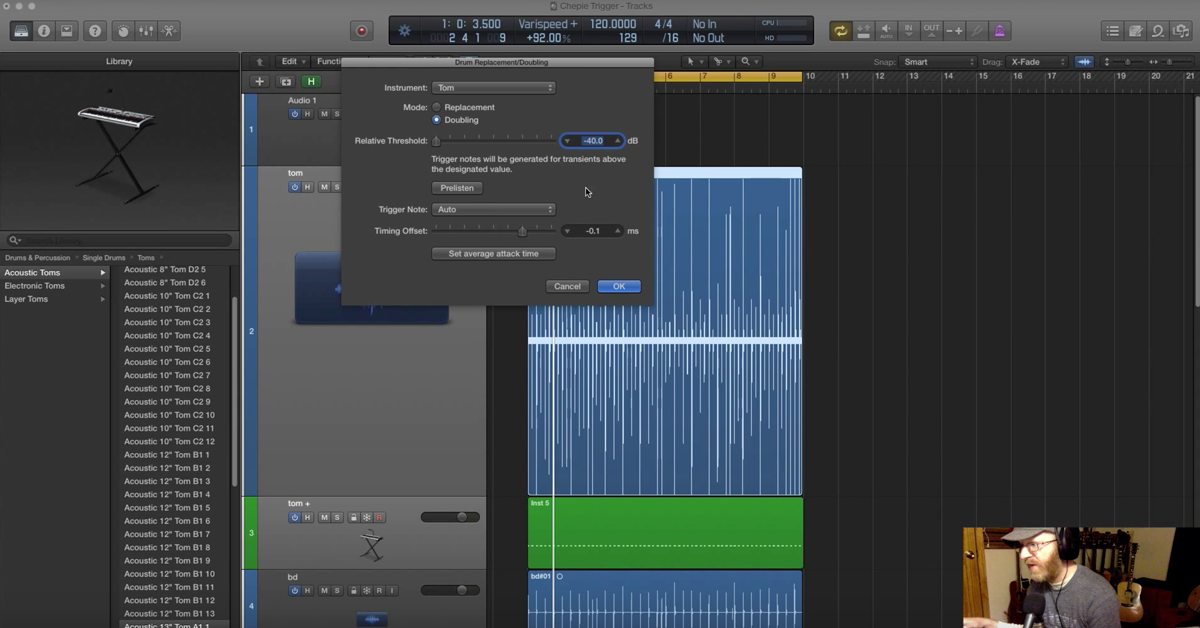
So, Logic comes with some really great features these days, and one of them is the drum replacement/doubler option. This allows me to take a snare drum track, for instance, which is what we’re going to use here, and it’s going to document the transients and turn it into a MIDI track, which then we can use the EXS24 or BFD3 to trigger a sample. That sample is what is going to feed the reverb.
Let me give you an example of what we’re dealing with at first, sound-wise with the drums. The really raw drum tracks I just pulled up and pulled them in, and didn’t really do any processing to.
[drums]
You can hear there’s a lot of bleed in those mics.
There’s the snare drum.
[snare drum]
A lot of harmonica and vocals coming through that. So, if I was to send that to a reverb, you see that it would also be picking up those other frequencies and instruments.
Watch what we’re going to do. I selected the snare drum track, I’m going to go up into track, and hit “Replace or double drum track.”
This dialogue is going to come up. One of the things I’m going to be particularly interested in here is this relative threshold. What this does, is it’s telling the plug-in where you want the threshold to be for the transients being captured. So, the higher it is, it means that only the super loud transients on the snare drum are going to be turned into MIDI notes. The more you pull it back, you’re going to hear that it also allows a lot of the softer notes.
I’m going to show you that now by engaging this pre-listen option, which allows us to listen to the track, and how a sample will be triggered.
[snare drum]
Now, we can hear the sample up here. The instrument says “snare.” It’s just triggering the EXS-24 basic snare sample.
So hear how only the heavy accents are getting triggered? As I pull it back…
See, I kind of liked it up here. So, when I’m happy with it, I’m going to hit okay, and there you go. You see that it created a MIDI track for it. Now that we’ve done that, there’s a few more things we could consider doing.
I don’t really want the output of this MIDI track to become a part of the mix. I’m not really looking to hear that sample too much, I’m just looking for that sample to trigger the reverb. So I’m going to go up the output here and set it to “no output.”
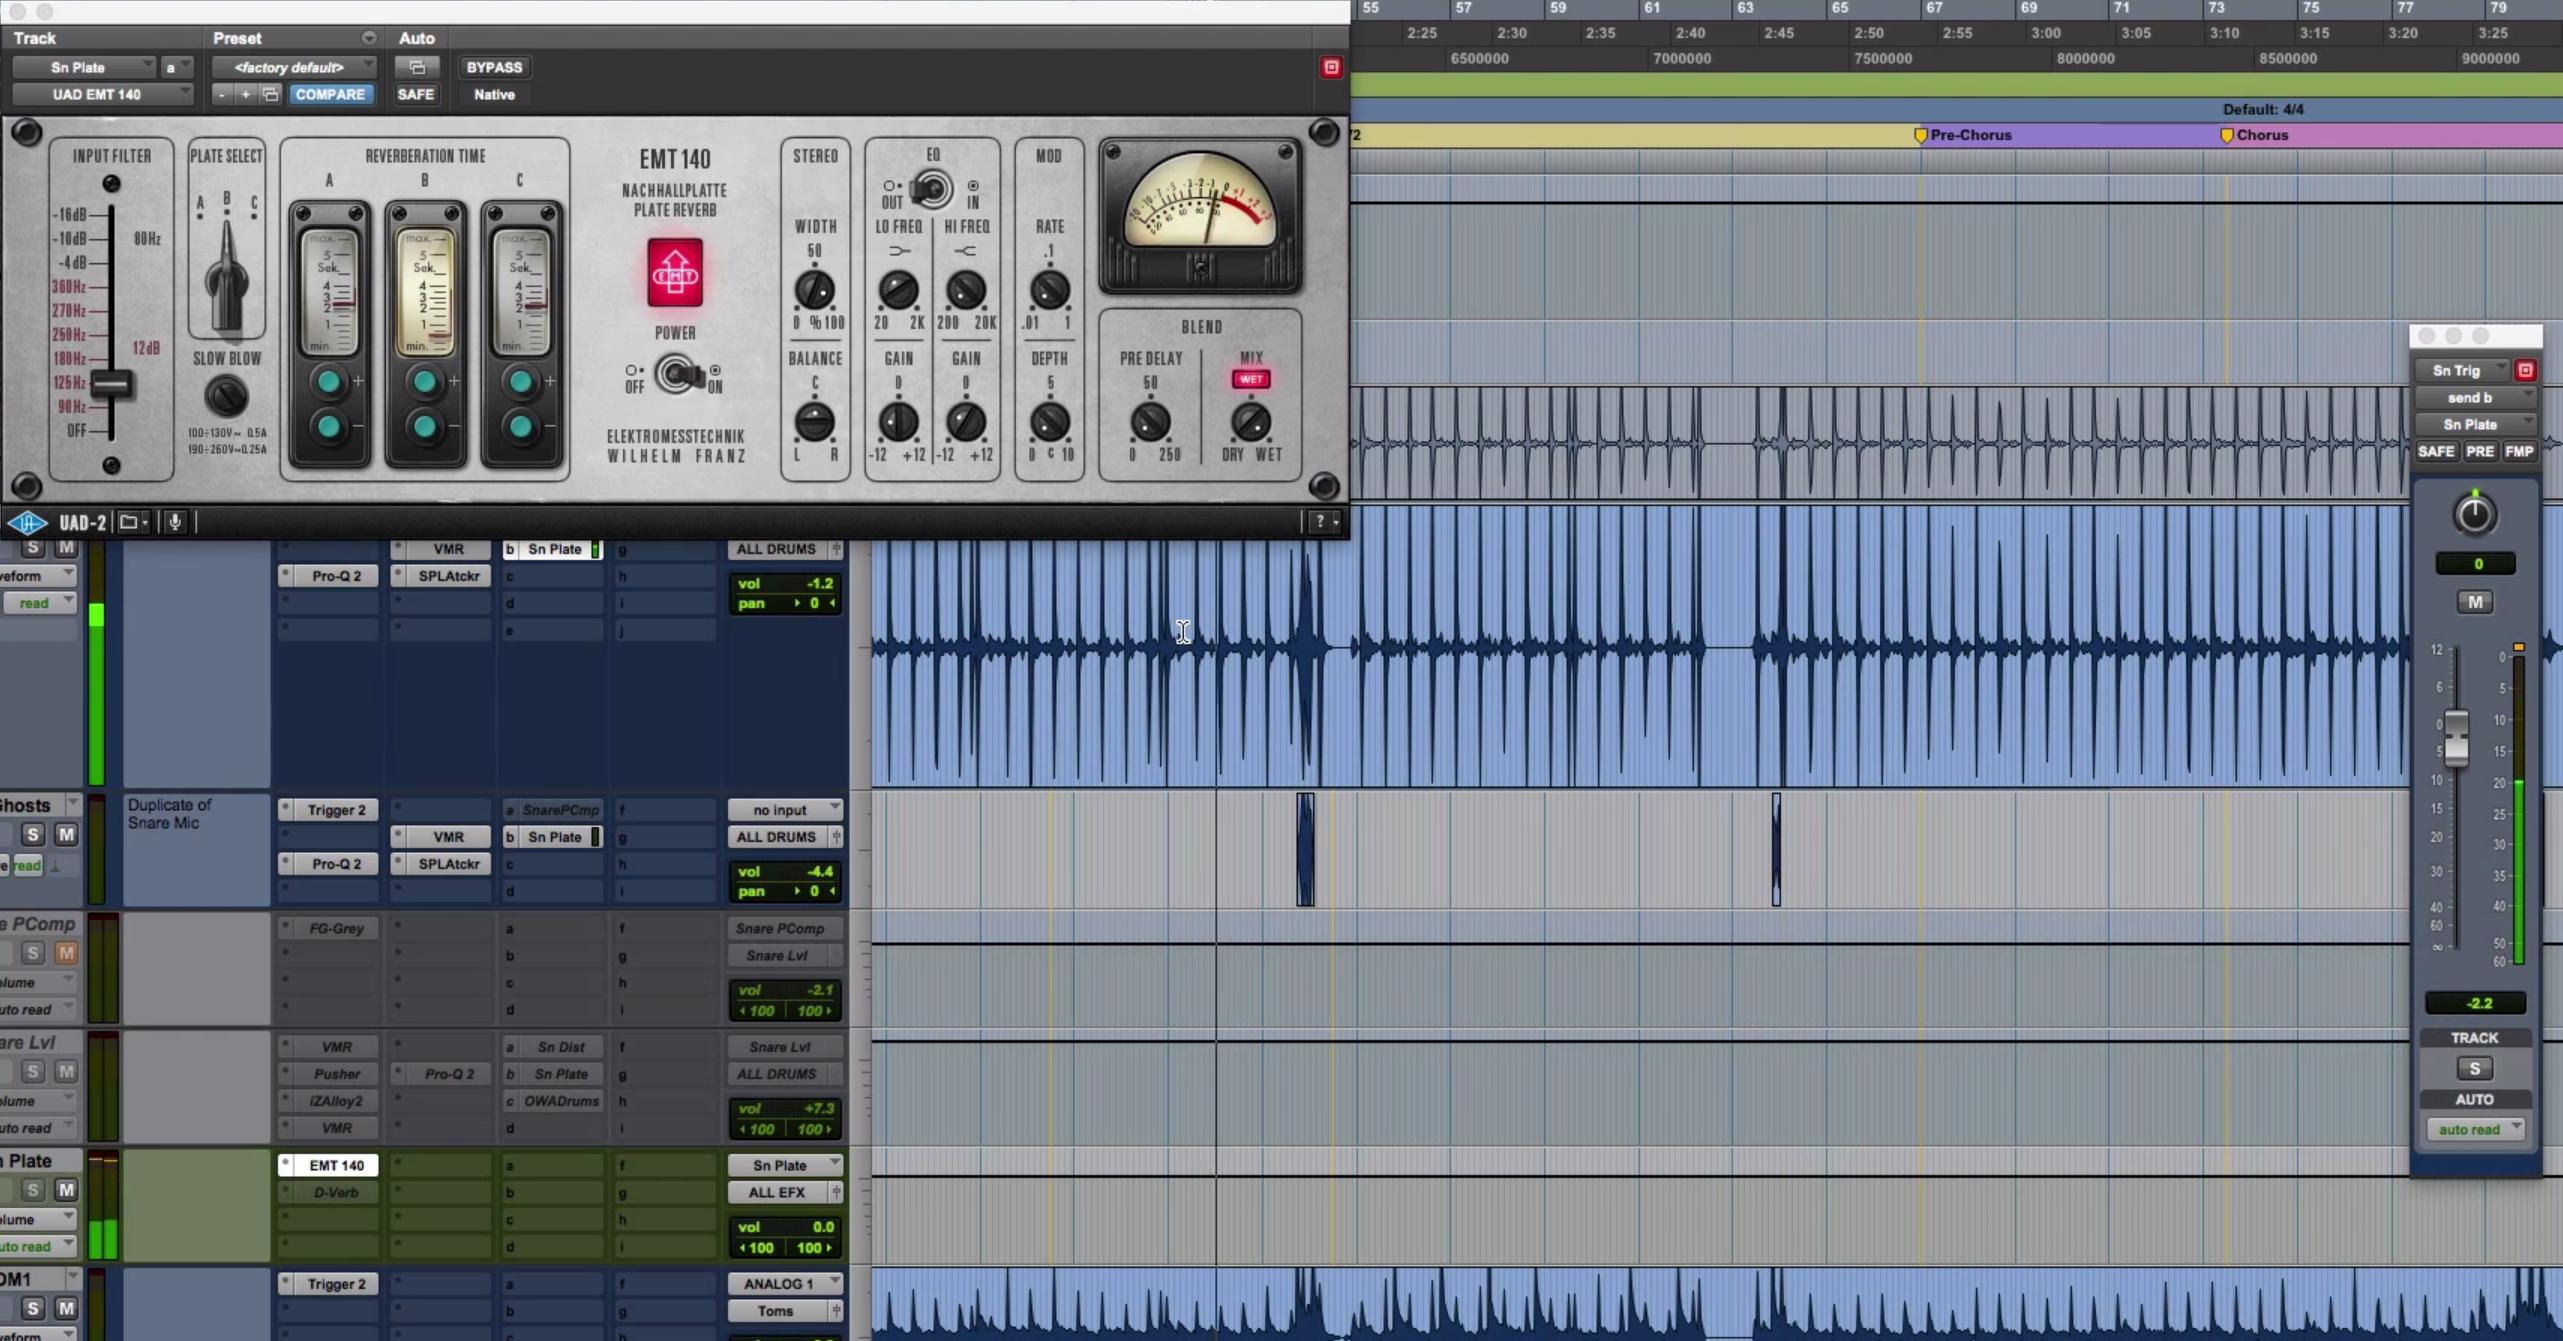
Now we have to route it to the reverb. I put a reverb, which is basically just the Space Designer plug-in over on the sum 1 buss.
I’m going to select buss 1 in the send. There’s one more important item here. I’m going to go over to the option here and set it pre-fader. This way, wherever I have the send set, it’s just going to be permanently placed there.
So, let’s listen to that now.
[drums]
Let’s just listen to the snare drums together.
[snare drum with reverb]
Yeah, so it’s only triggering it once in awhile. If you wanted to get really creative with this, you could really just pick specific spots in the song that you want that really big reverb trail to hit at, which would be kind of a cool thing.
It’s worth noting that it might be neat to use an entirely different sound from the snare drum that you have. Maybe it’s a low tuned snare drum that’s triggering the reverb that you combine with this one for example, that’s a really bright sounding snare drum that was recorded. So maybe a darker one that’s triggering the reverb might have a really cool effect.
Also, you can use your own sample if you like. If you’re doing the session and if you feel like that might be something you might want to investigate later, it’s nice to grab a single hit snare sample in between takes, and just have the drummer maybe do that for each of the drums. Snare, each tom, and the bass drum. Later on, that’s going to give you some options for doing some fun stuff like this. You can use it with reverb, you can use it with delays, and just send the replaced samples to other effects even, which could be fun.


