Mixing BFD3 Drums in Pro Tools with iZotope Alloy 2
08/20/2014

This is the second of the three-part series on creating a drum mix using FXpansion’s BFD3 and iZotope’s Alloy 2.
in this video, I’ll be focusing on mixing the individual drum tracks using Alloy 2.
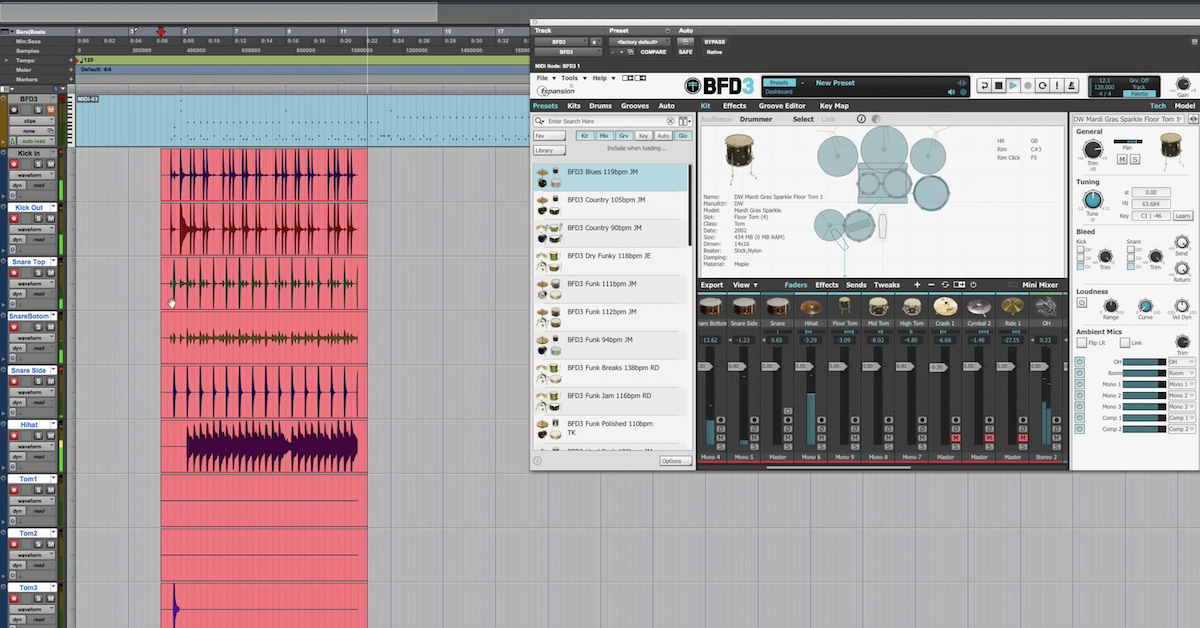
Right now I’ve recorded the samples of the individual microphones from BFD3 onto separate audio tracks in Pro Tools. Now, I can mix the multi-track recording as if it were a regular drum session. In order to save on CPU processing, I’m going to make the instrument track with BFD3 inactive. Next, I’ll start out by making a rough mix of the session, adjusting some levels and pans.
[drums]
For reference in the future, I’m going to print this rough mix so that I can compare my final mix with where I started. I went ahead and printed the stereo track here.
[drums]
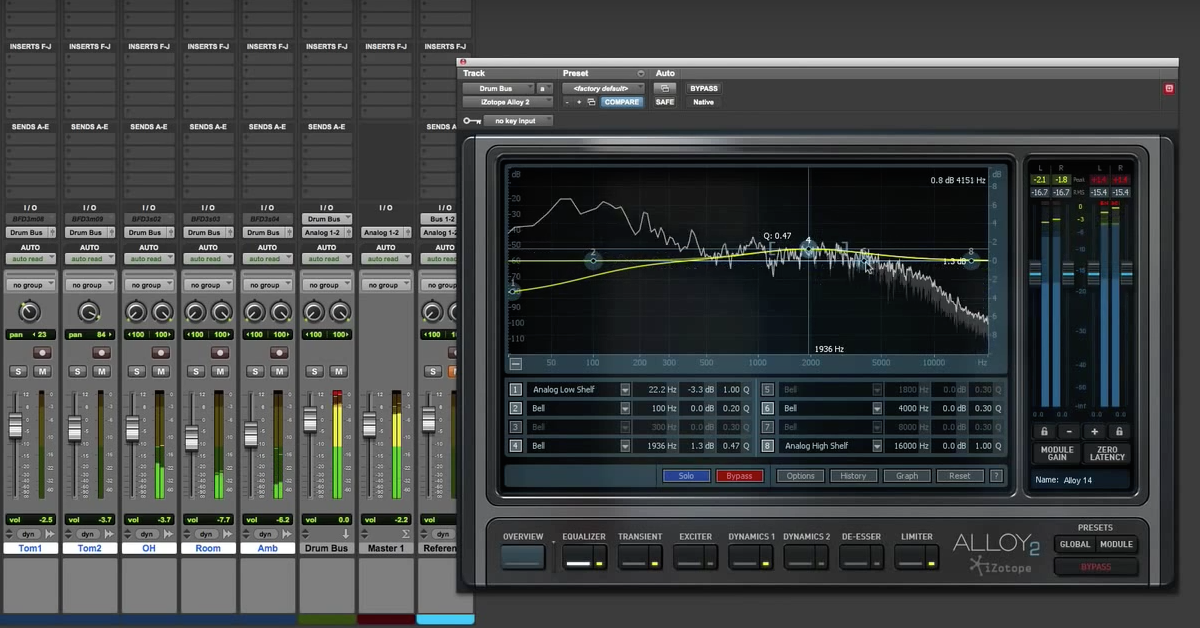
Next, let’s get started mixing with Alloy 2. I’m going to go ahead an insert the plug-in on the first slot of each track. Next, I’ll go track by track, and dial in the starting point for each microphone.
For the kick in microphone, I’m going for a sharp sound with a lot of attack, therefore, I’m going to control the dynamics of each drum hit, so that the sustain is decreased, and the attack is increased. Then, I’m going to roll off the low end and add some upper-mids.
[kick in plays]
For the kick out microphone, I’m going for that thick, low end of the kick drum. Therefore, I’m going to squash the transient of the drum, and tighten up the sustain.
[kick out]
Next, I’m going to scoop out the low-mids, and add some extra bottom end.
[kick out continues playing]
For the snare top microphone, I’m going to process the signal to get some extra smack out of it. This involves some compression on the transient, and decreasing the envelope sustain.
[snare top]
Next, I’m going to fill out the bottom of the tone with a touch of EQ.
[snare top]
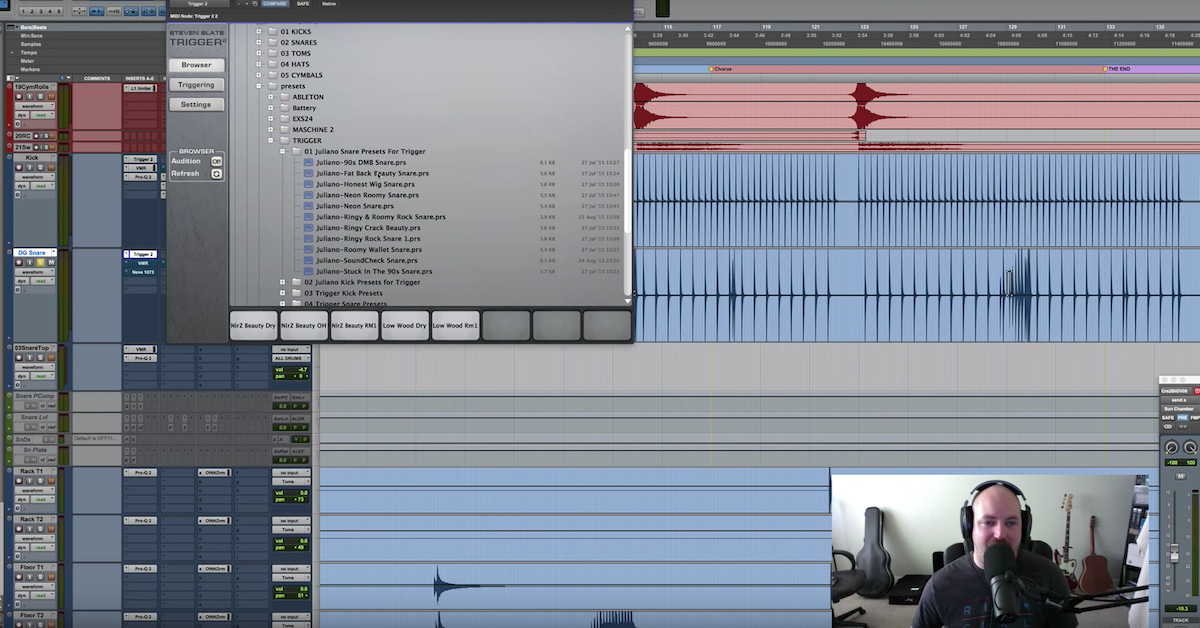
For the snare bottom microphone, I want to get a lot of crisp attack out of it. Therefore, I’m going to gate it pretty abruptly, so that the snare sizzle mostly comes in as soon as the drums hit.
[snare bottom]
For the snare side microphone, I’m looking to dial in the tone and sustain of the drum. This involves some EQ to bring out the harmonics of the drum, and also lengthen the sustain.
[snare side]
For the high-hat, I really just want to roll of the low end and top end so that it doesn’t sound too harsh.
[high-hat]
Next up are my toms. For now, I’m just going to give them a touch of EQ and compression to polish the sound, and keep the dynamics under control.
[toms]
For the overheads, I’m going to roll off the low end.
[overheads]
Next, I’m going to use a trick with the de-esser to really act as a de-harsher to keep the cymbals under control.
[overheads]
For my room mics and ambient mics, I’m going to treat them differently. Starting with the room mics, I’m going to overcompress them and give them a lot of dirt, distortion, and overdrive as a special effect.
[room mics]
Then for my ambient mics, I’m going to keep them more natural, and just add some EQ.
[ambient mics]
Now, I can work on blending the two together, depending on if I want more or less of that over the top rock sound.
[ambient and room mics]
Finally, what I’ll do is play back the entire mix together, so I can hear everything in context. Then, it’s a matter of making minor tweaks to add to the overall sound.
[drums]
In my next video, I’m going to demonstrate some buss processing on the drum mix using Alloy 2 to finish everything up. Take care, guys!