5 Fail-Safe Steps for Recording Drums
01/16/2014
Article Content
Drum recording is generally regarded as one of the trickiest tasks for an engineer. I’m here to tell you its not, as long as you understand some basic principles and have a clear vision of what you want.
I’m going to outline an approach to drum recording that will consistently work. This isn’t the only way to do it by any stretch, but it’s a failsafe.
The magic word is “phase.” Phase is essentially just a fancy word for time. Every microphone you put around the kit is going to pick up every sound at a unique time. The goal is to make those timing relationships make sense.
Physically speaking, when two microphones pick up the same source at different times they’ll interact constructively and/or destructively. The principle idea is to get all the microphones working together constructively.
1. Overhead Microphones
We can start with the Overheads. If the overhead microphones are placed at an equal distance from both the top of the snare drum and where the beater hits the head of the kick drum, they will pick up both in time.
An easy way to do this is to grab a string or a cable and hold one end in place by putting it against the kick drum and holding it there with the beater. Hold the foot pedal down to keep that end of the cable in place. Hold the other end at the center of the snare drum. Have someone pull the middle of the cable until it is tense. You should be able to move the cable in an arc that runs perpendicular to the center alignment of the drum kit. All points along this arc are equidistant from both the kick and the snare.
2. Kick Drum
From here, the next place to go is the kick drum. Specifically the outside kick mic. Grab a measuring tape and measure the distance from where the beater connects with the batter head to either of your overheads. Place your Kick-Out mic at the same distance from the batter head.
If you balance everything in mono and blend the kick in evenly with the overheads, then invert the polarity, you should hear the majority of the kick disappear from the sound. Flip the polarity back to normal and move on.
The mic is going to end up pretty far from the kick, so you may have to build a tunnel with moving blankets in order to filter out the rest of the kit. The only disclaimer is that if your overheads are placed high up, phase becomes less of an issue here. In that scenario you’re simply going to have to move the microphone to different proximities and listen for what sounds best.
I have a cool little video at the end of this article on some basic outside kick placements that will give you some fail-safe options.
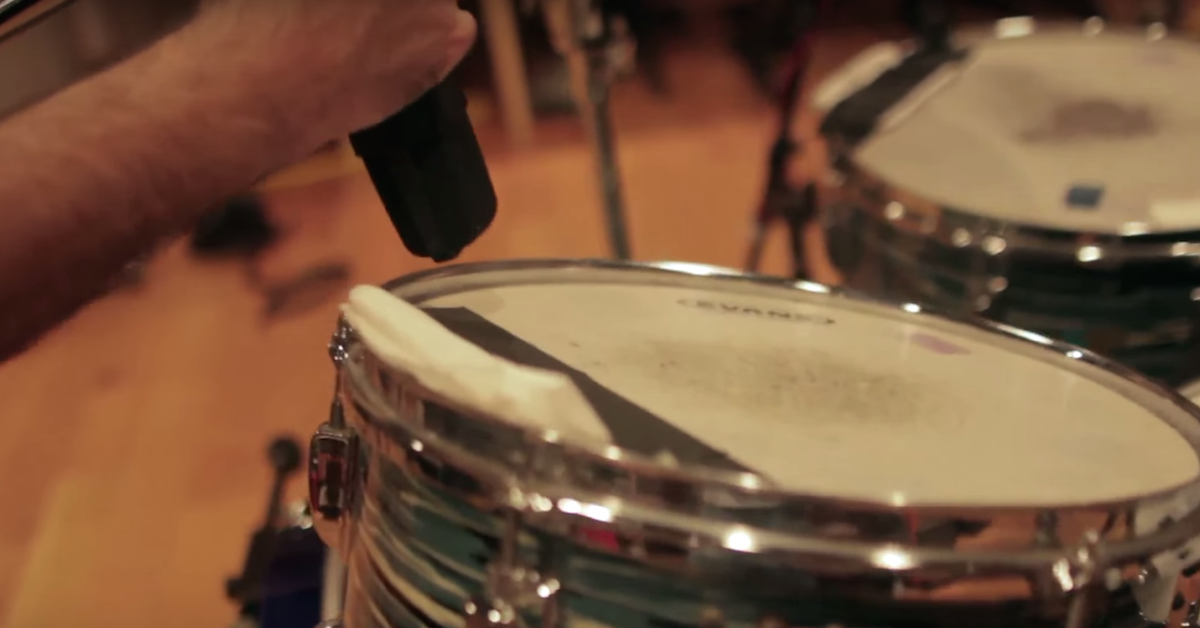
3. Snare Drum Top
Getting perfect phase relationship between the snare top and rest of the mics so far is impossible. The placement is so close that it’s functioning on a different time map. So we don’t really need to worry much about phase here, exactly.
A better way to approach it is finding the mic placement with the overheads on and listening to where the snare seems to “lock in” with them. Once you find that placement, the real key to getting a great snare sound is eliminating the hi-hat bleed. You can really bend and shape a snare sound if it’s isolated.
Two useful techniques for cutting down on the hi-hat bleed are facing the rejection spots of the snare mic toward the hat, and placing Auralex foam behind the mic capsule. Cut a small slit in a 6″x6″ square of Auralex and saddle it over the handle of the mic. Crude but effective.

Ready to elevate your ears?
It doesn’t have to take years to train your ears.
Get started today — and you’ll be amazed at how quickly using Quiztones for just a few minutes a day will improve your mixes, recordings, and productions!
4. Snare Drum Bottom
A very common mistake is to put the snare bottom mic very close to the bottom head of the snare. Almost as if you were miking it the same way as the snare top. Remember, phase is all about equal distance.
What you really want to do is place the snare bottom mic the same distance from the bottom snare head as the top snare mic is. In other words, if you have a drum that’s 6″ deep, and the top snare mic is 1″ above the top head, it’s 7″ away from the bottom snare head. That means you want the bottom snare mic to be 7″ away from the bottom head.
5. Room Mics
I haven’t found a perfectly mathematical approach that works for placing room mics. Assuming I don’t want an especially close or far away sound, I just try to find a sweet spot.
One way to do this is to invert the polarity on a mic and monitor playback from the overheads and inverted mic summed to mono. Try to find a place in the room where all the good tones seem to get sucked out and you’re left with something that sounds harsh and thin. When you flip the polarity back to normal you should find that it sounds pretty darn good. This is where you want to set up the room micas.
Conclusion
If you’re using any other microphones — an inside kick, batter head kick, hi-hat mic, front-of-kit or center overhead mic, whatever — the same ideas apply. Find the key spots where you get successful phase interaction and your kit will sound cohesive and have a great tone.
Audio Example
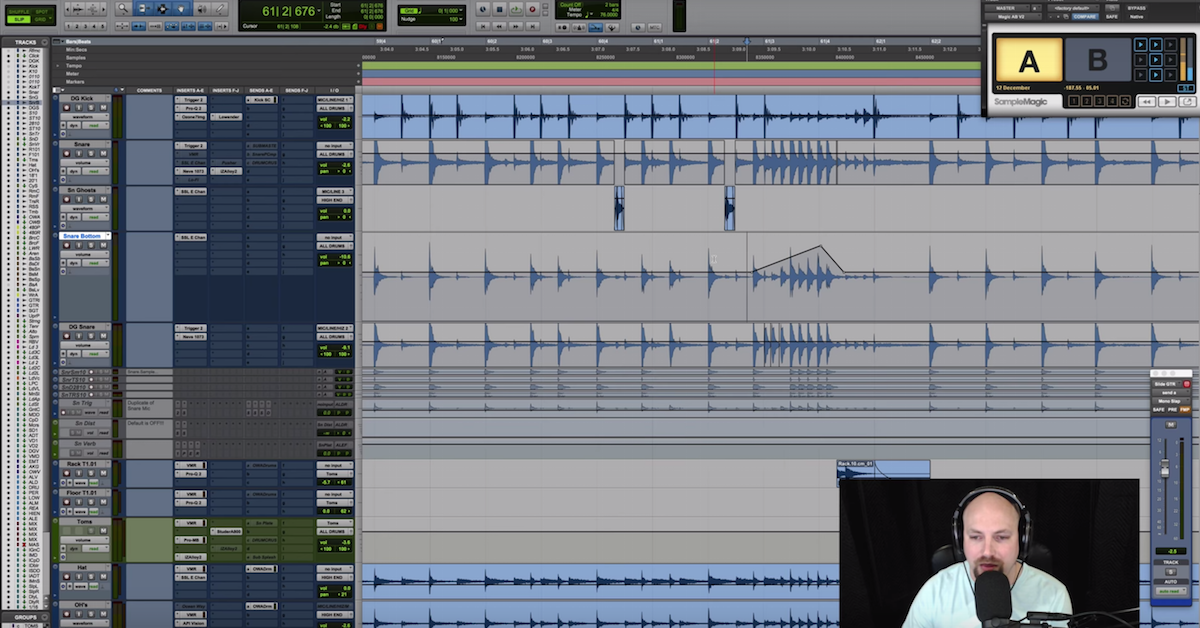
Below is an audio sample of the tracked drums from my session this weekend — no EQ, no compression, just mic placement.
Eleveate Your Ears