4 Tips for Mixing Home-Recorded Drums (Without Using Samples)
10/14/2019
Article Content
Sampled drums have become increasingly common in music production, and chances are if you listen to the radio or a Spotify playlist, you’ll hear more samples than live drums. It’s not unusual to hear a combination of both — samples and live drumming — or samples being used to reinforce sounds from a live kit.
As common as drum samples are, situations do arise where working with a live recording of a real kit is necessary, even if the kit wasn’t recorded meticulously. Maybe the artist values authenticity and refuses to use hyped-up samples. Maybe the drum part involves subtle techniques that are difficult to reproduce with samples. Maybe you are simply looking for a challenge! Sample replacement can be a great tool to have at your disposal, but it is by no means a magic bullet.
Working with a live drum take that was recorded in imperfect conditions — a living room, practice space, basement, etc, can be challenging. If you ever find yourself struggling to breathe life into a less than stellar drum recording, but reaching for your sample folder isn’t an option, here are some tips to help you get the best out of the drums you have.
For this article, I cleaned up some drums that were recorded somewhat sloppily in a concrete-walled practice room. Be sure to listen to the examples provided on studio monitors or a set of full-range headphones.
1. Correct Balance & Phase Issues
The best first step to drum mixing is to make sure the tracks sound as good together as possible without any processing. There are two main factors to look at here: the balance between the various mics used on the kit and the phase relationship between them.
A good rule of thumb to follow when balancing drum tracks is that the overall sound of the kit should come primarily from the overhead mics, or in the case of more aggressive modern drum tones, room mics. Why is that? Because those mics tend to capture every part of the kit, not just certain elements.
Start with only the overheads active, and bring in the kick, snare, toms, and any other close mics from there. The close mics should bring a crisper attack, more weight, and a clearer place in the stereo field (usually center for kick and snare, off-center for toms). If the drummer is heavy-handed on the cymbals, we may need to use more of the close mics relative to the overheads.
At this point, we may notice that some mics add very little while hurting the overall sound of the kit. Hi-hat and cymbal mics are common culprits. Room mics in an ugly sounding room can also be more trouble than they’re worth. Even tom mics can cause problems. I often mute tom tracks everywhere but where the tom is playing. Listen to the examples below, and notice how muting the tom mics clears some mud away from the sound of the kick.
Tom mics in the mix
Tom mics muted
Next, check the phase of the close mics relative to the room mics and overheads. If you aren’t familiar with the concept of phase in audio, here’s a quick primer: sound travels in waves, and like any wave, sound is a series of peaks and troughs. When we have multiple microphones capturing sound from a drum kit, every mic in the setup is hearing sound from every drum, to varying degrees. Because the mics are all different distances from the various drums in the kit, the sound from a single hit will reach each mic at a different time.
If we take a snapshot of just one hit, the wave might reach a close mic at a peak at the same moment that it hits an overhead mic at a trough. When summed together, these two waves will interfere with each other because a positive value (peak) is being combined with a negative one (trough). The result is that the sound will appear to become quieter or thinner. This effect can often be alleviated by inverting the phase on one of the sources (find a button marked with the “ø” symbol on the trim or utility plugin in your DAW).
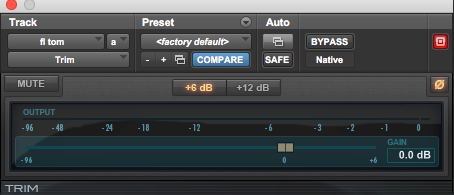
There isn’t a preset formula for inverting the phase on drum mics, though certain patterns are common. Under-snare mics usually need to have their phase flipped in order to work with top snare mics. Tom mics frequently are out of phase with overheads. Kick mics often have complicated phase relationships with overhead and room mics. Sometimes, the choice is between imperfect options, and the best path forward is dependent on context and the rest of the arrangement.
Fortunately, there are some great tools available for tightening up phase-correlated material like drum tracks. The Little Labs IBP (I love UAD’s emulation) and Voxengo’s PHA-979 allow you to seamlessly rotate the phase of a track from 0-180 degrees. Eventide’s Precision Time Align can shift a track by milliseconds or microseconds. Waves’ InPhase couples that same function with some well-designed metering that allows comparison against a reference track.
For my drums, I used Sound Radix’ Auto-Align. This very handy plugin analyzes a source track (in this case my overheads) and uses that signal to align other phase-correlated tracks. The interface is intuitive, and it doesn’t take long to hear clear results. Listen to the loop below, before and after phase and time-correcting with Auto-Align. The fundamental frequencies of the kick and snare become much stronger, with a better-articulated attack.
Before Auto-Align
After Auto-Align
I especially like how it brought out the floor tom on this kit too. Listen to the hollow before and the meatier after:
Before Auto-Align
After Auto-Align
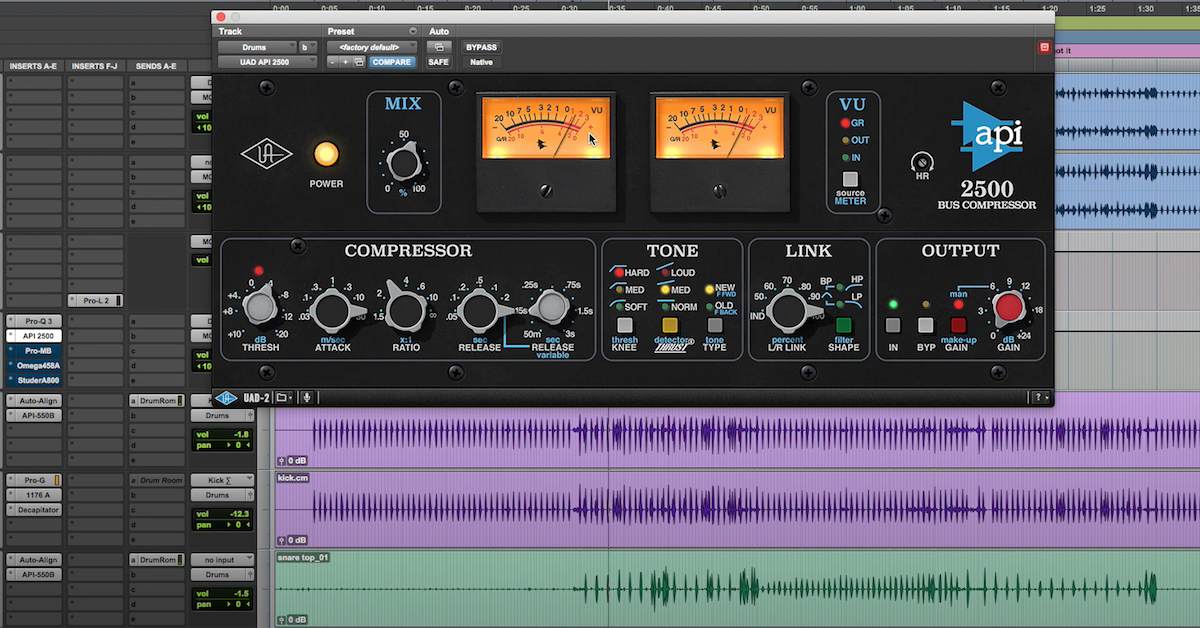
2. Process the Kit at the Buss Level
It can be tempting to address issues with an individual part of a drum kit by focusing on processing close mics on that drum, but the sound of the kit is ultimately shaped by every mic in the room. Any processing that is done to one mic will affect the overall drum sound, and trying to correct issues with too narrow of a focus can end up causing more problems than it solves. Instead, try processing the whole kit together on a buss. Create an aux track and route the main outputs of the kit to it.
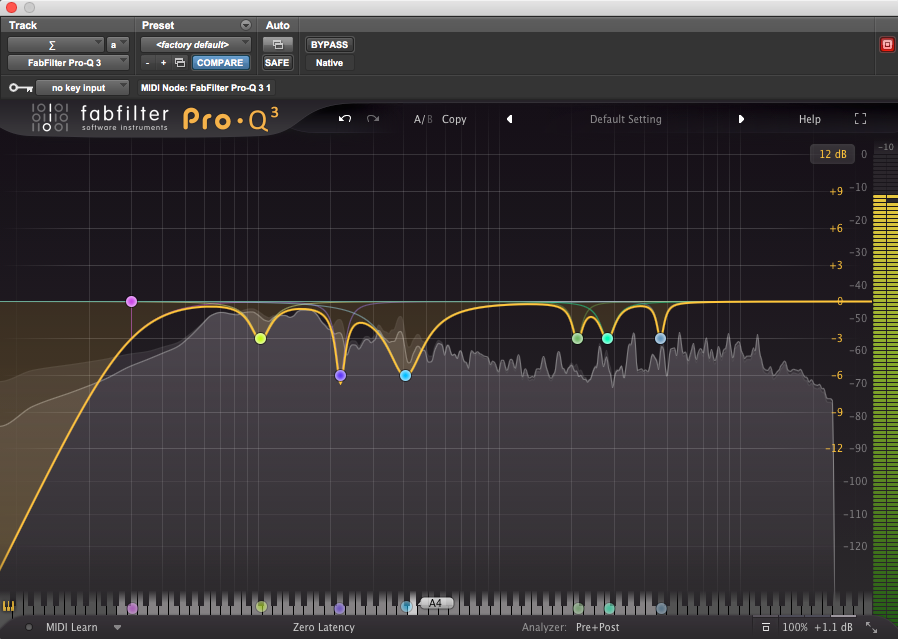
When I listened to the drums in my example, the first thing I noticed was some mud and boxiness in the midrange, some harsh frequencies a bit higher, and an unflattering ring to the snare. Listen to how the cuts I made using the Fabfilter Pro Q-3 help the kit shine through the problem frequencies that were obscuring it.
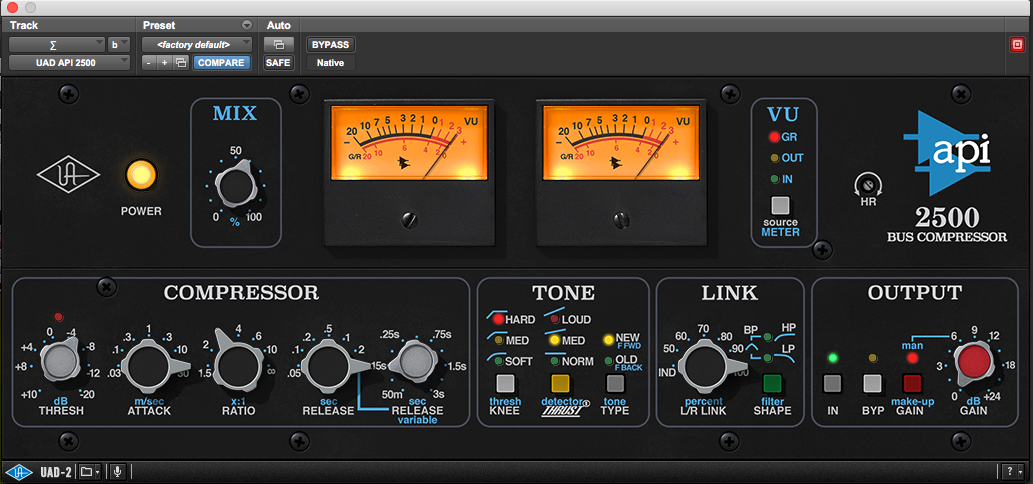
Next, I used a buss compressor (UAD’s API 2500) to sculpt the transients, even out the dynamics of the performance, and add overtones to excite the sound of the kit. I set the attack to be slow enough to let the transients through (30ms) and the release to pump with the tempo of the song (about 150ms).
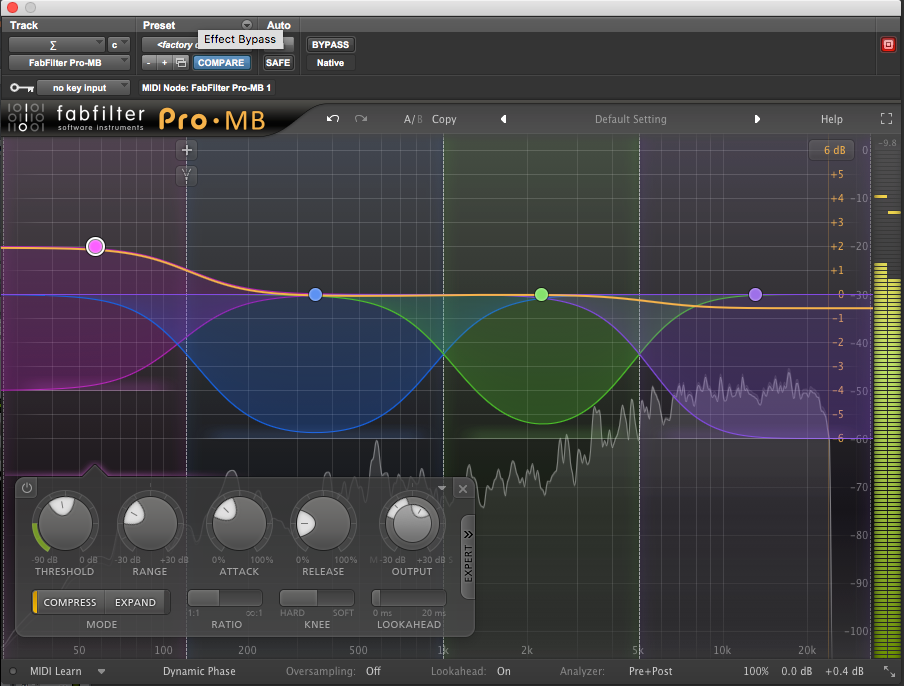
Multiband compression helps control dynamics in different frequency ranges. I wanted to tame more of the boxiness, mud, and harshness without cutting too much weight from those areas of the kit. The kick used on this session was not especially deep, and a low boost paired with about 2 dB of gain reduction with a slow attack helped give it a bit more oomph.
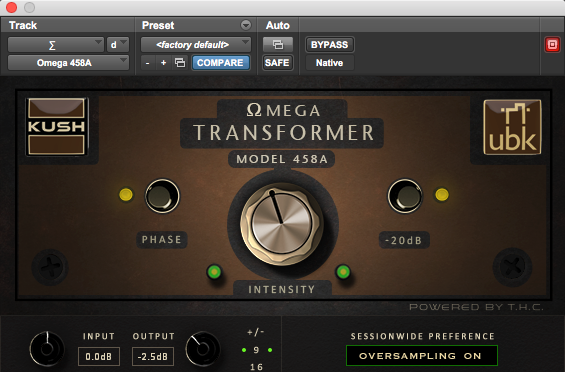
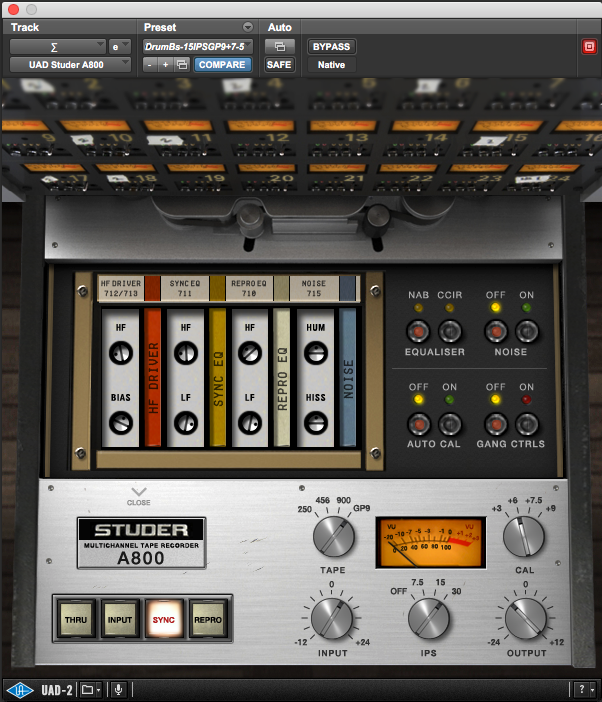
I added some saturation using Kush Audio’s Omega 458 plugin, to excite the drums and make them pop. Then I finished my signal chain with UAD’s Studer A800 tape machine emulation. Notice how these last steps of saturation further accentuate the frequencies that give the drums power and sizzle while deemphasizing the haze that was masking the kit originally.
3. Add Weight & Depth with Room Effects
At this point, the kit is sounding clearer, punchier, and more exciting. Depending on the style of music, though, something still may be lacking. If the drums you’re working with need a bigger sound and were recorded without (useable) room mics, there are some great options to fake your way to an aggressive room sound using plugins.
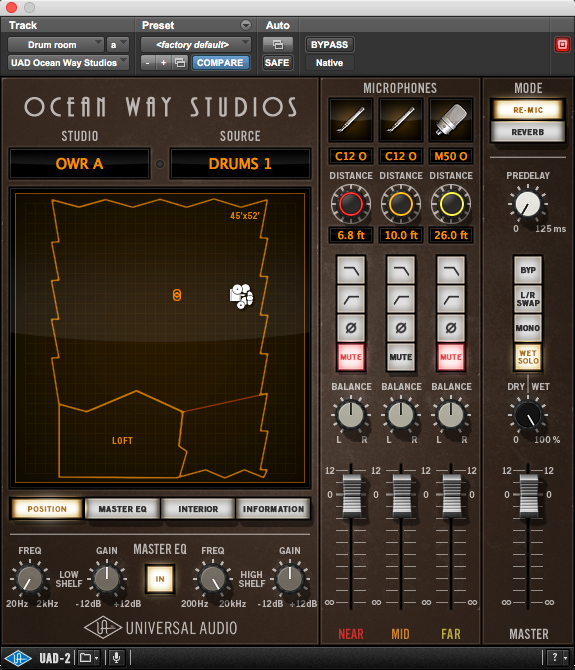
For this trick, we’ll be simulating a common studio technique: heavily compressing room mics to make drums sound bigger and more powerful. I love using room modelers like UAD’s Ocean Way plugin or Eventide’s Tverb, but you can use any reverb plugin you like to simulate a bigger space.
The UAD Ocean Way room has a “re-mic” setting that is ideal for this effect. If you’re using another reverb plugin, you’ll want to set the mix relatively low, around 30%. This ensures that a good amount of the attack of the drums gets through. We’re trying to simulate a real room mic, which would still pick up a fair amount of direct signal.
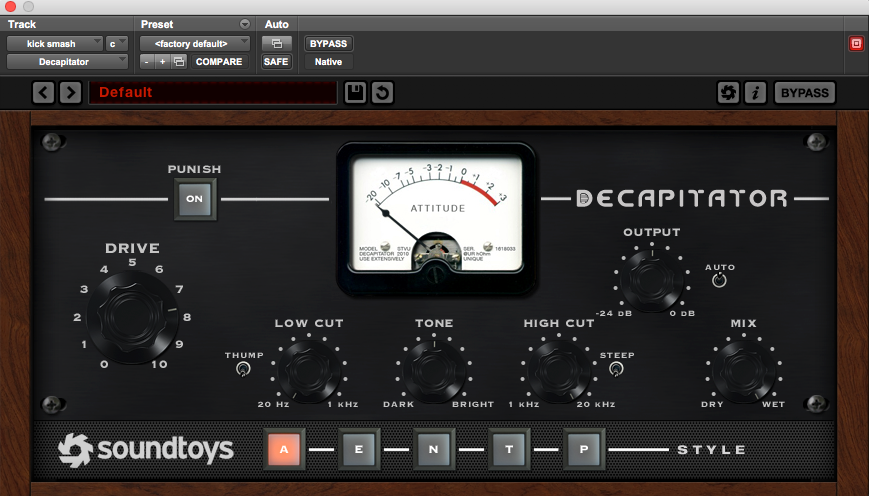
Send your close mics to the room track, with some of the overheads as well. If the cymbals are especially loud, dial the overhead sends down a bit. For this example, I used Soundtoys’ Devil Loc plugin. It’s almost custom-tailored to this exact purpose. A good 1176 emulation in the “all buttons in” setting is a classic choice for this as well.
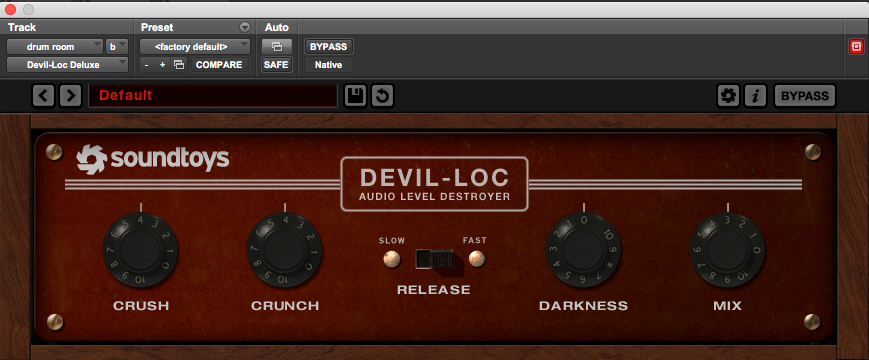
I set the release fairly fast so the plugin doesn’t flatten the attack of the kit too much. If the cymbals become overly harsh, or if low or mid frequencies become muddy, you can use a linear phase EQ to tame those problems without complicating phase relationship to the rest of the drum tracks. Treat this aux like another drum mic. I usually commit the room emulation before applying other processing.

Ready to elevate your ears?
It doesn’t have to take years to train your ears.
Get started today — and you’ll be amazed at how quickly using Quiztones for just a few minutes a day will improve your mixes, recordings, and productions!
After dialing the Devil Loc and EQ, I mixed the crushed room track down to the point where I could just hear it working its magic. Listen to how it gives the kit a sense of depth, while adding weight and sustain to the kick and snare.
I especially like how big it makes toms feel. Expect to adjust your buss compressor thresholds after mixing in the new room track.
4. Use Parallel Processing
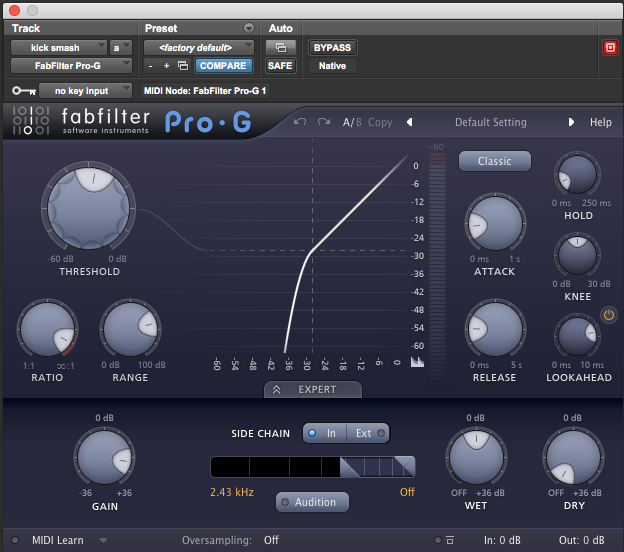
After addressing issues with the kit as a whole, a great next step is to focus on individual parts using parallel processing. If you aren’t familiar with the concept of parallel processing, it’s fairly simple: rather than applying an effect like compression directly to a track, instead, duplicate that track and apply the effect heavily to the double. Then mix that second track to taste.
Parallel processing is a great way to get more out of individual drum mics without compromising their phase relationship to the rest of the kit. I will often put a gate at the front of my parallel chain, both to keep other drum sounds from being processed unintentionally and to sculpt the transient and sustain of the drum being processed to suit my needs.
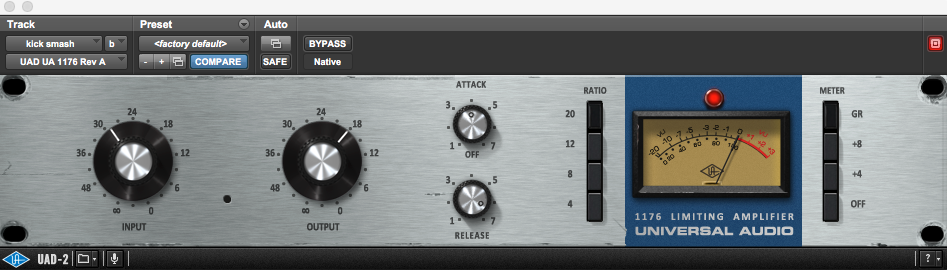
I wanted the kick to have a bit more weight, so I followed the gate with a compressor (UAD’s 1176 Rev A) with a quick attack and a release timed to maximize sustain. Then I added saturation to make it noticeable in the mix while keeping the track volume low. Because the overheads were placed somewhat carelessly during tracking, the kick felt somewhat off-center before. Adding some weight with a parallel track helps pull it back to the middle.
I used a similar chain for the snare, subbing UAD’s Distressor emulation for the 1176. Listen to how the parallel track adds “splat” to the snare.
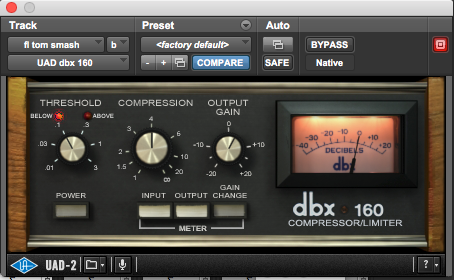
For the floor tom, I chose a compressor known for accentuating attack, UAD’s dbx 160 emulation. Listen to the extra snap in the floor tom in the fill we heard before.
Conclusion
The process I followed here is not meant to be a prescription for drum mixing. Rather, the aim is to get the most benefit while doing the least harm, maintaining phase relationships while fixing problems. More and more bands and artists are operating on a limited budget. While there is a ton of affordable gear and software that makes getting good results from a home setup easier than it’s ever been, recording drums can be tricky and it’s still easy to make mistakes.
My hope is that this article has inspired you with some ways to make lemonade the next time a drummer brings you lemons. You might even find ways to use the imperfections to your advantage! That sample folder will always be there if you need it next time.
Drum Buss Video

Eleveate Your Ears