How to Set Attack and Release on a Compressor
08/25/2015
Today, I’m wearing my UREI 1176 t-shirt, because we’re going to talk about one of my favorite things to do and one of the trickiest things to do for people who are just starting out, and that is setting compressors, and were going to give extra attention today to the idea of setting your attack and release parameters.
Now, I know a lot of great audio engineers, and one of the things that many of them will admit is that in the first few or even several years that they were working in audio, they really had no idea how to set a compressor, and they weren’t even really sure they could hear the differences between different attack and release settings clearly.
It is really one of the very last of the basic, essential skills that most audio people and musicians learn. It can be somewhat subtle, it can be somewhat unsubtle, once you really start to understand and learn to hear the differences in some of these parameters.
So let’s dive right into it.
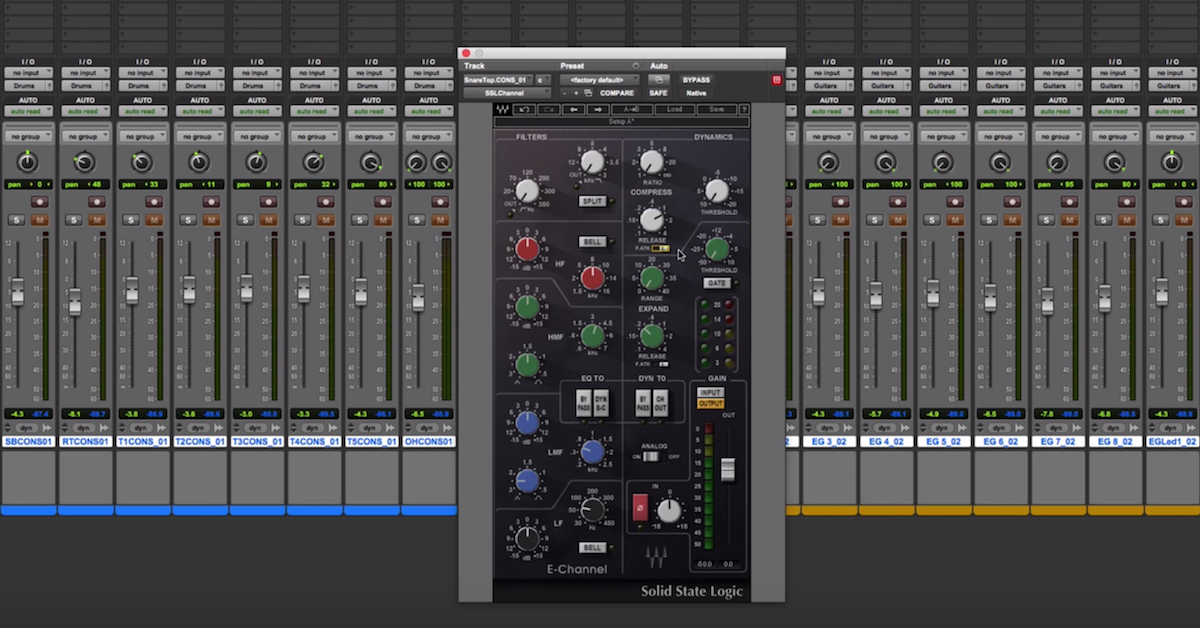
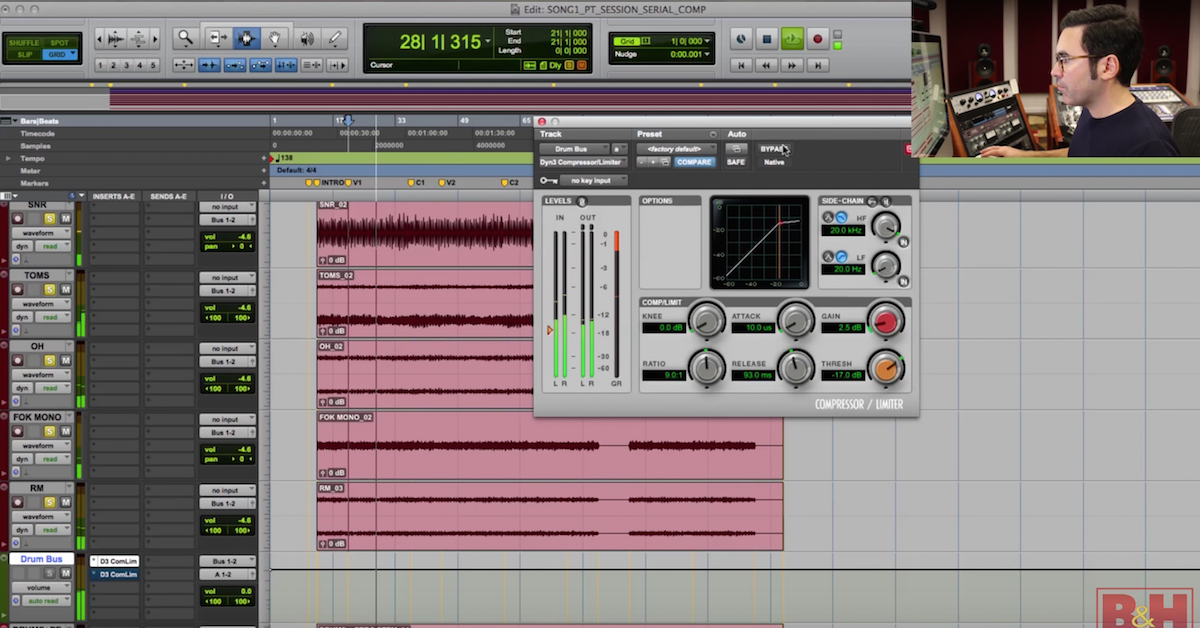
Ok, quick little bit of a review, if you’re watching this, if you follow Sonic Scoop, chances are you know the basics of a compressor, but just to re-establish, you’ve got four major settings that are in pretty much every single compressor, whether on the face or under the hood.
Those are your threshold control, right? That’s the point at which your compressor is going to kick in if signal gets as high as the threshold. That’s when the compressor will start turning things down.
Then you’ve got your ratio, and that’s how much the compressor compresses. So, if you’ve got a really high ratio, which we’d often call a limiter, say ten to one or infinity to one, if you have a really, really high ratio, that means that — once a signal gets to a threshold, it’s not going any further, it’s just stopping right there.
Now if you have a lower ratio — two to one, three to one, that kind of thing, what’s going to happen is that there will be a little bit of give, so once your signal gets past the threshold maybe there will be a little bit of give, and the compressor will allow to get a bit above that threshold.
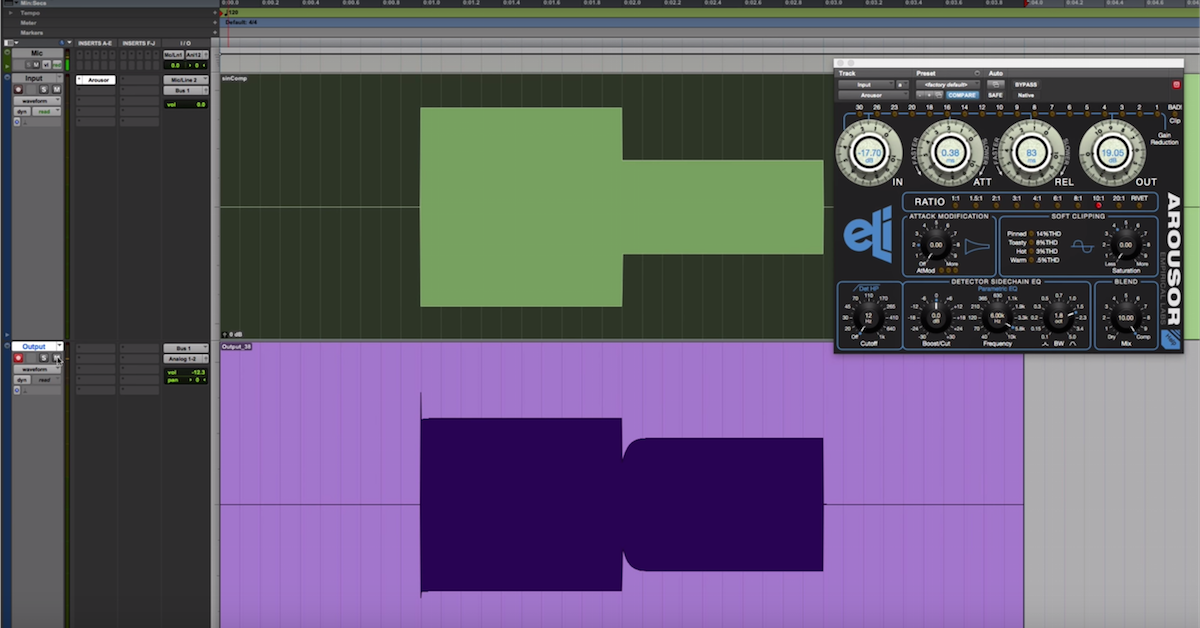
So that’s that’s pretty straightforward. Then you have your attack and release settings, and basically the attack controls how quickly the compressor kicks in, and the release is how quickly the compressor let’s go, and these can have a dramatic affect on kind of the envelope and the shape of your sound, and you can do a lot of tonal control by playing around with the attack and release settings.
It can be very subtle, or it can be really dramatic, but you have to know what you’re listening for to really set these things for kind of maximum effect of them.
So with your attack control, you have control over how much initial impact gets through. So if you have a really, really slow attack, you’re letting a lot of initial impact through. You’re letting a lot of transient formation through, and this can really bring life into sound. Your initial impact will come through and then the compressor will clamp down after that.
This can kind of make things sound pretty gigantic, and really lively, and somewhat aggressive, kind of front end to the sound, and things can sound pretty giant when you’re really letting the attack to get through.
But there can be tradeoffs here. If you have a performance, say by a bass player, or a drummer, and they’re not very consistent dynamically, particularly on the attack, well honestly, a really slow attack on a compressor can kind of exacerbate that and exaggerate it, and things can kind of feel a little bit sloppy if the player’s not totally tight.
There are workarounds for that, we’ll get to that in just a minute. Then if you set a really fast attack time, they’ll kind of shave off the initial transient impact, and this can actually give things a lot of control, make things a little bit more tight, give them kind of a process sheen. The only problem is if you overdo it with a fast attack compressor, what ends up happening is you kind of suck the life out of the sound. You can make things feel a bit more distant, like they’re coming from further back in the speakers.
So there are two great ways to get a sense for what slow attack sounds like and what faster attack sounds like. The first way is to mess around with these settings for yourself, and I’ll give you some tips and strategies on how to do that for maximum effect in just a minute, and then the other way is to listen to some music that kind of has a slow attack feel, and listen to music that has a kind of fast attack feel, and kind of start developing a sense memory for those kind of tones.
So there is a million different recordings, and you guys can list in the comments your favorite examples of fast attack recordings, and slow attack recordings, but a kind of really big and really recent thing that comes to mind for me as a slow attack feeling recording would be — I’ll pick something that most people have heard — a track that Bruno Mars and Mark Ronson did together — Uptown Funk, right? It’s a kind of James Brown feeling track.
The attack profile of this thing — it’s almost like Michael Jackson’s Thriller, I mean so much attack is getting through, you get so much initial impact, but it’s really consistent, and it’s really consistent probably because there’s a lot of kind of the drum machines support, sample support in there, so you get really consistent dynamics, but you really get a lot of that initial punch and impact getting through the compressor.
No, some music I think of when I think of something with a really fast attack, for me, the most iconic super fast attack compressor music would be like, Maroon 5. I’m not a huge fan of Maroon 5, they’re great at what they do, and I get clients who, you know, that’s a reference for them. Immediately, the thing that jumps out to me is, “Man how much of that initial transient is kind of shaved off,” and how kind of blocky, and processed, and smooth sounding things are because of that.
There are some engineers who think that’s wrong, and you shouldn’t do it, and others who realized, that is an aesthetic, that’s a technique, that’s an approach, and if you want that kind of sheen, that kind of, you know, smoothness and consistency on the front end of the attack, that’s the way you get it, by shaving off some of this initial transient attack.
There is, again, a million different examples of this kind of thing. Feel free to mention your own below in the comments.
Alright, so that’s attack.
Now, you’ve got release. And again, you’ve got two basic options here, you’ve got fast release, and slow release.
In general, fast release can kind of give you a more aggressive sound, a more gritty sound, when the release happens really quickly, your initial sustain is kind of brought up.
This can be very exciting. You can get kind of more aggression, more of a sense of the kind of music coming out you, more saturation, more perceived loudness, often having a faster release.
But again, if you overdo a fast releas, things can get way too trashy way, way too gritty, way too aggressive, and you can also get pumping artifacts, which could be kinda cool if you’re doing it for effect, or can be kind of weird if you’re not doing it for an effect.
So you got to be careful with setting releases too fast. You can get too much saturation, too much kind of grit and aggression, and maybe even some pumping artifacts where you hear the compressor kind of clamping down, letting go, clamping down, letting go, kind of fast amount of time with the music.
Now, if you go with a slower release, this time you get a little bit more dynamic control, a little bit more smoothness, things can feel a little further away instead of a little closer.
But again, if you overdo it with this, if you overdo it with a slower release, you can kinda suck the life out of things. Maybe your compressor won’t release in time for the next hit to come through, and that can kind of suck the life out of the initial impact of things, and it can kind of sound messy, and flat, and boring.
Now, what are some good examples of fast release and slow release? One of my favorite, iconic, fast release tracks is going to be Flaming Lips, Race for the Prize off of Soft Bulletin.
This is really big, trashy sounding drums, with strings over it, and the release is set so fast that you really get these cymbal swells kind of coming up really quickly, you get a lot of aggression, a lot of grit, the sustain of these things is kind of huge sounding, hyper real, it’s really coming out at you, and there’s maybe a bit of kind of a little bit of pumping going on, but it’s cool. It’s done intentionally, and it is not subtle.
Another interesting example of kind of release times set very intentionally would be She Said She Said by The Beatles. That one is on Revolver.
She Said She Said, you’ve got such a fast attack that you barely hear the stick hit on these cymbals. But then the release is kind of set just so so that it kind of immediately starts releasing somewhat slowly, but immediately starts releasing, and you start getting this kind of cymbal bloom. It almost sounds like a reverse cymbal.
And you can play around with the release time and get it set just so so that you kind of get this bloom, and you can play around with your attack, and kind of over do it and suck down the attack, and that’s kind of the feeling on She Said She Said by The Beatles on Revolver.
I mean, you get fast attack, the attack almost shaved off, and then cymbal bloom where the release is kind of letting the sustain of the cymbal come up, almost dramatically and unrealistically. But again, to kind of clone a very intentional effect.
In general, you want to set your compressor so that if you’re dealing with music with a heavy back beat with a lot of kick and snare, that the compressor will release in time for the next major hit. So the next major hit comes in, the compressor pulls down, right before the next major hit comes in, the compressor releases.
Now, within that window, if you set it faster, you’re going to get a bit more aggression and grit, and loudness, and within that window, if you set it a bit slower, you’ll get a bit more smoothness.
Again, there are trade-offs. You can go too far in either direction and kind of muss things up, or go too far in either direction and kind of make things sounds cool and maybe a little unnatural, and that’s okay. A lot of our favorite records have a lot of unnatural sounds on them.
So if you want to play around with this stuff for yourself, I’m really going to recommend getting some tracks open, you can take a full track, ideally not mastered, that has a fairly heavy back beat, and play around with these settings on it.
To really start hearing your attack settings, I would say start with a kind of medium release, when you’re just first starting to get acquainted with the stuff and really trying to build up the sense of memory, you might want to set really low threshold, really high ratios, so there’s a lot of compression going on, so you can hear this stuff kind of exaggerated.
Then, start by setting your attack as slow as it will go. Just listen to that. Listen to the initial impact coming through that punch, and the initial transient getting through, and the sustain getting clamped down on.
Then start to go faster and faster with your attack until you shave some of it off. After that, you may want to hear what really fast attack sounds like.
So maybe start all the way fast. You may need to level it up and increase the gain a little bit so that it’s a similar level to when you were listening to slow attack stuff. Then open it up, and open it up, and hear more of that attack come through and get a sense for that.
You can do similar things when you’re really starting to develop a sense memory for what the release settings sound like. So in doing this, I might start with a really fast attack, doing a lot of compression, and then set a really, really fast release, and hear that kind of pumping, that breathing, that sustain, kind of getting pulled up, the extra aggression and grit, and then go slower, and slower, and slower until you start to hear things smooth out a little bit.
Alright, now when you’re setting compressors on your own music, whether it’s on your mix buss or whether it’s an individual instrument, to set your attack and your release settings, I recommend first thinking, “Okay, if I had to make the transients, the initial impact, more pronounced, more punchy, more hit you in the face, or more smooth, more processed, a little bit more sheen, a little bit more control, if I had to err in one direction or the other, which direction would I err in?” You should always kind of have that mind when you’re pulling up a compressor. Do I want — I’m going to end up softening the attack or accentuating the attack, so be purposeful about it. Be intentional about it. Think to yourself, “If I had to err to either more attack or less attack, which would I want?” And then go for it.
So if you, say I had to err towards one side or the other, I would err towards having there be more attack. Great. Set your attack all the way slow and then kind of pull it back bit, by bit, by bit until you find a good compromise, where you’re letting things through, but also getting good dynamic control.
If you think the sound you’re working on needs to be more processed, have kind of more of a sheen, be a bit smoother, more controlled, start with your attack all the way fast, and then maybe pull it back a bit and a bit until you find a good compromise where you’re kind of letting the transient through, or just say, “Hey, I want things to be really consistent, I’m going to pull it all the way back.” Now special pro tip, you can stack compressors, and one of the most effective ways to do this is by setting a fast attack compressor first, and a slow attack compressor second.
So imagine you’re in a situation where you’re dealing with a bass player or a drummer where their initial attack are kind of really uneven, and you kind of want to smooth them out, but you don’t want to get rid of that initial impact. You want a really full initial impact.
Well, if you set a fast attack compressor where you kind of really smooth out those transients and make the initial hits more consistent, then you can feed that into a slow attack compressor, which is going to help to accentuate the initial hits that you’ve already smoothed out with a fast attack compressor.
So again, go through a fast attack compressor, kind of smooth out those initial transients, then feed that into a slow attack compressor that is going to take that more controlled initial impact and kind of open it up and allow more impact to get through.
Alright, really cool trick, really cool useful approach. There’s no rules about which kind of compressor you have to put first or second, but that’s something I find myself doing often, when something needs more control, but also wants to retain a lot of impact.
With your release, think about things the same way. Okay, and I trying to pull more aggression and more excitement out of this? Maybe start with the release really, really fast, and then dial it back until you’ve got a good compromise between aggression and kind of smoothness.
The same thing can work in the other direction. If you’re saying to yourself, “I really want this to sound kind of smoother,” maybe start with your release kind of as slow as it will go, and then pull it back to a point where it’s just finishing to let go by the time the next kick or snare impact comes in.
So there’s really a window in which to set your release between the initial impact and the next impact, you want the compressor to release somewhere inbetween there, but within that frame, the slower it is, the kind of more smoother control things are, the faster it is, the kind of more alive and aggressive things are.
You go too fast, you can end up with something that sounds like it’s pumping or breathing, or it can end up being too aggressive and kind of harsh and annoying, if you set things too slow, they can kind of smooth things out. Too much makes things sound dull, if it’s way too long, then your next impacts might not come through, and it can really suck the life out of things as well.
So there’s always trade offs.
That does it, that’s your basics for setting attack and release settings. Don’t be mad at yourself if you can’t really get a handle on hearing this stuff in the beginning.
Like I said, there’s a lot of great, multi-platinum engineers out there who happily admit that for the first several years of doing what they were doing, they weren’t really sure what they were doing with a compressor, and this is normal — it’s a process we all go through.
There were definitely times in my life where I wasn’t sure I could hear this stuff, and I kind of thought that I had to fake it, and now, I hear something and I immediately think about the attack or release profile on this track, which is very silly and nerdy, and I can’t stop doing it now.
But it’s also very useful when you’re mastering.
Another thing you can do is work with a mastering engineer who will help you through this stuff and you can hear how the extra buss compression and buss processing affects your mix, and you can ask your mastering engineer, “What did you do? Why did you do it? What did you think it needed and why did you choose the parameters you did?” And often enough, I pull back up my notes, and I’ll say, “Oh, I remember what this sounded like when it first came to me. I remember feeling like that attack was a little tic-tacky, and it wanted to be a little smoother and fuller, so I kind of put it through a fast attack compressor.” Or I might say, “I really need to bring out some of the initial impact and some of the initial articulation, so I set a really slow attack compressor.”
Or I might have said, “I needed a little bit of both and I did kind of two stages, one really fast going into a kind of really slow…” — but these are just additional colors in your palettes in audio engineering, and really mastering compression is one of the last steps, but also one of the things that separates the kind of “good enoughs” from the really greats.
So I hope this is something you spent a lot of time on. If you want more great tips and tutorials like this, go to SonicScoop.com, sign up for the newsletter. You’ll get tips, tutorials, how-tos, gear reviews, producer/engineer interviews, free giveaways, a special discount, audio deals, all sorts of stuff, delivered to your inbox each and every week.
We’ll also let you know about more advanced products, training courses, seminars, where you can really take your audio game from where it is now to where you want to be, and really kind of next level your audio skills.
Thanks again for joining me on this Sonic Scoop video blog, this has been Justin Colletti for Sonic Scoop at Joe Lambert Mastering wearing me UREI 1176 t-shirt.
Thanks for hanging out with me, I’ll see you next time.
Elevate Your Ears