8 Tips for Building Synth Sounds from Scratch
Article Content
There are tons of presets that come with most virtual synthesizers and many have expansion packs available for an additional cost. Depending on the variety and organization of onboard sounds, you can often find a sound that suits your needs, or at least one that is close enough that it can be modified.
For the adventurous sound designer/producer, building a sound from scratch can lead to fruitful results that are unique and unexpected. Be aware however, the process takes time, patience and some fundamental knowledge about synthesis. What follows is one method to approach building a new sound from the ground up.
Know the Synthesis Method of Your Instrument
Let’s say you have a particular instrument you plan to use for whatever reason. Investigate how this instrument generates sound. What sort of synthesis method is employed? Is it Frequency Modulation, Additive Synthesis, Wavetable Synthesis, Subtractive Synthesis, Physical Modeling, etc. — or is it a hybrid instrument that uses a combination of methods?
Being aware of how the sound is generated is fundamental to knowing what the available parameters are and how they contribute to the sound. Also, certain synthesis methods are more appropriate than others for certain types of sound, so it makes sense to have some idea what a particular synthesizer does well.
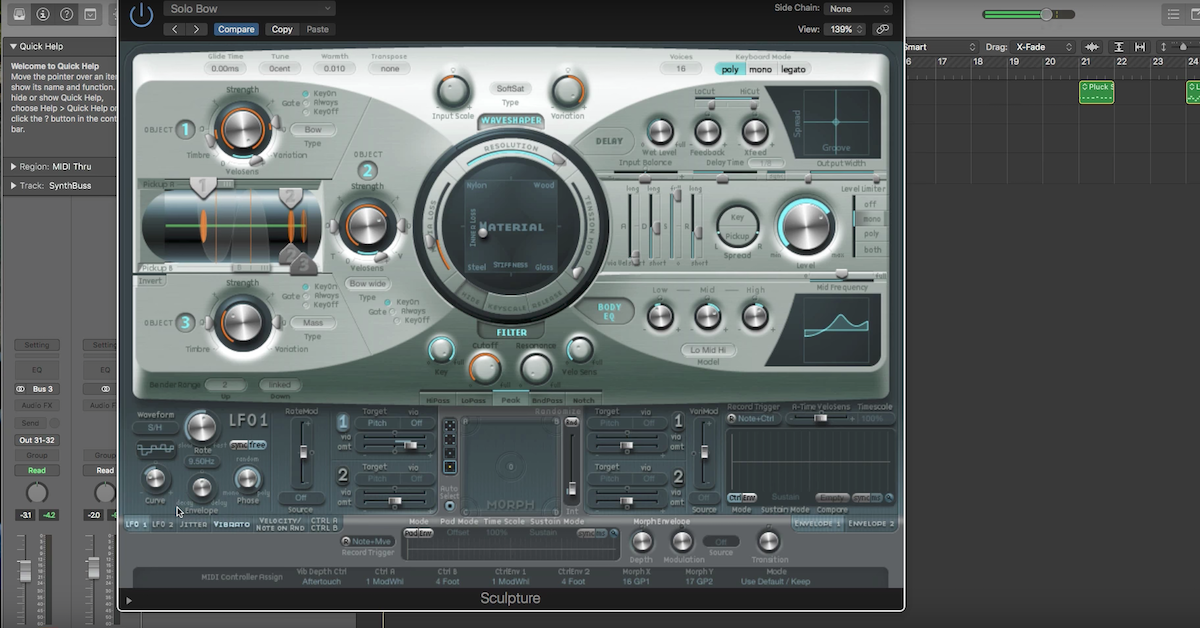
For instance, component or physical modeling synths are particularly good at plucked and percussive type sounds. If you have no idea what a certain instrument is good at, do a quick scan of the existing presets to get a clue. It makes little sense to try and wrestle a particular type of sound out of an instrument that is not well-equipped to deliver the desired result. That said, I am a big believer in experimentation and the power of serendipity, so if you have the time — why not go for it?
Know the Modulation Capabilities of Your Instrument
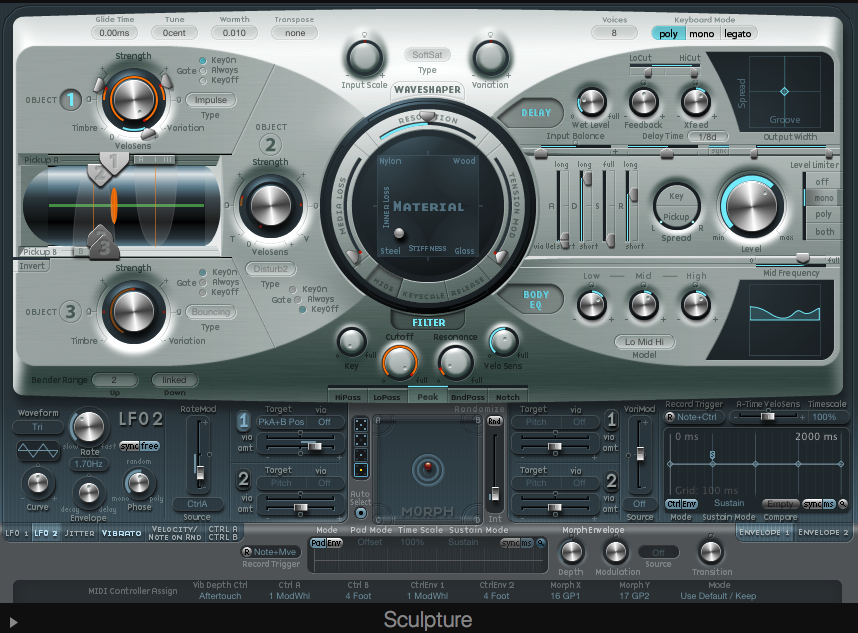
Very few synth patches exist without any modulation as part of their sound. Modulation involves changing the parameters of sound by various methods such as LFO’s (Low-Frequency Oscillators), envelopes, step sequencers, recorded morph pad movements, etc. It is crucial to understand what each parameter in a synth does and what the effect of modulating that value will have on the sound.
Knowing this information will expand your mental and sonic palette so you can vividly imagine what sounds are possible. Think of playing an instrument like the guitar. A guitarist is not guessing what will happen at any given moment, he/she has a deep understanding of the instrument’s capabilities that can only come from familiarity and years of practice. Synthesizer programming is no different.

Know the Filtering Capabilities of Your Instrument
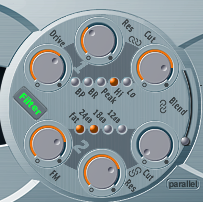
Not only is filtering the fundamental process behind subtractive synthesis, it is also a common section in most types of virtual synths. There are multimode filters and sometimes multiple filters with various routing options available. Applying modulation to filtering parameters is extremely common and tons of variations are possible from a single source.
How Will the Sound Be Played or Triggered
In addition to being aware of the parameters and modulation choices, you should consider the basic method that will be used to play the sound. Not every synthesist is a keyboard player as is often thought. In fact, one of the great things about software synths is that they’re accessible to anyone that can operate a DAW.
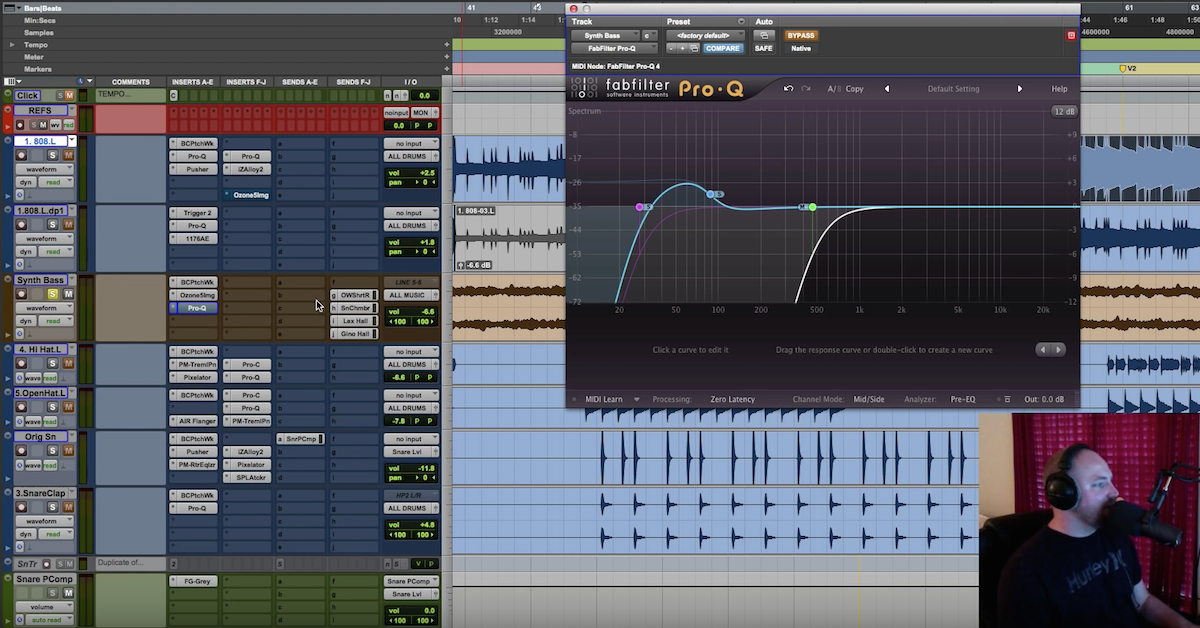
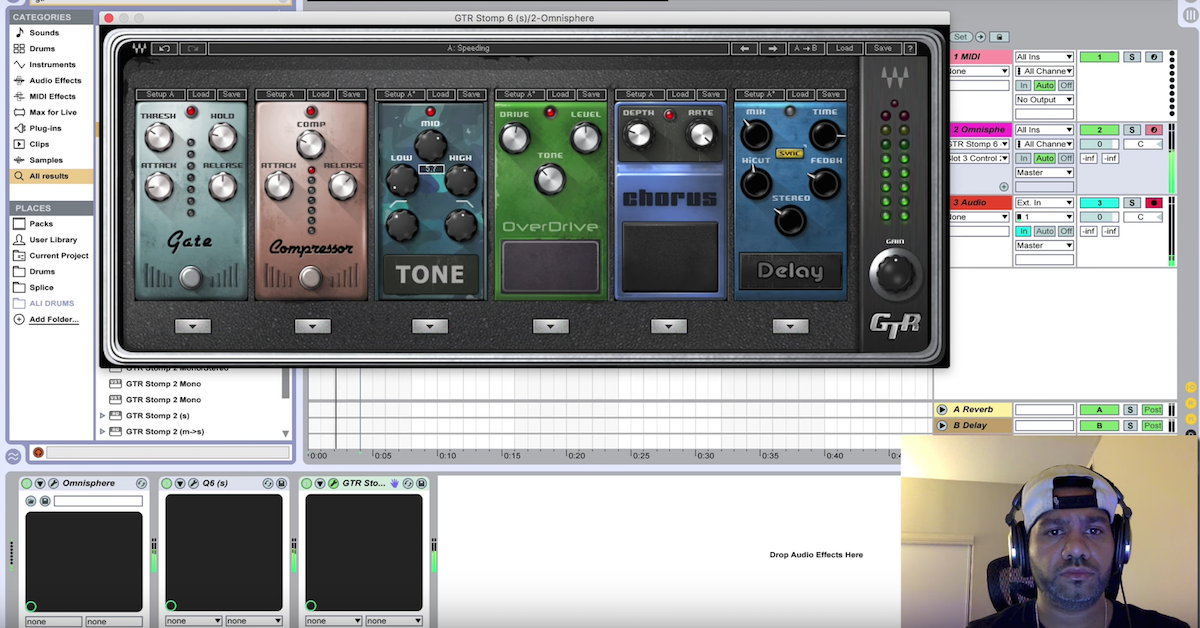
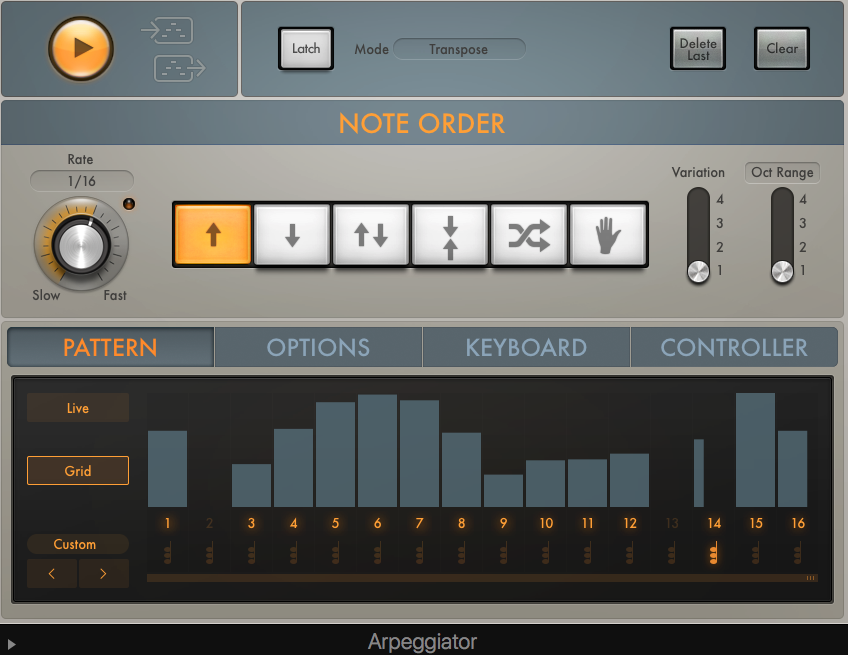
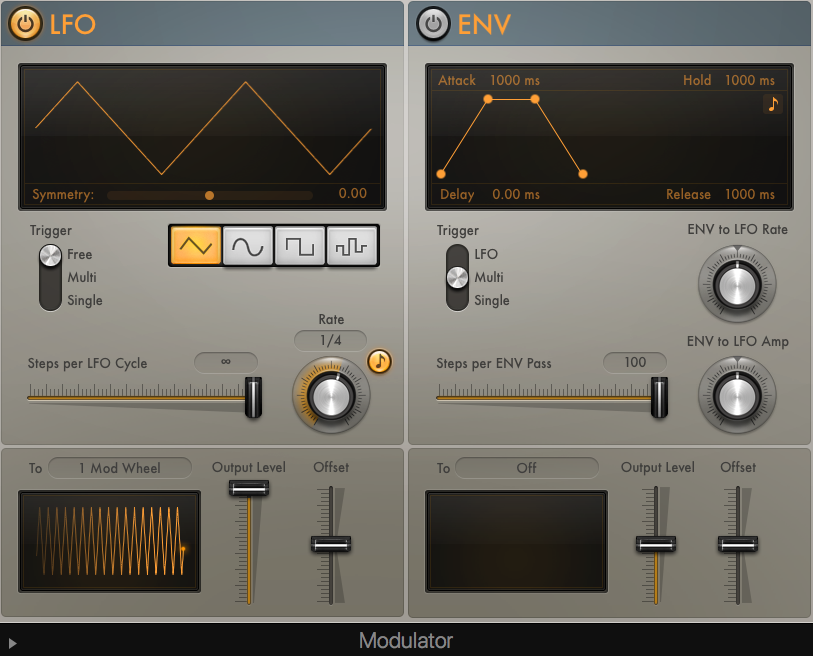
Synths that do not have onboard arpeggiators or sequencers can be driven by external plugs that are typically included with most modern DAWs. Even external modulating plugins and devices are now common. A couple of MIDI FX available in Logic Pro are seen below:
However, one problem of having a dependence on devices external to the soft synth is the transferability from one session to the next, or even between DAWs. If the preset can generate the desired sound on its own, that is always preferred. A screenshot from Alchemy seen below:

Activating the sound, in general, can be accomplished by any MIDI instrument or device. There have been several new approaches to MIDI technology in recent years.
Check out three of my recent articles on The Pro Audio Files:
- 8 Unusual MIDI Controllers for Music Production
- MPE: The New MIDI Protocol and the Roli BLOCK
- Jam Origin’s MIDI Guitar 2 for Live Performance
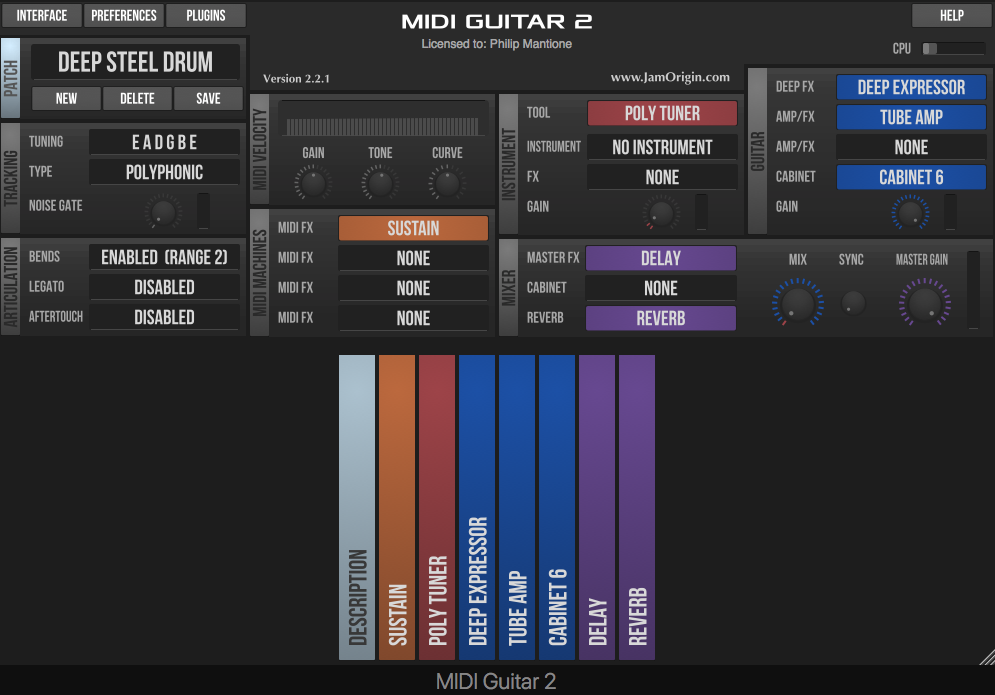
The nature of the device is important because you need to know the type of MIDI information being sent and the desired level of responsiveness required. For instance, Jam Origin’s MIDI Guitar 2 is brilliant at mapping incoming guitar notes to MIDI. It even does a great job at interpreting pitch bends and very subtle vibrato. But this only translates well if the soft synth’s pitch bend parameter is aligned with MIDI Guitar 2. When they are in sync it is quite impressive and fun to play.
https://www.youtube.com/watch?v=nAyvoMmV-zU
If, for instance, the main triggering function will be an internal sequencer set to 16th notes activated by a single key, that will affect how you set the amplitude envelope for the best results. If the keyboard you’re using has aftertouch sensitivity and the patch is intended for live performance or recording, you may want to take advantage of that capability for increased expressivity. Mapping aftertouch to a vibrato or filter cutoff is very common.
Know the FX Processing Capabilities of the Synth
Most soft synths have onboard effects processing to one degree or another. As mentioned earlier, it is best to create a sound that is independent of external effects as much as possible to ensure consistency from project to project. Some effects sections are incredibly rich and full-featured. In some cases, it’s possible to create a variety of presets by simply modifying effect parameters alone, without even altering the underlying sound.

What Type of Sound Are You After?
Software instrument manufacturers sometimes categorize sounds based on their potential use or typical context, verbal description, emotional impact, similarity to an iconic synth sound of the past (player, band or a particular vintage hard synth), similarity to a particular acoustic instrument, duration or the nature of the amplitude envelope, genre-based sounds, sound intended for arpeggiation or sequencing, the timbre of sound, etc.
Alchemy, which comes with Logic Pro has a pretty robust preset categorization section that allows you to create and search for embedded tags, add comments that describe the patches capabilities or controllable parameters and mark favorite patches.
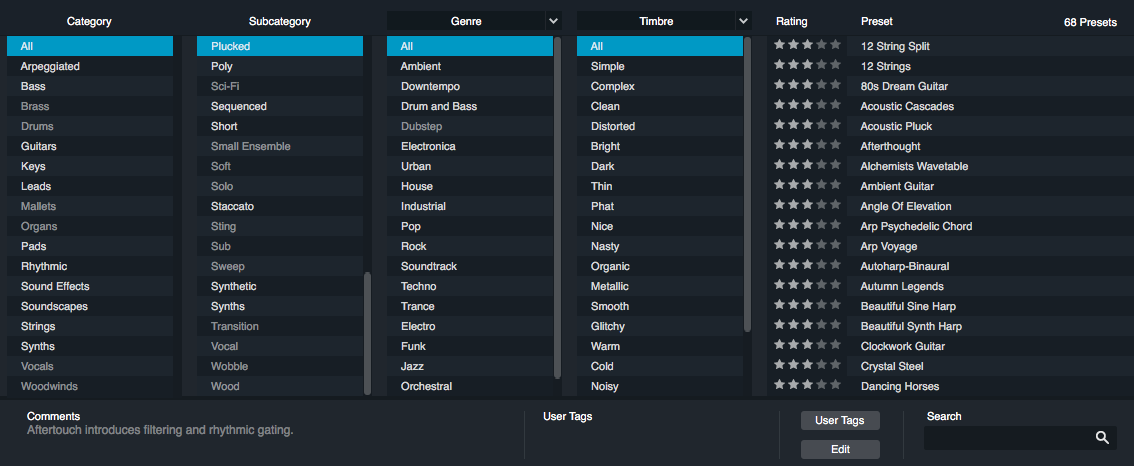
Have a deeper look at this list and other synths to see how preset naming and categorization is approached. There is certainly more than one way and whatever works best for you is what matters. If you do plan to distribute your presets in some way, naming does become an issue and the user should have some idea what the sound will be by the name or associated tags.
As I mentioned up front, knowing how a synth generates sound will give you an idea of its capabilities. Once you’ve decided to use it, you can begin to visualize (or auralize) what you want to create.
To be clear, this is a very different process than starting with an existing sound and modifying it, which is also a valid approach. In this case, I encourage you to imagine the sound in your head first, and then going about building it from the ground up. What sort of sound is it? Is it focused on a certain part of the spectrum (e.g. bass, mid-rangy lead, etc.)? Is it monophonic or polyphonic? Dirty or clean? Short or long? Intended for sequencing, arpeggiation or live performance? Is is meant for melodic, rhythmic or harmonic roles? Is it a rich pad or a percussive sound? The list is only limited by your imagination.
Create with a Default Setting
Before you begin to program the sound, I suggest starting with the most stripped-down basic sound possible. Some synths give you this as a default setting, but with others, you may have to create your own. Here are a few steps to creating a simple default setting:
- Disable all modulation routing
- Remove or disable all filtering
- Set the main sound source to a simple waveform
- Disable secondary sources
- Disable all effect processing
- Disable sequencing and/or arpeggiation features
- Set amplitude envelope to a basic shape
Begin
In some cases, you may end up with a simple sine wave with a short attack and quick release as a default setting. From there you can begin to realize the sound in your head without any bias that an existing preset may impose. As you build the sound, your memory, musical influences and experiences will shape the result. Along the way, you might inject a bit (or a ton) of randomness to color the process in unexpected ways.
This is composition on a micro-scale. Sound design without the visual image. The process requires intense listening and patience. Don’t hesitate to save subtle variations of similar sounds as you go. You can always cherry pick the best ones later. Let your creativity run wild and do not stop to read the manual or nitpick once you start. There is no better way to kill the creative impulse. Know your instrument before you begin and the results are sure to be magnificent!
Check out my other articles, reviews and interviews
Follow me on Twitter / Instagram / YouTube


