7 Simple Tips to Mix Vocals Like a Pro
03/9/2017
Article Content
Ever heard a modern hit record with a poorly mixed vocal?
Probably not. Likely, because it doesn’t exist.
The sad truth is…
If your vocals don’t sound great, you may be dooming your music to obscurity.
But knowing this alone doesn’t make mixing them any easier.
Vocals are tricky. They’re often the loudest thing in a mix, which leaves little room for error. And since we’re so familiar with the sound of the human voice, we’re quick to notice any imperfections.
If you’re struggling to craft studio-quality vocals, these seven tips are a great place to start. Read on to discover the keys to mixing vocals like a pro…
1. Bring Them in Early
The beginning of a mix is like a blank canvas.
Whatever track you bring in first has all the space in the world. You don’t need to shape it to fit with anything else.
But as you move through the mixing process, space fills up. Newly added tracks start getting in the way, so you EQ and process them to fit with the rest of your mix.
The effect?
These tracks usually end up sounding smaller than the ones you started with.
This makes the order in which you mix crucial.
Don’t wait too long to bring in the vocal. If you pull up the fader and realize there’s no room, you’ll often need gobs of EQ to solve the problem.
The result?
The most important track in your mix will sound small, thin, and harsh.
Instead, bring the vocal in early. This way, you’ll shape the rest of your mix around it. You’ll end up with a vocal that’s full and present, without lots of processing.
2. Process Them in Context
The solo button is your enemy.
Why?
Because mixing is all about context. The goal is to make tracks sound good together. But the solo button removes this context. Which makes it nearly impossible to make good mixing decisions.

Avoid the solo button!
When you solo a track, you stop hearing how it relates to others. This can lead you to make decisions that seem like improvements, but actually make tracks sound worse in context with the rest of your mix.
Yikes.
Avoid the solo button when shaping vocals. Instead, make adjustments with everything playing at once.
At first, this may be difficult, because it’s hard to hear subtle changes when 50 tracks are playing together. But resist the urge to give in. Remind yourself that avoiding the solo button will lead to better mixing decisions.
3. Use Pre-Delay
Matthew Weiss recently said that reverb is back in style.
I agree.
The problem with reverb, however, is that it can make a vocal feel far away. In most cases, you want the vocal to sit front and center. So what do you do?
Add pre-delay.
Pre-delay is a parameter that you’ll find most reverb plugins. Cranking it up will separate the reverb from the dry vocal with a short delay.
The effect?
Your brain will no longer fuse the two together. You’ll hear the space and dimension that the reverb adds, but the vocal will remain up-front.
4. Find the Right De-Esser
You can craft great mixes with just about any tools (including the stock plugins in your DAW).
However, there are exceptions. De-essing is one of them.

Ready to elevate your ears?
It doesn’t have to take years to train your ears.
Get started today — and you’ll be amazed at how quickly using Quiztones for just a few minutes a day will improve your mixes, recordings, and productions!
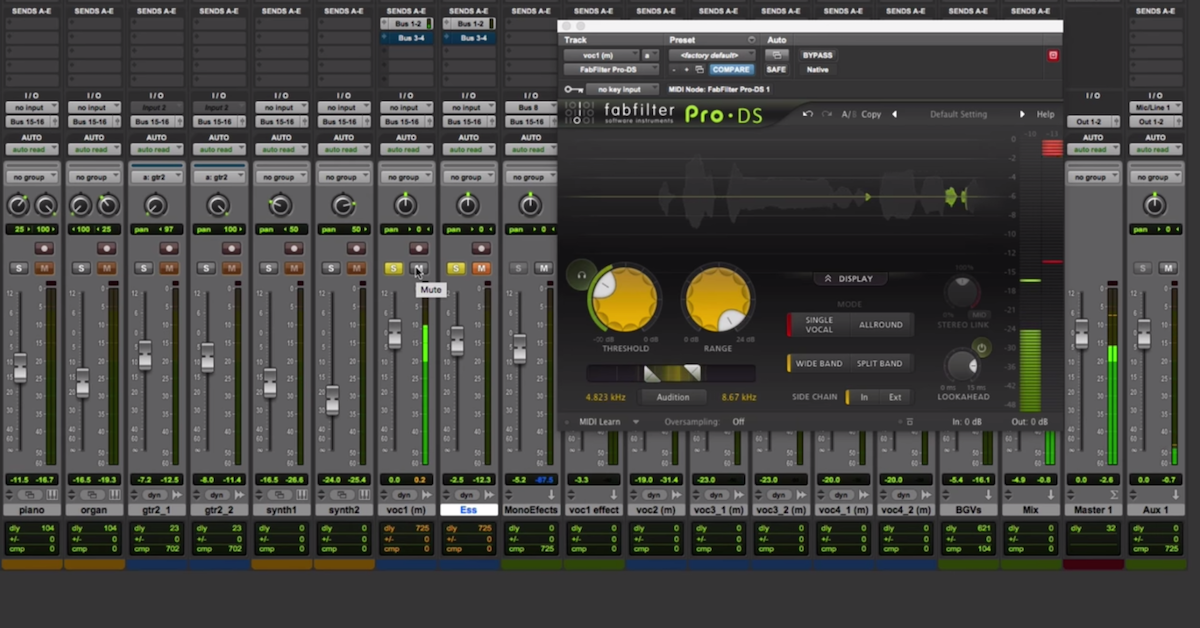
FabFilter’s Pro-DS plugin
Finding the right de-esser is crucial. Poor ones will make your vocals sound dull and flat. Great ones will control sibilance while maintaining clarity and presence.
My favorite is FabFilter’s Pro-DS.
(Don’t forget—you can also automate sibilance out manually. This is often the most transparent solution, though it may be too time-consuming to be practical.)
5. Avoid Ultra-Fast Attack Times
Ultra-fast attack times are seductive.
Many mixers like them because they tightly control a track’s dynamics. The downsides, however, are significant.
Fast attack times destroy punch and annihilate impact. They can suck the energy from a performance, leaving a track sounding muffled and distant.
In most cases, you’ll want to avoid using them on vocals. And if you’re having trouble getting a vocal to cut through a mix, slowing down the attack time can help.
6. Don’t Rely on Compression Alone
Compression often isn’t enough to achieve a great vocal sound.

Automation and compression work together.
Words and phrases may still get lost. In other areas, the compression might sound too aggressive.
Either way, if you try to rely on compression exclusively, you’ll often come up short.
A better strategy?
Use compression in conjunction with automation. Get 80 to 90 percent of the way there with compression, and use automation to finish the job. Both are essential.
To learn some of my favorite vocal automation techniques, watch the video at the bottom of this article.
7. Pay Attention to Breaths and Other Noises
I often hear vocals that sound almost great.
They’re well-EQ’d and balanced. The effects are tasteful. They’re not compressed to all hell.
In these cases, the problem isn’t the vocal, but what’s getting in its way.
Compression can bring up all sorts of distracting noises—including breaths, lip smacks, clicks, pops, and rumbles. The best mixers handle these sounds properly.
If breaths are too loud, turn them down until they sit at a reasonable level. Don’t remove them completely, as they can often be a crucial part of a performance. (For example, a big breath before a chorus can add tension and create anticipation for what’s to come.)
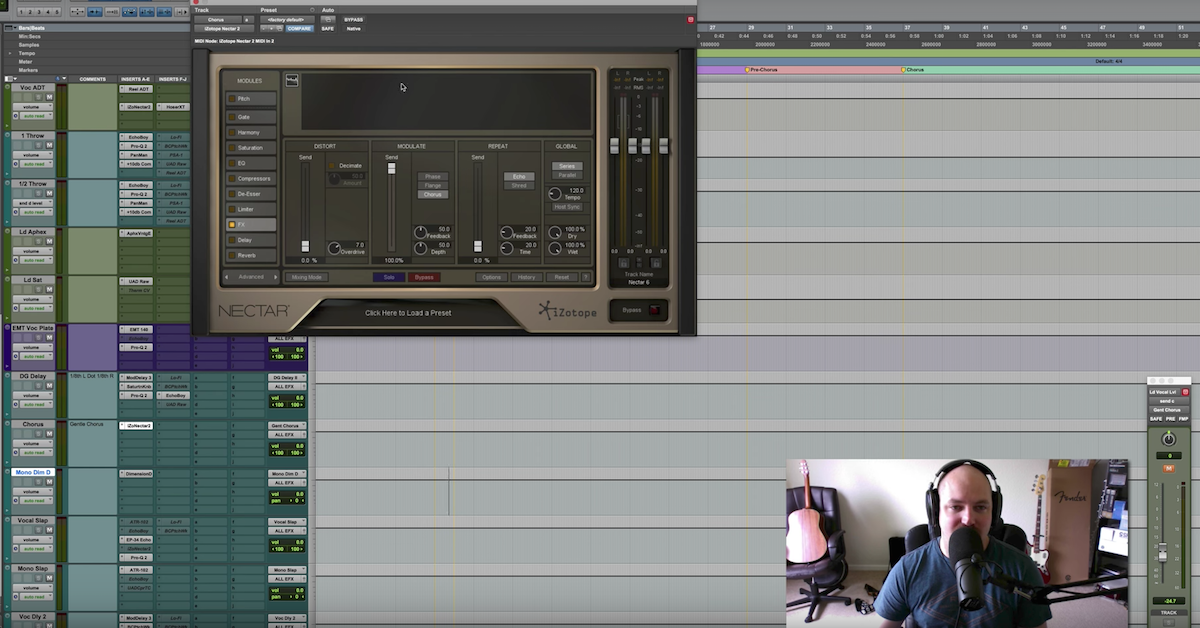
On the other hand, lip smacks, clicks, and pops can often be removed altogether. iZotope De-click is my favorite tool for this job.
Eleveate Your Ears