Tips for Manually De-Breathing and De-Essing a Lead Vocal
02/24/2014

So often times when you’re mixing popular sounding music, you’re going to have multiple stages of compression and other processing like EQ or maybe some distortion on the lead vocal. And what happens is that the brass ends up being just as loud if not louder than the musical content of the performance and we can’t have that.
So let’s have a listen to the original performance. This is before any processing or De-breathing. The song is ‘Do it in the Post-Apocalypse’ by Ugly Ugly Words. Make sure to check it out.
[unmixed song]
So this is a great performance but still very raw. Now I’m going to show you what it sound like after it’s mixed.
[mixed song]
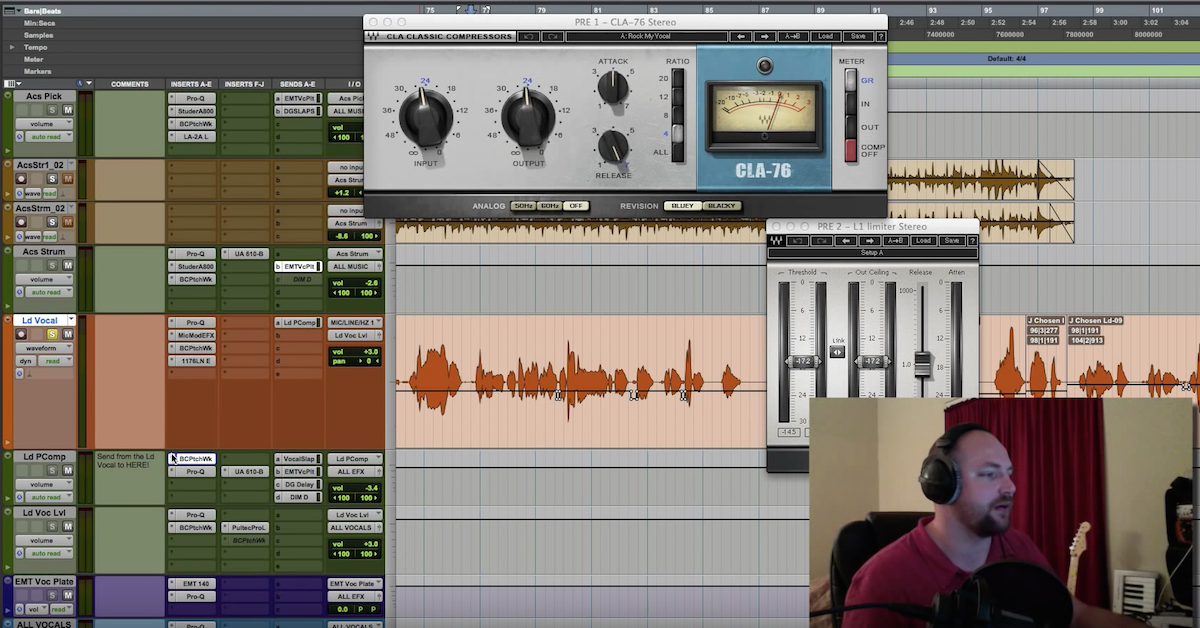
Definitely way smoother and just brings out the musical qualities in the performance that we need, okay? So what I’ve done is, and I do this while preparing every Pro Tools session that I work on, I create my own breath track and on the original vocal performance the first thing I do, is put a compressor on there. Could use any compressor. Let’s go with something pretty aggressive like this here, CLA-76 by Waves.
So let’s take a listen here. This is a good example because you are hearing that there’s not only some breath but a lot of noise in the vocal performance so what I’m going to do is just select part of the clip that you want, hit B to make a break, click and drag down to its own breath track that you created. I don’t put any EQ or compression or sends on this breath track. Different engineers might have different techniques but this works for me.
So what I like to do is make a little game out of it and I start at the very beginning of the song and I hit play and I try to finish even before the song is over. It’s a great game if you’re a huge loser like me.
If you’re wondering, I’m using R and T to zoom out with R and T to zoom in while the vocal is going, while the song is going. So I’m going to continue to do this. It should take about 5 to 10 minutes, maybe 10 if you’re slow. But keep practicing. You’ll get faster and it’s a lot of fun.
So I’m going to drag the breaths and noise all onto their own track and it just really helps out and gets rid of unwanted stuff.
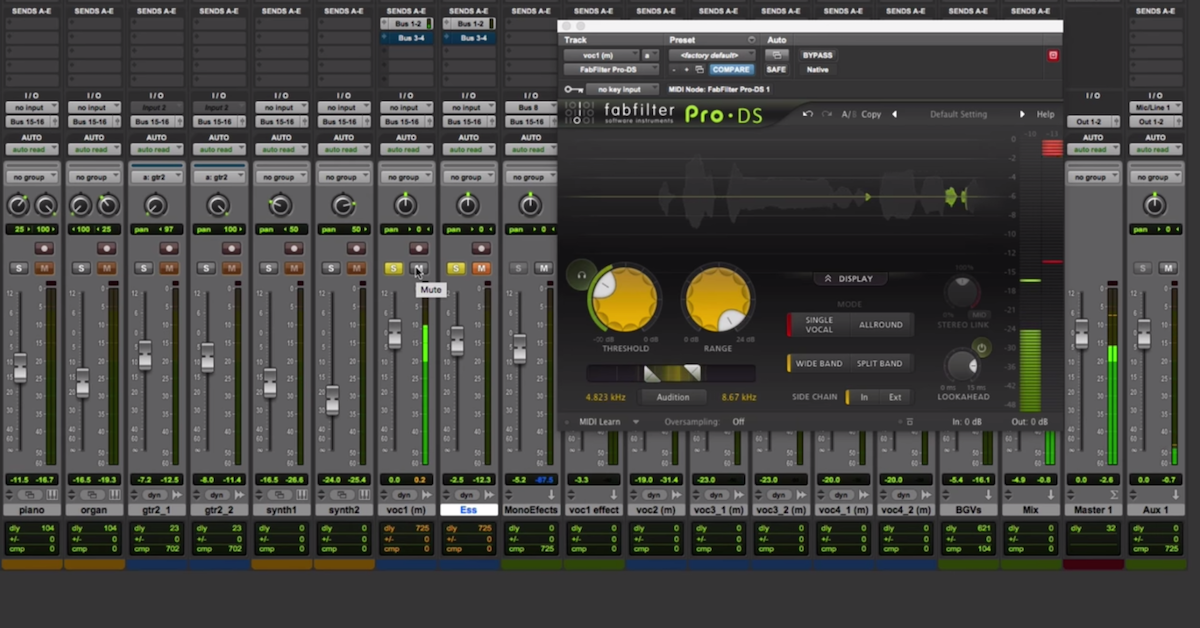
Another thing that you can do is, of course we have de-essers that do a great job but I really like to do my own sort of manual de-essing. So once again make a game out of it. And as you see right here we’ve got these fuzzy waveforms right here that represent the more sibilant parts of the vocal. So any ’S’, ‘ch’ sounds are going to look a little fuzzy.
So I hit play and just go. There’s one here. So I just go through and bring those down a couple db, however you feel and what it does is it means that you don’t have to do as much de-essing on the back end which helps out a lot.
Sort of the final step is to make sure since you’re doing all this breaking in Pro Tools of clips that you can select everything, let’s include this here. Just hit Command F and we’ll create cross fades, hit okay and now there are tiny little fades at the beginning of every clip that we have and I use this technique while preparing my Pro Tools sessions. More on that during another tutorial.
Elevate Your Ears