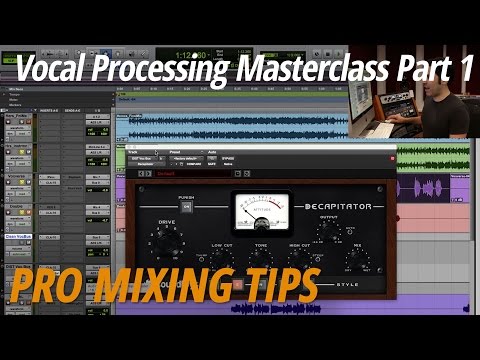
Vocal Mixing Masterclass — Part 1
01/16/2017
Today, thanks to B&H, we get to bring you another tutorial series, this time on vocal processing.
We all know that vocals are one of the most important elements in your mix, but if you’re anything like a lot of new mixers, you get into situations where you feel like you’ve got the vocal happening, but it sounds a bit karaoke-ish, or it’s not melding in with the music properly, or it’s sitting too far on top, or try as you might, you can’t get every word to be intelligible.
These are some pretty common issues to have, and I think by the end of this quick three-part tutorial series, you’re going to have a pretty good sense for the principles of good vocal processing in the context of really any type of mix.
Would I have a happy client who asks, “How did you do it? How did you make this vocal sound so compelling? The performance was good, but it was just kind of sitting there, and now, it really just has this personality, and it just feels very professional. How did you do that?”
The answer is always the same. I have the same basic tools as anyone else. You’ve got level, you’ve got compression, dynamic range control, you’ve got EQ, and then you’ve got your time based effects. Reverbs and delays.
Those are pretty much the ingredients you have to work with. The most important thing is knowing how to work with them. So first off, we’re going to explore some of these basic principles, then we’re going to put them into practice on a real tune. I’ve got a great track here from a band called AMFM. These are actually some mastering clients of mine. Really incredible song writer, David Caruso. Great vocal performance here, too. Some great production work by Harper James over at DeGraw Sound. So it was a really great treat that we had this track to work on.
But before we dive in, let’s just get the basic principles out of the way. Let’s establish our road map before we start driving through this tune. Alright, so your most fundamental tool is level, and I’m not going to say a lot about level, except for two things.
First, it’s generally a good idea to err on the side of making your vocal mix too loud, rather than too quiet. How loud is loud enough?
Well, a good way to establish how loud is loud enough is to check out references. A lot of new mixers are afraid of using references in the studio for two reasons — one, they want to develop a unique style, and that’s totally cool, but I’m going to suggest the way to develop a unique style is to consume a lot of recorded music, and look for cracks. Things that are being done too much, things that aren’t being done enough.
You’re never going to develop a compelling, unique style, unless you’re really familiar with the full literature of recorded music out there.
The other reason that mixers are afraid of using references is that they can be kind of embarrassing if you hear your mix next to one of your favorite mixes, and you hear how far you have yet to go, it can be a bit unnerving at first. But it’s a better idea to be scared now while you’re working on the mix, instead of being scared when you’re done with the mix, handing it off to the clients and worried about what fans are going to think of it.
So when it comes to levels, err on the side of going a bit too loud, rather than a bit too quiet, and one great way to establish how loud is loud enough for a vocal is to make sure you’re referencing against commercially released tracks that you love the sound of, that are relevant to the style of music that you’re working in. This is especially important for new mixers.
The more and more you mix, the more you might start to internalize the feel of some of your references, and maybe the more you can do without them. But it’s a great practice to be in.
The second piece of advice I want to give you around levels is to make sure you automate your levels. Most modern vocal mixes in modern music production are somewhat heavily automated.
I don’t recommend starting by automating things, we’ll want to go through all of our tools first. Setting up a baseline of level that works through the whole song, setting up a baseline level of EQ, compression, and some of your time-based effects, like reverbs and delays, but once you have your vocal mix sitting very well, you may find that from verse to verse, or from phrase to phrase, or even from word to word, things can get a little bit lost, and the image of the voice — how far forward in the mix it is, how far back in the mix it is, may change from word to word, phrase to phrase, or section to section. Doing a little bit of volume automation on vocals as a final pass is a huge thing.
So in a way, setting levels are kind of like the bookends of your mix. You want to start by setting a really healthy level, and then you want to end by finessing that vocal level with some automation.
Alright, then you’ve got tool number two. This one is very related to level. This is compression. Dynamic range control. Particularly in contemporary pop mixes, but really in all genres, and for decades now, every vocal that you’ve heard, whether it’s on the radio, on a record you love, is probably fairly heavily compressed.
You don’t always hear vocals as being heavily compressed, because a lot of great mixers will use multiple stages of compression in order to control the dynamic range of the vocal without making it sound overly affected or weird.
Coming up with a compression strategy that works for you is going to take some practice and some trial and error. There’s no right or wrong way, but a good rule of thumb is often enough, you’ll start with one compressor, just very lightly controlling the vocal, and then maybe add a heavier, more tone inducing compressor after that one.
That’s one common way to go about it. Some folks, especially on more modern styles, may add a tiny, tiny touch of limiting in their stage of compression, or a very fast limiter called a de-esser that really just clamps down on esses and t’s. But in general, each one of your compressors might be doing just one or two, maybe three dB of compression at the most, and if you have one or two or three compressors, each doing a little bit, you can often get a lot of dynamic range control with a lot of transparency. Without making your vocals sound funny.
That said, if you want to add on a character compressor, something that’s supposed to do a lot of compression, and really give you a bit of tone, or grit, or saturation, a kind of signature sound, it can still help to have a few layers of very subtle compression before this main compressor, so that you get more consistent and predictable results out of it.
One last quick note on dynamic range control, parallel compression is totally okay with vocals as well. We just did a series recently on parallel compression where we explored it on drum kit to great effect, but it’s been used on vocals going way back. Motown engineers would parallel split out a vocal so that they would have a clean, mostly unaffected vocal, and then one that was heavily compressed and very bright that would get folded in underneath the main vocal.
That’s cool with vocals to do. Again, you don’t necessarily have to be extreme. You can be subtle, you can have one or two compressors, or three, each doing a little, little bit, and that way, you’ll generally get more transparent results than having one compressor that’s trying to control the whole entire vocal.
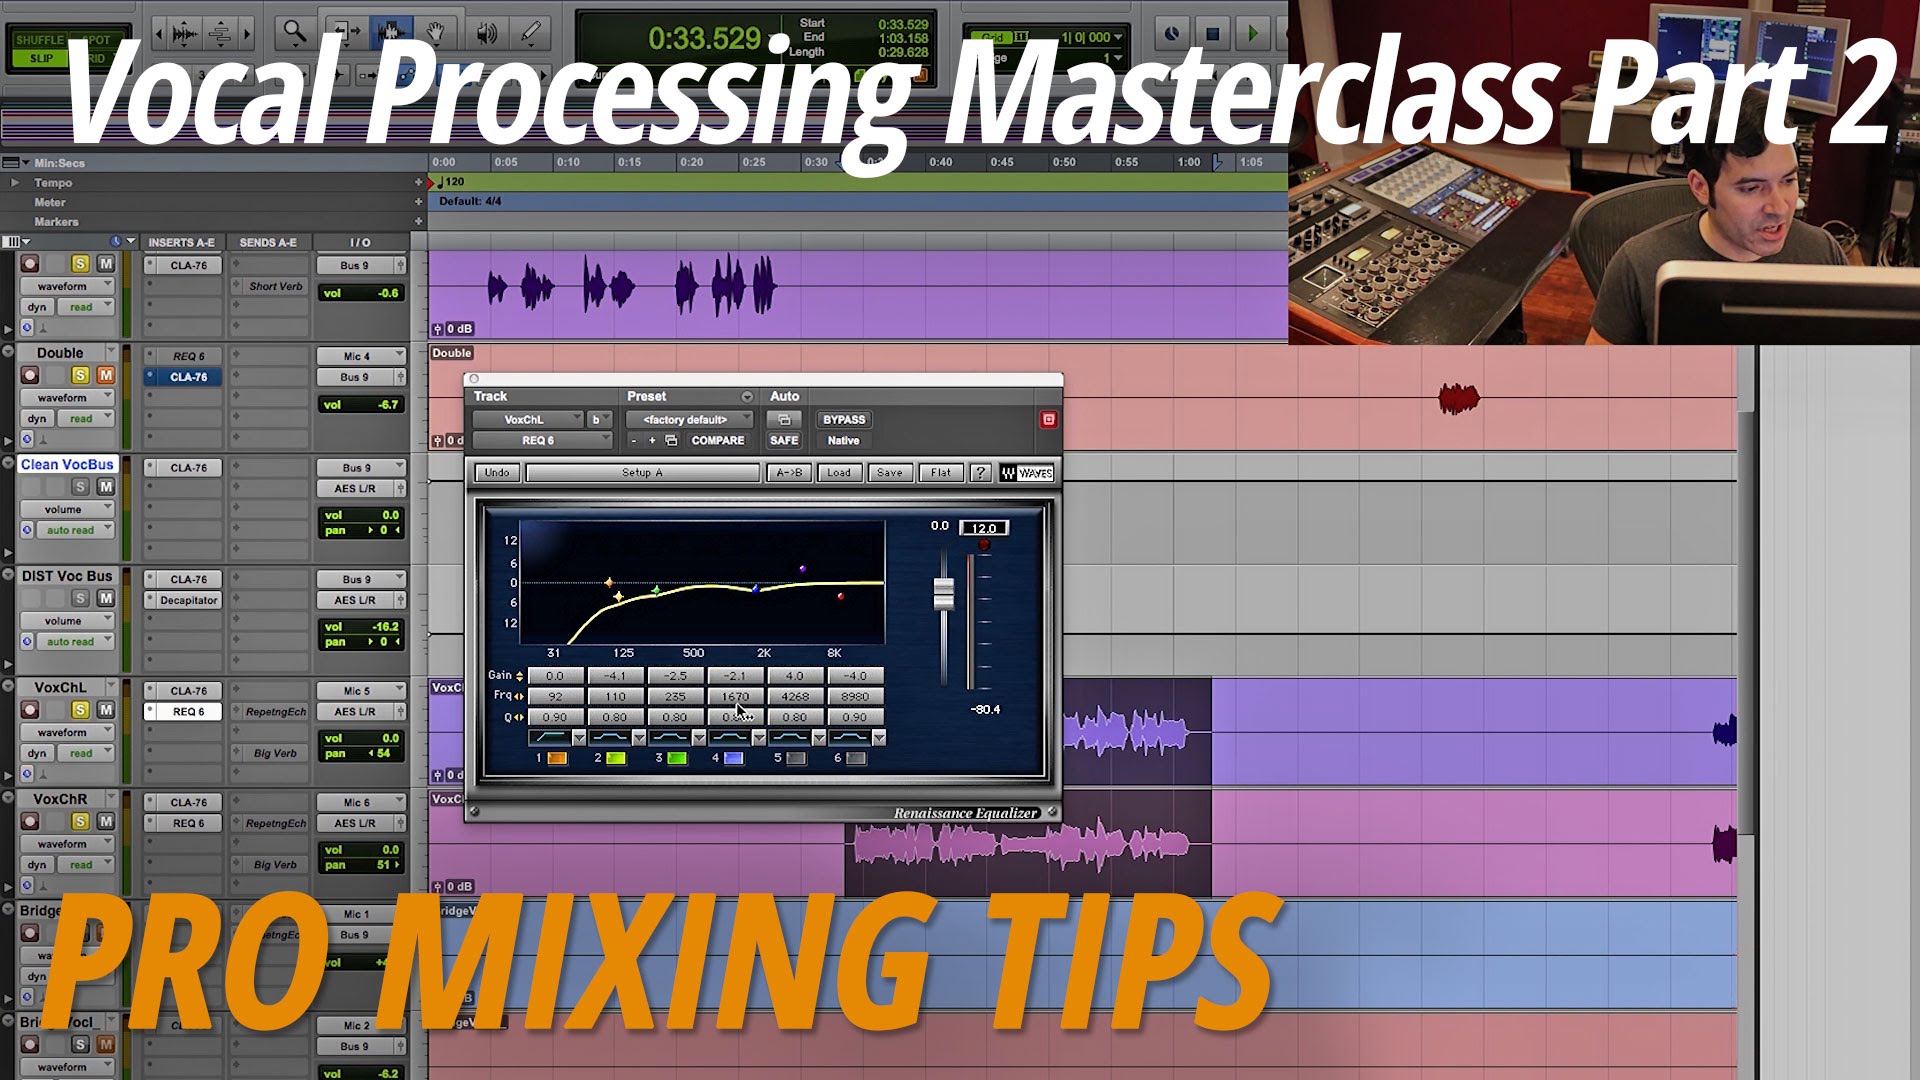
Alright. Our next element is EQ, and ideally, whoever recorded the vocal, maybe it was you, used a great mic on a great singer, in a great room, and one that suited the tune, and you don’t have to do much. That said, it’s not an ideal world, so a lot of vocals end up getting EQ’d a little bit at some point.
There are really just a few ranges, I’d say four broad ranges to think about. There’s first, the sub range. Generally, frequencies say, below, I don’t know, 90Hz and under. Often, most vocals aren’t going to have a lot of energy down there in the 90Hz and lower range, and in a very dense pop mix, you might cut out all or most of those low frequencies to kind of get out of the way of other things, help control plosives and breaths to some degree, and just keep from having too much low end on your mix.
In a much more sparse mix, however, if you’re really cutting in this range, you might take away some of the body that makes the vocal sound really impressive in a sparse context.
Similar concept with your general lows and lower mid-range. Say, frequencies between 100-300Hz on a vocal. You can often, say, boost around 100Hz to get a little bit of extra weight or body to a vocal, and this might be appropriate in a sparse mix, but in a dense mix, cutting the same exact frequency may kind of clean up the vocal and help add some clarity, so you can get extra level without it being too boomy. Similar idea in the more chesty region of say, 200, 250, 300Hz.
Above this, you have more of your mid range area. Frequencies say, from around 500Hz to 1 or 2kHz or so. You want to be careful in this range. Boosting this range can help bring a vocal forward and can add some intelligibility, but it can also add a kind of nasal quality at the upper ends of this, or a congested quality at the lower ends of this.
By contrast, if you’re doing big cuts in this range, you can kind of hollow out a vocal pretty quickly. If you do just a little bit here, you might be able to clean up some resonances and other issues, but again, you want to be kind of careful on this range.
One other quick note, if you’re going for kind of telephone vocal effects, that’s very easy to do with an EQ. If you cut away all of your low frequencies and all of your high frequencies so you’re just left with this mid range of say, 300Hz-3kHz, that is instant telephone vocal sound, and we’ll play around with that in a little bit.
Often, you might put a little bit of a resonant peak around say, 3 or 4kHz to really authentically get that kind of telephone voice effect, but with just a couple of filters, you can get some pretty dramatic effects using just EQ.
After those low and mid-range frequencies, you have your upper-mid range, and then your real highs. Your upper-mid range, say 2kHz-ish to 4, 5, 6kHz, a lot of articulation in the voice can come from here. You can really get clarity, a good sense of what the singer is saying, but if you’re boosting this area too much, things can start to sound a little bit annoying. A little bit thin.
Of course, if you’re cutting too much in this area, you lose a lot of intelligibility. So this can be a good area to look to really help the vocal cut through a mix, but again, be careful pushing too hard in this area.
Then lastly, you’ve got your real high highs. Let’s say, 7kHz, 8kHz, 9kHz, 10kHz, 12kHz. This can really add a lot of air, and shimmer, and sparkle to a track, and there are some styles, particularly pop styles, where you’ll hear a lot of boost in these areas, and it could be appropriate to the genre you’re working with. The most important thing really is to again, hear references, get your ears acclimated to whats an appropriate amount of high frequency boost for the style you’re working in, and what’s just too much.
There’s really none of that kind of high frequency boost going on in this particular vocal, as it’s a bit more of a rock track, and that kind of informs both the EQ settings, which are a little darker than you might have in a Pop track, and the compression settings, which have maybe a slightly faster attack time than you might hear on some pop vocals. They want to be a bit more in your face.
As this vocal can sit back further in the mix, we’re doing less of the high frequency boost, and maybe a slightly faster attack time than we would on more Pop oriented tracks.
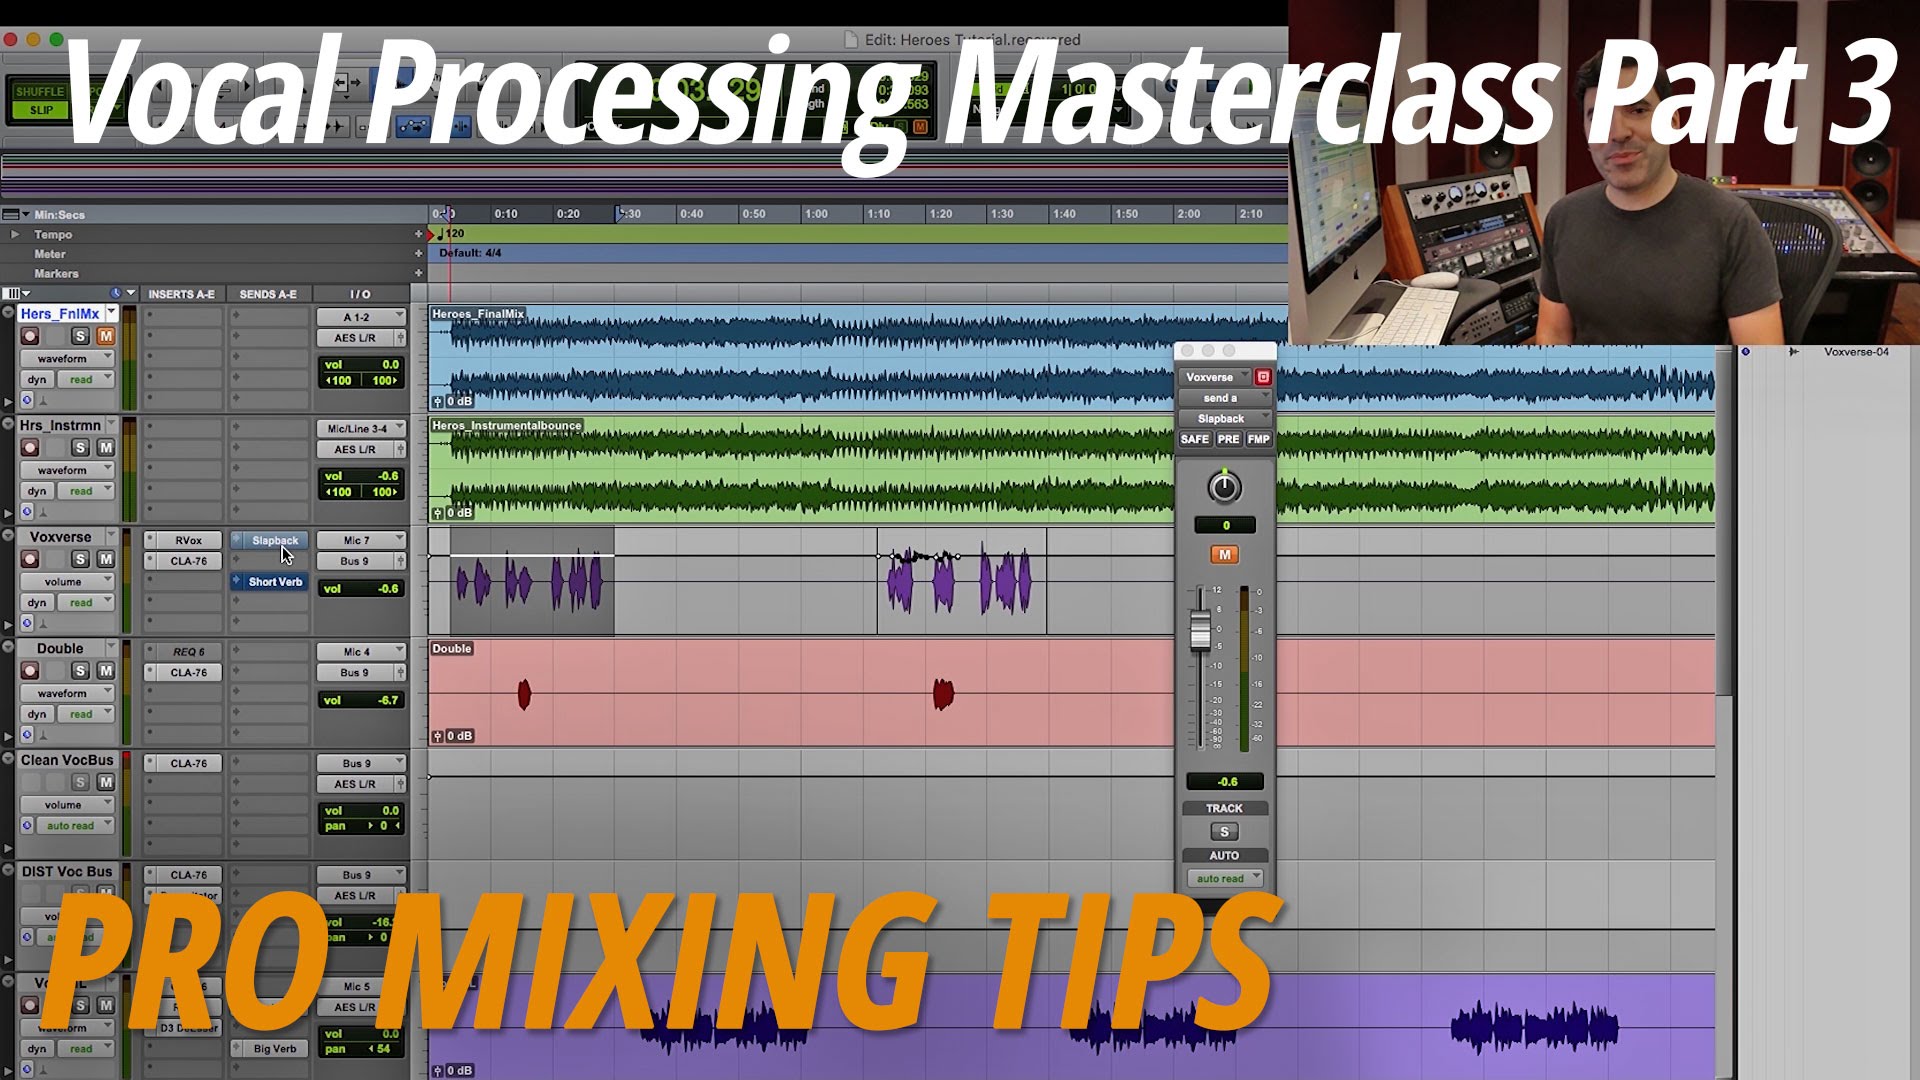
The genre of this track is also going to inform what we do with the reverbs and delay settings in the next part of the series. But probably our most powerful effects in shaping the tone and overall vibe of a vocal is reverb and delay. Our time based effects.
You can put kind of choruses, and flangers, and phasers in this basic food group, in this category, but we’re really just going to be looking at reverb and delay today. And there’s just a few types. You’ve got your slapback delays, you’ve got your repeating delays, you’ve got your stereo spreading delays, and then reverbs, there are so many different types, there’s really two basic categories. You’ve got really short reverbs, often a second and below, and then you’ve got your long reverbs. Say things that are a second, two seconds, and even longer. We’ll look at ways to use both of these.
I’d say that in a lot of contemporary music production, we’re finding shorter reverbs being used more often than longer reverbs, and delays being used even more often than reverbs.
Delays will generally take up less space in a mix, where reverbs are going to take up a lot more. So especially in really dense mixes, we might rely more on delays than on reverbs. We’ll look at a few ways to do that in part three of this video series.
So that’s about it! Those are the tools we have at our disposal when we’re mixing vocals. We’ve got our level, we’ve got our dynamic control, we’ve got our EQ, we’ve got our time based effects like reverb and delay.
Let’s dive right in and try to put them to good use. This has been Justin Colletti of Sonic Scoop at Joe Lambert Mastering, coming at you courtesy of B&H, and stay tuned for the next part in this series, because we’re not just going to be talking strategies, we’re going to be diving right in, working first with compression and EQ, and then with time based effects like reverbs and delays.
See you then!
Elevate Your Ears