The Complete Guide to Vocal Production
07/30/2018
Article Content
The success of a song more or less hinges on the vocal performance, and getting that platinum performance is not a skill of audio engineering — it’s a skill of psychology. I just came off over 100 hours in the studio recording [Censored], along with an extensive cast of features and writers, and these are the techniques I used in getting their best performance.
Cover the Basics
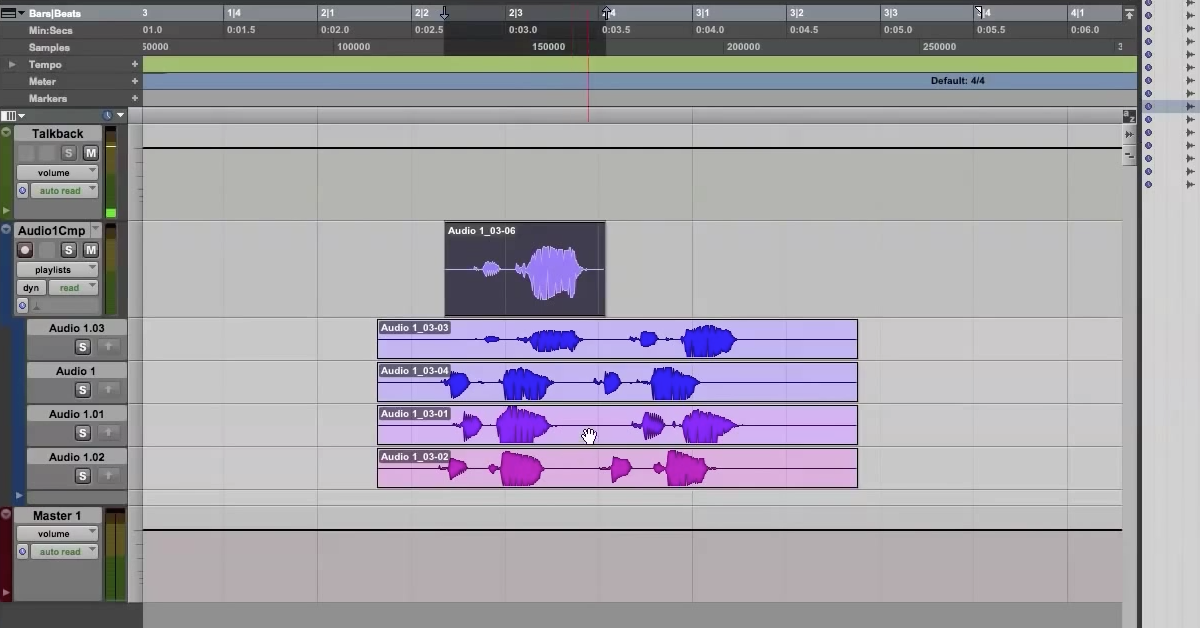
All the technical side of things really should be taken care of ahead of time. Having a workflow down pat that allows you to switch between different references (punch, comp, monitor input during playback, etc.) is really important. I personally adopted the approach of using one track to record with input monitoring on, and comping the good takes on an open audio channel directly underneath.
I like this approach because I create the working take as we go and I can hear what the artist is saying while doing edits and nudges. It also motivates committing the final takes early on. This is good for building up the harmonies, ad-libs and dubs quickly. This article isn’t really about how to use Pro Tools, but I do have another article on that here for reference.
Create the Energy
1. Establish Confidence
A great deal of the magic in a performance comes from confidence.
For some artists, they feed off the energy of the room — so having people around helps. When this is the case, having a group of people engaged in the feedback can be very encouraging. Essentially, this creates the atmosphere of rocking out like it’s a live show.
Most artists, however, need to break away from their conscious inhibitions. When we sing in the car, or in the shower, we have confidence because we know that there’s no one around to hear our mistakes. Because we are uninhibited by fear of messing up, we perform at a higher level.
Unfortunately, it’s very hard to simulate that vibe when you both have to be in the room (if not a few other people). One little trick that works well is to break the ice. Pick a song that the artist likes to sing and start singing it with them. Sing it with them until they start to let loose a bit and then gradually begin not singing with them as much. Like sing a line and then let them take a line solo, then jump back in, sing along, and then drop out again. Kind of like the way you teach a kid to ride a bike — you hold the seat until they start really pedaling themselves, and then let go.
2. Break the Focus to Maintain Focus
Once we’re in recording mode things can get tense pretty fast. Mistakes can and will get made and this breeds frustration. It can also bring the artist back into that mode of being too self-aware.
Humor is a super important tool in this game (even if the song is sad). Cracking jokes keep the mood from getting too heavy and reminds the artist that they have nothing to worry about. I personally like self-degrading humor. Drawing scrutiny to myself and making light of it keeps the artist from feeling judged and gives them the freedom to be imperfect.
This doesn’t mean constantly be cracking jokes. It should be reserved for moments where there’s frustration building. Otherwise, we derail the flow of the session.
3. Find the Meaning
For me, the hallmark of a good performance isn’t about pitch, or diction, or intonation, or rhythm. It’s about whether or not I believe the story the singer is telling. The difference between a demo and a record is whether or not I become entrenched in the story. If I find the artist isn’t totally inside the record, I’ll ask them to tell me the meaning of the lyrics. This pulls the artist’s attention into the emotion and imagery of the words without having them consciously focus on it.
An alternative to this is to ask the artist to describe what the music video for the song would look like. This gets the imagination going and allows the artist to place themselves into the narrative.
4. Leave Room for Creative Space
The biggest mistake I see inexperienced vocal producers make is talking too much. Too much input makes the singer overly conscious of the mechanisms involved rather than the feel of lyrics. It also breaks up the flow of things. Artists need to get in their zone, and constantly interrupting to drop notes prohibits that.
We all want to feel like we are part of the process — so the temptation to get in there and be brilliant directors inspiring the artist with our words is very real. However, the most useful thing we can do is allow the artist to do their thing and get into a groove.
5. Repeat Until It Clicks
Sometimes a line doesn’t have to be one and done. Allowing the artist to just get at it a dozen times and snagging the best one is the way to go. There are two ways to do this — either use a “record loop to playlist” function or simply allow the track to play out past the line and have them keep repeating it anyway. In the former approach, different DAWs may have different names for this process. In Pro Tools, it’s simply a preference box that automatically stores any takes done while in “loop record” mode to a hidden track. In other DAWs this may be done a different way.
The good thing about this approach is that the technique of the line in question gets committed to muscle memory and the artist will automatically focus more on the nuance of the delivery.
6. Know Your Vocal Mechanisms
Knowing how to sing helps a lot. All of the recording techniques in the world won’t help if the artist in question isn’t a strong vocalist. If you want to really go the extra mile, take some vocal lessons. See what vocal trainers tell you about using your voice and use that information in the studio. Now, this might seem a bit extra, but I would argue that doing everything possible to be incredible at the gig is what separates the “great” from the “good”.
I’ll share a few ideas to get the ball rolling.
a) Warm-Ups – Running scales on different vowels and consonants is a good way to remove the cobwebs from the voice. Big “yawns” on the word “huh” can help get the chest and diaphragm open. Stretching the body like a warm-up before hitting the gym can also help relax the neck and shoulders.
b) Vocal Placement – A lot of the tonality of the voice comes from vocal placement. For example, that “80s” vocal where it sounds like the singer is yawning the entire time (see Tears For Fears) happens when the voice is placed at the back of the jaw. Aside from the fact that this is stylistically a bit dated, it’s also harder to maintain pitch doing this.
When the voice is placed at the front of the face it’s easier to stay on pitch, the sound is brighter and we get more of the singer’s identifiable characteristics. This also requires resonating the entire mouth and nasal cavity which creates a fuller sound. If a singer has trouble placing their sound forward there are a few things that can help. Pinching the nose and singing “hmm” with the mouth closed until they feel air fill up their nasal cavity can help. Or, if the vocalist is a bit on the nasal side, keep the nose unpinched, close the mouth and have them try to vibrate their teeth on “hmm”.
c) Facial Movements – How the mouth moves can dictate a lot about the vocal performance. A lot of people suggest smiling to help with pitch. I find this inhibits the performative quality of the voice. I’d rather just get it through practice and if really necessary, watch the dangerous assonances like “uh” and “ooh” and change “eh” and “ew” if necessary (like turning the word “alone” from uh-lone into eh-lone).
I generally find the fullest vocal performance comes out when the mouth movements are a bit exaggerated. If the vocalist is having trouble with this, rather than ask them to exaggerate their movements while performing, have them run through vowel sounds “a, e, ah, oh, you, eh, i, aw, oh, ew” and exaggerate those sounds before cutting. Another thing which can help is having the vocalist do lip trills in order to loosen up the muscles in the mouth.
d) Body Position – Be mindful of how a singer is posturing. Elevated shoulders or a strained neck will cut the chest off from the sound, whereas a relaxed neck and shoulder posture allows the diaphragm to move at its full range. Standing stiff, looking up, raising the eyebrows are all natural instincts for singing higher notes, but it’s actually easier to go up in range by sinking into the hips as if beginning a squat. In addition to all that, allowing the vocalist to move with the music can also be helpful — whether that’s moving the arms, dancing, whatever.

Ready to elevate your ears?
It doesn’t have to take years to train your ears.
Get started today — and you’ll be amazed at how quickly using Quiztones for just a few minutes a day will improve your mixes, recordings, and productions!
Anything that allows a physical connection with the music will help in the emotional connection.
7. Set up a Great Cue System
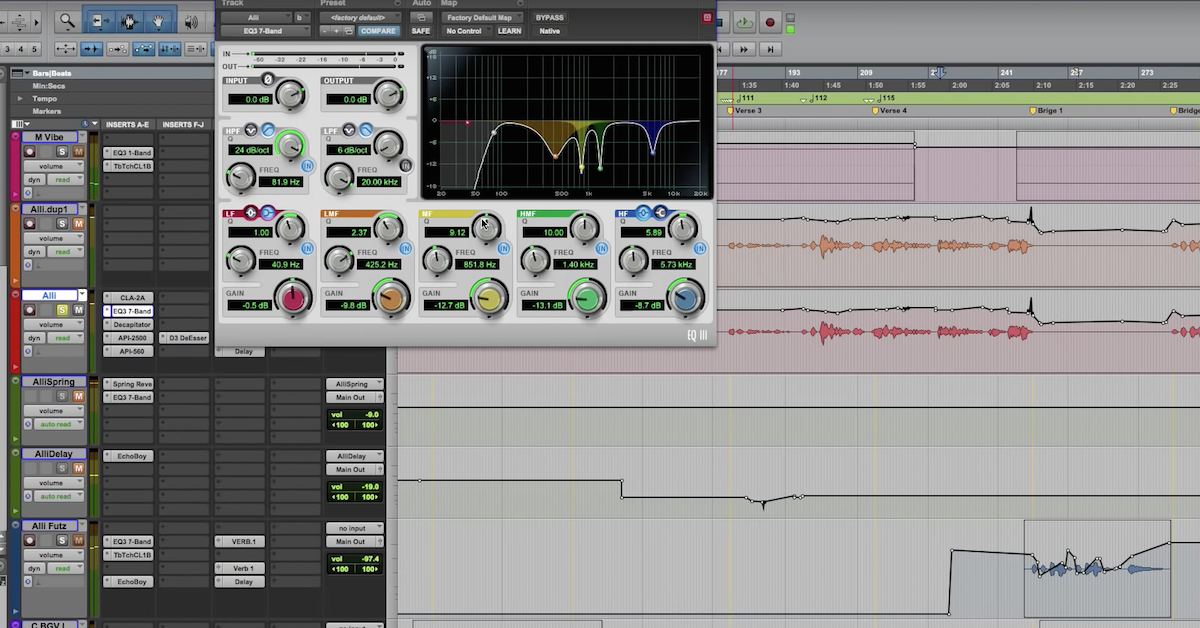
The headphone mix is extremely important. As a default, I want the instrumental track to be a bit louder than conversational level and the vocal return about even or maybe a hair louder than that. Essentially, I want the vocalist to feel like they’re inside the music without blowing their ears out. I’ll also set up reverb, delay, EQ, compression and Auto-Tune. The more the vocalist feels like they are creating the final record, and the more magical the vocal already sounds, the better they will perform.
Some vocalists do not like all these effects — they all have their preferences. But I suggest starting with all of this stuff ready to go. In regards to the quantity of reverb and delay, I try not to go crazy with it — too much delay can screw up an artist’s rhythm and too much reverb can screw up their timing or pitch. Just enough to feel like it’s got some magic to it.
8. Know Your Mics: Find Complimentary Voices
Yet another important aspect of vocal production is understanding how mics and voices interact. Taking energy away from a vocal sound with EQ is exactly that: taking energy away. Sometimes we have to do that. However, ideally, we pair the voice to a microphone that requires little to no EQ compensation.
An easy way to do this is to think of our mics on a scale from warm to bright. Ribbons like the Coles 4038 are on the extreme end of warm with mics like the RE20 and the U47. Mics like the 251 are more in the middle and mics like U67s and U87s are a bit brighter with more midrange. Finally, you have your M149, C800G, and Manley Reference on the brighter end of that spectrum.
When you know the tonality of the mic, you can pair it with the tonality of the voice by choosing an oppositional sound. For example, [Censored] has a very bright and midrange forward voice. Recording him on a Manley Reference or C800G can be pretty harsh. His voice fairs much better on warmer mics, like an Elam 251. However, [Censored]’s protege Lijah Lu has a very round voice. He sounds far too dull on a U47 and fairs much better on a U87 or C800G.
Preamp choice can also affect this but it’s a bit more subtle. I put preamps more on a scale of “clean” to “saturated”, and then think the same way. If someone has a really gruff, overtone heavy voice, I’ll go with a cleaner preamp like a Tube-Tech MP1A. If someone has a cleaner voice I’ll go for something more along the lines of Neve-style preamp and drive it a bit.
Sometimes we have to make do with what we have. For some of the records, I was a bit confined to a Manley Reference into a UA6176. I had to make do with mic positioning techniques and careful gain staging on the preamp to make it work.
Post-Production
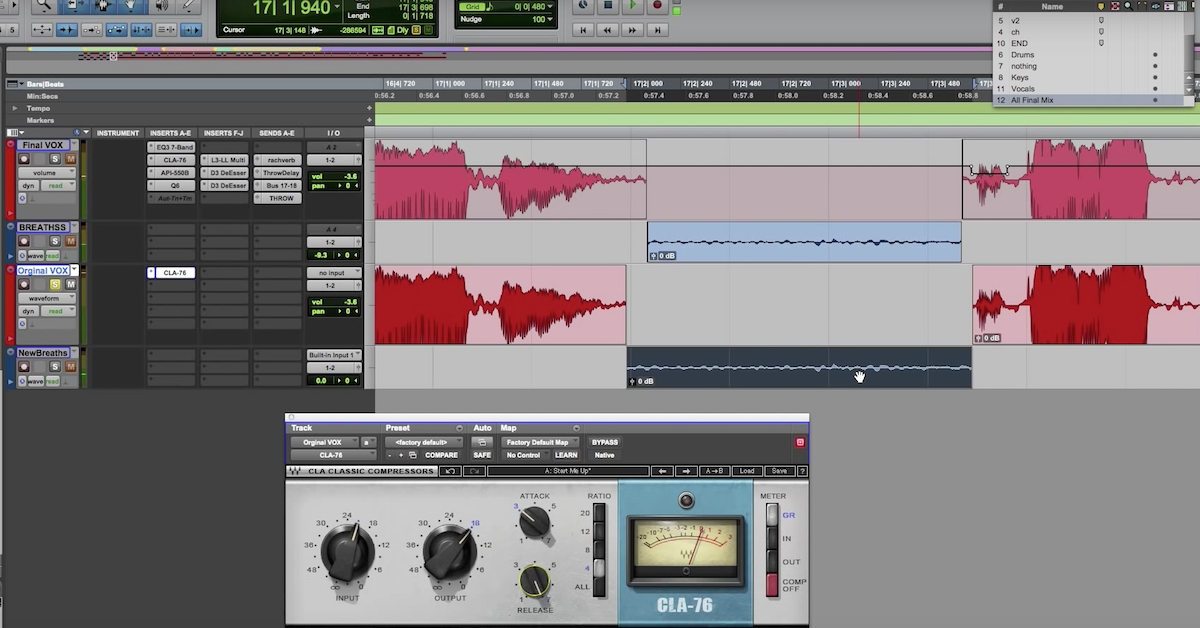
The process doesn’t stop when the artist leaves the room. We’re just getting started. I do edit passes of the vocal to fine tune the performance.
Timing is a huge part of this. Making sure the lines are in the pocket the whole way is exceptionally important, particularly in any sort of Pop music. I like to set my nudge value to 300 samples and slide anything that feels out of pocket by a nudge or two to set it in.
Most of the time if something is out, it’s generally a bit ahead of the beat and needs to be laid back. Maybe this is because the singer’s brain is subconsciously detecting the micro-delay from the Pro Tools latency. Even if it’s only a couple milliseconds I believe the human brain is capable of hearing it on a certain level. Or maybe it’s because vocalists tend to get excited while performing and jump the gun a hair. Whatever it is, if I can tell something is off but can’t immediately hear what it is, I try nudging the vocal to the right a bit first. I also do a timing pass of any backing vocals to the lead vocal. I don’t necessarily do the strict Vocalign thing unless I just want something to sound like one really thick lead, but I make sure the consonants are all lining up within the same few milliseconds so there’s no vocal flam.
The other thing I harp on is the amplitude envelope of words and phrases. In general, I like the cadences of a phrase to be emphasized. I think this helps the listener remember the lyrics. The vocalist will naturally do this most of the time, but I like to check things and maybe help it along if need be.
I also pay attention to the front and back of words. The front of the word is what enables a listener to discern the vocal. The tail of the word is oftentimes where the nuance of the voice appears. If a word doesn’t attack enough or the tail isn’t loud enough I’ll go in and manually fix it. Likewise, if anything pops out like an over-enunciated consonant, I’ll bring that down as well. I find doing it manually rather than relying on compression produces better results.
I’ll also do a spot check for weirdnesses — clicks, pops, clipping or resonances. I manually edit these out as well. Crossfades generally kill clicks but if it’s mouth noise sometimes you gotta get in there and really work it out with, for example, the pencil tool or some creative editing. Pops usually just need a quick high-pass filter in destructive edit mode.
Clipping sucks. Try your best to avoid this at the tracking stage. Otherwise, iZotope RX works miracles. And for resonances, it’s just a matter of getting in there with a notch filter and killing it dead. It’s a process, but we’re looking to sell millions of records and that’s how it’s done.
Lastly …
Everything I’ve mentioned in this article is a toolkit. It’s an arsenal you keep on deck for when it’s needed. Having a feel for the flow of a session and what needs to happen when is an art. And a big part of that art is knowing when not to use these tools. [Censored] walks in already warmed up and ready to go. He’d look at me crazy if I had him running scales. Other artists need an acclimation period. It really just depends. For those that need a warm-up, I’m ready to go. For those that don’t, I’m ready for that as well. The whole purpose of all of this is to facilitate the most conducive environment to allow artists to do their thing.
Eleveate Your Ears