Tips for Mixing Screamed Vocals
We’re going to talk about tips for mixing screaming vocals. We get a lot of questions about that because, let’s face it, they’re really, really tough to get number one, cutting through and leading the song the way they’re supposed to without just sounding like total garbage, and they’re just tough to deal with all around.
So Joey, take it away.
Joey: Number one, you’re going to be dealing with compression. The vocals are probably the most dynamic instrument in your mix. They’re going to be really quiet, really loud, from word to word, and especially with screaming vocals, I think there’s a lot of dynamics in the actual tone of the voice. You know, lots of fluctuation in terms of the size and the depth of the sound. Compression can kind of help you flatten that out a little bit, and make more of the characteristics of the screaming come to the forefront of the mix.
Now, however, not everyone uses compression. I know there are some people that use limiting. Like you Joel, is that right? Joel: Oh my god, I limit the crap out of my vocals. What I like about limiting versus lighter compression is lighter compression usually requires a lot of automation, and I think that if you limit, it brings in a certain level of aggressiveness to the vocals. Especially if you use a limiter that distorts well. For example, I like Waves L1 is awesome, or your Gain Reduction is really awesome.
That’s technically a limiter, not a compressor, right? Joey: Yeah, it’s kind of a cross between – it’s definitely in the middle ground, for sure.
Joel: I’ve never checked or cared enough to even think about it. I just turn it on and go like this, and then I’m happy. [laughs]
But I like limiting because it can add some nice subtle saturation sometimes, and it can help the vocal cut, because it can give it that little extra bit of pop in the mix, and it allows you to have the control where you adjust the level and the dynamics as you choose.
Joey: Yeah, and I think with compression, you probably – a good starting point for aggressive vocals would be really fast attack and pretty fast release as well, which kind of becomes a limiter at that point, but that’s what you’re dealing with.
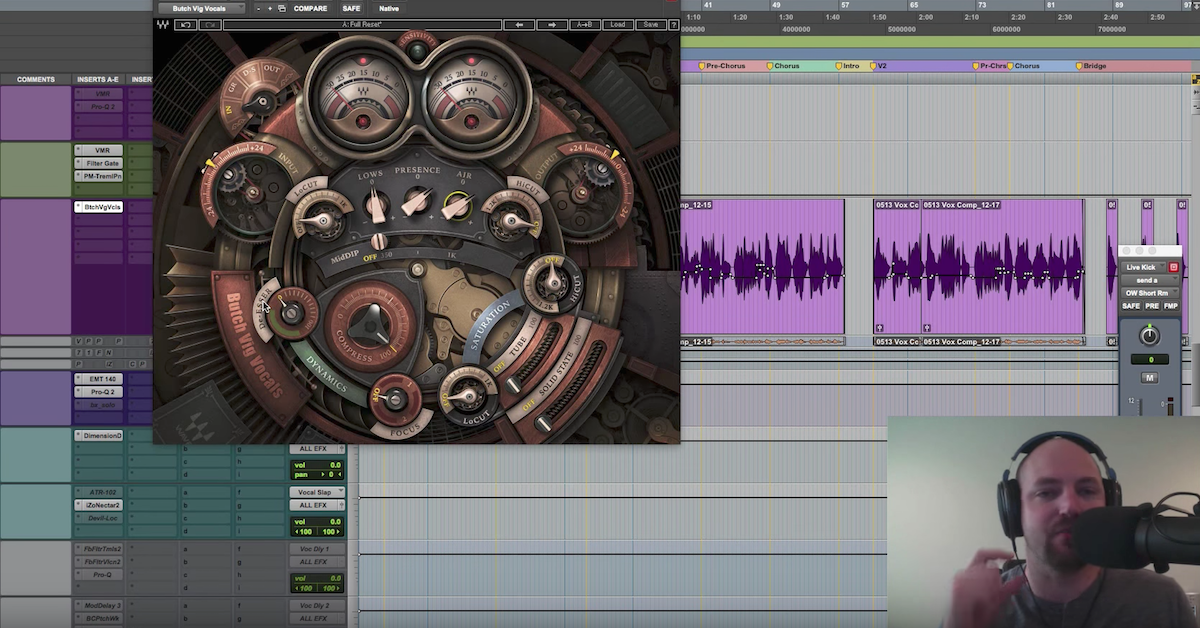
Now, once you compress a little bit more and you start to bring out all of the levels, you’re going to notice that your esses are going to get louder. So, to deal with that, basically you would either do some multi-band compression or de-essing. What exactly are you guys using for de-essing when you encounter this? Joel: Well, I just like usually the stock Cubase one, or like the stock Waves de-esser, but I usually like to de-ess sometimes a little bit before compression, because sometimes compression can bring out the sibilance a little bit more. Like the attack of those frequencies, or I’ll pre-EQ some of that stuff out.
You can experiment with going pre and post, but if that doesn’t work, you can go and by hand do EQ automation or volume ride automation, but you have to be very careful of vocal peaks on the esses and the tees and all of that fun stuff.
Eyal: I guess in addition to everything they’ve said, one of the main-stays for vocals with me would be the use of distortion and saturation, and there’s a few different reasons for why it’s kind of like a life saver when it comes to heavy vocals.
First of all, I’ll say that my two favorite distortions would be Decapitator and Saturn. They sound great on vocals.
One of the main reasons that I use them on vocals is because sometimes, you put all of the compression in the world on this super aggressive vocal, and still it just doesn’t gel with the mix. Much like the way that if you put a clean bass guitar under a heavy mix, it would just kind of stick out like a sore thumb.
Adding the distortion helps somehow glue it in well. Also, if a guy just doesn’t have enough of that balls in his throat, the distortion helps to bring it out very much. Adding those harmonics to a voice will really, really help to make it sound as aggressive as it needs to, and conversely, you can smooth out the vocals if you need to as well with gentle saturation.
So there’s many, many reasons to use it. Plus, everybody loves really crazy lo-fi distortion effects at times with distortion, so.
Joel: Hey, Eyal, do you ever like parallel distortion or saturation on your vocals? Because I’m a huge fan of that.
Eyal: Absolutely. I parallel that stuff all the time. Take a super distorted – I mean, distorted at like, 100% with the mix knob all the way, and have that very, very quiet under your main track. It definitely tends to help the aggression and the cut come out.
Joel: Another usage too is sometimes, you can get – especially if it’s recorded on a really, really crappy microphone, you can get a really harsh sounding or thin sounding vocalist, and having that little bit of parallel saturation or even heavy distortion onto it can really give it that little extra warmth and pop it needs to make the vocal gel in a little bit more to the mix and just lock.
Eyal: Yeah, it’s weird, it helps it pop and cut through the mix as well, so it glues it to the mix. It does two seemingly opposite things at the same time very well.
Joey: Yeah, so using a distortion as an EQ, which was actually my next point was EQ, with the screaming vocals I think you will encounter sometimes where there’s a little bit too much low end going on there. I like to filter that out. Pay attention to the 2k-8k range where it can get kind of harsh with the voice, depending on who the voice – what the voice is. Sometimes, you can take care of that with a de-esser, with not just necessarily the purpose of de-essing, but also de-harshing.
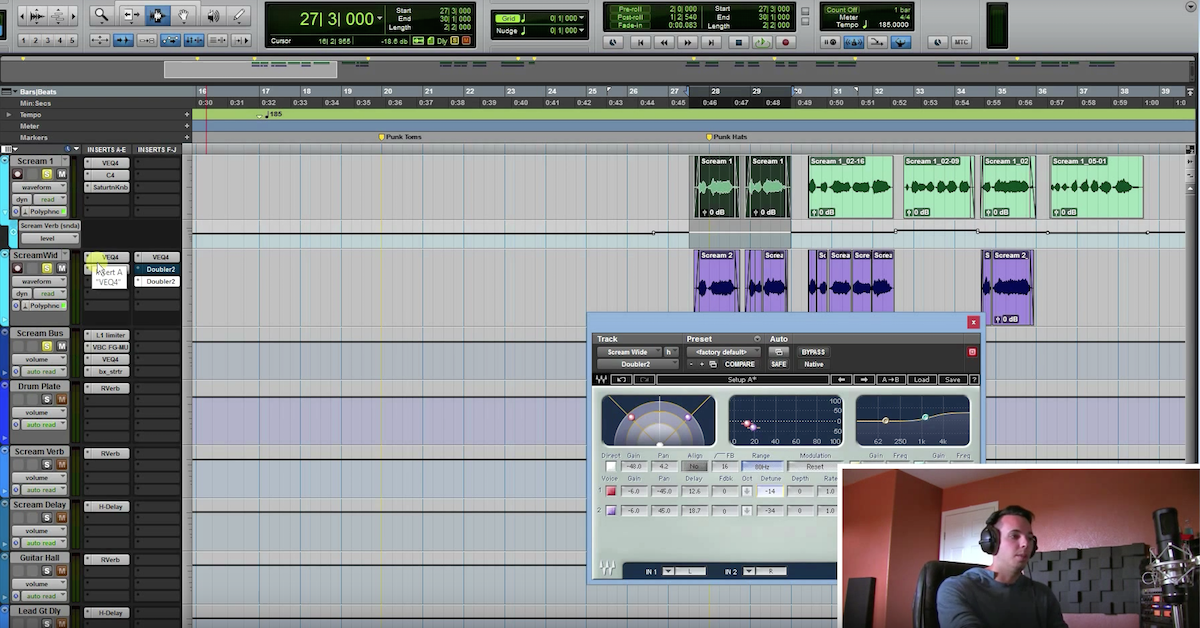
Or you can go in and actually automate EQs, which is what I do, and I will also have several different tracks that have different EQ arrangements that I can slide my audio events into, which is effectively like automating the EQ, but in a much easier to manage way.
Eyal: Do you ever do parallel EQ? Joey: I have not really messed around with parallel EQ too much, but there has been a few situations where that has actually saved my ass where the vocalist makes this really shrill sound, and you need to combat that, but you don’t want to completely mangle his voice, so sometimes, parallel EQ can help you with really harsh situations like that.
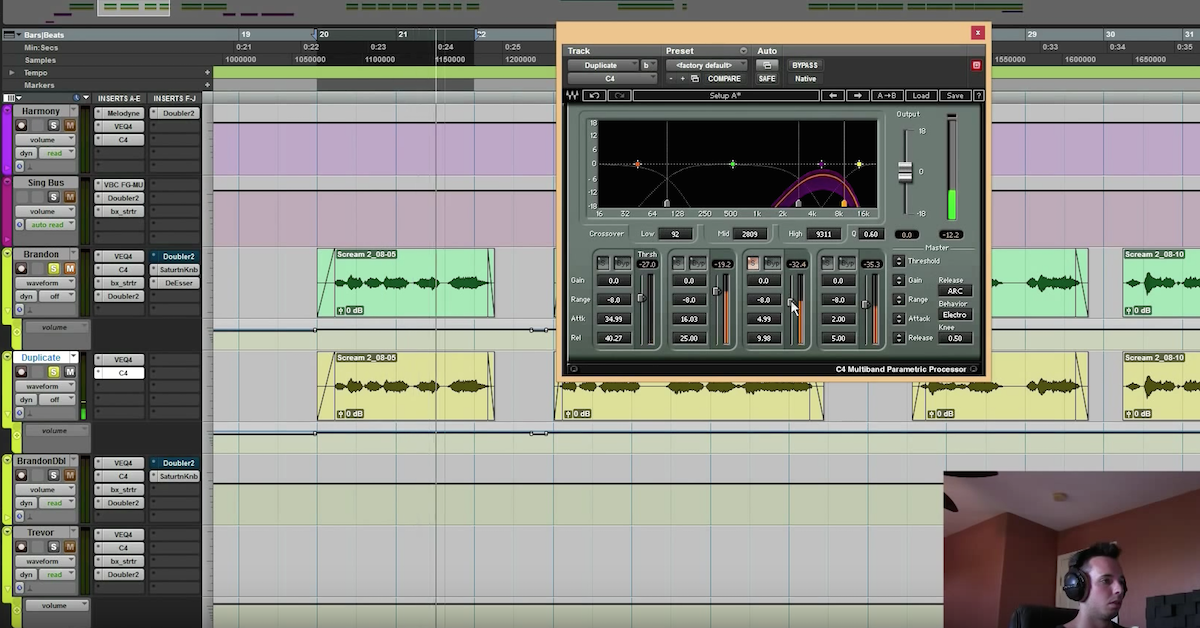
Joel: Well, I pile on that too, in terms of equalization, another cool trick to use is an EQ which is really a compressor is taking a multi-band compressor and kind of using it like a dynamic EQ, so you can set an EQ curve and get your curve for your vocals, but if there’s a little too much over here on a certain note where it sounds too piercing or harsh, it will clamp down and tame that region a little bit more.
Or even sometimes parts where like a screamer will hit a note or like a high or something, and it sounds really harsh in a particular frequency range, you can use a narrow multi-band like C4 by Waves or something like that and have it center in on those frequencies, and when they hit those notes that are a little bit harsh, or those tones, it can kind of pull that down just like you would on a singing vocalist.
So that’s another way to kind of EQ without necessarily EQ’ing.
Eyal: I’ve found good use to parallel EQ when it comes to bringing out effects that you want over certain frequency ranges. Like, say you want sparkly air on top at certain points, but you definitely want it to be somewhat affected, like have a nice, sparkly, delayed air, then yeah, you’d cut out everything below 8kHz for instance and blend that in very, very quietly.
Or if you want to bring out some nasty, guttural gargle that sounds chorusy almost, EQ where that is at a chorus and blend it in very subtly.
So I’ve definitely done some very, very narrow band EQs on effects and blended those in parallel and gotten some very good results that way.
Joey: Hopefully you guys enjoy these tips for mixing screaming vocals. If you’d like to learn a little bit more about how to do this, we’re mixing a song live on the internet. You can watch that at nailthemix.com, and also, you’ll be able to download multi-track files with some screaming vocals in there for your own practice that we’ve recorded ourselves.
So if you’re interested in that, check it out. Nailthemix.com, and if you like this video, please share and subscribe. Thanks for watching.


