Tips for Adding Modulation to Convolution Reverb
05/5/2016
I’ve got a trick to show you about adding in some modulation and variation to convolution reverb to make it more interesting. This is a trick that I’ve adapted from a full length tutorial that I’ve put together before all about algorithmic reverb.
In that video, I go into much more detail and show off several more of these different kinds of creative tricks you can use when you’re working with digital reverb.
So if you like what you see here, make sure to check out algoverb.com.
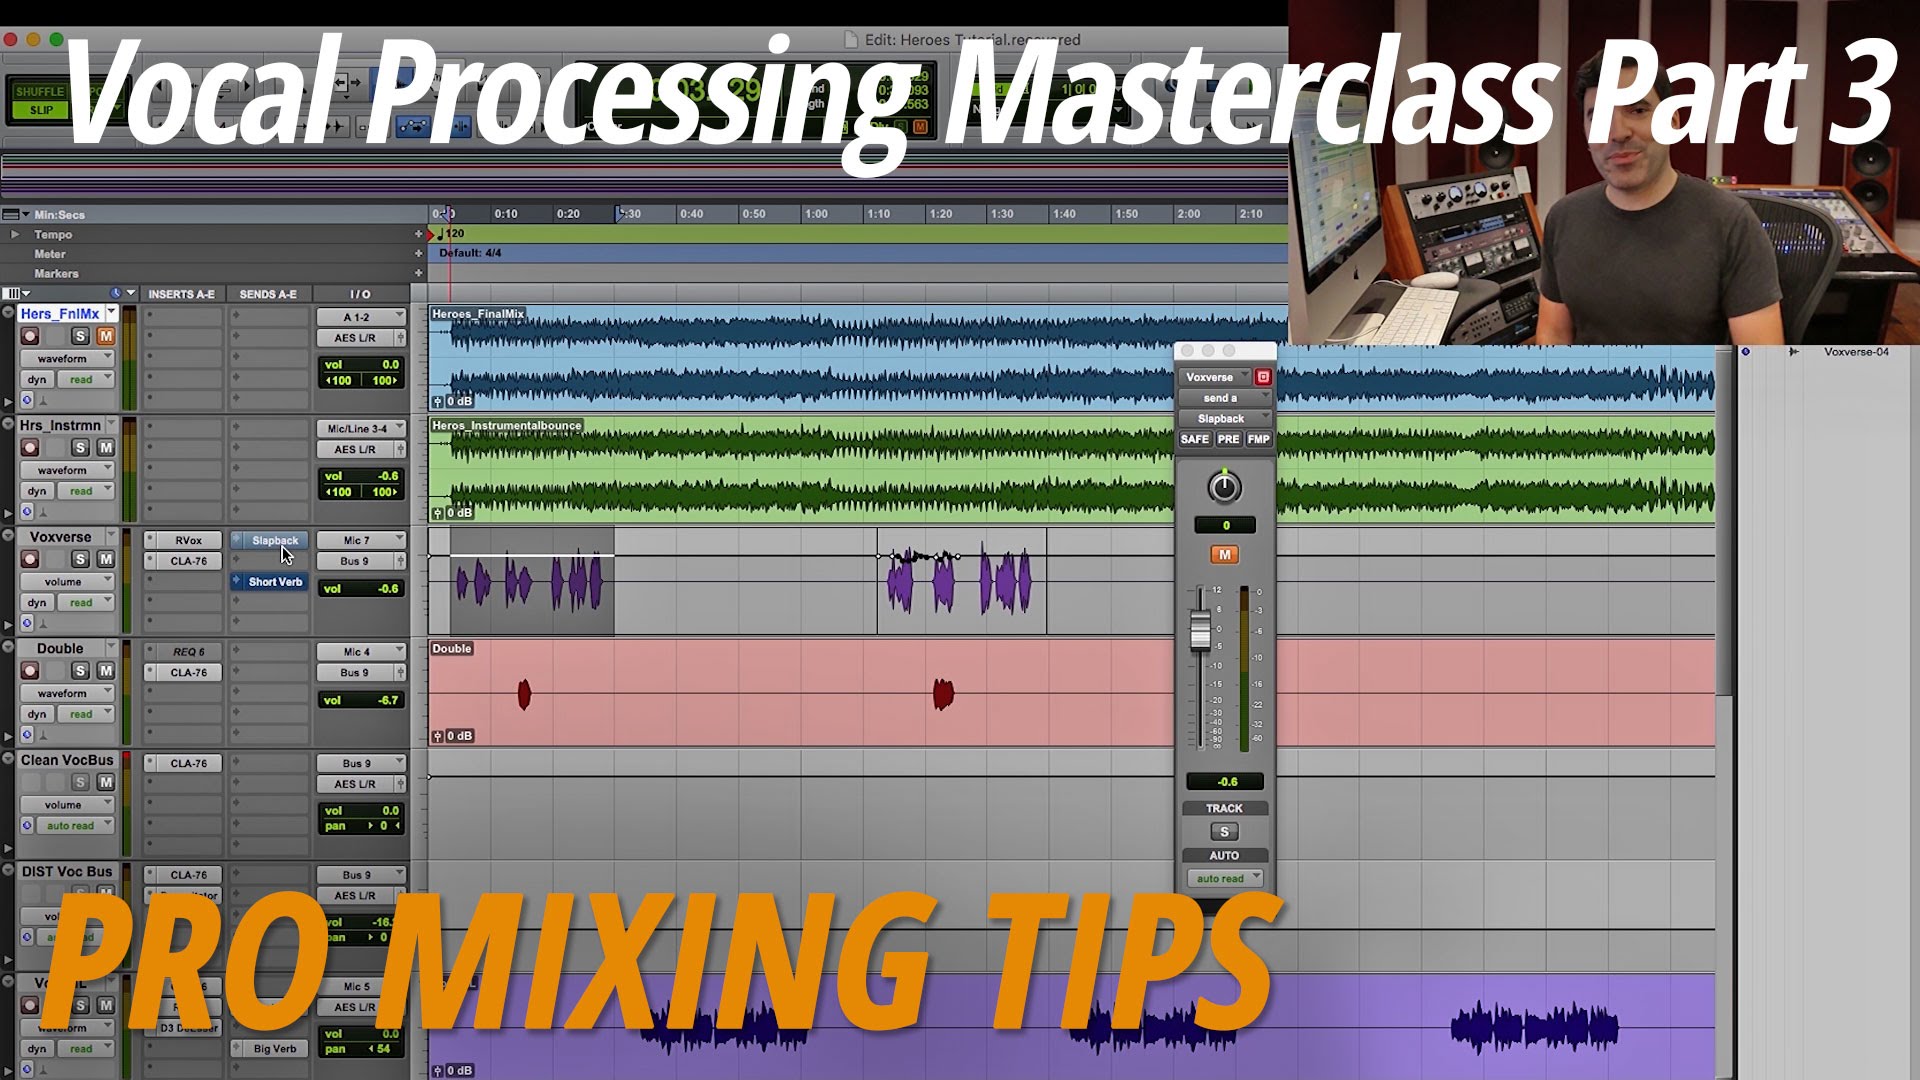
In this video what I’m going to be doing is adding in a plate reverb sound to my lead vocal, and then I’ll go in after the fact and make it a little bit more interesting. To start out now, I’ll play my song and blend in the reverb.
[mix]
For demonstration purposes, I’m going to over-exaggerate the reverb here at the beginning, and at the end, back it off to something more reasonable.
Let’s go ahead and solo the vocal and listen to it with the reverb.
[vocal with reverb]
Now I’ve talked with a lot of engineers that say they like the sound of convolution. It sounds pretty natural, but it sounds boring. It sounds static. Nothing is really changing and going on and breathing with the song.
So what I’m going to do here is add in some extra modulation to make it more interesting. This modulation is going to come by working with a little bit of predelay going into the reverb. So here, I’ve got my vocal bussed over to an auxiliary track, and the Waves IR-L plug-in with the plate impulse response already loaded up over here.
What I’m going to do is add some extra delay going into this plug-in.
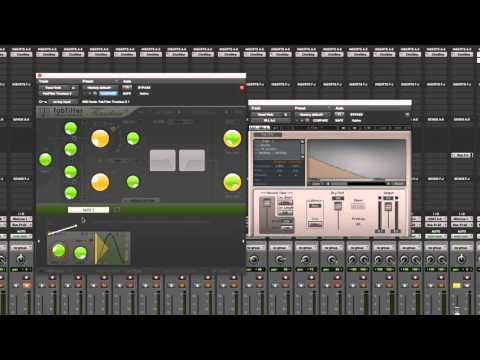
So here, I’ve even pulled up a delay plug-in. FabFilter Timeless II. So the order of these things happening, I’ve got the vocal bussed over here going into Timeless II, then from there it goes into my reverb.
So I’m going to use this just to effectively add some predelay. So I’ll even turn off a lot of these extra settings. I’ll start out with something pretty boring. I’m going to turn off the dry mix so that all we have is the delayed signal going through. Even going to sync up these two delays so I’m — all I’m working with this is just one single delay.
I’ll turn off the feedback and just so you can hear it by itself, let me bypass the reverb and just listen to the delay.
[vocals play with delay]
Alright. Now the delay into the reverb.
[vocals play with delay going into reverb]
Now here, the intention is not to make the delay audible. Now, you can hear it’s kind of like a slap delay right now. So what I’m going to do is shorten it up so that you’re not actually hearing that there’s this really long predelay.
[vocals play with delay going to reverb]
Somewhere between 10 milliseconds and 20 milliseconds is great.
Now, the next step is add in that extra variation, or modulation. I’m going to do this here by adding in an XLFO. This is a cool feature of the Timeless II plug-in. What it allows you to do is add some variation or modulation here in the form of the low frequency oscillator. I’m going to actually now change this delay time.
So instead of being stationary and static at 12 milliseconds, it’s actually going to move around. So it’s going to change the delay time, but it’s also going to do some cool things with the pitch.
I’ll let you hear it here in the original settings where it’s almost overdramatic and doing too much.
[vocals with XLFO automation]
That’s really not the effect that I’m going for, so a couple of things that I’m going to change.
First I’m going to back off the rate of this LFO. So instead of going very quickly up and down that it’s modulating, I’m going to slow it down by a lot. Listen to this.
[vocals with XLFO automation]
So the amount that it’s changing is going much more slowly now. The next thing I need to do is just reduce how wide that it’s changing. So this control here means how dramatic the effect is. Listen to this.
[vocals with reverb and predelay automation]
The wider I make these two things, it’s as if we’re sweeping now between maybe five milliseconds up to 25 milliseconds.
But if I back these off and make them closer together, now it’s like I’m only sweeping between 10 milliseconds and fifteen milliseconds. Just some small amount. It’s enough to add a little bit of extra interest.
[vocals with predelay automation]
So now I’m adding in that extra predelay with a little bit of modulation that also affects the pitch in some pretty interesting things. In the context of the mix now, the reverb is going to breath a little bit more. So listen to this.
[mix]
The end result then is I’m thickening up the vocal. I’m also adding in that sense of space.
That’s all there is to it guys. Now if you liked this trick, there’s plenty more of these that come up in my algorithmic reverb tutorial. That’s over at algoverb.com.
So take care, guys.
Elevate Your Ears