9 Tips to Help You Turn a Good Mix Into a Great Mix
03/16/2018
Article Content
We’ve all been there … countless hours spent meticulously crafting a mix. Every instrument has been shaped to perfection, brought into level, and glued nicely together at the mix bus.
Yet, something still feels like its lacking; like there’s something missing. You want the mix to have energy and excitement, but you can’t put your finger on an obvious problem within the mix to solve.
You’ve created a good mix, but that’s not good enough for you.
I’ve had this experience a lot. After trying out a lot of different ideas, I came up with a list of “finishing touches” I like to use when I’m at the end of a mix. These are all subtle mix moves, hardly noticeable to even a discerning listener. But, they can add a little something extra to the mix.
These tricks work for just about every genre of commercial music: pop, rap, rock, electronic, country, etc.
All of these tricks are automated for different parts of the song, such that the transitions between chorus, verse, and bridge have some extra impact. Therefore, I’d strongly recommend getting every other part of the mix finished, then use these as the final cherry on top.
Here are nine tricks to turn a good mix into a great mix:
1) Push the Master Fader +1 dB at the Chorus
This is a well-known trick used by a lot of engineers. It’s also pretty easy to understand, so it’s a good one for the start of my list.
The idea is to use automation on the volume of the master fader at different points in the song. When the energy of the song needs to build, just increase the volume by +1 dB. Then, bring it back down when the section is over. This adds a little extra impact for the listener.
In Pro Tools, the Master Fader volume is “pre-insert.” Therefore, you are increasing the overall level of the mix going into your mix bus compression/saturation. This will give you a little more squeeze and excitement for the big sections of the song.
2) Stereo Width of Reverb
Another thing I like to automate is the width of reverb effects. Rather than leaving the reverb panned +/-100 for the entire song, narrow the reverb to +/-50 for some sections. Then, open it back up.
This is the perfect trick to use on vocals. It can change the feel from close and intimate to huge.
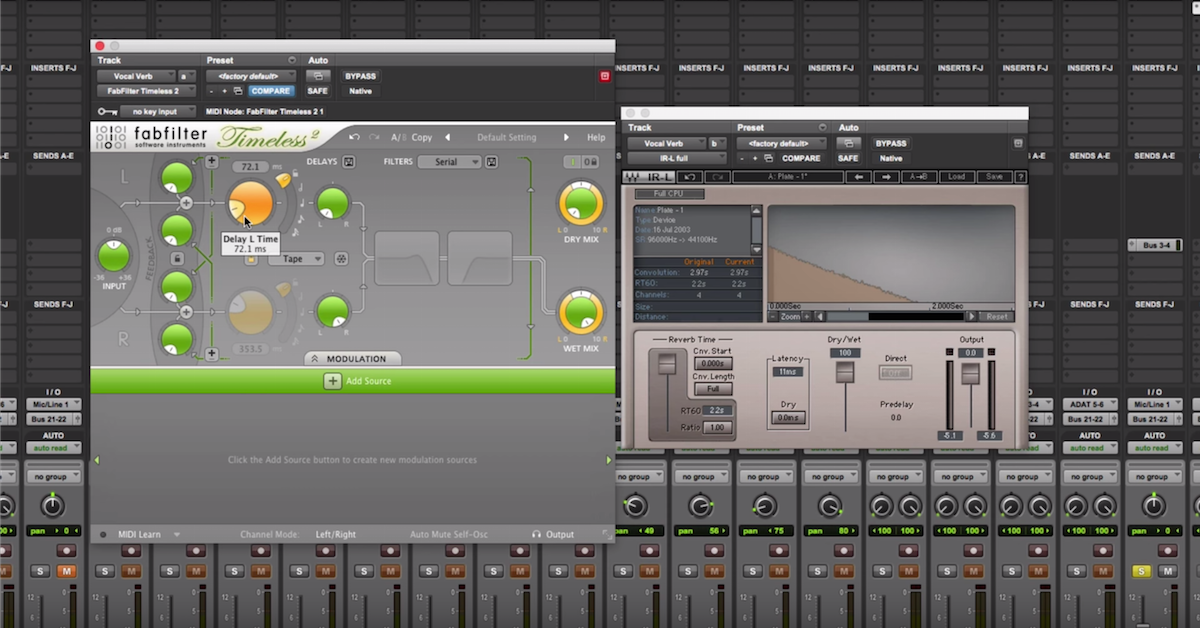
3) Pre-delay of Reverb
Sticking with the subject of reverb, I also recommend automating the pre-delay in different sections of a song. I typically use a range of 20 ms for subdued sections and up to 100 ms for the biggest sections.
This enlarges the space around an instrument or vocal. If done correctly, the vocal still sounds like it’s in the same space, but the space just sounds larger.
4) Automate a High-pass Filter
Everyone loves when the low-end of a song hits you — like really hits you. This can be a hard thing to create in a mix.
One trick is actually to remove some of the low-end until you want it to hit. I recommend experimenting with a high-pass filter at 90 Hz. Leave that on for most of the song, so the listener gets accustomed to the balance of the bass. Then when the time is right, drop the HPF to 40 Hz and open up an extra octave of bass.
You’ll know when it works.
5) Automate Mix Bus Compression Threshold
When executed correctly, there is nothing quite like having 1-2 dB of gain reduction on the mix bus compressor to glue the mix together.
But, who says a mix needs to be glued together throughout the entire song? It can be a really powerful mix technique to let a song breathe temporarily and then glue it all together.
I recommend experimenting with the threshold on your mix bus compressor. During some sections of the song, back it off so you don’t have any gain reduction. Then bring it in during another section for that magical force to squeeze everything together.
6) Sidechain Vocals to Music
One of the hardest things to get right in a mix is the balance between the lead vocals and the music. It’s really easy for the vocals to get buried under the music, and it’s just as easy for the vocals to seem too loud.
I like to set my vocal level to what I think sounds right, as my starting point. The main thing I’m listening for is that the music is loud enough and that it still has impact when the vocal stops.
At the end of the mix, I’ll set up a music “submix” separate from the lead vocal. Then I sidechain the vocal to a compressor on the music submix. At most, I want 1 dB of gain reduction on the music when the vocal is singing.
If a listener can hear the compression, then you’ve gone too far. This is not meant to be an audible effect. Ideally, it just helps the vocal carve out space in the mix to cut through.
For a more nuanced and advanced approach, I would recommend using mid-side compression. Since the lead vocal is panned to the center, you could just sidechain the mid compressor without doing anything to the sides. This will create space in the center of the mix without needing to reduce the amplitude of the music panned away from center.

Ready to elevate your ears?
It doesn’t have to take years to train your ears.
Get started today — and you’ll be amazed at how quickly using Quiztones for just a few minutes a day will improve your mixes, recordings, and productions!
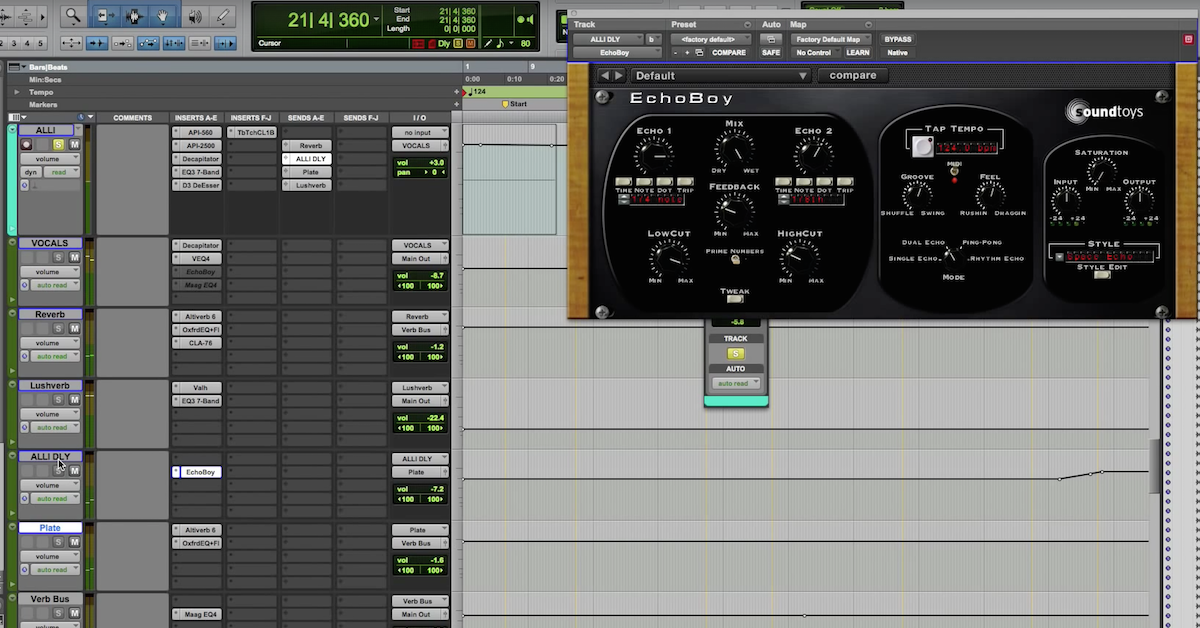
7) Automate the Delay Time
Many engineers use delay as an effect to add the sense of space. My preference has always been to synchronize the delay time to the tempo of the song. Typically, I experiment with a sixteenth note, eighth note, quarter note, and half note delay. Sometimes I try dotted versions of these notes.
I used to always set my delay and leave it for the entire song. I never thought to do anything else. Then I found out that changing the delay time during the song is a great way to distinguish each section and add emphasis at different points.
If you use a short slap delay during the verse, then try a longer echo during the chorus. It can really open things up. If you use a simple 8th note delay for most of the song, try a dotted 8th note in the bridge. This can change up the groove in a subtle, but effective way.
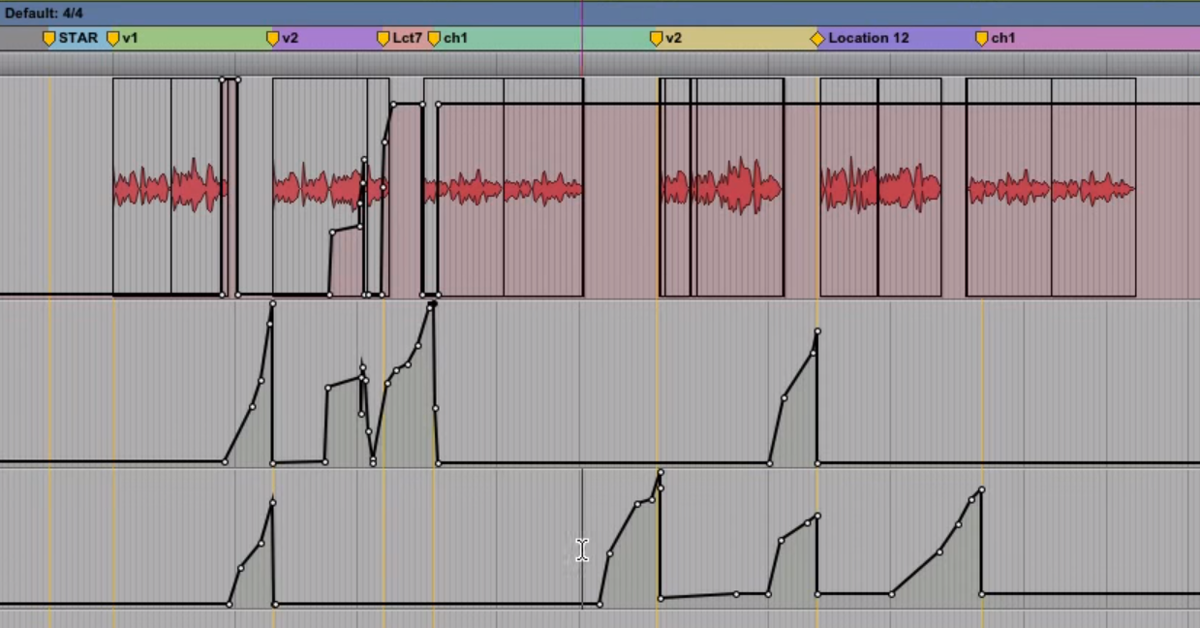
8) Automate the Amplitude of Spatial Effects
Both reverb and delay can be difficult effects to set at the appropriate level. Rather than set them at a single level, I recommend automating their level for every part of the song.
It can sound really great to perform ducking on the vocal effects, such that the amplitude of the spatial effects is low during a vocal phrase and then louder as soon as the phrase is finished. This prevents the effects from washing out the vocal, but they still contribute to the sense of space.
I also like to bring delay up during one part of the song while turning the reverb down. When the song transitions to another part, I turn the delay down and the reverb up. It’s another small tweak that can add up to a polished mix.
9) Mid-side EQ
This is the most complicated trick I like to use. Here, I use a mid-side EQ where I leave the mids alone, and just change the sides.
During the chorus of a mix, I’ll boost around 2 kHz, 5 kHz, and 8 kHz by +1 dB on the sides only. This adds a little extra excitement and pulls the listeners attention out to the entire stereo field. It gives the impression the mix is extra wide during the chorus.
This trick is easy to overdo, so remember to apply it subtly.
Conclusion
Hopefully this gives you some ideas to try out on your own mixes. There’s nothing worse than getting in a rut of doing the same thing over and over again.
The main thing is to think creatively. There are a lot of other small tricks you can apply at the end of a mix. What are your favorites?
Eleveate Your Ears