How to Create a Lush Reverb and Delay
03/18/2014

You can also do a lot of negative things with reverb and delay. You have to consider the source material. If your piano is out of tune or your lead vocal isn’t a great performance, basically you’re just creating many many repeats of the original signal, and therefor multiplying the problem.
Another thing to consider is the tempo of the song. In this case we’ve got 124, which is pretty slow. And another thing to consider is the style of music. In this case we’ve got a ballad, which lends itself to reverbs and delay. If you’ve got a punk-rock r=tune at 188 BPM with crunching guitars and a screaming lead singer you might not want to use big reverbs with 8 second tails. But in this case it works.
So I’m gonna go ahead and play the beginning of the song. This is Bad Choices Bait by the band Goose & Fox, check it out.
[music]
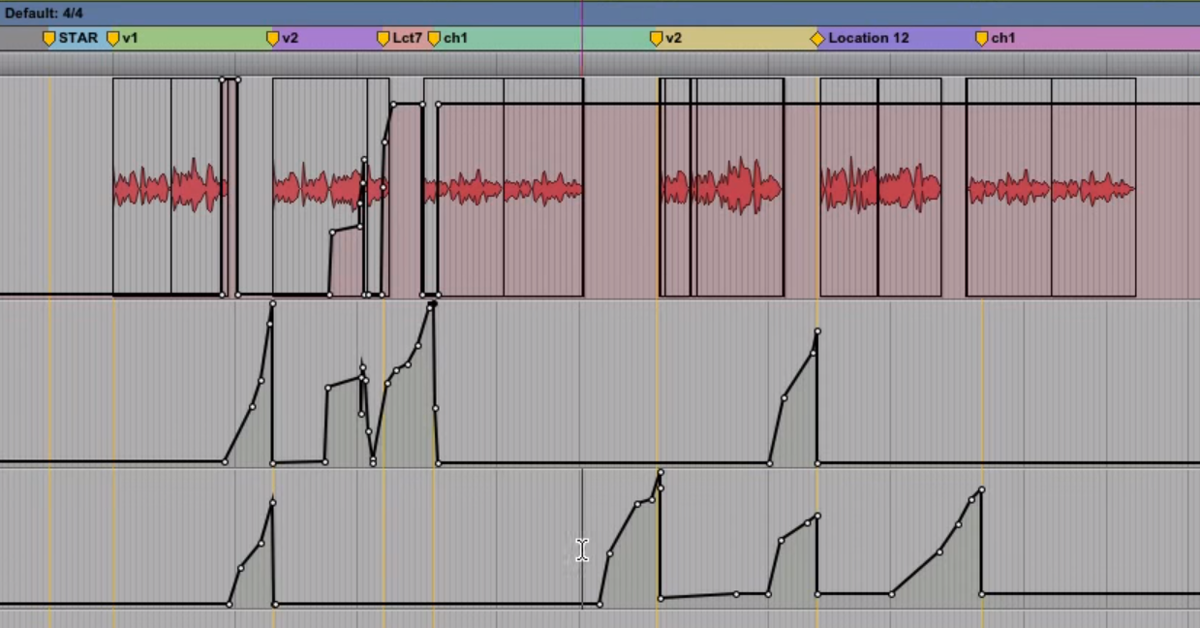
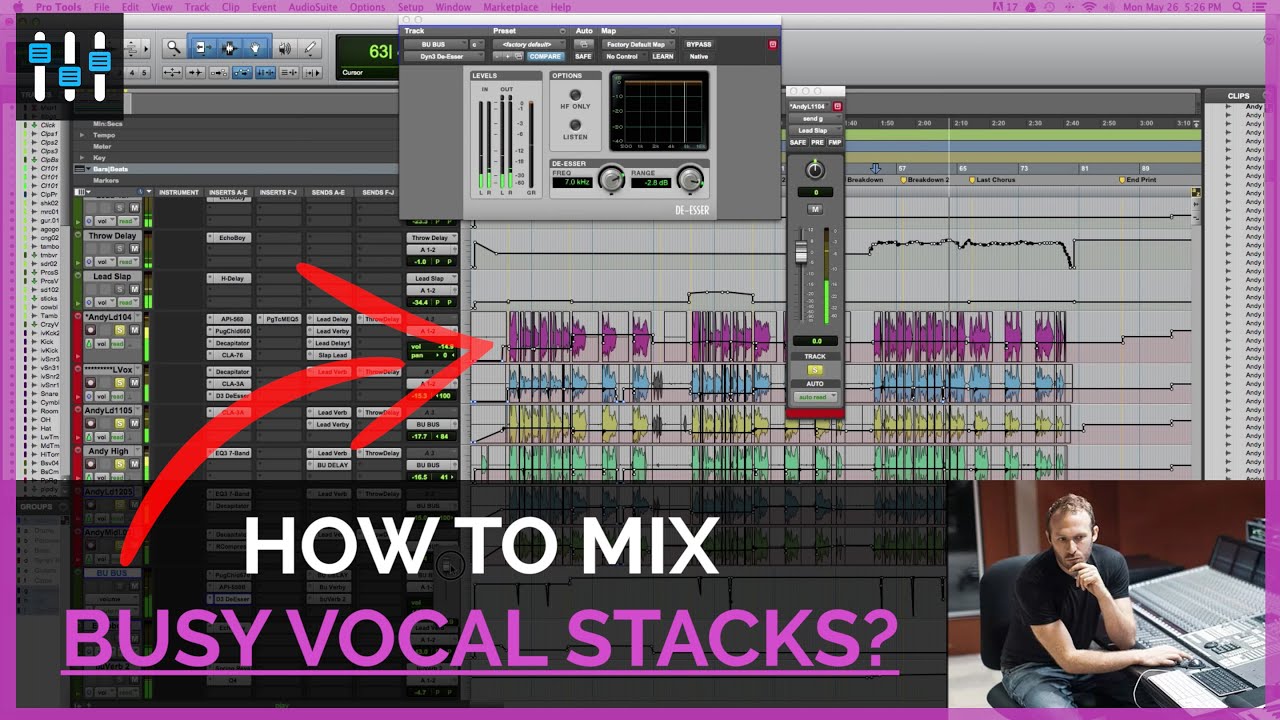
So as you can see, this lead vocal right here is being sent to multiple different aux tracks with reverb and delay on each of them. So things get confusing really quickly if you’re not organized. I feel sort of confused right now, but lets start by listening to the lead vocal and i’m going to mute and reverb or delay effects.
[music]
Ok, a thing to consider is that on this lead vocal, before any reverb or delay we’ve got EQ, compression, a little bit of distortion, more EQ, some de-essing, and even more compression. SO all of these effects are being applied before we’ve got these sends.
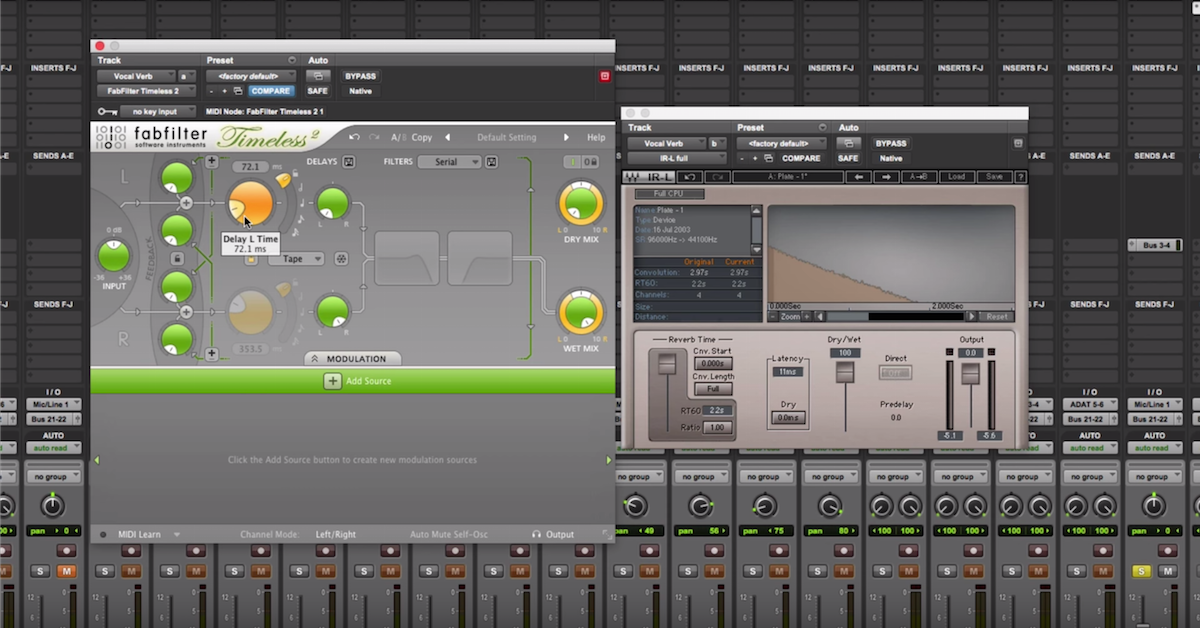
Now it gets really complex here, so we’ve got the lead vocal Alli which is being sent through this bus called reverb, which is arriving at this aux track which has the input set to reverb and the name of the track is also called reverb. And on that track, we’ve got Altiverb with an EMT-140 plate, this is an impulse response based reverb and it’s really great. And after this effect, we’ve got a high pass filter, and a little bit of compression to make the reverb really sound even and aggressive.
After that, this reverb track, the output is sent to verb bus. so from verb bus we’re arriving at this track called verb bus and then hitting the main output, only after another EQ which boosts a little bit of high end. SO most of my reverb an delay here is going through verb bus, with a little bit of high eq added to it, ok.
After that, we’ve got what is called Alli delay, this is the send right here, sent via this bus, arriving here at Alli delay and on this track we’ve got Echo Boy. This is where it gets even more confusing. Out of Alli delay, we’re going via plate to another reverb so essentially we have the lead vocal being sent to a delay, and that delay being sent to a reverb. Once again we’ve got a plate setting here, and then after that we have a high pass filter and a little bit of a high boost. And then out of that going to verb bus. Ok. So, things can pretty confusing pretty quickly if you don’t keep track of your naming system and color coding and everything.
This lead vocal is also simply going to this plate reverb right here, and what is called lush verb, which is umm, right here, we’ve got this valhalla room, which is a really wonderful plugin, and then after that plugin we’ve got a little bit of a low pass filter going on. So, reverb through delay, delay through reverb, and if that weren’t confusing enough, many of the other parts of the song including the drums, tambourine, backup vocals, more backup vocals, strings, guitars, are also all going through some of these reverb at different levels. And I did all of these things to taste. It took a long time, but what ends up happening is you have a sense of cohesion.
So let’s take a listen, lets go forward to the second verse, and listen to what it would sound like without these reverb and delays.
[music]
And the vocal sounds pretty naked and bare and doesn’t really fit with the genre of music. But once we add these reverbs right here it’s a whole different song.
[music]
Let’s go forward to the chorus.
[music]
So to make things easier for you, what I would do is after you are happy with your reverbs and delay sends and settings and such, what I would do is simply come out of this verb bus track and create a verb print. Because I would rather focus on one stereo audio track than 4 or 5 different aux tracks all with complex and taxing plugins on each of them.
So if you have any questions, this has been Ian Vargo with The Pro Audio Files. You cane each me at ianvargo[at]gmail.com. Make sure to check out Bad Choices Bait by Goose & Fox on iTunes.
Elevate Your Ears