5 Tips for Controlling, Filtering and Shaping Reverb
11/18/2014
Article Content
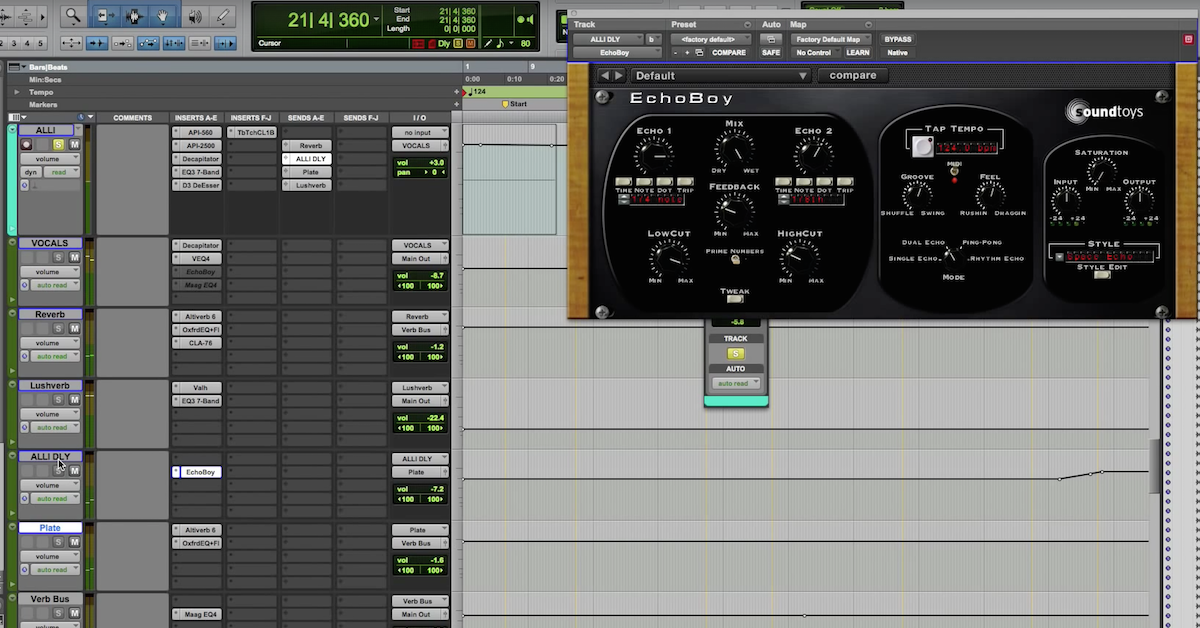
Most of the time reverb is not used as an insert on an instrument track, but rather on an aux channel so you can send the desired amount of signal from each instrument track to your reverb(s).
Aside from the obvious benefit of being able to decide the amount of reverb for each individual track, you can also process the reverb separately from your dry tracks in any way you’d like.
Your reverbs deserve the same attention to detail as your instruments and vocal tracks.
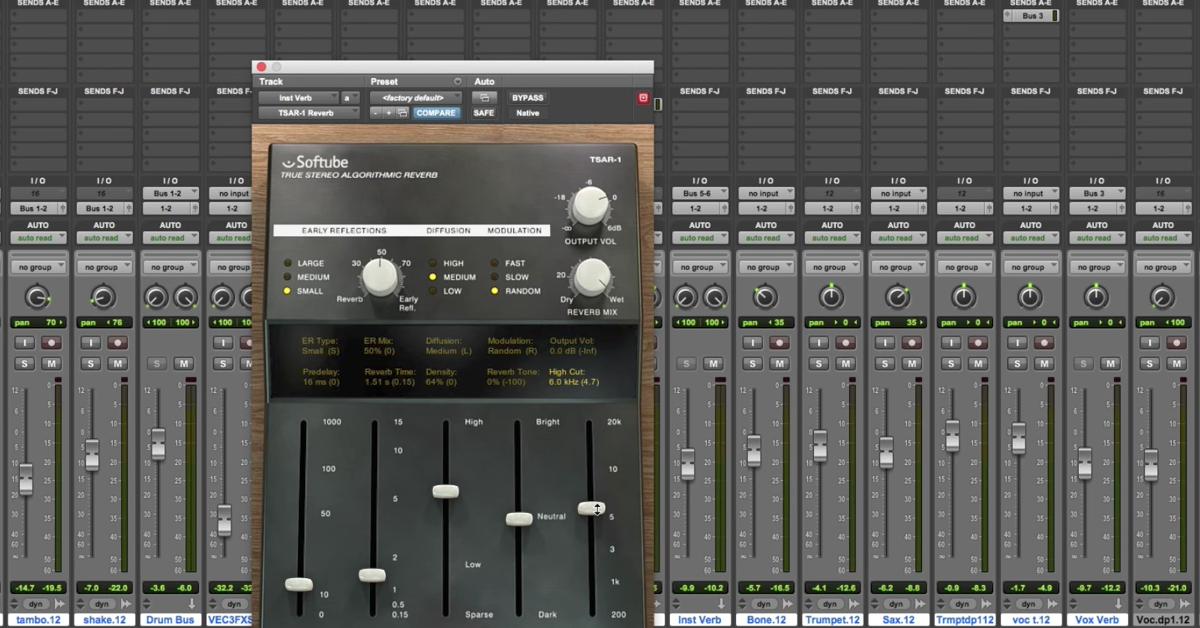
1. High-Pass Filtering
It’s usually a good idea to put a low-cut (high-pass filter) before the reverb to prevent low frequency buildup which can result in a muddy sounding reverb tail and take up unnecessary space in your mix.
Since the reverb itself can generate additional low frequencies, it can be wise to put a low-cut filter after the reverb as well.
Some reverbs include a filter/EQ section that can be used for this purpose.
2. Low-Pass Filtering
In the 80’s it was common to leave the high frequencies of the reverb pretty much untouched. Listen to to Wham!’s big hit “Wake Me Up Before You Go-Go” and you hear the esses go crazy in the lead vocal reverb.
This is a sound that is seldom wanted these days, so a high-cut (low-pass filter) is often employed to clear out some of the high frequencies. Don’t be afraid to go down to 10 kHz or lower.
Listen to how it sounds in the mix and don’t solo the reverb when rolling off the top end. Listen to the difference in sound when rolling off the top end before the reverb vs after the reverb. With a lot of reverbs it sounds better to put the EQ first.
3. De-Essing
A little trick you can use is to put a de-esser before the reverb. This way, you can have an airy sounding reverb without having those annoying s-sounds and t-sounds ringing out.
Try letting the de-esser work a little harder than you would on a dry vocal. This can work well on instrument tracks too.

Ready to elevate your ears?
It doesn’t have to take years to train your ears.
Get started today — and you’ll be amazed at how quickly using Quiztones for just a few minutes a day will improve your mixes, recordings, and productions!
4. Enhancing Transients and Harmonics
On drum reverbs, putting a transient designer (there are plenty nowadays made by SPL, UAD, Native Instruments, Waves etc.) before the reverb and turning up the attack can really tighten up the reverb and make the drums sound punchier without exaggerating the transients of the dry sound.
A great way to add excitement to the high end is by using a pitch shifter and going up 12 semitones (one octave) before the reverb. This creates kind of a chipmunk effect that when used subtly behind a dry sound can add energy and act more like adding harmonics to the original track.
Another way to achieve a similar effect is to add distortion before the reverb.
5. Special FX
Try putting a tremolo after the reverb and tempo-sync it to the BPM of your session to add some subtle (or not so subtle, if you wish) movement to your mix.
You can also use a guitar amp simulator after the reverb, which can be used to give your track more presence in a mix without affecting the dry sound.
Radical EQ like the ‘telephone filter’ before or after your reverb can achieve this as well.
Take Your Music to the Next Level
Making Sound is available now, a new e-book filled with 15 chapters of practical techniques for sound design, production, mixing and more. Quickly gain new perspectives that will increase your inspiration and spark your creativity. Use the 75 additional tips to add new sparkle, polish and professionalism to your music.
Eleveate Your Ears