4 Basic Types of Reverb You Can Use in a Mix
03/11/2016
Here’s a video for you about creating four basic types of reverb effects.
I’ve already got a rough mix pulled up in this session here for an acoustic pop song. I’ll play it back for you, and then I’ll get to work adding reverb on different elements of my mix.
[mix plays]
This mix has a number of different elements. Percussive elements, like claps, finger snaps, tambourine, shaker, and even drums.
I’ve got guitars like bass guitar, electric guitar, acoustic guitar, I’ve got piano, and a bunch of different vocals. Lead vocals, and then stacks of my background vocals.
One challenge as a mixing engineer that you face with a song like this, where all the parts were performed independently, is trying to get them all to blend together and mix together.
One thing you can do to solve that problem is to use reverb. So the first trick I’m going to show you, the first type of reverb, is a general purpose reverb to use across a lot of different elements in your mix to get them to blend together.
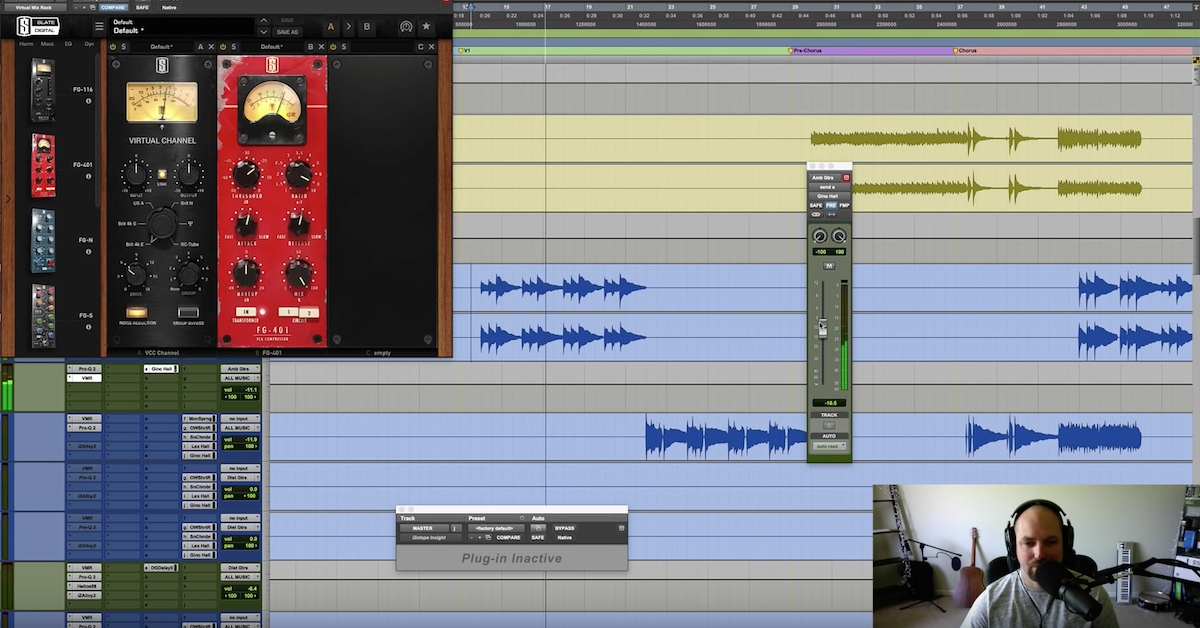
How I’m going to do this is create one stereo auxiliary send that I’m going to use for the reverb, and then use a buss from a number of the different tracks across percussive elements, guitars, to send that signal into this single reverb to blend everything together.
So what I’ll do here is just select some of these tracks, like my percussive tracks, and I’m going to click Shift+Option here, send everything into buss 1-2. Okay. I’m going to make the input over here buss 1-2 on my reverb track, maybe come over here to the guitars, and how about these acoustic guitars.
I will select these and send some signal over there.
Alright. Another thing I’ll do, if I right-click on this send, I’ll bring up a fader that I can use on all of these tracks. So if I Option+Click and Shift+Option+Click, it will bring it up for all of the tracks to unity gain.
This is a good place to start. Then, I can go back through the individual tracks, depending on how much reverb I want for the claps or the shaker and so on.
Okay. So let me — I don’t need it on the bass. Now, let’s get some signal going in here and add in the reverb plug-in. The plug-in I’m going to use is just the stock D-Verb that comes with Pro Tools. Let me talk about dialing in the settings that you might want to use for a general purpose reverb like this.
I’m going to use more of a room reverb sound. I don’t need a long wash of reverb for the mix, so I’m just going to use a short reverb time. About one second.
Maybe I’ll add in a few milliseconds of predelay. How about about fifteen milliseconds will be great.
I’m going to back off the diffusion so that the reverb isn’t too dense. I don’t want it to be too dense. I just want to add in a little bit of ambience.
So I’m going to play it back and start listening to these things.
[mix playback]
To help you focus on it, what I’m going to do here is solo these tracks and just listen to these.
[snaps playback]
I’m going to roll off a little bit on the top end so it’s not as bright. Even back off the reverb time even more.
Now I just need a little bit less of a blend. I want more of the dry signal. Just enough reverb to give it a sense of space.
So that’s a general purpose reverb you can use for lots of different elements. I’d even encourage you on a song like this to think about using that reverb across all of these different background vocals.
Next, let me move on to a different type of reverb that I’m going to use over here for my lead vocals. Here, instead of a room type of sound with a short reverb tail, I’m going to use a much longer reverb time.
So here I’m going to go for a different type of reverb — a hall reverb.
Okay. For this one, I’ll switch over and use the AIR Reverb. Okay. Next, I’m going to go in and find here the early reflections. Look for one that’s going to give me more of a hall sound. A concert hall.
That’ll be great. I’ll back off the predelay a little bit. How about 20 milliseconds. Say a room size about 75.
Then, a reverb time — I’m going to look for it to be a little bit longer. So this one will be closer to two seconds. I’m going to use more of the reverb tail, less early reflections, so I get more of a wash in the sound.
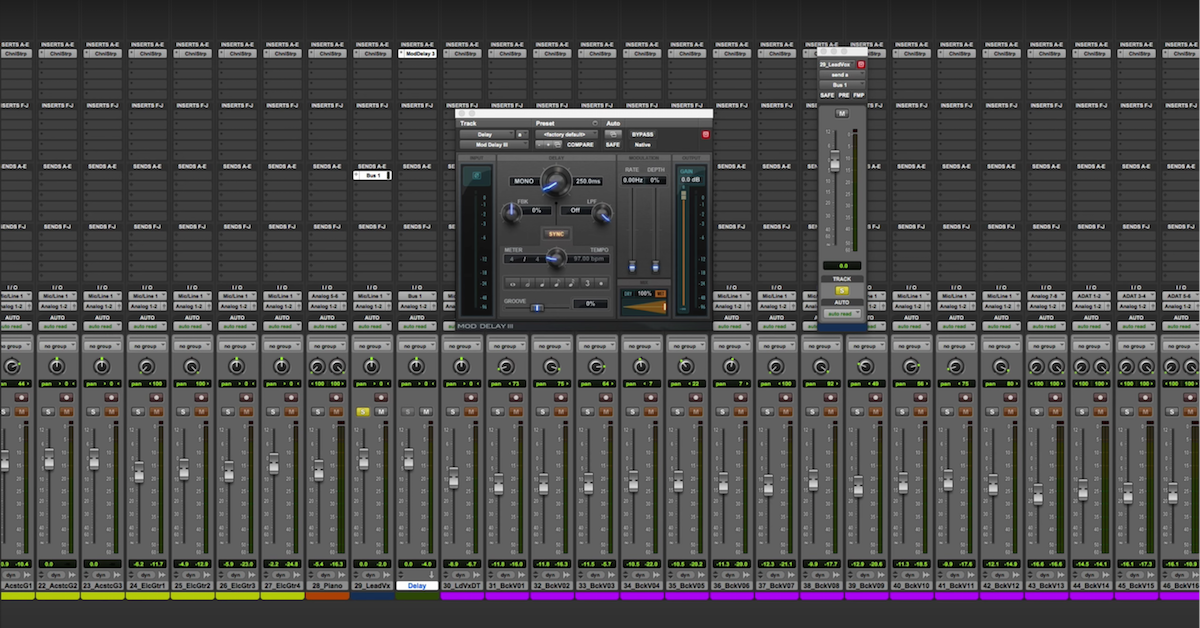
Next I need to go in here, bring the signal in on a different buss 3-4. I’ll set it up over here too on buss 3-4. Now I’ve routed this signal to a different reverb. Let’s listen to this one. I’ll call this my vocal verb.
[guitars, snaps, vocals play]
Let me just focus on the vocals.
[vocals playback, with reverb]
I’m going to roll off a little bit on the top end again.
[vocal and reverb plays]
Shorten the low end.
So there’s my second type of reverb. A much longer reverb tail that’s great for something like your lead vocals, where you want to make sure that it has a distinct sound, and also it’s okay for it to be a little bit different than the other elements in your mix.
Let me move on to some more creative types of reverb that I’ll show you. How about here, I’ll focus on the electric guitars. Instead of the kind of conventional reverb sound to give it a sense of space in the room or a hall, I’m going to do something more creative.
Here, I’ll go out on these electric guitars. Let’s listen to these to begin with.
[electric guitars play]
Here at the beginning of the song, they’re meant to give you — you know, we’re not picking any notes here, they’re just kind of adding a little bit of bed or a pad underneath.
Another thing to improve this sound or help transform it into more of this pad kind of feeling is to add additional reverb to it. So I’m going to go in here, and this is going to be my pad verb.
I’m going to use a much longer reverb time and a different type of reverb here too. So I’ll go back to using D-Verb and I’m going to switch over and use a church with a much longer reverb time.
Here, even beyond things that would be natural. Up into the range of maybe even 15 seconds of decay.
So I need to setup my input on this track. Make it buss 5-6. Then on both of these electric guitar tracks, I’ll add in buss 5-6.
Okay, bring these both up. Now I’ll just blend in this really, really long delay that can help turn my electric guitar into more of a pad type of sound.
[guitars play with verb]
So this is the classic kind of Brian Eno sort of Lexicon reverb sound with an extremely long reverb tail.
So that’s another good one to know about and use creatively.
Next, let me shoot another type of creative reverb effect. This is another classic sound that uses spring reverb. I’m going to focus on this electric guitar right here. It sounds like this.
[guitar plays]
It’s got this beautiful slide guitar part going underneath the mix, but it sounds pretty dry. I need to add some reverb to it.
Here, I’m actually just going to insert the reverb on this track and then use the wet/dry mix on the reverb plug-in in order to create the balance between the two parts.
Here, I’m going to use the Spring Reverb — AIR Spring Reverb — A different plug-in, it has a different sound.
Next, I’ll just be dialing in the reverb time in the mix.
[guitar playback]
This plug-in is a simulation of these old types of spring tanks that we found in guitar amplifiers. So this type of reverb is great, whether you’re using slide guitar or even some electric guitar parts.
So there you go. There’s four basic types of reverb that you can use on various elements of your mix.
Elevate Your Ears