Mixing Kick Drums: Acoustic vs Triggered
Today, we’re going to talk about kick drums. This is a case of ask, and you shall receive. I did a few tutorials using the song Dame Tu Bendicion from Samantha Incarnation and tons of requests of how did you mix the kick drum, among other things. Well, I’m going to answer that question. We’re going to talk about the kick, but we’re not just going to break down the kick and how I mixed it on this song, I’m going to actually pull open the live kick and do an A/B comparison and put myself on the spot, and mix this live kick, and see how it stands up against the sampled. I’m not going to sit here and spend hours mixing this kick drum, but we’re going to take a couple of minutes and see if I can dial in some tones, and then we’re going to A/B it and we’ll see how it goes.
Moving right along, let’s actually hear the track from this point. We’ll hear everything the way that it is mixed.
[song]
Alright, cool. So that’s what I ended up with. Now I’m going to mute that, I’m going to come up here, and let’s take a listen solo to this live kick.
[live kick]
Okay. Now I’m going to put myself on the spot here. I’m going to loop that section, and I’m going to work on it. Give myself a couple minutes here and just see what we can do with it.
[live kick]
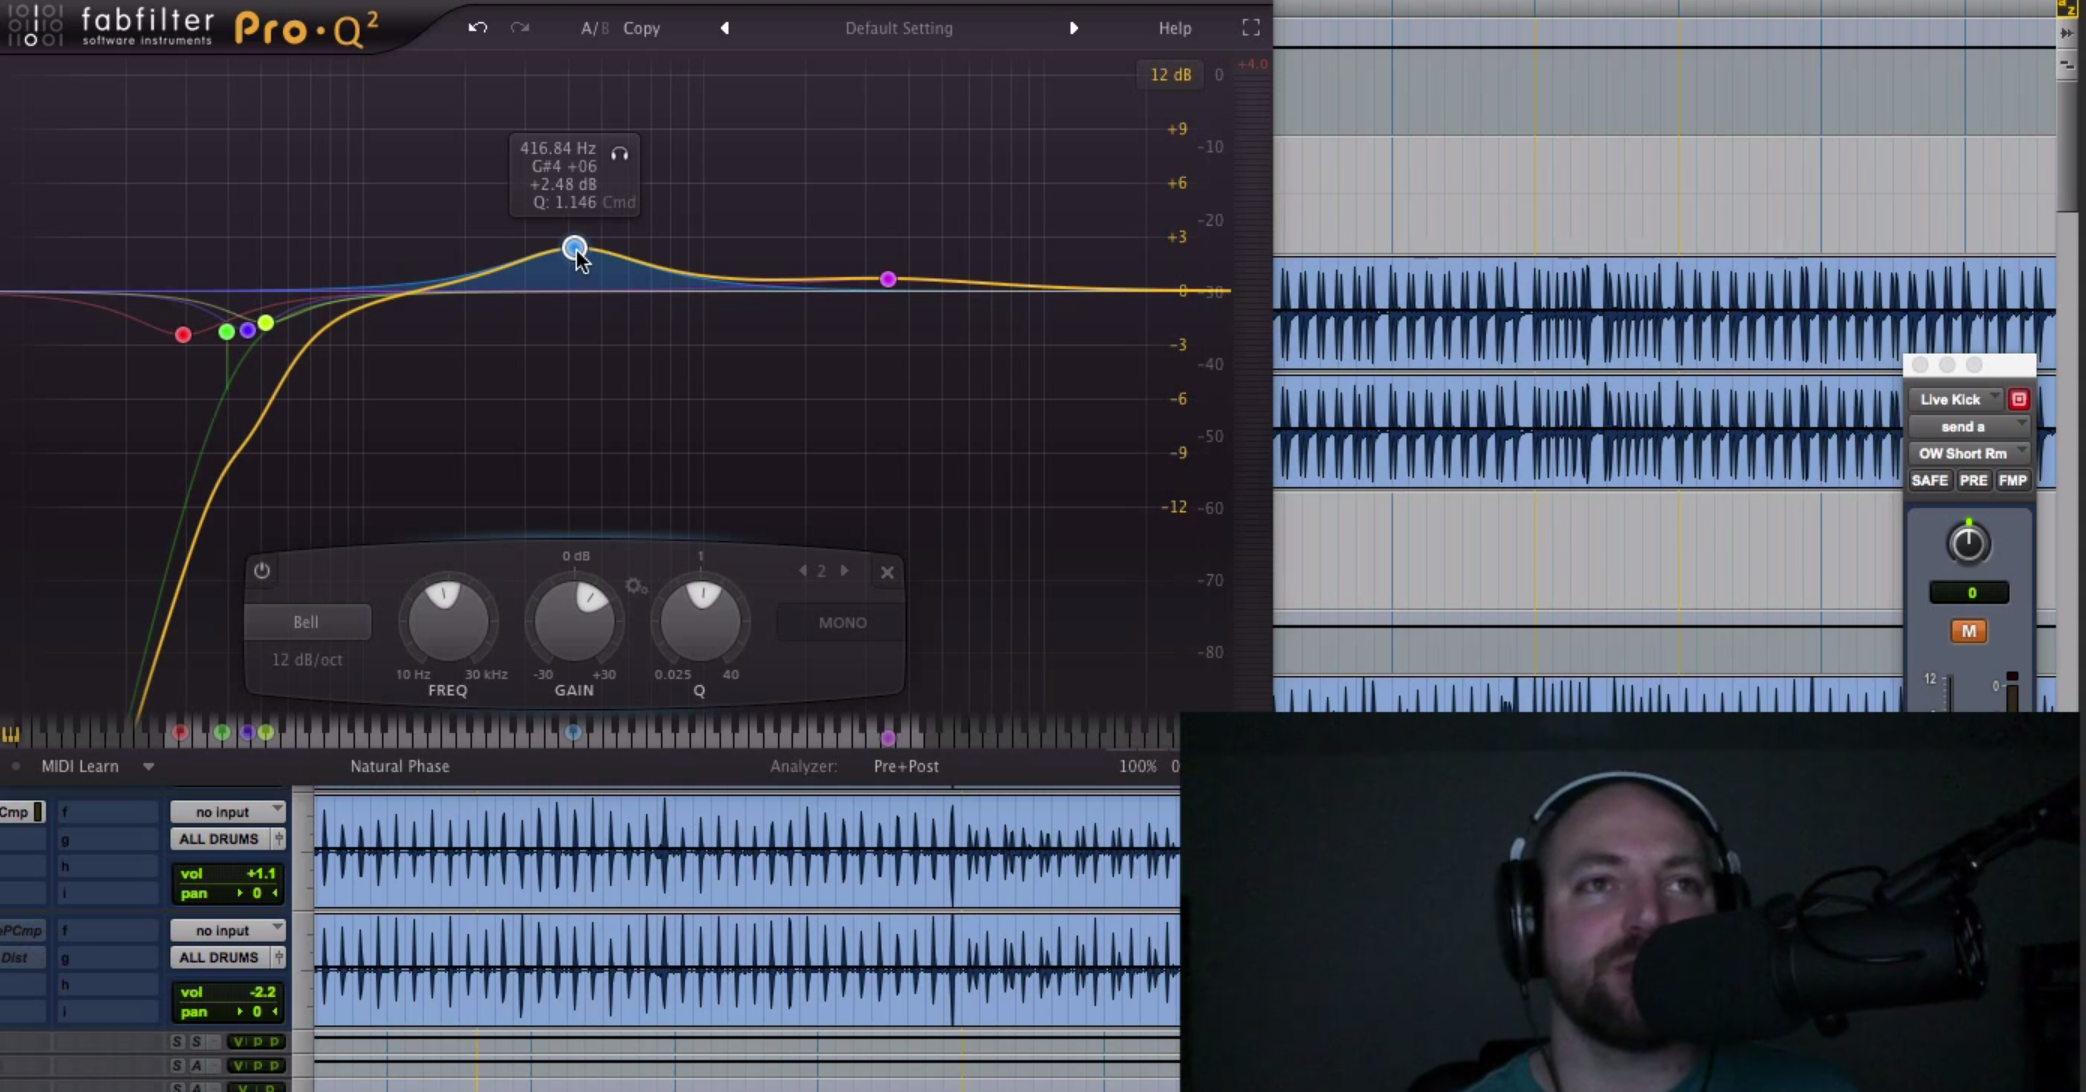
Sorry, I’m just kind of working through this to let you guys kind of watch my thought process. I’m looking for something to boost. I’m not real happy with the 40-80Hz on this kick. I’m not really feeling any particular frequency in there, but I did like to dip a couple of frequencies that I found that quickly could be dipped. The mid-range, kind of make it a bit more of a punchy rock kick by scooping out some of the mids. I found a frequency that I liked VERY quickly that I liked up here, and one a little bit higher, and took out just a little bit above 20. Nothing really there to mess with. I may or may not pull that back a little bit more after I gate the kick. But anyways, let’s see if there’s something down here. Just a little kiss of sub.
Alright, let’s try to find a frequency to boost a little bit here.
[kick]
Alright, just a couple dB there. Let’s A/B this guy and see if we made any improvements. Here’s before…
[acoustic kick before processing]
After.
[live kick after processing]
I still feel like I could use a lot more top. I know with those guitars and everything. Let’s try getting a little bit more crazy with the top.
[acoustic kick plays]
Yeah, I mean, that’s another 5dB, but I think we’re going to need it, so. Moving on from that, I’m going to gate this guy a little bit. Let me pull open just the stock Digi-gate. Now, I reached out earlier this year to an awesome guy, great mixer, his name, he goes by “Salvo.” Huge in the gospel world, just an incredible mixing engineer across genres. We hit it off, had some phone calls, the conversation has been great, and he’s got a site, you can go to salvomix.com, I’ll correct that with subtitles if I’m wrong, but I’m pretty sure it’s salvomix.com, and he’s got some tips there for you, so go check those out. One of them is a kick gate that he has on his website, go to salvomix.com, Salvo kick is what I labeled it, I’m going to give credit where credit is due for this gate here. Kind of a starting point.
Let’s take a listen to that.
[live kick]
Okay. So it sounds kinda crap by itself, but in the mix, we’re going to take a look at something we can do to kind of help clean up this kick. The first thing I want to do for this is I want to make sure the release and the hold – the attack is fast, but I want to set the release and the hold so that any sub hit kicks that are a little softer don’t get lost or don’t get missed by the gate. So here’s an example of that right there.
[live kick]
And that doesn’t sound very good, so what I’m thinking is the one back here DID sound good.
[playback]
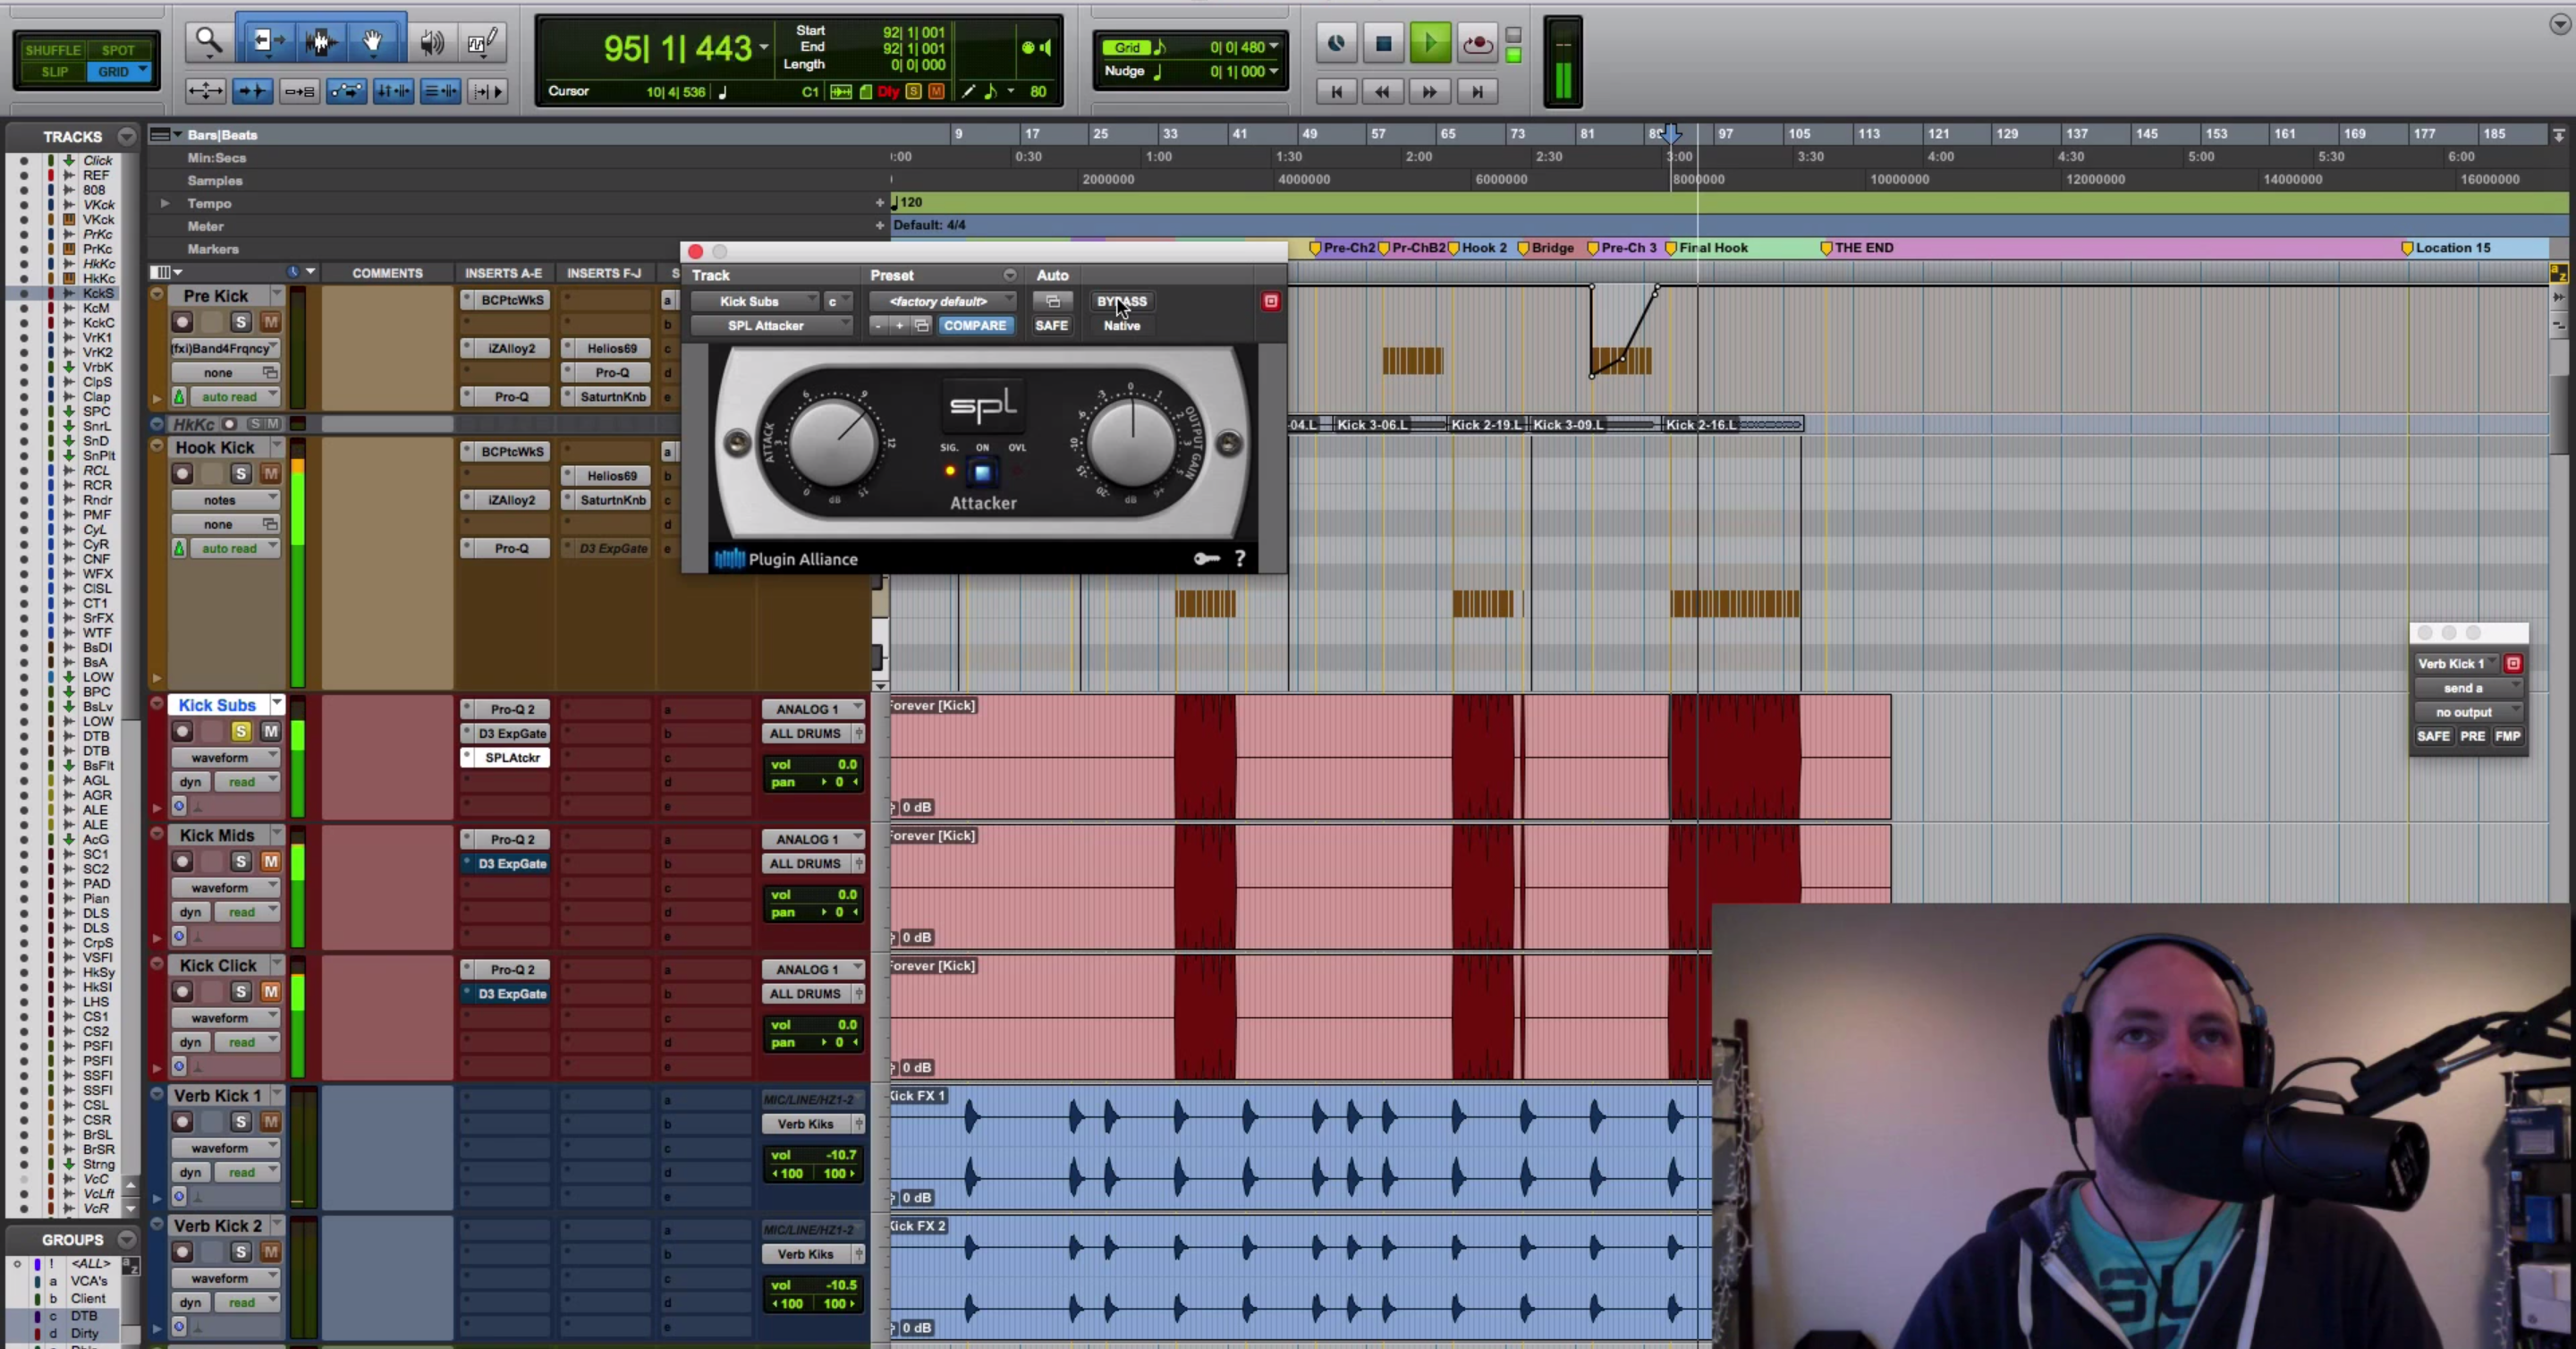
It could sound better. So I’m going to snip this up a little bit. I’m going to copy that, and I’m going to tab to transient, and I’m going to paste that kick hit there, and do a nice little crossfade. I’m going to paste this one and do the same thing, and crossfade.
And for this one, I’m going to dial it back just a little bit, because it was kind of the sub kick hit. I don’t want it to be exactly the same. So let’s take a listen to if we’ve made an improvement there.
[live kick]
So we get the attack, so it’s coming through a little bit better. You could do that for the whole song. Let’s see what this sounds like down here.
[acoustic kick plays]
So it sounds a little bit more natural and it sounds like those are being triggered correctly. So you’re going to take those settings and run with them, salvomix.com. Next up for me, I’m going to throw an 1176 on there, and I’m not going to audition 10 of them, I’m going to pull open the one I like and see what I get with it, and let’s add some compression.
[live kick plays]
Okay, there’s a little bit of a volume difference, but I’m going to want it. Moving forward, Let’s see where we’re at in the mix.
[song plays]
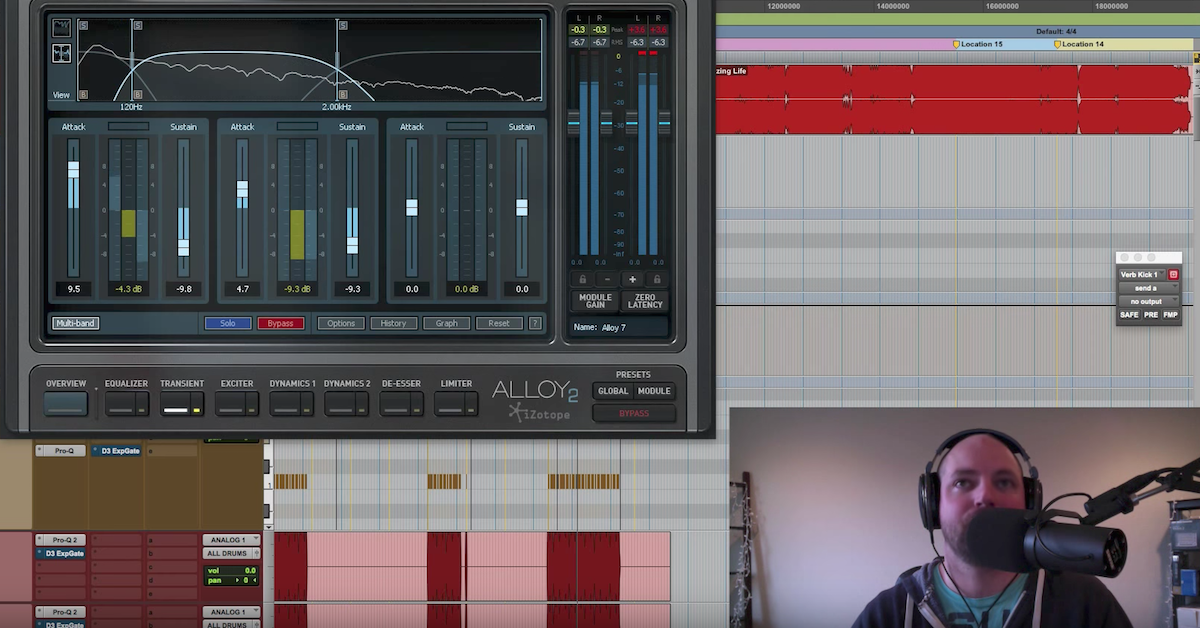
Okay. I’m going to be shaming myself here, I have like, practically no subs, no low end in it, it’s a little bit flappy, and I would say I have a lot of work to do. I would probably need to split this up, add some sub, remove all the highs, blend that in, there’s some work to be done for this kick. Something else that I can show you real quick that I would be doing most likely would be adding some attack, solo it.
[acoustic kick plays]
Yeah, so it’s giving us some oomph.
[song plays]
So, we’re starting to get a little bit more aggressive, that sounds kind of cool. You know, let’s skip it. You guys can figure it out. The sub kick is probably a big deal to give it some low end, blend that in to taste.
Let’s move on, and let’s A/B what we did here. Let’s walk through it first. Trigger 2, and this is probably a “That Sound” kick, yes it is, everyday natural. This is a medium, I liked the way that it felt with a medium articulation.
So that’s that, no tuning or anything, but if you come over here, I’ve talked about it a little bit in my premium courses, I’m choking the junk out of it the sustain and the release, so let me save that as a preset and we’ll call it quick kick. We’re going to hear the before and after of this kick preset that I’ve just dialed in.
[sampled kick plays]
Okay, cool. Now, I’ve talked about this before, but if you take a low-pass filter, you suck out all the highs, and you listen to that kick in the mix, it may sound incredible, but chances are if you reference another track, you’re probably going to hear that the subs of that kick are a little bit tighter in whatever you’re referencing, possibly. In my case, most of the time that’s the case. Whenever I go to check my lows against a reference track and then go back and forth and do my thing, I like that kick and I definitely like the room tone that it adds, so I may duplicate this kick and suck out all the lows, and keep some of that sustain from the mids or the highs in that kick, but then what I love to do and I’m waiting for them to have a multi-band version of this, is to come in here, and for this kick, to be able to suck out the sustain and the release. Let’s hear this in solo one more time.
[sampled kick plays]
Here’s the preset that I had
[sampled kick preset plays]
Sounds pretty whacky, right? It doesn’t sound great by itself. Let’s compare the two in the mix. Let’s hear the before.
[song plays]
And then my adjusted one.
[song plays]
Cool. Now, it’s not much of a difference on the top end, because you’re not really hearing that room sound too much because of the fact that there’s so much going on, but if I come in here and I take an EQ, if I suck out all the lows of this track, let’s take a listen.
[song plays with low-pass filter]
And so now we’ve got all the highs gone, and this is a tight kick. We’re going to go back to the original sample, all the lows and all the sustain, you’re going to hear that kind of clashing with the bass. Pay attention to the kick and the bass.
[song plays with low-pass filter]
And now listen with the adjusted kick.
[song plays with low-pass filter, with adjusted kick preset]
And there you have it. The reason why I use Slate’s Trigger to control the sustain and release. Not necessarily what this tutorial was about, but moving on from that setting, we have compression next, similar to what I did for the live kick with the 1176.
[sampled kick]
Alright. And then, I want a little bit more attack, so I use the Pusher in this case instead of the SPL.
[sampled kick plays, adjusting Kush Audio Pusher]
So we’re getting some of that oomph back. So, we cut some sustain and release, but whenever we push the EQ or the transient designing or compression, we’re bringing some of that back, but we’re able to control it better and I really dig that about gating and using the Trigger. Lastly, I used some EQ to give it even more top to make it fit in the track, and that sounds like this.
[sample kick plays]
Little more click, make that stick out, and then in the track, we went from our sample kick sounding like this…
[song plays, sampled kick with no processing]
To our processed sample kick like this.
[song plays, sampled kick with processing]
And there you have it. That is how I treated the kick drum on this song for artist Samantha Encarnation, we’ll put a link up whenever we get this album finished and it hits iTunes, but send your questions to david@davidglennrecording.com. Don’t forget to check out if you want a complete walkthrough of how I’m mixing records, the new premium course at mixingacoustic.com is going to take you step by step, track by track, exactly like I just did here for the song “Chosen” by Jaris Cole, and we’ll have tons more coming out in the future. Don’t forget theproaudiofiles.com, and if you could help us out, like, subscribe, if you like what you learned here, forward it on to some friends, go to the groups, go to the Facebook forums, help us out. Spread the word, we’ll love you for it, and we’ll catch you on many more to come. Thanks again!
—
Overview:
A walkthrough and comparison of mixing acoustic vs triggered kick drums.
Software/Plugins:
– Avid Pro Tools
– FabFilter Pro-Q 2
– UAD 1176
– SPL Attacker
– Kush Audio Pusher
– Steven Slate Trigger


