How to Create Your Own Custom Impulse Responses
Transcript:
I’ve got another trick to show you today about creating your own impulse responses to be used within a convolution plugin.
Now, typically, when you use convolution, you’re loading in a sound file – an impulse response that’s been captured of an acoustic space. But because you’re loading in an impulse response, you don’t have to load in these conventional sounds of acoustic spaces. You can load in all kinds of different creative signals.
So I’ve demonstrated in another video previously how you could take a stab of the music in your song and create an impulse response out of that. Therefore, you’re using something that’s unique and creative that’s tailor made for your song, and is also going to be based on the tone and timbre of the instruments that are part of your music.
In this video, then, what I’m going to do is take it a step further and kind of start from scratch, and synthesize a brand new signal that I can use to load in and create the sound of reverb. Then I’ll also talk a little bit about processing that sound to tailor the reverb for my track.
So, I’m not even going to worry about this song to begin with. What I’m going to do is jump ahead to the end of my song here where I’ve got a bunch of blank space to work with, and I’m going to create two new tracks.
What I’m going to be doing then is synthesizing some noise signals to be used as my impulse response. I’ll show you what I’m going to do to process those.
So I’ll create two new tracks. These will be mono auxiliary tracks. The reason why I’m creating two is I want to use one for the left – so I’ll pan this one over – and one for the right.
Now I’ve got different signals on both sides. The noise will not be identical on each side. I can call this “Noise Left” and “Noise Right.” So, the idea of using the noise is it’s a rough approximation, or simulation of what a very diffused kind of room – an impulse response that it would create.
So what I’ll do, then is go in here and load up the signal generator plug-in.
[sine wave plays]
Now, this is going to be a little bit obnoxious, so I am going to mute it.
[noise plays, then is muted]
So, I’ll copy this over here as well.
[noise plays]
Over on the right. It sounds like this together.
[noise plays on left and right, then is muted]
And I’ll mute both of those things. I’m going to zoom in here on the end of my song. I just need a few seconds, and then – of the noise that I can use for my impulse, so what I will do here is draw in some automation – let’s say right here – I’m going to turn the noise down during this part, and then have it kick in right about here.
So that’s my right channel. Let’s do a similar thing on the left channel.
Wonderful. So this is where my impulse is going to start. I actually want to zoom in and make sure they’re starting right near the same time.
Alright, that’ll work. Then what I’ll do is just after some period of time, start to roll off the amplitude of the noise so that it’ll last for a handful of seconds, like this. Then, I’ll just zoom in here, find the start of my impulse I just created here. That’ll work. Then find the end. A few seconds.
I will also be able to shape the tail inside of the convolution plug-in, so I’m going to go ahead and play this back and listen to it.
[noise, fading out]
There’s my reverb impulse response. I’ll save this and bounce it to my desktop so I can work with it there. “NoiseVerb.”
[noise, bouncing out]
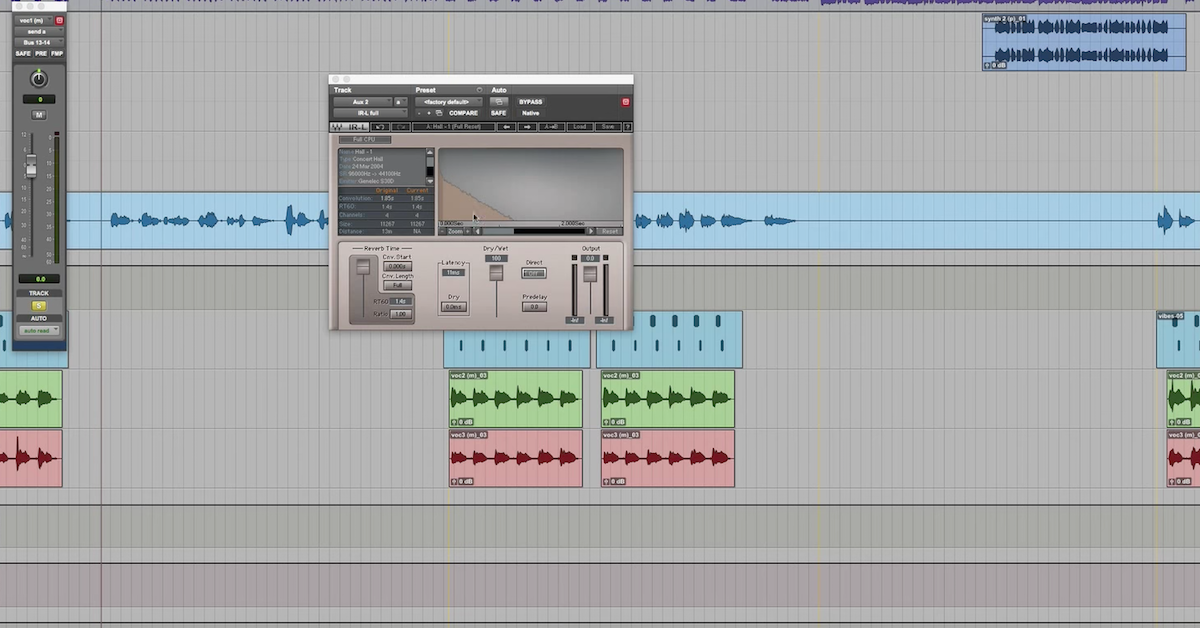
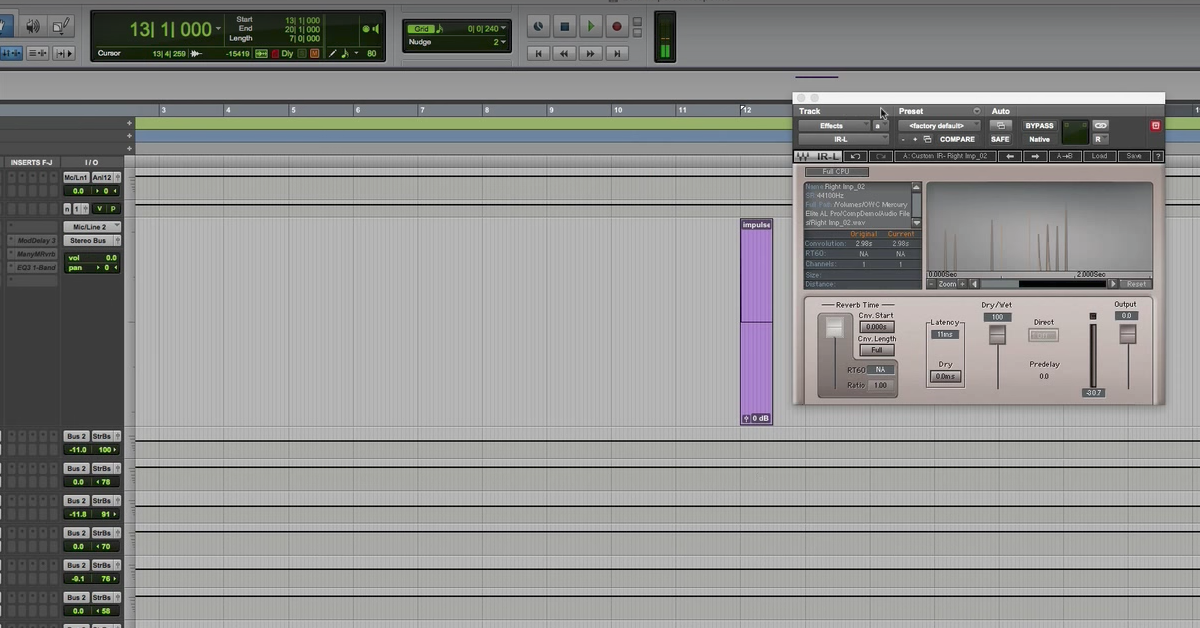
Next up, I just need to load that sound file into my convolution plug-in. This is the IR-1 from Waves. I’m using it here because it gives me a lot of ways of processing the impulse afterwards, including spectral processing, changing the length, lots of that kind of stuff.
So I’ll demonstrate that as part of this video as well. So, I’ll go out here, find my impulse response – it’s on my desktop – I called it “NoiseVerb.” That’ll work.
Let’s go back here to my vocals and I’ll start to listen to it through the reverb, and then dial in some of the settings and sculpt it a little bit. So let’s listen and solo it here.
[vocals]
So what I want to do here is dial back some of the highs.
So, control the low end of it as well.
[vocals, shaping reverb]
You can also shape the length of it.
[vocals, adjusting reverb length]
So here, I am using these control to change the length of how it’s going to last.
[vocals, sculpting reverb]
Sculpt the envelope.
Next, let’s just listen to this with all of the music brought back in. You can hear how it sounds very pleasing and very smooth kind of reverb.
[song]
So there you have it, guys. This is how you can synthesize your own signal using noise. Very diffused kind of impulse response that it creates. It gives me a nice, natural, very pleasing, smooth sounding reverb as long as I roll off some of the highs and maybe scoop out some of the lows, and control the length of that impulse response so that it fits with my particular track.


