Analyzing Effects: Impulse Responses (Part 2)
08/10/2015
![Impulse Responses — Part 2 [Analyzing Mixing Effects]](https://i.ytimg.com/vi/5-DnjKp2Jco/hqdefault.jpg)
This is my second video in a two part series where I’m demonstrating how you can measure the processing that takes place within some of your audio effects plug-ins by using an impulse response.
In my first video, I took you through the basic steps that you can follow, where you start out with an impulse response sound file, send it through one of your audio effects, and print the output. After you print the output to a new sound file, you can load that new sound file into a convolution plug-in. Now, that convolution plug-in represents the processing that takes place in your original audio effect.
I also talked about in that video, that this kind of technique works well for some kinds of audio effects, but it doesn’t work well for other kinds of audio effects. If you need to get up to speed, make sure to check out that video too.
In this video, then, what I want to do is expand upon that idea and use an impulse response, not just to measure the processing within one audio effect, but actually, to use it to create custom audio effects that I can use in a convolution engine that are not just based on one plug-in, but actually, a combination of many plug-ins.
The thing to know is, as long as I’m using plug-ins that fall in this category that work well with an impulse response – things like equalization and filtering, echo and delay, some kinds of reverb – as long as I just stick with those kinds of plug-ins, I can combine these effects in all different ways. In series, in parallel, and then take an impulse response of the combination of these effects, the entire system, capture one impulse response, load that entire impulse response into a convolution engine, and now, I’ve essentially created my own, unique kind of effect, where it’s pretty much up to your imagination to come up with your own ideas.
So let me show you what I’ve got here in this session. Just like before, I’m starting out with an input sound file. It’s an impulse. The entire sound file has an amplitude of zero, except for one sample here at the beginning.
What I was doing before, if I switch over to my mix window, is I had sent this impulse through some of these effects. Delay, reverb, equalization, that kind of thing. What I’ve done now is I’ve made those plug-ins inactive. Then, what I’m going to do is actually buss this signal from the input on here on Buss 2, over to a bunch of different auxiliary tracks.
So, essentially, these are going to be running in parallel with each other. So I’ve got a handful of these auxiliary tracks running in parallel. Then, what I’ve done is I’ve gone in on each one of these tracks, and inserted different effects. So, I’ve got some delays, I’ve got some equalization.
So, now what I can do is send that signal down each one of these auxiliary channels and capture the impulse response of all of these things working together.
So to take you through what I’ve got, and then I’ll print it, you’ll be able to visualize it, what I’m going to do is take this input signal – I’ve essentially got it running over time, where I’m going to have different delays. I’ve kind of got it organized, so hopefully it will be easy to understand.
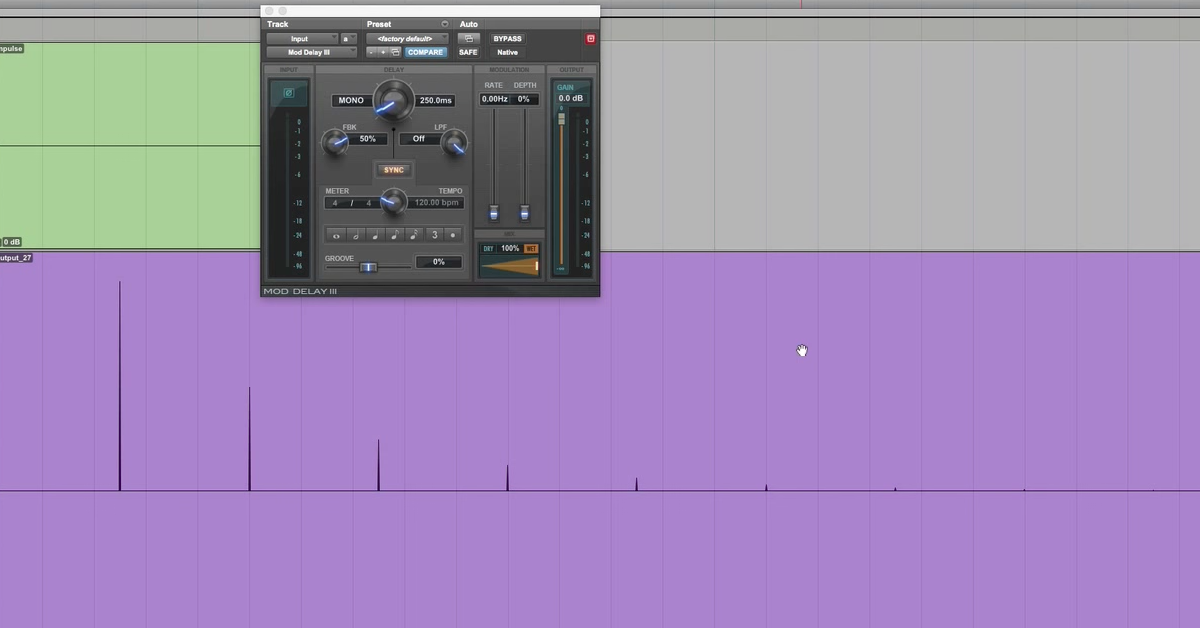
I start out right off the bat, and I’ve got just an eighth note delay. So that’s all that’s happening here with this individual Mod Delay here. I’m going to take that delay and I’m also going to send it through a low pass filter that has some resonance right here.
So I have it setup kind of based on sixteenth notes in the measure, so that, you know, if I have an eighth note, it’s going to be the third sixteenth note in the measure. Then, on my next auxiliary track, I have a dotted eighth note, or essentially, the fourth sixteenth note that would occur in an entire measure.
So nothing else going on here except a digital delay within this particular plug-in. Then, I also send this through another kind of low pass filter with resonance. So I’m doing spectral processing and delay on each one of these channels.
Then what I’ve done up here is – you know, you can see that I’ve got it setup so this would be the third sixteenth note, fourth sixteenth note, seventh sixteenth note, eighth sixteenth note in the measure… So I’ve got a quarter note here, just for organization purposes, then followed by another dotted eighth note.
So I’ll accomplish that seventh sixteenth note delay. Then I’ve got another here. Low pass filter with a different cut-off frequency, a different resonance, and so on. I think you get the idea.
Now here I’ve got a half note going on, another low pass filter, and so on. This continues for the remainder of – I’ve got these all tempo sync’d so it will last – these delays will all occur throughout one measure, so that then, you know, I’ve got these all daisy-chained together back-to-back in series going through – in this case, I’ve got basically a band-pass filter, with resonance on the low and high cutoff frequencies.
This continues for all of them. I’ve got them daisy-chained together. It actually helps me organize it where I’ve got half notes, quarter notes… but you can set all of these things up however you want. Whatever makes it intuitive.
The thing to understand is I’ve setup what appears to be a pretty complicated set of plug-ins. Pretty complicated system. All of these things running in parallel, which if I send the impulse through, the impulse is basically going to be delayed by certain amounts, and then also have some spectral processing at different frequencies, depending on where the impulse shows up throughout the measure.
So it looks like a pretty complicated system, but if I just send an impulse response through it, then what I can do is load that impulse response into a convolution plug-in, and not have to worry about four or eight or however many auxiliary tracks in all of these different plug-ins.
Now, I’ve essentially created an impulse response – I can load it up in any of my other sessions without even having to worry about all of these other tracks right here. I create my own custom effect, custom impulse response, which makes it so powerful, without having to load up all of these other plug-ins. I just load up one, load the impulse response, and I’m on my way.
So, let me go ahead and capture this impulse. So I’m going to send it here through, buss it from this track throughout all of my auxiliary tracks, and it’s going to end up over here on these two tracks I have over here. I’ve got two of them because another powerful thing about it is I can use stereo panning. So, I haven’t talked about that yet, but I have a bunch of panning just dialed in ahead of time.
Whatever it’s going to be, where it’s kind of going to bounce back and forth. I’m trying to create this echo that bounces back and forth. I’m going to print all of those impulses on these two tracks. One for the left, one for the right. I have two audio files – two mono audio files that I’m going to load later on into my convolution plug-in.
So, go ahead and print this impulse response. I’ve got it time sync’d so you’re also going to hear a click here initially, so you can hear when they’re going to line up. So here we go.
[click plays, then impulses play]
So, with the click, might not be able to hear the impulses that well, but I can zoom in on them. You can see that I kind of had this thing bouncing back and forth, and the impulse response is showing up here time sync’d to the grid, so that I have these sixteenth notes going on at the end of the measure.
[impulses play]
So by itself, it doesn’t really sound very musical obviously, but the power of it is you can take these impulses, load them into the convolution plugin, and now you’ve got a pretty cool effect.
So I’ve got these two sound files, left impulse and right impulse. I go over here, and I’ve already got – I’m going to just record some piano, and then buss that piano over here to my effects plugins, so why don’t I send one of these over here. How about Buss 35-36.
Alright, so for now, I’m just going to not worry about my convolution. So let’s go ahead and print some piano. I’m going to switch back over here to my edit window and move on to a different place in the timeline. I’ll listen to a measure of click, and then just play some basic chord progression on the piano.
[piano plays]
Alright, I’ve got just a virtual instrument loaded up for this.
[click plays, then piano]
So, it wasn’t the best performance. That’s not the point of it. You can hear a very simple pattern. Four chords going on. I’m even going to go ahead, just for simplicity’s sake, go ahead and quantize this so that I’ve got them just the quarter notes.
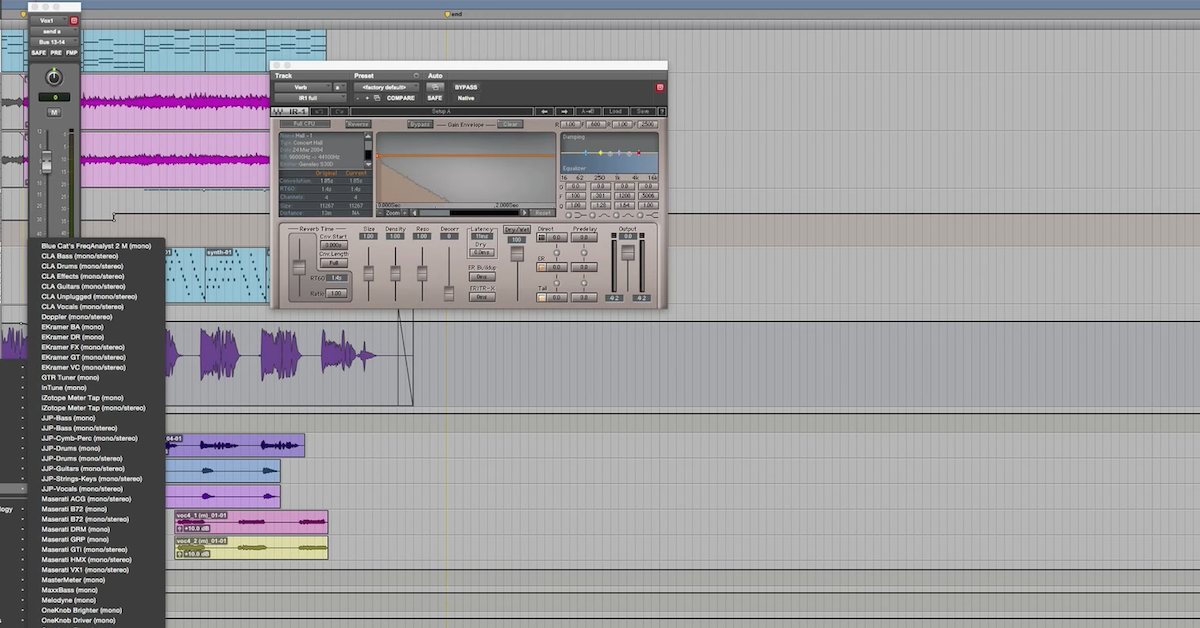
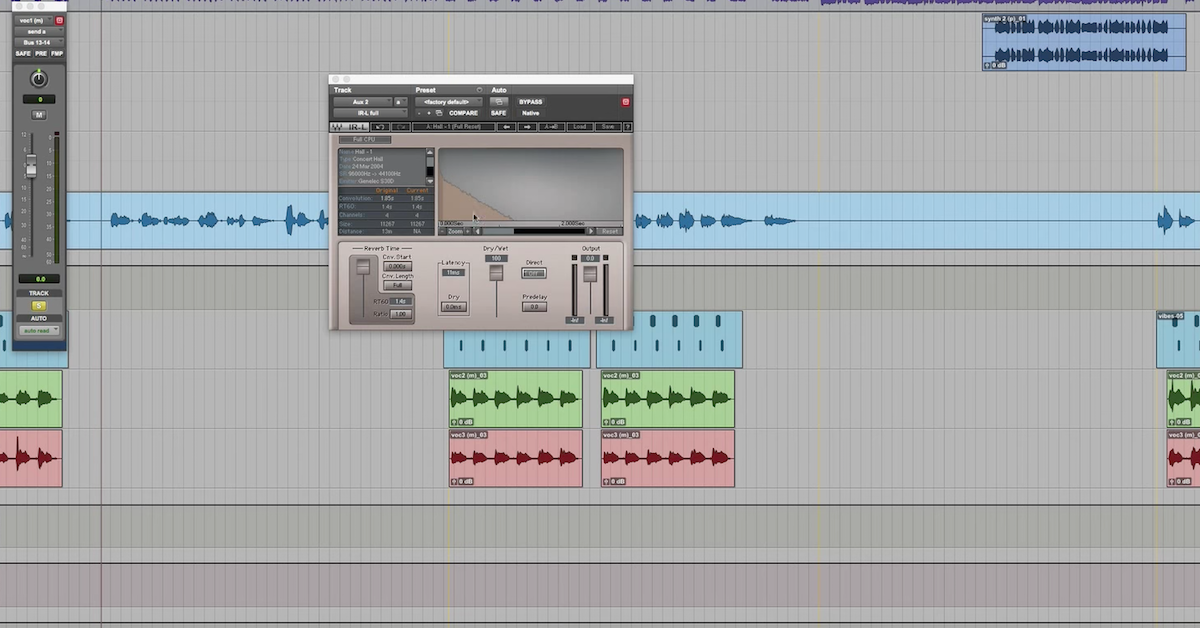
Right? Nothing complicated at all in the original piano performance. Where you can get creative though, is if I go over here to my convolution engine, I’m going to go in here now and load up some sound files. One thing I’ll point out is I’ve loaded up – this is the convolution plugin from Waves IR-L. I’ve loaded it as a multi-mono.
Now, I’ve got one impulse that I can load for the left channel, and one impulse that I can load for the right channel. It can even be more complicated if you want to do true stereo and all that kind of stuff.
So let’s load up an impulse. I’ve got one for the left and one for the right. So I can go in and find my session where I’ve got it stored. I can find some sound files. I’ve got left impulse right here. Now I’ve got my left channel loaded up.
I’ll switch over to my right side. I’ve got the right side loaded up here as well. That was just from when I was testing, but I can show you it’s nothing more than loading those two sound files going on from inside of your session.
So I got my two impulse response files, I’ve got them bussed over here. Let’s listen to the piano and then I’ll bring in this here and listen to what I’ve got.
[piano and click]
So by itself, pretty boring.
[piano with delay]
Alright. Why don’t I loop it a little bit?
[piano with delay and click]
So hopefully what you can hear is all of those delays, all of that spectral processing and filtering that’s taking place, this is a custom effect that I have essentially designed based on all of these plugins together, but the piano itself is only going through this convolution plugin. That’s it!
I’ve captured the impulse response, now it’s just a matter of loading in the correct sound file. Now I have tempo sync’d delays and spectral processing and filtering, for a very creative effect, stereo effect, bounces back and forth, side to side. It can add a lot of movement, and it’s really up to your imagination to decide what you want to use this for, how creative you want to be.
Again, any kinds of delay you’re going to use, spectral filtering, you know, equalization, anything like that – some kinds of reverbs – those are all great candidates for using this combined impulse response where you put all of these effects in parallel and in series.
So I’d love to see what you guys can come up with this. If you have your own ideas of how you can use this kind of technique of just an impulse response to capture very complex, complicated systems, but simplify them by capturing the impulse response, and then just using it in a convolution plugin.
Elevate Your Ears