5 Tricks You Need to Try with Your Aux Channels
06/6/2018
Article Content
I remember the days when I used to throw reverb and delay right on the audio channels and thought that was a pretty cool way of getting the effects I wanted. Whether it was convenience or pure laziness, I grew out of that and began using aux channels. Most of you probably know the difference, so I’m not going to bore you with the mechanics between the two.
Let’s get right to the meat and potatoes, shall we? I’m going to center these techniques around reverb and delay, but this is just so you can easily visualize the concepts. Give some of these a try as a base for experimentation next time you sit down to do a mix.
1. Send Your Aux to an Aux
Have you ever thought about sending an aux into another aux?
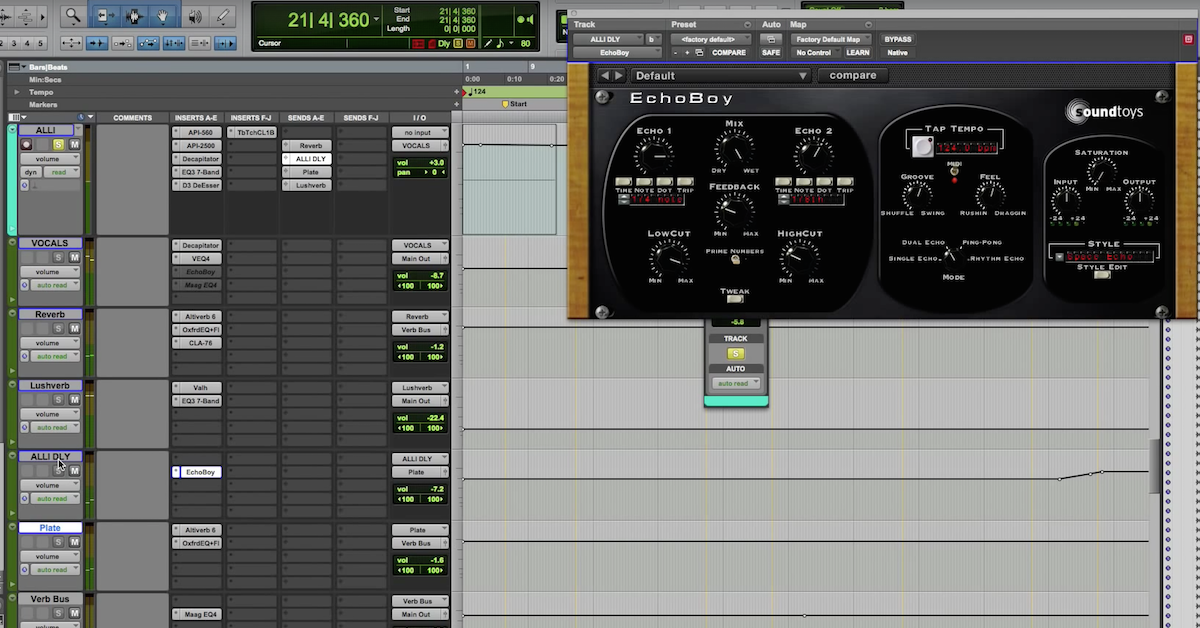
This technique is most commonly used with reverbs and delays, but don’t stop there. When you’re sending audio to a delay, that signal is being repeated with a decay over a certain period of time. That delayed signal feels like there’s dimension to it because it reminds the listener of an echo in a cave or some physical space, but it’s extremely different. The sound being repeated by the delay is most likely dry (if there’s no reverb placed directly on the audio channels). When you send the delay aux into a reverb aux, now that delayed signal lives in a three-dimensional space and you can easily manipulate the delay’s character and depth perception.
If you’re feeling creative, try sending the delay into a distortion aux. This sounds great on vocals. Once you start experimenting, it can open your mind to the unlimited creative possibilities of using aux channels.
2. EQ Your Aux Channels
There’s nothing wrong with putting a reverb or delay on an aux and calling it a day. However, there’s so much more you’d be missing out on. One simple technique is to EQ your reverb/delay. Let me set the stage. If there’s no EQ parameter built into your reverb, the signal you’re sending into the aux applies the effect across the whole frequency spectrum. In other words, the lows, mids and highs all have reverb processed on that audio.
Have you ever wondered why your low end is still muddy even after some high-pass filters? Does your high-end lack openness and sound two-dimensional? On your aux channel, try applying a high-pass filter around 250 Hz and a low-pass filter around 6 kHz (depending on your mix). This way the dry signal can retain those qualities, while the reverb/delay gives you the dimensional feel. When the reverberated audio clashes with the lows and highs of a dry signal, they’ll be fighting for that same harmonic space in a mix. Clean up and sculpt the frequency spectrum to where you only get what you want to hear in the mix.
Also, try using Mid-Side EQ on your reverb/delay. Your ears will thank you later.
3. Compress Your Aux Channels
Does your reverb sometimes duck, or your delay doesn’t sit right in the mix? In this case, you can try compressing your effects after you EQ. When using compressors like the LA-2A, it can help make your reverb sound wider and thicker. Sometimes, this isn’t exactly what you want, but when you feel there’s a need for it, try it out. Your effects will sound more controlled and predictable.

Ready to elevate your ears?
It doesn’t have to take years to train your ears.
Get started today — and you’ll be amazed at how quickly using Quiztones for just a few minutes a day will improve your mixes, recordings, and productions!
Let me give you another example. Sometimes with a vocal, you may want more top-end and sparkle. When you apply a high-shelf boost on the track, the high frequencies aren’t as contained because certain words will naturally accentuate the sibilance. If you have an EQ on an aux with a band-pass filter containing just the highs you want, throw a compressor on it to get around 5 dB of gain reduction with a fast attack and fast release. This creates a makeshift multiband compressor on the aux channel. Now you can adjust that controlled frequency range to taste with the aux fader.
4. Widen the Effect on Your Aux Channels
When I first started mixing, I realized my effects never sounded as wide and open as those on big records. Get a hold of a nice stereo widening plugin, and experiment with using that on your aux channels. My favorite place to put one is on the aux of my reverb/delay, but try it on other effects as well. This can help make room for your dry signal so your reverb/delay sounds more open. You never know what kind of doors this can open for your mixes.
5. Sidechain Compression on Your Aux Channels
This is one of my favorite tricks for vocals, but don’t be afraid to try it on other instruments.
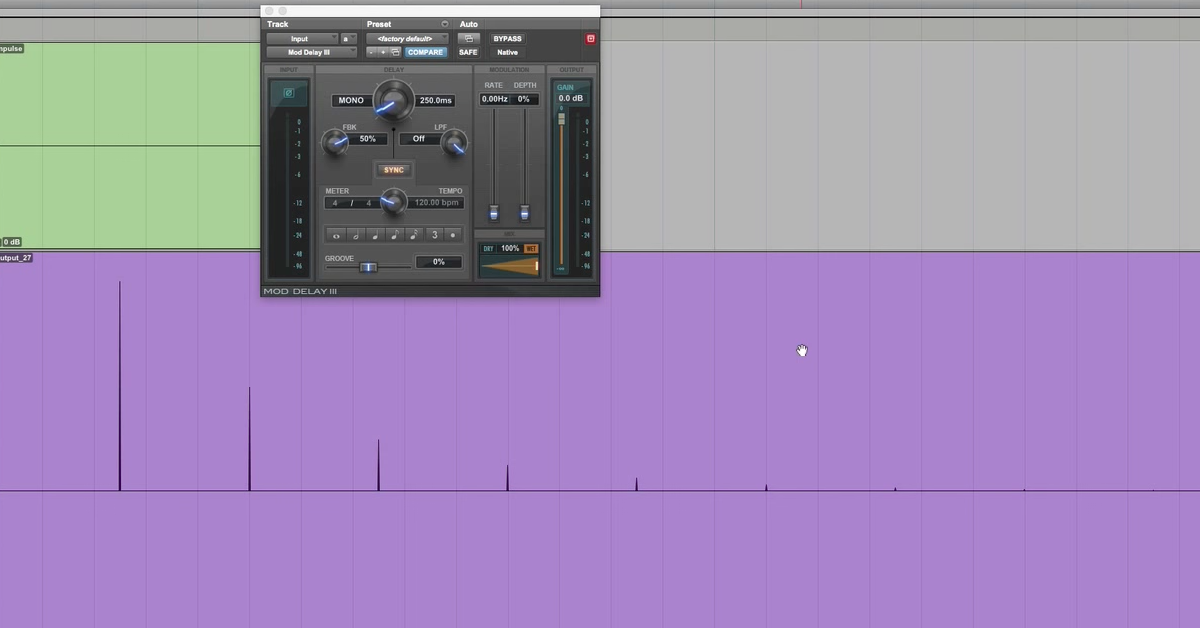
Let’s just say you’re not automating delays on your vocals. One way to make sure your delays stand out at the ends of phrases is by sidechaining your delays to your vocal track.
In this scenario, the delayed signal will duck when the singer or rapper is in the middle of their phrase and will be heard more clearly when it’s time for them to take a breath for their next phrase. You don’t want too much gain reduction here because it’s not meant to be super obvious. Just cut back a few decibels, so you hear the delay during those open spaces.
Eleveate Your Ears