Analyzing Effects: Impulse Responses
08/4/2015
![Impulse Responses — Part 1 [Analyzing Mixing Effects]](https://i.ytimg.com/vi/ir2wJPssh0c/hqdefault.jpg)
I’ve been going through a series of videos where I’m demonstrating techniques that you can use to analyze your effects plug-ins.
In this video, I’m going to demonstrate how you can measure the processing that occurs within certain types of audio effects by using an impulse response.
The idea with an impulse response is that if you’re working with digital signals, a digital signal is made up of, or comprised of, a sequence of measured amplitude values.
Many times, we refer to those measured amplitude values as samples. So, a digital signal is a sequence of samples, one after another. If I were to be able to remove or isolate one of those samples from the rest of the signal, what I’d be left over with is something I’ll call an “impulse.” It’s a special kind of signal that just represents one sample at one given point in time.
What I can do then, is send that sample, or send that impulse through an audio effect, and see how that effect is going to process that individual sample. I can measure that.
Then, if I know and I measure what that processor does to one sample, I can infer what it’s going to do with all of the other samples in my signal. All of the other ones from my original signal.
This process is called “measuring an impulse response,” and then what you can do is take that impulse response, and load it into a special type of plug-in. A convolution plug-in. Then you can apply that impulse response to whatever kind of signal that you send through it, or whatever other kinds of samples, or sequence of samples, that you want to put through, and apply this impulse response to by using convolution.
I’m going to demonstrate this whole process in this video. Let me show you what I’m working with.
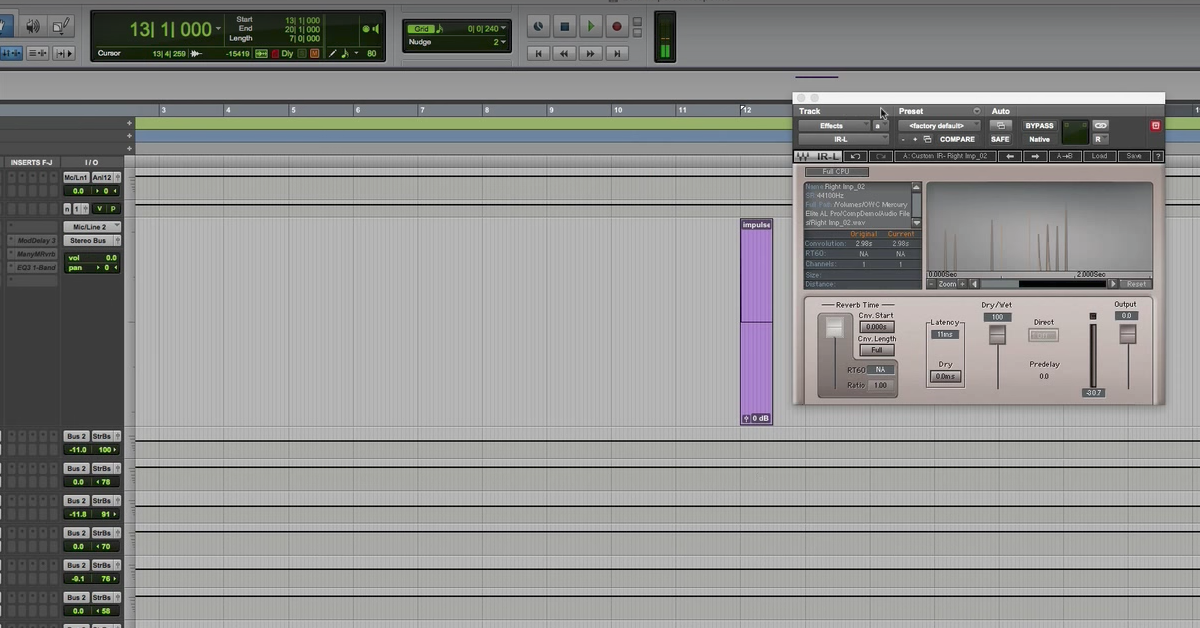
I’ve gone ahead and synthesized a very special signal here that I can use for the impulse response. It’s a one second signal that has samples that have zero amplitude at all time, except for right up here at the beginning, there’s just one individual sample that has an amplitude value.
So even though it looks like there’s a line connecting these samples, the adjacent samples to this individual one both have an amplitude of zero. It’s only this one sample that does not have an amplitude of zero.
So this is my impulse. I’m going to print it through certain types of audio effects, and see what the response is. Now, this kind of technique works well for certain types of effects. Your delay or echo effects, reverb effects, as long as there’s no modulation occurring, and also spectral effects. This doesn’t work well for saturation or distortion effects or dynamic range processors, like compressors, limiters, and gates. It doesn’t work well for flanging, phasing, chorusing, or anything with modulation.
But, for those kinds of effects, like echo/delay, reverb, and spectral processing, this is a perfect way of capturing, or measuring what that processor does, and then you can in theory, apply this by using convolution to whatever other kinds of signals that you want. You’re just capturing how that system behaves at one point in time.
So, as a basic example, to kind of get you to see how this is going to work, let me print this impulse through a simple digital delay. I have here setup with 500 milliseconds of delay. No feedback or anything else going on. Really just digital delay happening.
I’m going to print it from this input track. I’ve bussed over here to my output track, and I can measure what’s leftover down here.
So I’ll go ahead and print this.
[sample plays]
Alright. So you can see, and you should hopefully have some intution about, or expect, that this individual sample here at the start of my signal, gets delayed by 500 milliseconds, and it shows up later on in this output sound file after 500 milliseconds. So, this is just measuring the impulse response of this delay processor.
Well, this isn’t very fun or cool to work with, so what I’m going to do then, is change this up a little bit. Why don’t I shorten this to 250 milliseconds. So half the delay time, and increase the feedback to 50%? That seems pretty good. I’ll start it from here and print it for a little while, and watch what ends up happening.
See the impulses that are printed, the delayed impulses, over time.
[sample plays, delayed]
So, with this delay effect, my first delay shows up after 250 milliseconds, and then after another 250 milliseconds, and so on. The difference is, these delays over time are reduced in amplitude. This is a result of increasing the feedback right here.
So, what I’m going to do is actually save this impulse. I’m not going to undo it. So I’ve got output 27 here is my one with delay.
Another thing that I’ll demonstrate with the delay effect, which isn’t always intuitive for some people, but by capturing the impulse response, you can definitely visualize it, is if I change this feedback from being 50% down to -50%, watch what the end result is.
Now, this negative feedback, it might not make a whole lot of sense to you if you’ve never really encountered it before or thought about it. Negative feedback. What exactly does that mean? Well, I’m going to go ahead and print this and we’ll have a look.
[sample plays, delayed]
So the difference then is that with subsequent delays that occur, each 250 milliseconds, the polarity is going to change. So, if I originally started out with a positive amplitude in my impulse that occurs here, and then negative, then positive, negative, positive throughout my signal. So, just a different way of creating or processing the signal.
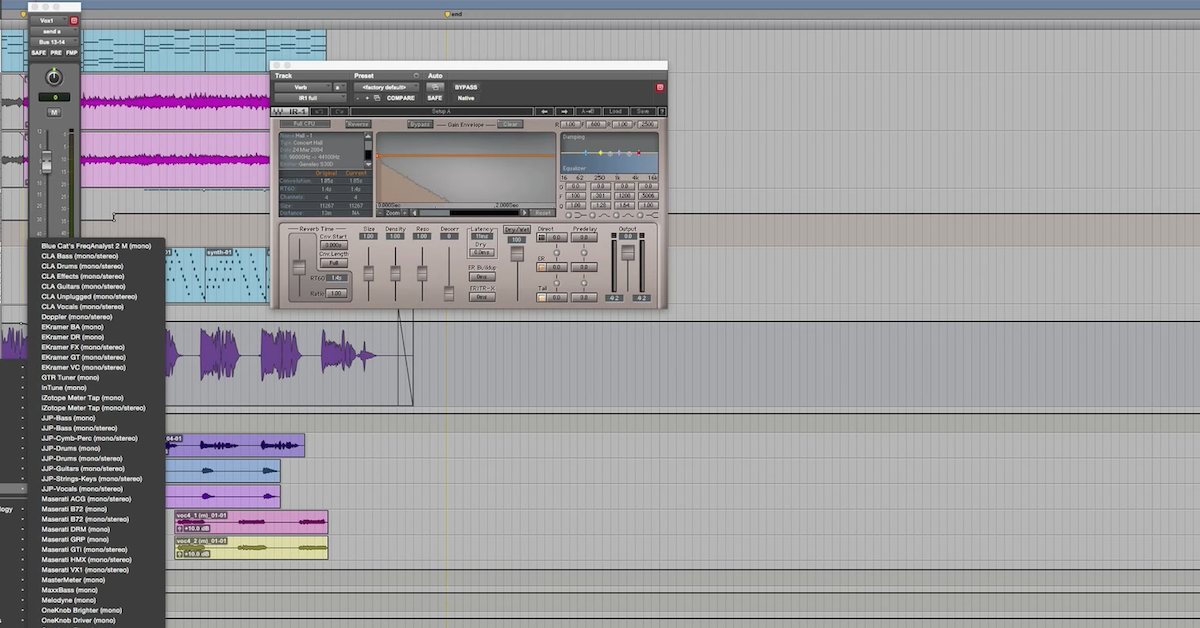
So, I’m going to save both of these 27 and 28. I’m going to bypass this. I’m going to bring up a reverb effect and go ahead and print this one. So this is one from Manny Marroquin, and then I can increase the amplitude a little bit more here. I’m going to go ahead and print this signal going through this reverb effect. The impulse response of this reverb.
[reverb impulse response plays]
Cool. Then the last thing I’ll do to prove that this impulse response works well for delay – or spectral processors, I’m going to print Manny Marroquin reverb through a low pass filter at 1kHz.
So let me go ahead and print this one.
[reverb impulse response plays]
Alright. So, I’ve got the low pass filtered. Output 30. No low pass filter is 29. Feedback delay for 28 and 27. Those are the four sound files that I’ve created and saved.
Next thing that I’m going to do then, is let me move down here to this other part of my session. I’ve got a snare drum. I’m going to go ahead and play it back so you can hear what it sounds like.
[snare drum]
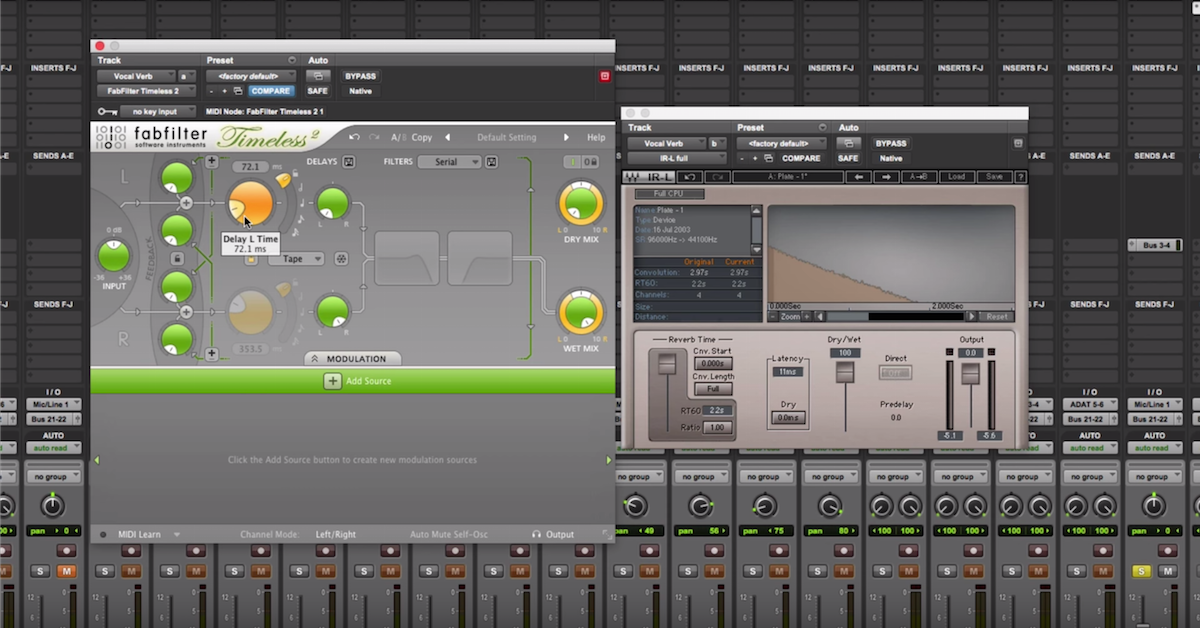
So, there’s the snare drum. Pretty dry. Let’s say what I want to do then is take those impulse responses that I’ve measured – those delay versions of the signal over time, whether that’s using echo effect, or my reverb effect, and go ahead and make this active – the convolution plug-in here, and load one of those sound files into my convolver, and then send the snare drum through it.
Let’s see if I can recreate some of those effects. Import responses from file, and what I need to do is find my session where I’ve printed these effects, and I know exactly where that’s at here.
Alright, so last four ones have got 27, 28, 29, and 30. Right. So we can listen to this now. I have the delay effect loaded first.
[snare with delay plays]
So, I’ve measured how my Mod Delay III plug-in is going to process an impulse, and then I’m applying that processing to all of these samples, one after another in my signal.
The same thing is going to work again if I were to load up 28, which is the one that inverts. It will sound pretty similar, and it looks pretty similar because you’re not seeing the positive and negative changing here.
[snare drum delay]
Alright. Then I can load up my reverbs so we can hear those. Next up, 29. That’s the reverb by itself without spectral processing.
[snare drum with reverb]
So, much darker when I load the second one, that’s the one that has the low pass filter at 1kHz.
So what you can hear and hopefully see is, what is an impulse response when you measure it and capture it, and then when you convolve it, what’s the end result? You know, I could go ahead and print this going through my impulse response convolver, and see where those repeated versions of the snare drum show up every 250 milliseconds. I think you had the idea from listening to it.
The cool thing then is that most of the time, when you use convolution plug-ins, you’re using it for reverb. That’s not the only way that you can use it. I’ve already showed you that you can use it for delay. You can then use it for a combination of effects, like low pass filtering or spectral processing of reverb, or spectral processing of delay.
So what I’m going to do is wrap up this video, and I have another video that I’ll post later on that will demonstrate how you can do some creative kinds of effects by using an impulse response in convolution. Not just reverb, but a whole combination of all of these things together.
Elevate Your Ears