Gain Staging: What to Know, and Why You Shouldn’t Stress out About It
04/21/2018
Personally, I would argue that monitoring is a much higher priority. So let’s spend a few moments discussing what you should know. Hopefully, you’ll see why you shouldn’t stress out too much about having perfect levels between mixing and production.
Gain staging is nothing more than setting appropriate input and output levels. That’s all. However, what is appropriate is going to depend on what you’re trying to accomplish, and what piece of gear you’re setting levels for.
Analog gear, for example, is non-linear, and different levels will cause it to react in different ways. DAW mixers, on the other hand, are linear, which means the sound will be unchanged by the level. As long as you have a healthy enough level to keep the noise floor at bay, while avoiding overloading or clipping at the converter, you’re pretty much set in the digital realm.
The analog realm is a different story, so let’s dive further, and we’ll start with analog.
All analog equipment is designed to operate at a certain optimized level. This is due to the number of physical hardwired connections inside of the piece of gear in question, and those levels can be measured differently depending on whether the item is consumer grade or professional grade.
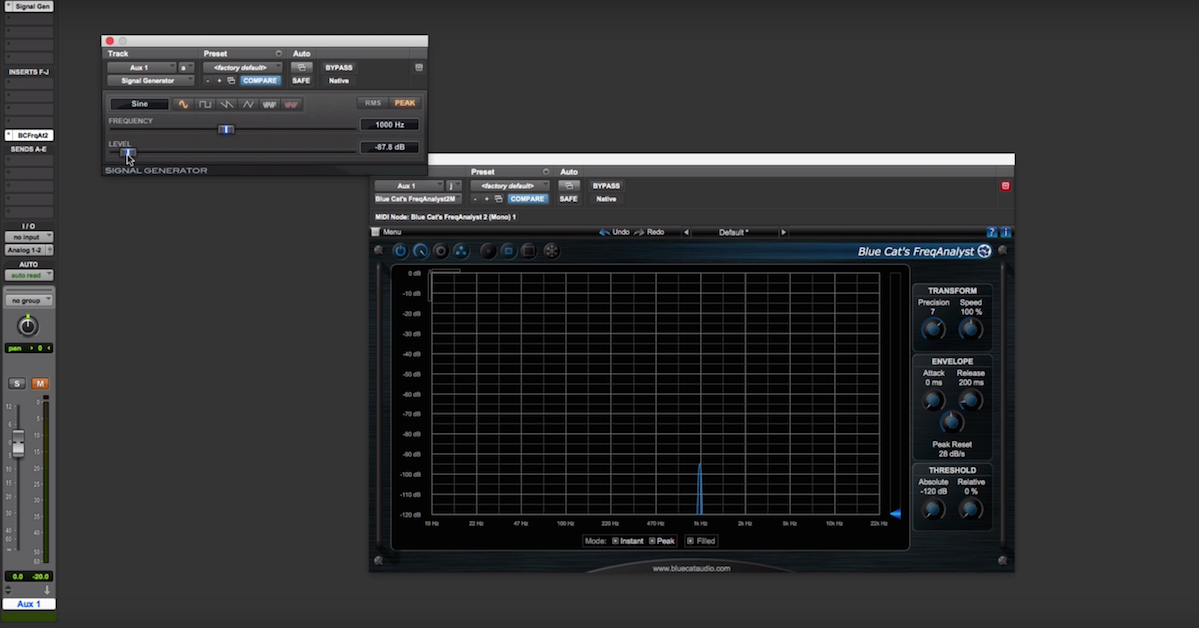
These connections create low level noise known as the noise floor, and this can be found in any physical connection, including the connections that we make to our audio interfaces with microphones and DIs. The difference between the noise floor and the signal level is known as the signal to noise ratio.
If the signal to noise ratio is low, we run the risk of lifting the noise floor up into the audible ranges as we apply multiple processes to the signal.
[drums, adjusting noise]
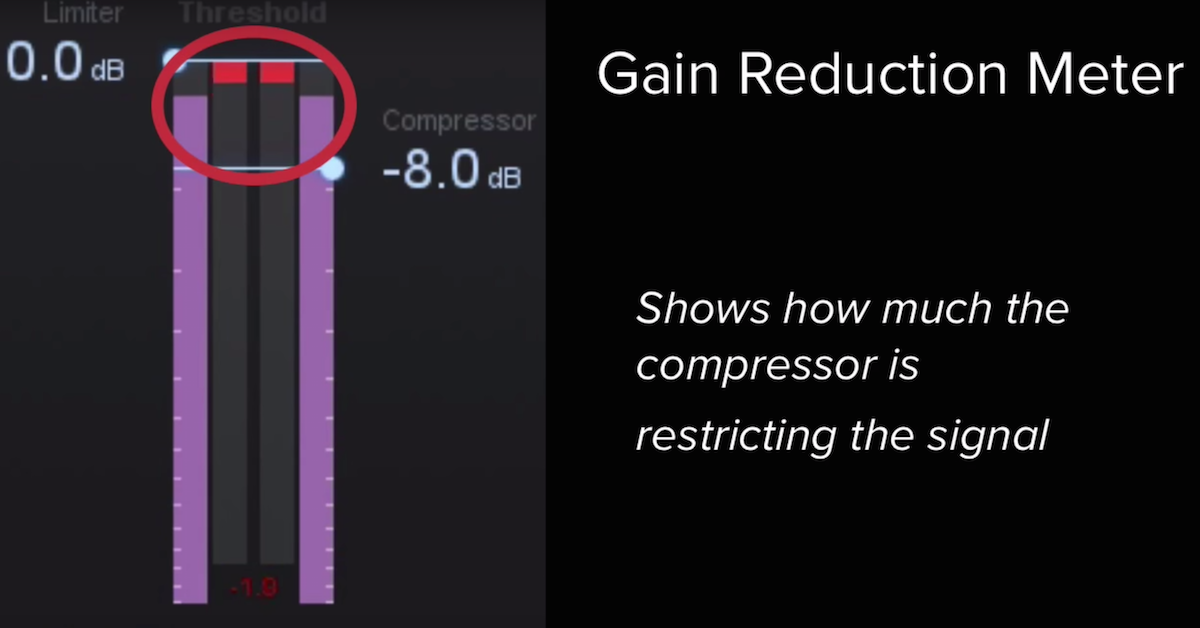
As you reduce the dynamic range of a signal, you also reduce the signal to noise ratio. A healthy signal to noise ratio will ensure that our signal is high enough to avoid a substantial noise buildup during mixing.
[drums, lowering noise]
It’s important for the input level to be low enough to avoid non-linear saturation and clipping. While we can ignore this rule if we’re trying to drive a piece of hardware for creative purposes, we should try to avoid unintentionally distorting or clipping, by ensuring that our signal has enough headroom to fluctuate freely without overloading.
It’s also important to understand how different signal levels can change the sound of our audio. A lower signal decreases the signal to noise ratio, which increases the risk of noise buildup as you reduce the dynamic range during mixing. However, because of the non-linear way that the circuit reacts to the signal, pushing less signal into the circuit will change the way the analog circuit reacts to the audio.
This may be pleasing to your ear, and if it is, you should go ahead, while being aware of the issues that can arise with a lower signal to noise ratio.
On the flip side of this, going for a hotter signal can create pleasing saturation and distortions on our sources, and this can be used creatively to change the character of the sound, but if you’re not trying to add such an effect, you should keep the levels low enough to avoid overloading.
Some pieces will have input circuits designed to help add color to your sound, like that of a mic preamp. The same unit might have an output circuit to avoid coloring the sound further, and this clean output circuit allows you to set the appropriate color at the input, and not alter the sound further at the output stage.
The input and output stages can both be pushed into distortion, but each will likely offer a different flavor of distortion when pushed because of the different circuit types involved. Understanding how your unit reaches saturation and distortion is important, as that can help you track down unintentional distortion, as well as helping you understand how you can use that unit in creative ways.
Digital on the other hand is less forgiving. A/D converters always have an analog front end, which means they have an inherent noise floor associated with them. We need to push enough signal into the converter to avoid noise floor problems later on. However, with digital, we can only push so far before the circuit starts to fail and we get clipping and digital distortion.
When we clip at the digital converter, the sound above the ceiling is clipped off completely. This adds distortion that isn’t always desirable, but can be useful in certain situations. For example, digital clipping is often used to add a hard attack sound to percussive instruments.
[drums, adjusting clipping]
While digital clipping can be a desired effect, there are tools designed to give controllable clipping within our DAW. If we’re trying to clip digitally, it’s still advisable to record a clean signal, and clip it during production. This prevents accidentally clipping too much, and we can try different clipping flavors to see what sounds best for our sources.
Since digital is linear, one we’ve passed our converter, the sound doesn’t saturate based on level the same way that analog gear will. This means instead of pushing a hotter signal to get a particular tone, we’re merely trying to stay high enough to avoid a noise floor buildup, while staying low enough to avoid overloading or clipping as we record.
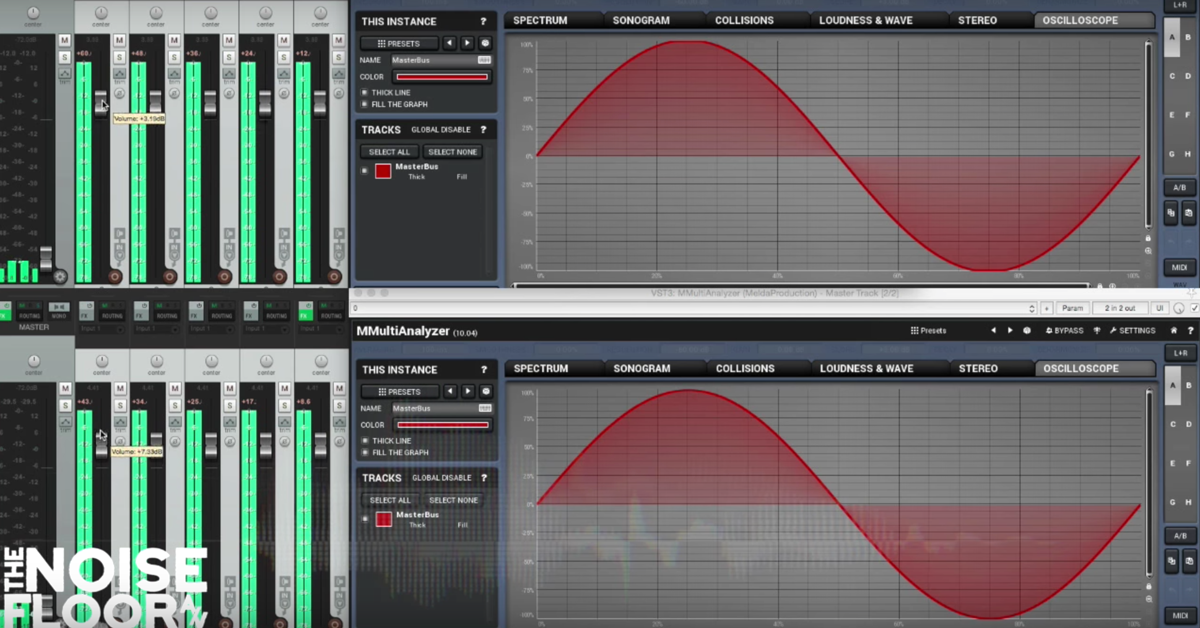
A good target range to shoot for with your average level is anywhere above -20dBFS, with our maximum peaks hitting no hotter than -10dBFS. That’s going to depend on your converters, of course. My own interface, for example, begins showing signs of very low level distortion as I go above -10dBFS, so I try to record with my max peaks hitting no hotter than -12dBFS.
That gives me enough headroom to avoid overloading, and I have a very healthy signal to noise ratio. Here yet again, we need to understand the capabilities of our gear. Apogee converters have implemented a soft limiting feature that allows you to push more signal into the converter as a way of saturating the signal’s analog front end, before it gets converted to digital. The soft limiter prevents clipping from occurring as you push more signal into the converter’s analog stage for tone purposes.
Knowing what your gear is capable of will allow you to know when you can push these boundaries, thanks to intentional design elements such as this. With that being said, this soft limiting feature is just a way of getting analog tone in a digital system, and there are plenty of products out there designed to help us get analog saturation within our DAW. I wouldn’t stress out over not having this feature in your converters, if I were you.
Once our signal has been converted to digital, if we don’t plan to use plugins that emulate the non-linearities of analog gear, we don’t really have much to worry about aside from the gain structure of our plugins, and whether our master buss is clipping. Our plugins often have an input and output control, just like our analog gear. If the plugin isn’t modeling analog non-linearities, then we don’t really have much to worry about in terms of the input level.
Some of our plugins can still clip internally, but not all. So it’s important to know your gear and how far you can push it. And that does apply to plugins.
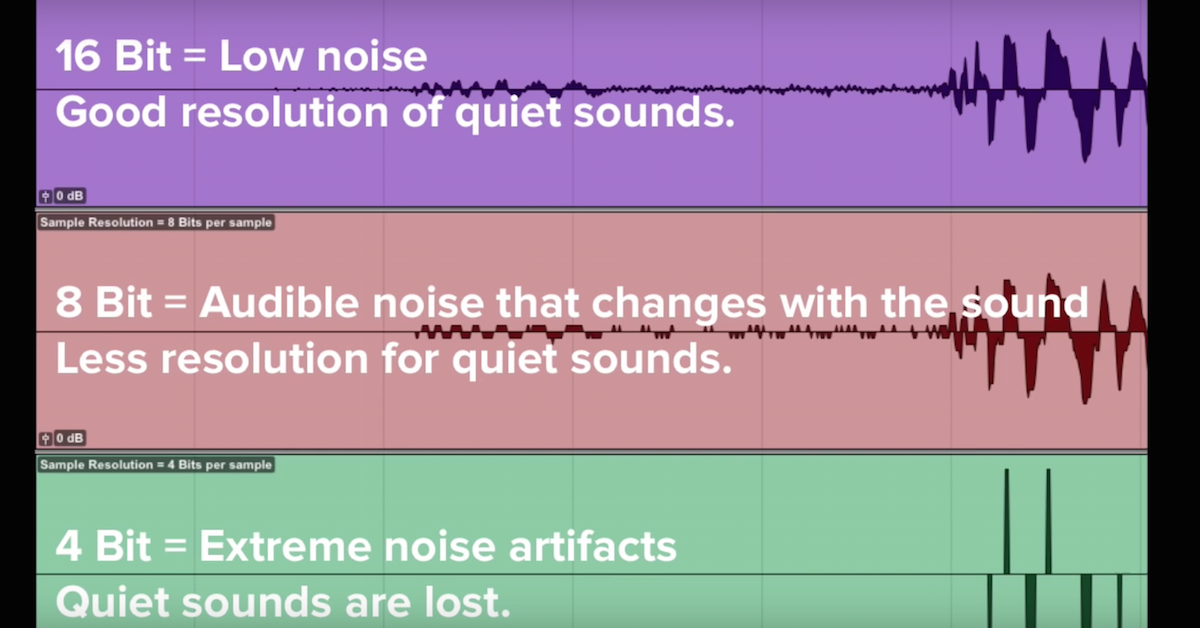
Modern DAW mixers offer a lot of headroom by design. Even though you may see a red clipping indicator on the channels of your DAW, unless you’re using a 16-bit system, you likely are not actually clipping. As long as you’re not clipping at a digital to analog converter, you’re not clipping.
So if we aren’t clipping on our DAW channel, why do we still have clipping indicators? Well, many of us are using hybrid systems, which allow us to use analog units in conjunction with our digital systems. Since hybrid systems require us to send our audio out from the digital world into the analog world, we must pay more attention to the strength of our signal. If our channel clipping indicator goes off and we’re sending that channel’s output to an analog converter, then we’re actually clipping.
Once the sound leaves the digital world, that clipping indicator becomes important again.
The bottom line is simple. Even though analog and digital have different rules, gain staging is fairly simple and difficult to get wrong. Gain staging is not some mystical formula based on a number that we must all reach for in terms of our gain structure. It’s merely setting the appropriate input and output levels for the piece of gear that we’re using. In order to do that, we have to know what we’re trying to achieve. We have to know the gear that we’re using, and what it will do when set to various levels. We have to know what happens at our converters, and we have to understand when we’re clipping, and when we’re not clipping within our DAW.
Aside from that, don’t stress out too much about setting the perfect level in a digital system. Just set it for what you’re trying to accomplish and move on.
Elevate Your Ears