The Essential Guide to the Basics of Live Sound
09/21/2017
Article Content
OK, this is gonna get kind of weird, so bear with me…
The differences between studio engineering and live sound are like the differences between porn and sex.
One is manufactured. It’s designed to be as appealing as possible and there’s little concern for realism. The other is about experiencing something in the moment and reacting to situations in real time. They both have their ups and downs (*wink wink*), and while they may seem essentially the same, we all know there’s a world of difference.
What I’m trying to say here, is just because you know your way around Pro Tools doesn’t mean you’re qualified to run a live show. It’s equal parts signal flow, miking technique, ear training, problem-solving, psychology and customer service.
Let’s take it from the top.
Signal Flow
The most important skill you can have as a live sound engineer is a solid understanding of signal flow. Without it, there’s no music, and you’re not much of an engineer at all, actually.
You need to know where the signal is coming from, where it needs to go and how to get it there at all times. In order to do that, you need to know how all the pieces of the PA system work together.
For the purposes of this article, we’re going to use a passive analog PA system to run front of house and monitors, in order to demonstrate how everything works in full detail.
Mixing Console
The mixer is your home base. It’s where all of your inputs (mics, instruments, FX, etc) are controlled, processed and routed to the appropriate outputs. Every console is different, but they all serve the same function.
Most consoles have 8-32 channels, a few subgroups, stereo “main” outputs and multiple “aux” outputs for stage monitors and outboard effects.
Generally, analog consoles are outfitted with semi-parametric EQs on every channel, and outboard processors are used for dynamics and effects processing (gates, comps, reverbs, delays, etc).
Author’s Note: For contrast, most modern digital consoles feature fully parametric EQ, gates and compressors on every channel, in addition to multiple effects processors.
After signal processing, all channels are eventually routed to the stereo main outputs and sent to the PA system for the crowd to enjoy, but first, you need to connect the console to the speakers.
Graphic Equalizers
Console Main Outputs > Graphic EQs
Graphic EQs (GEQs) are used to correct the frequency response of a speaker.
Connect the main outputs of your console to a GEQ and use it to “tune the room” or correct problem frequencies caused by standing waves in the room.
Connect each of your aux outputs to a GEQ before sending signal to the stage and use it to “ring out” the monitors or eliminate frequencies that are likely to cause feedback.
(More on this in How to Tune a PA System for Live Sound)
*Author’s Note: Most digital desks include digital GEQs for all Main and Aux outputs. Everything is done internally on the desk so there’s no need for outboard gear.
Crossovers
Console Main Outputs > Graphic EQs > Crossover
Crossovers are devices that split your signal in two — low frequencies go to the subs and everything else goes to the mains.
Plug the main outputs of your console into the GEQ, then into the inputs of the crossover. Set the frequency at which you’d like to split the signals, then connect the “low” outputs to the power amps for the subs and the “high” outputs to the power amps for the mains.
Some crossovers include 3-way splitting for low, mid and high speakers, but these are for more advanced systems typically only found in venues where they were professionally installed.
*Author’s Note: Active speakers have built-in crossovers, so there’s no need for an outboard unit.
Power Amps
Console Main Outputs > Graphic EQs > Crossover > Power Amps
Power amps have one job: they supply power to passive speakers. There’s nothing fancy about them — the only control is volume output. Many engineers choose to run their power amps at full blast, although if not properly gain staged it could lead to a low signal to noise ratio.
Power amps are vitally important to your PA system. Using the wrong power amp could cause your speakers to blow, the amp to catch fire or both.
In order to properly pair speakers and power amps, you need to know the following:
- Power Amp Impedance
- Power Amp Power
- Speaker Impedance
- Speaker Power
Ohms are a measurement of resistance and they tell us how resistant the power amps and speakers are to electricity. The most important thing is that the speakers and the power amps have the same ohm rating.
Power is measured in watts and sometimes referred to as program, continuous or RMS power rating. You need to use an amp that is 50% more powerful than your speakers.
For instance, if you’re using two 8 ohm, 1000 watt speakers, you’ll need two 8 ohm, 1500 watt power amps, or a single 8 ohm, 2-channel 3000 watt power amp.
After connecting your crossover outputs to the power amps, finish the chain by connecting the power amps to the speakers.
*Author’s Note: Active speakers have built-in power amps, so there’s no need for outboard units.
Main Speakers
Console Main Outputs > Graphic EQs > Crossover > Power Amps > Main Speakers
The speakers are the very end of your signal chain — the last stop before all this electricity turns back into music.
Speakers come in two basic types: active and passive.
Active speakers are powered. There’s a power amp built into the unit and all you need to do is plug the IEC cable into the wall to turn them on. These are more common in smaller, portable systems.
To connect active speakers to your console, simply run an XLR or TRS cable from the main outputs on the console to the inputs on the speakers.
Passive speakers are unpowered. They require you to buy and connect an external power amp to turn them on. These are more common in larger permanent installations.
To connect passive speakers to your console, run an XLR from their main outputs of the console to the inputs on your power amps, then connect the outputs of the power amps to the inputs of the speakers using TS or Speakon cables.
Remember, each speaker should be paired with a GEQ and an appropriately matched power amp.
Subwoofers
Console Main Outputs > Graphic EQs > Crossover > Power Amps > Subwoofers
Many systems include multiple subwoofers for extra low end reinforcement.
If only two active subwoofers are used, you can simply route the main outputs of your console to the inputs of the subwoofers. Then, use the “thru” outputs to connect the subwoofers to your active “tops” using XLRs.
Active subwoofers include built-in “crossovers”, which are devices that split your signal in two — low frequencies go to the subwoofers and everything else goes to the mains.
If passive speakers are being used, you’ll have to purchase an outboard crossover, which works the same way the ones on active subs do.
Occasionally, more than 2 subwoofers are required for a gig, in which case, you’ll need to use a speaker management system. These usually include lots of DSP (digital signal processors) like EQ, compression, limiting and stereo imaging: but most importantly, they allow you to split a stereo signal to eight or more outputs, which gives you the freedom to include multiple subs.
Monitors
Console Aux Outputs > Graphic EQs > Power Amps > Monitors
Last but not least, now that you have the PA system up and running, it’s time to connect the stage monitors so the band can hear themselves.
Stage monitors are connected essentially the same way the mains are connected, only using the aux outputs instead of the main outputs.
Each stage monitor will need it’s own graphic EQ and aux send. Start at the console, and connect the aux outputs to the GEQs using XLR or TRS cables. Then, connect the GEQs to the power amps using XLRs or TRS cables, and finally connect the power amps to the monitors using TS or Speakon cables.
*Author’s Note: Active monitors have built-in power amps, so there’s no need for outboard units.
Boot Up Procedures
Now that you’ve got everything connected, you need to turn everything on. Always start at the beginning of the signal chain — the console. Then, simply follow the chain down the line.
Boot up the GEQs next, followed by the crossover and any additional processing. Finally, turn on the speakers/power amps last, otherwise you’ll get a nasty pop in the system when you turn on whatever missing component is behind the speakers.
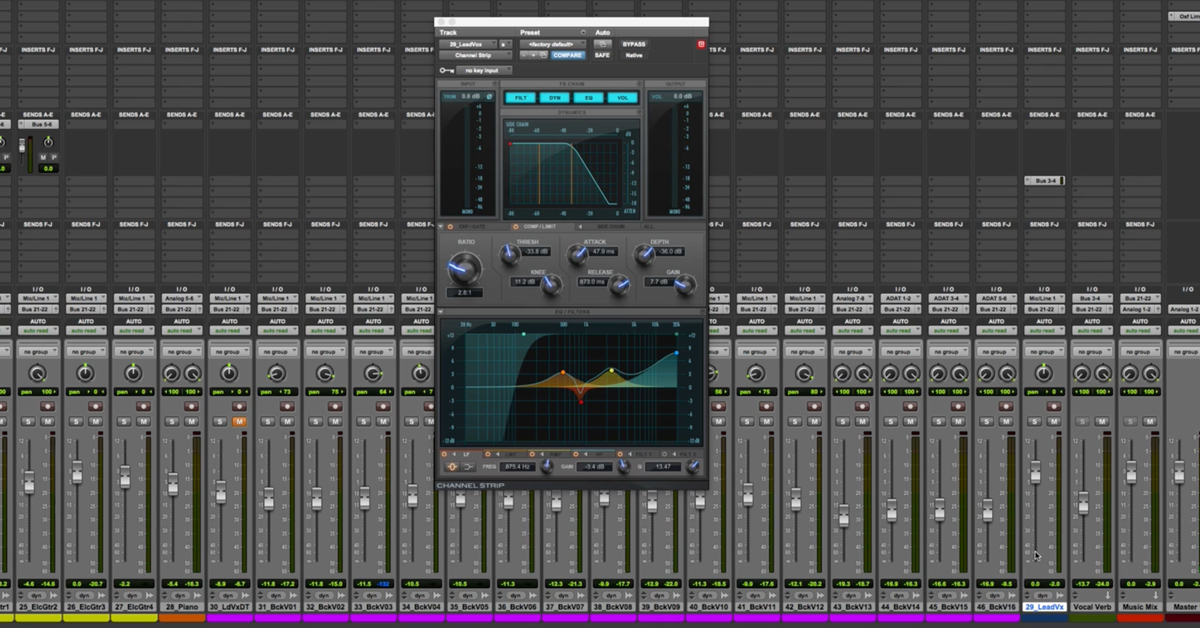
Channel Strips
Analog consoles can be really intimidating. Some of them have 32 channels, dozens of knobs and more LED lights than your average Christmas tree. The important thing to remember is that if you can understand how one channel strip works, you can understand how roughly 80% of the console works.

Ready to elevate your ears?
It doesn’t have to take years to train your ears.
Get started today — and you’ll be amazed at how quickly using Quiztones for just a few minutes a day will improve your mixes, recordings, and productions!
Aside from the center, or “master” section, the rest of the console operates exactly the same as channel 1. If you’re used to mixing in a DAW you’ll be pleased to find out the channel strips are laid out almost the same way on an analog console, and while every console is a little bit different, they all work essentially the same way.
Preamp / Gain
It all starts with the input of the preamp. Whether you’re plugging mics directly into the back of the board or using a “stage snake” to feed the signals from the stage, the first step is amplifying the mic using the gain knob on the preamp.
So… while we’re on the subject, what exactly is gain? First of all, let’s talk about what gain isn’t.
If you want to increase the volume of a signal, you should reach for the channel fader, not the gain knob.
Gain can be thought of as mic sensitivity. It increases the intensity of what the microphone can “hear”, and is used to dial in the appropriate intensity of each instrument.
Too much gain and the signal can clip and distort. Too little gain and the signal feels weak and noisy.
To set the gain for a channel, have the musician start playing their instrument, and with the channel fader down, slowly turn up the gain knob until you hit the console’s “sweet spot.”
Every desk is different, but this is usually where the signal turns from green to yellow or orange. Just make sure you keep it out of the red!
After setting the levels on the preamp, slowly bring up the channel fader until the instrument is at the appropriate volume.
Author’s Note: The preamp is also home to the phantom power (+48v) switch, and the phase flip switch.
Inserts
From here, the signal typically travels through the “insert” section, where you can connect outboard processors (like gates and compressors) before running through the EQ section. Many analog consoles have a pre/post button that allows you to move the insert point before or after the EQ.
On most large format consoles, channels have a 1/4″ “insert send” output to send the signal to the processor and a 1/4” “insert return” input to return the processed signal.
Some more compact consoles use a single 1/4” “y-cable” insert point, which has three ends: one that plugs into the insert point on the back of the console, one that plugs into the input of the processor (send) and one that plugs into the output of the processor (return).
EQ
Up next is the EQ section. Most analog consoles are outfitted with a four band semi-parametric EQ, which sounds intimidating but isn’t, really.
Typically, you’ll have a fixed low band and high band, with adjustable gain and frequencies. Occasionally they’ll feature a button to switch between a shelf and bell shape.
Next, you’ll have bell-shaped low-mid and high-mid bands, with fully adjustable gain, frequency and Q (bandwidth) parameters.
Finally, there’s usually a fixed high-pass filter switch set to a specific slope and frequency (usually around 80 Hz).
Aux Sends
Next, your signal runs through the Aux Send section. Most analog consoles have 4 or more aux sends, which can be used to duplicate signals and route them to one of two places: stage monitors, or FX processors (like reverb or delay).
To send a signal to an Aux Send, simply find the Aux Send section of the desired channel, and turn up the send to the corresponding Aux.
Of course, you’ll have to make sure the Aux Outputs on the back of the board are connected to the correct stage monitors and/or FX processors.
Remember, when using outboard FX processors, you can send a signal from the Aux Sends, but if you actually want to hear the effect you need to return it as well. Most consoles have dedicated Stereo Aux Returns specifically for FX, although literally any channel input will do.
There’s also an “Aux Master” section in the center portion of the console, which has a master volume control for each Aux Send, just in case you have the balance just right but need a little more or less volume overall. Make sure it’s turned up (typically to unity) or you won’t be sending any signal!
Pan Knob, Fader and Routing Buttons
Up next is the pan pot, the volume fader and the routing assignment buttons.
Aside from panning stereo signals left and right, there’s not a lot of use for panning in live sound. Sure, some engineers choose to tilt their toms a little this way or move a keyboard over there to get it out of the way in a busy mix, but overall most signals are panned in the center.
Panning makes sense when everyone is wearing headphones, but when everyone in the room has a different place in the stereo spectrum it starts to cause more problems than it’s worth.
The next piece of the channel strip is the fader. Get to know how the fader feels under your fingers. Become one with the fader.
From there, you need to tell the signal where to go. Analog consoles usually have a few buttons (M, 1+2, 3+4, etc) directly next to each fader that allow you to send the signal to the mains and/or one or more subgroups.
Often times, engineers use channel strips to process individual signals and use subgroups to balance the mix. Think about it; what are you going to do, pull up eight mics simultaneously during the drum solo?
By routing similar signals to subgroups (like drums, bass, guitars, vocals, etc), you can balance levels by controlling multiple mics at once, leaving your other hand free to mix effects, run lights, or fight off the droves of groupies that are always fighting to hang out with the sound engineer.
Board Mix
While every engineer does things a little bit differently, here’s an example of what a typical 16-channel board mix might look like, including common microphone options, inserts, and aux sends.
For demonstration purposes, let’s assume you’re working with a 5-piece rock band: drums, bass, 2 guitars, keyboards and 4 vocals.
There are 4 stage monitors: stage left, center stage, stage right and upstage (next to the drummer). They’re connected to Auxes 1-4, respectively.
You also have 2 FX processors: one for reverb and one for delay. The reverb unit is connected to Aux 5 and the delay unit is connected to Aux 6.
This template won’t work for every band, but use it as a starting point or a reference guide when setting up and you should be prepared for most gigs.
Now that you’ve got PA set up, it’s time for load-in, soundcheck and show time!
Eleveate Your Ears