A Guide to Synth Modulation Sources and Controls
Article Content
➥ Synthesis 101 from Phil Mantione is available now
In the last two articles, I discussed some of the most common methods for modulating parameters in a synth, LFOs and Envelopes. Now let’s focus on atypical methods and variations, and a few unique graphic user interfaces (GUI).
Randomization and Unique Modifiers
Random generators are often found in the LFO section, although they do not generate periodic waveforms.
 Sample and hold (S&H) functions use some internal waveform (typically noise) and play a short sample of it before jumping to another. Since the sampled sound is generally noise (although any waveforms can be used), held samples will appear random. The rate specifies the speed at which new samples are played and thereby also determines the duration or hold time for each sample (indicated by the second to the last icon in the image on the left).
S&H Modulating Pitch
S&H Interpolated is a variation on the above, in which samples are connected smoothly by interpolating between successive values (indicated by the last icon in the image above).
S&H Interpolated Modulating Pitch
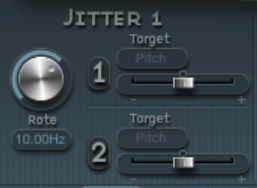 Jitter is a randomizing function that jumps from one random value to another within a specified or preset maximum step size. The image to the left is from Sculpture’s modulation section.
Jitter Modulating Pitch
As we’ve seen in other instruments, some controls allow you to alter the shape of the LFO waveform to create hybrid or erratic shapes.
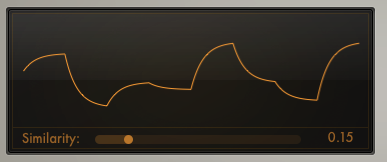
The XLFO found in the FabFilter Twin 2 (see below), offers some unique possibilities in terms of LFO shapes, including up to 16 step sequence points, predefined rhythmic beats, and a heartbeat among others. Each point in the LFO is movable and new points are added after a shape is created making this an extremely versatile modulator. Look for upcoming video tutorials on this and other 3rd party synths soon.


MIDI Events as Modulators
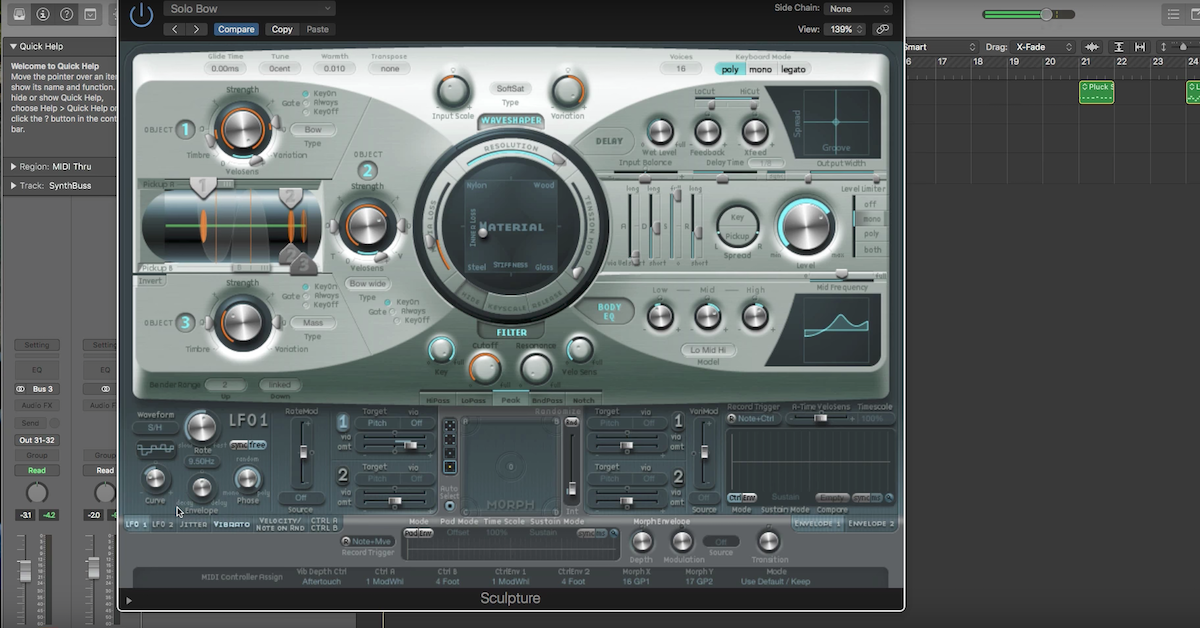
MIDI Notes can sometimes be used to trigger modulations in parameters like in Sculpture’s Note on Random feature (see below). Here, each note input triggers a random value that can be sent to a specified target.
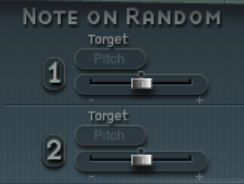
Velocity and Aftertouch can be used as modulators just as easily.
Pitch Bend, while typically functioning as its name implies, could conceivably be used as a continuous controller to alter any target parameter.
Mod wheels, knobs, sliders, pedals, wind controllers, and MIDI Guitar pickups, can all act as modulation devices.
XY Pads are found in many instruments and are common in MIDI hardware as well. They are typically mapped to two parameters, although synths will usually allow any number of targets. It becomes a much more gestural and controllable function when you can map a physical XY control pad to the software, instead of using a mouse.
External Plugs, Envelope Following and Automation
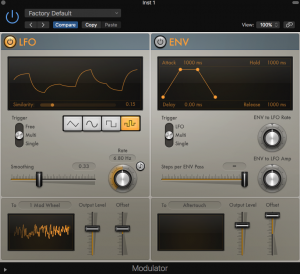 Modulator plugins, like the one found in Logic Pro, can be useful for generating input information for a virtual instrument. Likewise, arpeggiators, sequencers, chord generators, randomizers all serve this purpose.
Automation in a DAW can be used to modulate synth parameters. The choice to use this type of external modulation vs. internal modulation is case dependent. One argument for using DAW automation might be in the case of long, multi-bar transitions, where you need to line things up visually in the session for synchronization purposes.
Envelope Followers take some input signal, which could be internal or external (side-chained) and convert the amplitude envelope of that signal to a usable modulation data stream. A common approach is to side-chain a kick or snare into to the synth and map the transients to a parameter such as the cutoff frequency of a low pass filter.
Unique GUIs
There are a few idiosyncratic control methods that should be mentioned.
Logic Pro’s Alchemy has several powerful interfaces that are unique:
The Performance Pad is a 4 column/2 row matrix of boxes, each with a user-defined descriptive name. By dragging a four cornered transparent frame around the matrix, the user is able to smoothly morph between settings. As you relocate the frame, at least 12 parameters and two XY pads are altered to reflect the current position. This allows for an astonishing level of control that can create effects ranging from extreme and sudden changes to subtle color shifts.
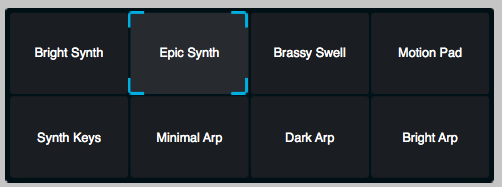
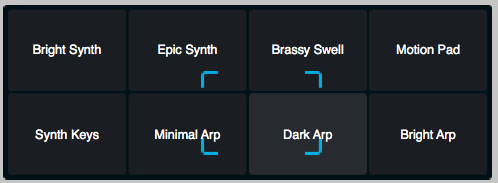
Example moving slowly through the performance pad settings above
Sequencers are tables of data that output values based on rhythmic divisions of the beat. Each step is user-defined in term of value, duration, and MIDI event information.

Commonly used in drum machine-type plugins, this idea is also found in virtual synths to alter or modulate any parameter on a step-by-step basis. Step sequencing becomes especially powerful when multiple sequences of varying lengths or meters are superimposed to create a sort of polyrhythmic modulation impacting several parameters at once.

Multiple Segment Envelope Generators (MSEG) such as the one found in Alchemy allow for the creation of envelope style modulators that go well beyond standard 4 or 5 stage envelopes. They also typically allow for various looping points and styles such as palindromic, forward, reverse, or a predefined number of repeats.
Logic’s ES 2 offers a few nice modulation functions as well.
With Vector Envelopes, the user defines a set of nodes, typically spaced equally within a set duration (e.g. every 8th note for two beats). Each node is a preset point for a specified set of parameters. When a note is pressed, each node is activated in sequence based on user-defined speed (which could be tempo synced or free). Other controls determine morphing parameters between nodes, various looping functions, time scaling, etc. This is a very cool way to get some movement in an otherwise static sound.

Vector Envelope Sequence
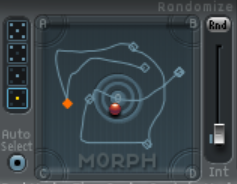 The Morph Pad found in Logic Pro’s Sculpture is almost too intense. It’s capable of morphing between over a dozen parameter settings by moving a puck around a square pad area. Each corner and the center of the square can be programmed for specific parameter settings. Or settings can be generated based on a selected level of randomization. As you move the puck around the interface, the parameters impacted will move accordingly, morphing seamlessly between each position.
As if that wasn’t enough, you can also record puck movements. With the Note+Move function set, as you hold a note and move the puck, the morph pad will record the changes. When finished, a tracing line will appear showing the movement you recorded. When you play a new note, a little red dot will retrace the path and create the parameter changes as well. The path can even be expanded or altered in various ways after it’s recorded.
Conclusion
In the last several articles I covered the basics of LFOs, Envelopes, and other modulations methods. I also gave an overview of FM Synthesis, Granular Synthesis, and discussed some powerful synths and weird instruments available for the ever-expanding iOS market.
Check out my other articles, reviews and interviews
Follow me on Twitter / Instagram / YouTube


