Mix Template Series — Instrument Groups (Part 5)
03/17/2017

So I’m going to go ahead, and we’re going to import some stuff. Actually, before we do that, let’s go over some of the logistics. If you go to the home site, davidglennrecording.com — losing my mind here — I’ve got a banner on the home page for The Mix Template Series. If you click that, I’m going to give you free downloads of my mix template in both my full version and a stock plugins version, and then we’ll have multiple DAWs available if not right now. Very soon, we’re going to have a lot of DAWs covered.
Logic, Studio One, Cubase, etcetera. So definitely go check those out and then head on over to the Facebook page, facebook.com/davidglennrecording. I’m going to be doing Live Q&A and hosting some exclusive videos over there as well.
So we’re going to move on. We’re going to take a look at these tracks. I’m going to just import the quick and dirty way. I’ve got some setup here. Just going to pull in, we’ve got a song we’re mixing at The Mix Academy this month. So we’ll drag these in, take a quick look at that, and I pulled this open because we’ve got some synths, some Arp Bass, some pads, we’ve got acoustic guitars, electric guitars, all kinds of stuff.
This is the only step in my workflow where I don’t have a series of tracks already created. I used to, but I felt like I spent more time renaming all the tracks to get them to look good and feel like I had something somewhat organized than I did actually mixing, and so I felt like, “You know, let me just drag these in from now on,” and that’s worked better for me.
So basically, I get all the music tracks dropped in, just below the bass level, and I’ll group them. Just call it music. I’ll drop all their faders down to minus 20 or so. I like to start with all of my faders in a mix down to minus 20. Then I will go ahead and route. If I’ve got a bunch of acoustic guitars, I may have an acoustic guitars buss. If I have a bunch of electrics, I may have a rhythm guitar buss, a lead guitar buss, it just depends on how many tracks and how they’re organized, but the basics of it is, once all the tracks are organized, I’m going to send them to the all music buss.
Excuse me. So we go Option+Shift buss, and I’m going to come up here and select all music, and if you remember in the — I think it was the second video, we talked about the buss processing, if you come down here, you can see all music. We’ve got our processing here. We’ve already talked about that, but I just want you to see, that’s where we’re sending them.
So we’ll scroll back up, we’ll take a look, we’ve got some panning to do, obviously, that’s when I would start my rough mix, get the drums up, the vocals, the bass, get all the levels in, pick the panning positions, all the kind of stuff.
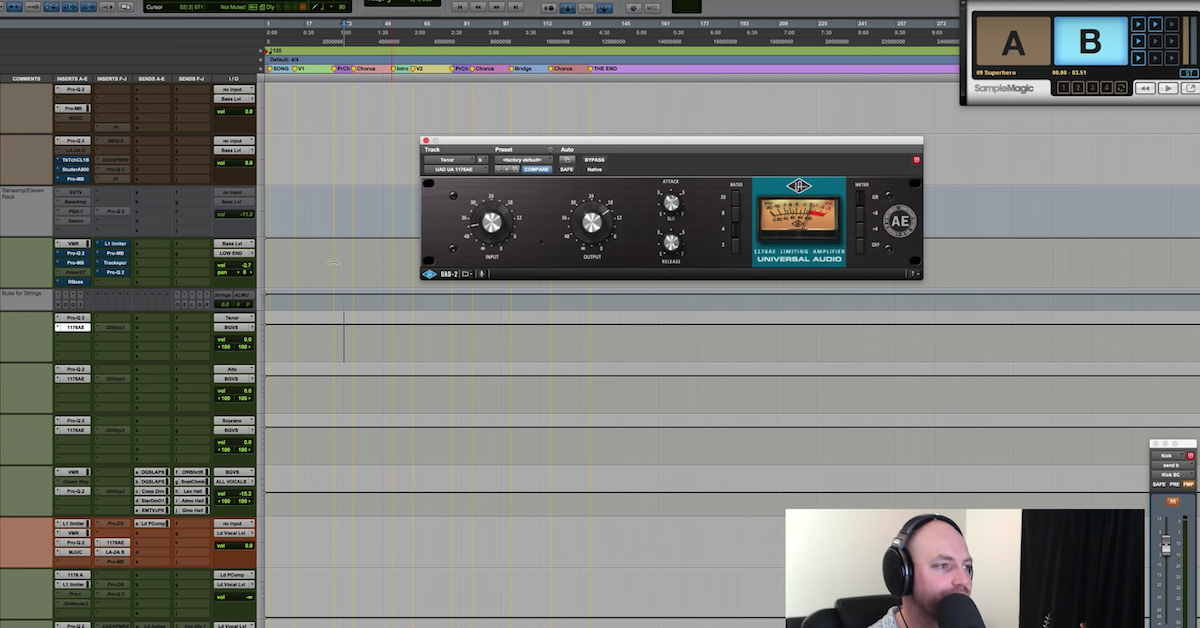
However, there’s one more step for these tracks here. The first thing I’m going to do is hold Option+Shift in Pro Tools, and I’m going to add a channel strip. Really straight forward. If you’ve got VMR, I’m going to show you that in a second. The computer taking a minute here. It’s been running pretty good for me.
If I — let’s see, I used to do this — if I go in here to Steven Slate, Slate Digital, there we go. And I load VMR, this is a great workflow. What I used to do, and I still have this setup, is I have a template in here. Pretty similar to just throwing an SSL Channel Strip on there. If you have the Waves, throw the SSL from Waves on there, but you may dig this. The Virtual Channel, starting with the console emulation, and then having these in, but not on, not active, you’ve got an exciter, an EQ, compressor, and the trim tool.
Now, even with slate, it’s been a minute since I’ve loaded my template up like this, but you’ve got the gate, and you have the monster, man, you’ve got all kinds of stuff from here. The De-esser. So you can use this on vocals. Pretty much just showing you that you have other options.
So you guys out there with the Everything bundle, Slate is a great way. Setup this, come in here and save a default template. If you come in here, once you save a template, you go to “Set as User Default” right there, and then in your settings preferences, you have to set it as “Set Plugin Default to” the user setting.
Once you do that, if I were to then click on all of these, Option+Shift+Click, go down here again to Slate Digital, and load VMR, VMR is going to load on every single one of these tracks with that standard channel strip setup, or whichever plugins you have that you’d prefer to have in a row there.
That’s that. It’ll actually do that for the mono tracks, and then you have to find a stereo track and do the same thing. Basically, out of the tracks, I just go to a channel strip. For me, it’s an SSL, and I’m rocking and rolling.
I may, depending upon how I’m feeling, usually pretty lazy at this point, I like to just get to the music and get to mixing. I may hold Option+Shift and go through and setup my synths to delays, setup my synths to some modulation effects, and setup some synths to the reverb so they’re there as a start to push up faders and mix. I have a quick click instead of having to click, drag, go over and find them. If I go ahead and put those in from the beginning, it’s just one less thing that I have to do whenever I’m flowing and I’m getting creative. I have that option to be able to do that.
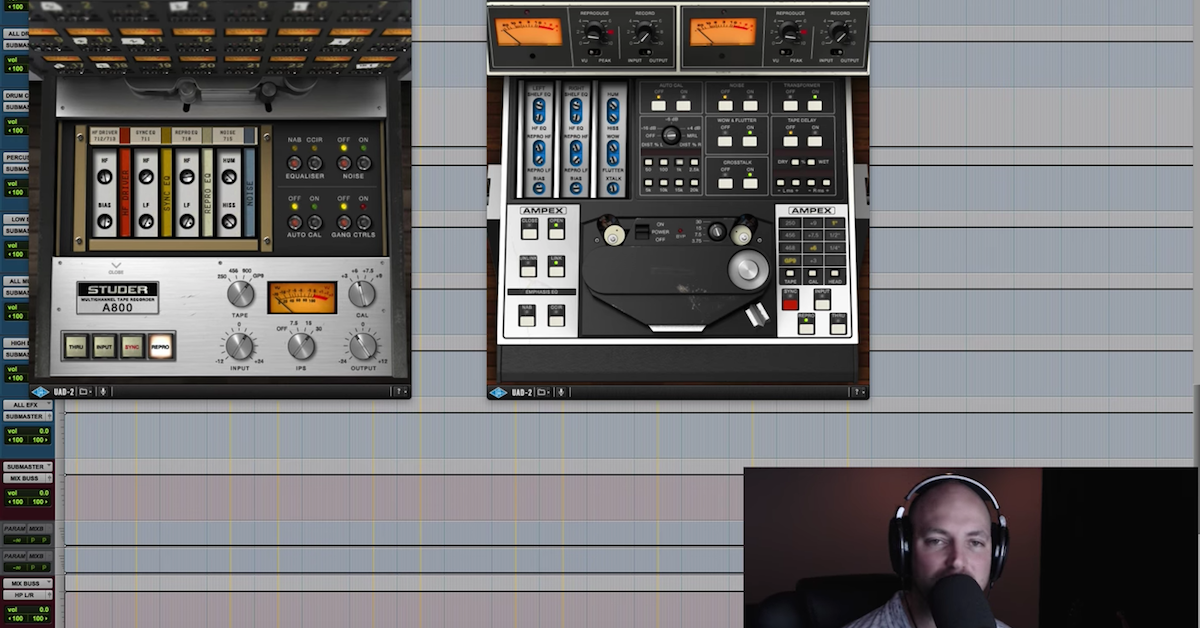
There was a couple other things that I wanted to mention. Let me make sure — okay, that’s right, so the other thing, I should’ve mentioned this first, sometimes I start with a tape emulation or console emulation, or both, so I may start with the console, and then have a tape emulation.
It just depends on the tune, again, it depends on my mood and what I’m feeling, but you may go ahead and create that and select it from the beginning, so similar to how I have the Virtual Channel setup, I would select that and maybe use Slate VMR from the beginning here because we don’t have these active. The Virtual Channel is. Maybe that goes first, and then the SSL, it just really depends on my mood and what I’m going for, but you have that option as well.
The other thing was to show the routing. Excuse me, the bussing, the management of tracks, and I’ve pretty much explained that from the get go. So again, if you have a bunch of synths, or a bunch of acoustic guitars, I would select those, break them apart, let’s say these were all acoustics, I may select them and then come over here, Option+Shift and buss to a new track, and set that up from the beginning.
So before I start my rough mix, I may get it all organized, get it all cleaned up, but from there we’re ready to go.
So music tracks, maybe not the most exciting video. Very straight forward, just to get a channel strip in there, a little — I’ve got the high and low pass filter, we’ve got an EQ, got a compressor. I mentioned in the drums video about the One Knob Compressor, you can see my default setting with the SSL Channel is to load with the dynamics section in, and if I want compression on a music track, I will typically click that and have a one knob compressor here.
By cranking the threshold down, setting it at its fastest release, the fastest attack, you’ve got this ratio knob becomes your one knob compressor, and you can push that up until you see three, six dBs of compression, and it could be really great.
Then you could tweak to taste, slow the attack, change the release, time it, but for me, that’s a great little trick. Shout out again to Kevin Ward over at Mix Coach. Did a video that was way better than my janky little explanation right there, but that’s a great way to get rocking with some compression and not having to stress too much about the settings.
Those are the music tracks. Very straight forward. We’re going to go ahead and move on to the next video. We’re going to talk about vocals, we’re going to pull in some lead vocals, some background vocals, I’ll show you a basic setup and walk you through my template, what I’m looking at with each of those tracks, the processing, and then we’re going to look at one of the more — I would say important videos of this whole series, after the vocals is going to be looking at the effects sends, and we’re going to show you some demonstrations and do a little bit of — yeah, we’ll have some fun.
Anyways, we’ll move on to that next video, and we’ll see you guys there.
Elevate Your Ears