9 Things I Do on Every Mix
12/4/2018
Article Content
It would be impossible to tally the number of decisions made during each and every mix. Every part, performance, and recording is unique, so I approach each mix as a unique entity. Still, there are elements of my process found in every mix that I’m hired to complete.
Here they are …
1. Have a Detailed Discussion with the Client
It may not be in person, but establishing some kind of dialog with the client before opening a session is essential for establishing healthy expectations, feeling out what they hope to aesthetically achieve, and for getting a vibe of who they are as an artist. Some artists speak in very abstract terms about their work, and I enjoy getting into the artist mindset before tackling mixing duties.
Something I always ask for from clients is a set of reference tracks — pieces of music that inspire them, or at least that serve as aural guide maps for the sonic journey I’m about to undertake. I encourage artists to detail what they enjoy about these reference tracks: sonically, emotionally or otherwise.
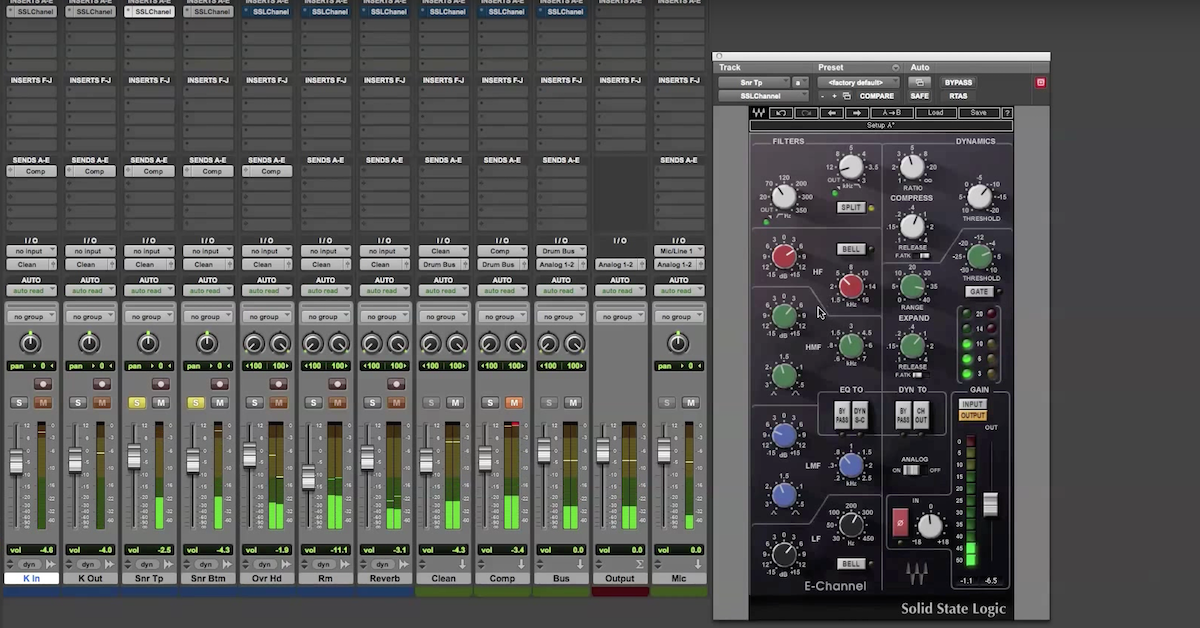
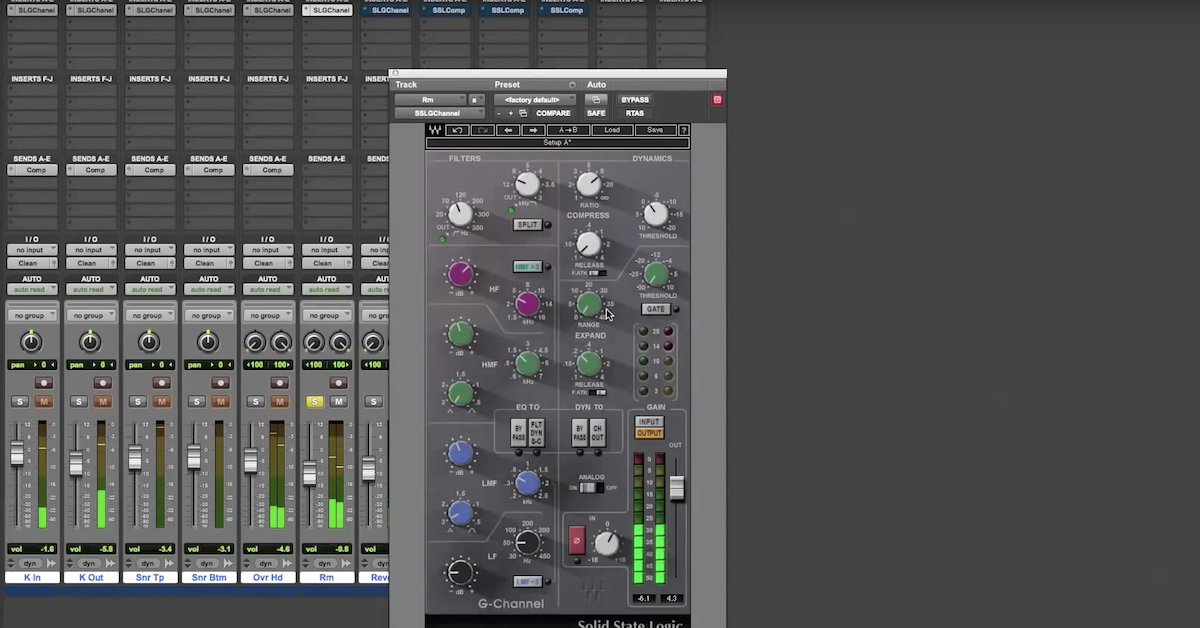
2. Mix Preparation
In my early days as an assistant engineer, preparing monster Pro Tools sessions for hours (if not days) on end was the extent of my involvement on most productions. It wasn’t glamorous, but I’m grateful for all I learned during those times, as I fully believe operating within a clean and tidy session is essential for being able to feel comfortable and creative.
Color-coding, ordering and grouping tracks, setting up drum triggers, and routing the tracks through my personalized multi-buss structure are completed before I make a single creative decision on a mix.
3. Learn the Chords and Consider the Song in Musical Terms
I became an engineer because it helped me more intimately understand music. I love microphones, equalizers and the science of sound, but not as much as I love music. When tasked with the role of mix engineer on a production, it can be easy to forget that first and foremost, the job is to enhance a piece of music, not to flex your technical muscles. Because of this, I spend as much time as I can afford diving into the music — analyzing the chords, melody and structure.
I play piano, bass, guitar and drums, and like to figure out the song on at least the guitar (the instrument I’m most proficient at playing). This allows me to feel inspired and as if I’m part of the song, and helps me channel the excitement of the performer. I take this excitement and attempt to infuse it into my mix.
4. Subtractive EQ
My logic here is simple — I strive to prevent unwanted frequency content from hitting processing that occurs later in the signal chain.
Low frequencies, especially, have the tendency to make compressors work overtime, so if you inspected my sessions, you’d notice a good amount of high-pass filtering on individual tracks. I’m careful to not filter too much low end out of my individual tracks because no one likes a thin-sounding mix, but I find that most sources excluding bass, kick drum and certain synths simply don’t benefit the overall mix if frequencies beneath 80Hz are present. There are always exceptions, and I’ll sometimes use a subtractive low-shelf rather than a filter, but my goal is to free up harmonic space for the elements that need it, and I find that this approach helps me accomplish that.
I’ll generally remove unwanted frequencies before processing with saturation, compression and time-based effects such as reverb and delay. Sometimes, however, I’ll leave the undesirable frequencies, or even boost them if I want compression to react a certain way.
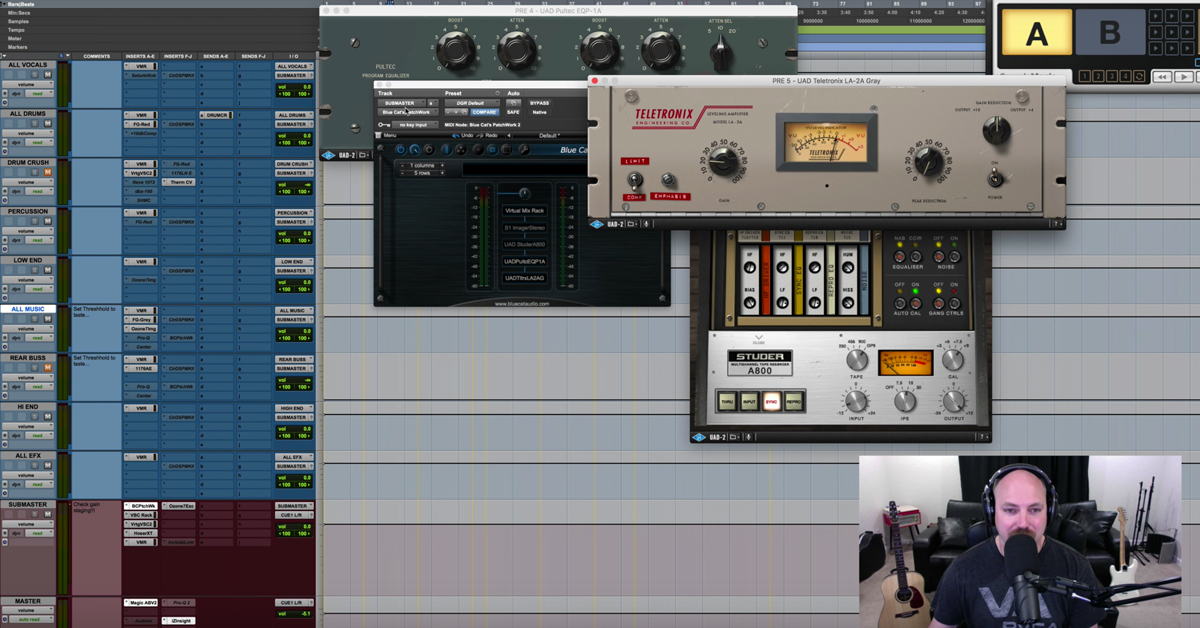
5. Compression & Saturation
I don’t remember the last time I mixed a song and didn’t use compression in one way or another. Some individual tracks are squashed to bits, some are gently kissed with compression, some are running through parallel compression, and some are running through compression specifically for the color and added harmonic content. Regardless of how I’m using compression, one thing is for sure — compression is an integral part of my sound, so I use it on every mix. I’m learning more about it on every production I’m a part of, and I’ve been doing this for close to 20 years.
I mentioned harmonic content before, and saturation is another tool that I use liberally to add character to my tracks. For as much as I enjoy the nearly unlimited track counts and speed of digital audio, I often find it lacking, sonically-speaking. I use saturation in many different ways, and on each and every mix I’m hired for.

6. Listen & Compare Reference Tracks
When I’m finished with my prep and have made it about halfway through the mix, I’ll begin toggling between my work and the provided reference tracks to see how they stack up. I’ll consider small details — for example, if the client loves a particular vocal reverb, or the way the bass sounds in a track, I’ll analyze the reference and incorporate those qualities into the mix to the best of my ability. I’ll also begin comparing big-picture differences such as overall tonality, dynamics and balance.
I critically listen on my mains, home theatre speakers, in the car and with as many other playback systems as I can find. I also casually listen while performing day-to-day activities like washing dishes, walking my dog, or hanging around the house with my two-year-old daughter (when I say hanging around the house — I actually mean cleaning up after her.)

Ready to elevate your ears?
It doesn’t have to take years to train your ears.
Get started today — and you’ll be amazed at how quickly using Quiztones for just a few minutes a day will improve your mixes, recordings, and productions!
I do all this because I want to listen both as a technician and a music fan. Ultimately, my work will be heard by more consumers going about their day than it will engineers parked in front of high-quality monitors.
7. Volume Automation & Clip Gain
Clip Gain is great because it takes place before any processing is placed on the inserts. If I know that I’m going to be compressing a track that was delivered with a lot of dynamics, let’s say a vocal, I’ll first use clip gain to even it out a bit. I’ll still leave the dynamic range, but want to avoid the compressor going nuts during loud passages.
If you notice that your vocal sounds unnatural and squashed with compression in the choruses, but perfect in the verses, try using clip gain to balance out the track across the two sections of the song. You can always go back with volume automation (which controls the volume after processing) to bring back whatever dynamics were lost with leveling out the track via clip gain.
To give a mix life, vibrancy and movement, I do several passes of volume automation after much of my equalization, compression and saturation are complete. I use the aforementioned processing to sculpt the tones and improve relationships between parts of the arrangement, but the real vision for how everything works together doesn’t come into focus until I put my hands on some faders and start playing the song like an instrument.
8. Master Buss Processing
Usually, when I’m approaching the middle-to-end stages of a mix, I begin to process to the master buss. Whether it’s equalization, compression, saturation, exciting or limiting — treating your master buss is simply part of the sound of modern music productions, so don’t shy away from experimenting.
Sometimes this processing can change how different parts of the mix interact, so I’ll go back to the original tracks and make adjustments. I also use visual metering tools to see how my mixes compare to industry standards.
As a production approaches mastering, I want my mix to sound as close to finished as possible. Some major-label A&R won’t approve mixes unless they’re working at a competitively loud level, so I’ve gotten used to treating my master buss so that my mixes sound very close to how they will sound once distributed. If a mastering engineer wants me to go back and remove anything — I’ll gladly do so.
9. Revise Until the Client Is Completely Satisfied
Crucial to survival in the client-driven service industry that is music production is making sure that the person or people that are paying you for your work are completely satisfied.
The revision process will sometimes become tedious, and clients occasionally ask me to take a mix in a direction that I don’t necessarily agree with, but ultimately — it’s their art, and their decision to make. I’m happy to oblige as long as they’re satisfied with the final product.
Eleveate Your Ears