5 Tips for Layering in an EDM Mix
Article Content
There are many factors that contribute to a great sounding EDM mix, but layering stands above them all. Layering your sounds allows you to create complex timbres, full-bodied sounds and a 3-D stereo image that can take an amateur track to a professional level.
Effective layering involves more than just stacking sounds. You need to pay attention to dynamics, timbre and the specific needs of the song. You also need a bit of creativity and experimentation to get the sound you’re after.
Below is a list of five tips for layering your sounds in an EDM track for a more professional sounding mix.
1. Add Dynamic Stereo Interest
The stereo imaging of your sound contributes to the overall width and space in your mix. Having width and space is key to getting a modern mix to compete with today’s commercial tracks.
There are numerous stereo imaging plugins on the market and many producers have used them with great results. I’ll go over a few ways to add stereo interest and achieve a three-dimensional mix.
Fade in Stereo Imaging
Try fading wider sounding layers in and out. This will create a 3-D effect because of the widening and narrowing of your sound. Try this technique on synths. Add a stereo-spread, high-pitched synth layer and fade the volume in and out. If you want a more static layer that doesn’t fade in and out, but has a similar effect, try automating your stereo imaging plugin from mono to a wide spread.
Multiband Expansion on the Side Channel
Another way to add stereo interest to your sounds is to have a layer with upward expansion on the side channel of a multiband compressor or dynamic EQ. Remember, expansion is the opposite of compression and upward expansion means that you are raising the levels of your signal above a threshold. Essentially this means boosting the level of the specified frequencies in the multiband compressor or dynamic EQ. This is another way to create a 3-D effect because the mono frequencies are steady while the stereo information in your track is moving.
A little goes a long way here. Even 1 to 2 dB of expansion can really add a lot of movement in the stereo field. This technique works best on percussive instruments, such as plucks, drums and basses with short notes because the compressor will move quickly and give more of a rhythm to the sides of your mix.
Try using quicker attack and release times to give more emphasis to the transients of your layer. Focus on expanding the higher frequency ranges of the layer as the high frequencies are directional. Try expanding 2 kHz and above.
2. Keep Your Drum Transients in Check
Layering your drums is a great way to get full and punchy hits, but many producers fail to mix drum layers together properly. When layering your drum hits, make sure your transients are in check. Nothing eats up headroom in your mix faster than having two drum hits with sharp transients layered on top of each other.
There are two ways that you can ensure your drum layering doesn’t eat up headroom.
- Fade In Your Layer: Choose the layer you want to be the initial transient and then apply a short fade on the transient of all the other drum hits. Applying this fade will avoid eating up headroom and keep the layered sound present.
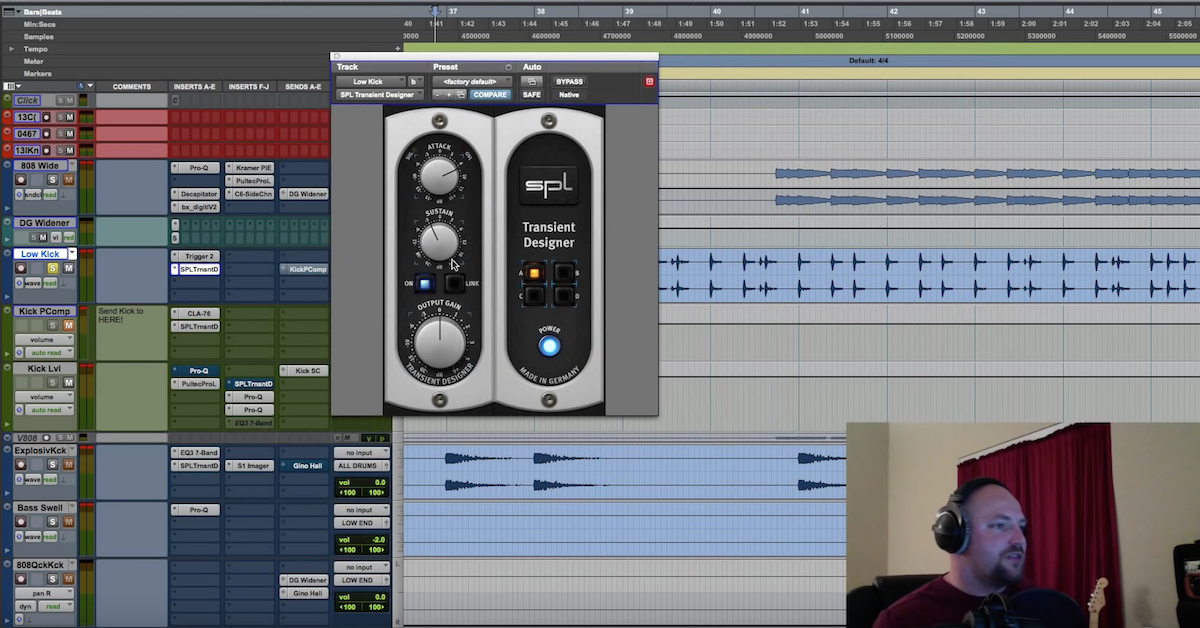
- Use Tape Saturation, Distortion or a Transient Shaper: Use any one of these tools to manipulate the peaks in your drum layers and keep your stacked sound intact.
Need saturation and distortion plugins to use on your drum hits?
Download free saturation and distortion plugins here:
3. Create A Gigantic Synth
One of the most sought after sounds in electronic music production is the larger-than-life, track-defining synth. This synth takes center stage on many EDM tracks and provides energy and power for a club or festival track. Here’s one way you can achieve a gigantic synth by layering five different synths:
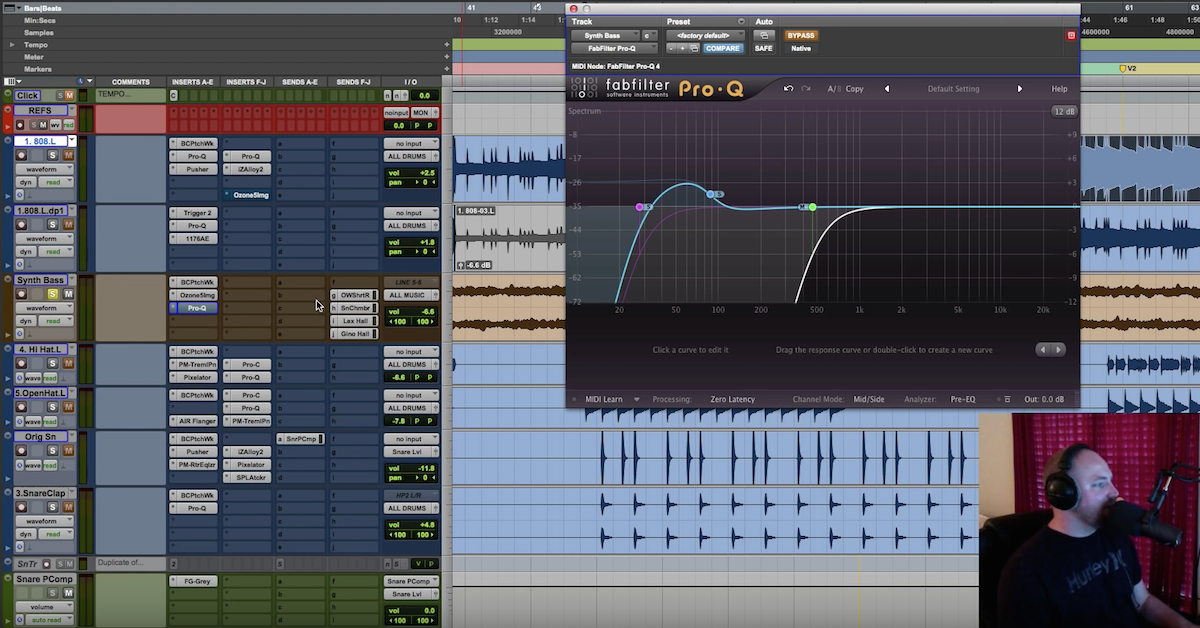
- Sawtooth Lead: This will be the foundation. Use your favorite synthesizer and either create a sawtooth lead or use a preset that contains a sawtooth wave in the oscillator. Then, take out the midrange with an EQ around 500 Hz.
- Pluck: Next, add a pluck that plays your chord progression.
- Midrange Synth: Now it’s time to add some weight to your synth. Try a synth with a buzzy character and move your chords down an octave to keep the sound in the midrange of the frequency spectrum.
- Top Lead: Add a top line that you think has timbral interest. Use the top notes of your chord progression here. Since you want only the high end of this layer, EQ out some of the midrange around 500 Hz.
- Sub: Add simple sub bass with a pure sine wave. Only use the bass notes of your chord progression.
4. Beef Up Your Sub
While EDM is often played on big club and festival sound systems, a large amount of its consumption is on laptop speakers and headphones. These smaller systems aren’t capable of reproducing sub frequencies, so adding an extra layer to your sub can help make it audible.
One method to try:
- Duplicate your sub bass.
- Pitch the sub bass notes up an octave.
- Low cut the sub layer around 120 Hz.
- Add saturation or distortion.
- Add a stereo spreader.
5. Get Creative
Layering your sounds does not have to be a chore. This can be the time for you to experiment and create new sounds that you’ve never heard before!
One simple yet overlooked method of layering is using your send and return channels.
Try:
- Throwing your favorite effects or chain of effects on one or more return channels.
- Sending the layer into a buss to process as a single group.
- Recording the audio from these busses and layering it with your original sound.
- Further processing your recorded out buss audio to blend in nicely with your original sound.
Need Effects plugins to add to your buss chain?
Download free effects plugins here:
Haphazardly stacking layers upon layers with the hopes of creating a fat mix is a recipe for a muddy mix. Each layer needs to have a purpose and contribute to the overall mix. Applying the five tips above can help you improve the overall quality of your mix.


