5 Tips for Getting More From Your Productions
Article Content
1. Tune Your Drums and Percussion
Sometimes it seems like no matter how much you EQ that snare or conga loop, it never quite seems to fit your track. Most people might reach for their sample libraries and grab a new sample or loop, but chances are that you chose that sample or loop for a reason — it sounded just like what you heard in your head.
It’s easily assumed that tuning drums mostly applies to sounds that are obviously tonal in character, like a booming 808 kick or an old-school drum machine snare. But even short white noise-like snare sounds do sound better at certain pitches in a given key.
You can use a spectrum analyzer to see where the fundamental energy of the sample is located and to which musical note that frequency corresponds. I find, however, this to be a bit hit or miss and prefer to just use my ears.
So when there’s something not sounding quite right even though the sample on its own sounds spectacular, try going up or down one semitone and see if that resolves the issue. It often does.
Speaking of 808 style kick drums, they’re often slightly out of tune so using a tool like Melodyne is a great way to tune your kick perfectly to the key of the song without messing up the sound.
2. Mic Your Speakers
A great way to process a sterile and boring sounding track is to put a nice colored mic in front of your monitors. Use two mics and both speakers for stereo and one single monitor for mono tracks to avoid phasing issues.
Experiment with distance, try cranking up the volume and putting the mic out in the hallway. You can use that track as reverb for the dry track. You can also delay the track by 10 ms or so to simulate pre-delay.
For a seriously great long reverb tail, place a speaker in a stairwell. No plugin can touch that sound.
3. Automate Your Loops
When looping a MIDI track, make sure to do subtle automation on a number of parameters.
On a synth this could be a filter, resonance, distortion etc. On a virtual instrument like a piano, editing velocity and messing with timing in different bars can keep things interesting. Remember, small adjustments go a long way.
If you’re using audio loops, you can still automate many things like transient designers, compression (threshold), delay, reverb amount, etc. And don’t forget your volume automation!
One cool trick to go along with volume automation is having a distortion/saturation plugin followed by a compressor. Make sure they’re post-fader if you’re automating your volume fader, or use a gain/trim plugin before your distortion and automate the gain. The idea is that when the level (volume) goes up, the distortion starts getting more intense, the compressor counters the increase in level so you can push the distortion harder without apparent jumps in volume.
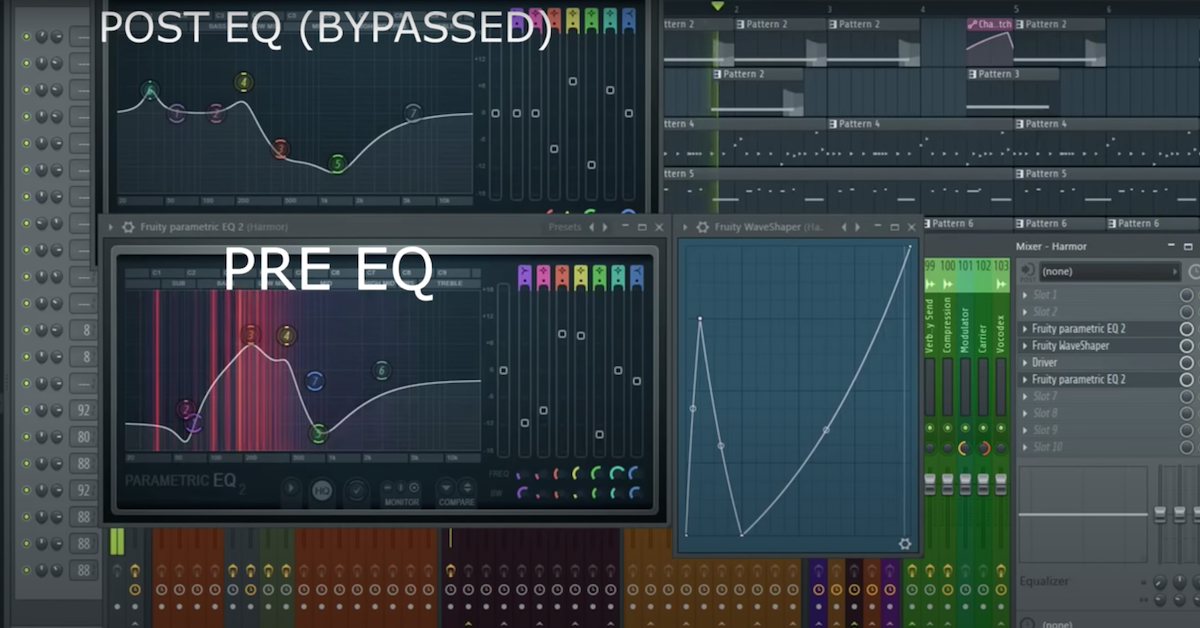
4. Master Buss EQ
Doing equalization on your master buss is a valid technique but is mostly suited for really small adjustments at the end of a mix. However, having one there at an earlier stage can also be beneficial.
When your track count starts getting higher as your song evolves, there might be build up at certain frequencies that can be harsh, boxy or boomy sounding. A useful technique is to place an EQ on the master buss and sweep the frequencies to find the offending ones. Attenuate that frequency until the problem goes away. Make a mental note of the frequency and bypass the EQ.
Now you go through your tracks and find the ones that have a lot of energy in that region. Let’s say you needed to cut 5 dB on the master until the problem went away; that’s not unusual but it might affect tracks that have vital information in that region. When cutting on individual tracks in a busy arrangement, you can cut as little as 0.2 – 1 dB on each track and will therefore be less intrusive and have a chance at a more natural and pleasing result.
5. Make Your Own Sounds
This is a major one. There are so many ready-made sounds available, in the form of synth presets and countless sample libraries, that we sometimes forget the pleasure and inspiration that comes with designing your own sounds.
I oftentimes find that I’m more inclined to finish a track if I’ve created most of the sounds myself. It’s almost like a psychological attachment that occurs which makes me care a little more about that song.
There are a number of ways to create sounds for your productions. The most basic method and perhaps the most fun is to grab a microphone and start recording things around you. There’s no need for a plan, just record anything that makes a sound. The really fun part begins when you start pitch shifting your recording and adding effects.
The sound of your pen striking your coffee cup could be the coolest room shaking sub in a matter of minutes once you’ve shifted it down a few octaves and distorted it to pieces. You get the idea.
Make your own sounds using an analog or digital synth and process the sound, cut it up into samples and save them in your own sample library. Do the same to the sounds you created using your microphones.
The cool thing is that next time you go through that sample library you’ll have forgotten how you made those sounds and you can process them again to make them even more unique. Instant inspiration. Also it doesn’t cost you anything and when people ask you what sample libraries you use you have a cool story to tell.
Take Your Music to the Next Level
Making Sound is available now, a new e-book filled with 15 chapters of practical techniques for sound design, production, mixing and more. Quickly gain new perspectives that will increase your inspiration and spark your creativity. Use the 75 additional tips to add new sparkle, polish and professionalism to your music.


