10 Most Popular Waves Audio Plugins (+ Mix Tips)
01/3/2021
Article Content
Waves Audio are without a doubt the most widely used and well known brand of professional audio software and plugins, and have been so for almost 30 years at this point.
Alongside developing the first audio plugin, the Waves Q10 Paragraphic EQ, and the hugely popular L1 Ultramaximizer/Limiter back in the 90s (which are both still being used in major studios all around the world to this day!), Waves remains at the forefront of technological innovation and authentic analog emulation with each new product they release.
On that note, today I’d like to introduce you to 5 Waves plugins I’ve been using heavily on a daily basis for the last 10 years or so. You’ve most definitely heard these being used on thousands of chart-topping records.
Note: although pretty much all of the plugins I’m mentioning in this article are pretty old at this point, the fact that hundreds of chart-topping, A-tier engineers still use them religiously in mixes just goes to show how awesome they still are!
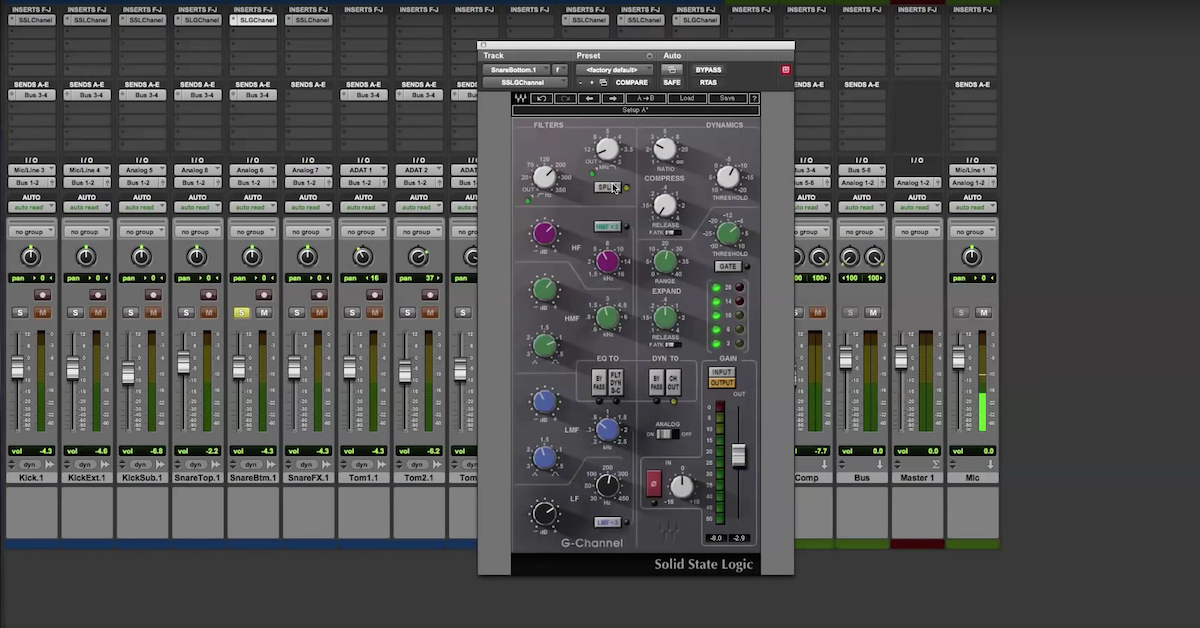
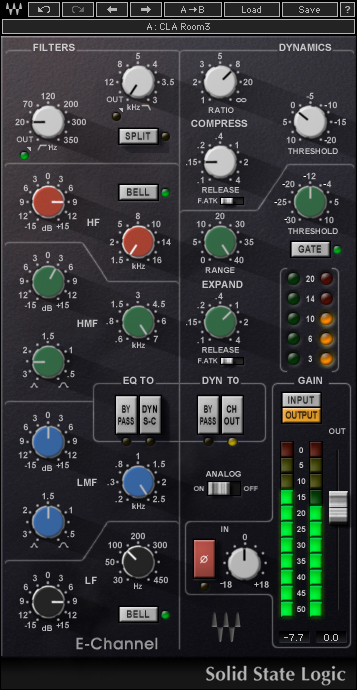
1. SSL E-Channel Channelstrip
Part of the Waves SSL 4000 Collection, but also available to purchase individually, the SSL E-Channel plugin is an authentic emulation of the Solid State Logic 4000-series mixing console of the same name. This console is widely regarded as the most famous mixing desk of all time.
The go-to choice of platinum hit makers including Chris Lord-Alge, Andy Wallace, Randy Staub, David Bendeth and Bob Clearmountain, SSL consoles are famous for their aggressive, punchy, “in your face” sound.
Green Day’s American Idiot, Nirvana’s Nevermind, Paramore’s Riot, Bruce Springsteen’s Born in the USA and Nickelback’s Dark Horse were all mixed on SSL consoles and relied heavily on built-in processing!
The plugin consists of a 6-band equalizer section on the left, and a flexible, powerful dynamics section on the right with a great compressor/limiter and gate/expander. The EQ features sweepable high & low-pass filters, and a four-band parametric equalizer.
Check out the video below, in which Eric Tarr gives a great in-depth explanation on how the plugin works, alongside some awesome practical usage examples.

My Top-tips for Using the SSL E-Channel Plugin
Aggressive Shelving: Don’t be afraid to try cranking a +8-10 dB 8 kHz high-shelf boost on vocals and drums to get them to really shine and cut through. This EQ is highly musical, and I often find myself using it to paint in broad strokes which drastically alter the overall tone of an instrument rather than doing multiple surgical cuts in the mids to try and achieve a similar effect.
Fast/Slow Attack: Depending on whether you’re looking to tame or accentuate the attack of the signal you’re compressing/limiting, definitely make sure to experiment between using the fast or slow attack time setting. On the slow attack setting, the compressor will allow the transients to pass through untouched, resulting in a punchier front-end. On the fast attack time setting the compressor will react quickly and grab the transients, resulting in a softer, less “pokey” front-end.
Gate vs. Expander: When using the gate, don’t just automatically reduce the range knob to maximum in an attempt to obliterate all bleed. Instead, allow a little bit of underlying bleed to remain, and you’ll find that the gate (or technically “expander” at this point) suddenly produces much more natural sounding noise suppression results.
2. CLA-2A Compressor
Part of the CLA Classic Compressors Collection, but also available to purchase individually, the CLA-2A plugin is an authentic emulation of the classic Teletronix LA-2A Leveling Amplifier. This remains one of the most popular compressors of all time since its original introduction in the 60s.
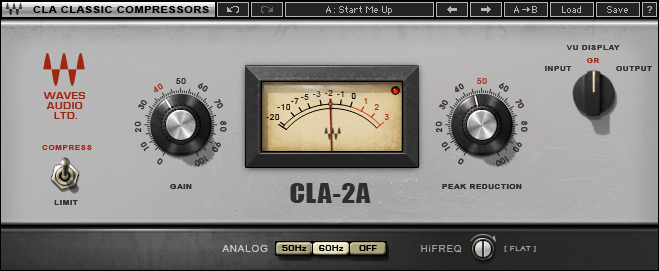
Revered primarily for its smooth and musical gain reduction (compression) effect on lead vocals, the 2A is extremely simple to operate (if not the simplest plugin to operate). It boasts just 2 main controls: gain and peak reduction.
Simply put, insert the plugin on a vocal track, adjust the amount of peak reduction to taste, compensate the overall volume with the gain knob and voila! You’ve got a rich, warm, silky smooth vocal sound in a matter of seconds!
Check out the video below, in which Ian Vargo gives a great practical example of how the CLA-2A can be used to easily level-out a dynamic vocal in an indie rock context.

My Top-Tips for Using the CLA-2A Plugin
Staged Compression: Although the CLA-2A can work just fine by itself on most mid and slow-tempo material, with faster material you may want to try pairing it with a faster compressor such as the CLA-76. The faster compressor should be inserted beforehand in order to tame the fast peaks and allow the 2A to operate smoothly, without frantically trying to catch up to the fast dynamic fluctuations in the material. This is due to the non-adjustable, slow release time of the plugin. This is a hugely popular compression chain for vocals, and a technique I use on every single mix.
Tube Warmth: Given the fact that the plugin is emulating not only the compression characteristics but also the analog saturation characteristics of the analog unit, even just running audio through the plugin with no peak-reduction applied can often be a good idea when looking to subtly “warm up” your digitally recorded audio tracks.
3. CLA-76 Compressor
Part of the CLA Classic Compressors Collection, but also available to purchase individually, the CLA-76 is an emulation of probably the most well-known and beloved compressor of all time: the Universal Audio 1176 Limiting Amplifier (compressor).
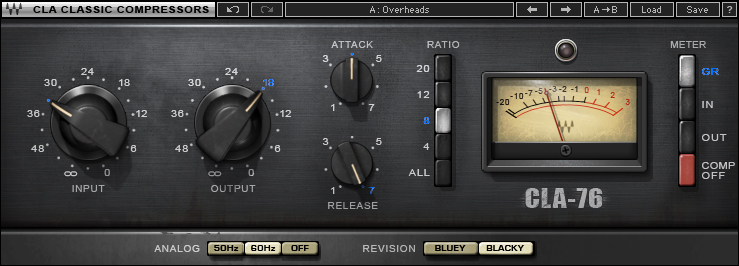
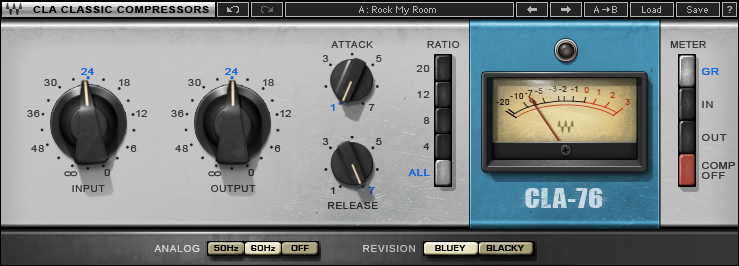
Much like the CLA-2A, the CLA-76 is fairly simple to operate, with the main differences being the additional attack, release, ratio and “revision” settings available to the user.
While someone who’s new to the concept of compression may find the idea of all these additional controls a bit daunting, in practice you’ll find that most engineers use the exact same settings 90% of the time regardless of source material. The main variable is whether they use the “blackface” or “blueface” version of the plugin.
Check out the video below, in which David Glenn uses the CLA-76 plugin to parallel compress a bass guitar for added sustain, attack and consistency.

My Top-Tips for Using the CLA-76 Plugin
Black or Blue: To my ears, the blueface variation is brighter and a bit more “spitty” sounding, while the blackface variation is smoother and a bit less aggressive. When looking to achieve a bright, aggressive, spitty, “in your face” vocal sound (a la CLA), try crushing the lead vocal with a 4:1 ratio, slow attack, fast release and 10 dB+ of peak reduction.
Cheat Sheet: For most purposes, setting the attack knob at 3 (slow), release knob at 7 (fastest) and ratio at 4:1 will work great. Simply dial in the amount of compression you want with the input knob and the amount of after-the-fact make-up gain you want with the output knob, and you’re good to go!
Do it in Parallel: Try absolutely crushing a drum room, bass or vocal with the fastest attack and release settings with the CLA-76 on a parallel channel and blending it in subtly under your primary signal to gain all the benefits of the boosted sustain without totally sucking all the life out of your initial transients.
4. L1 Ultramaximizer/Limiter
One of the most iconic plugins ever released, the Waves L1 Ultramaximizer/Limiter is a one-stop-shop for gently taming or absolutely obliterating the dynamic peaks of an incoming audio signal.
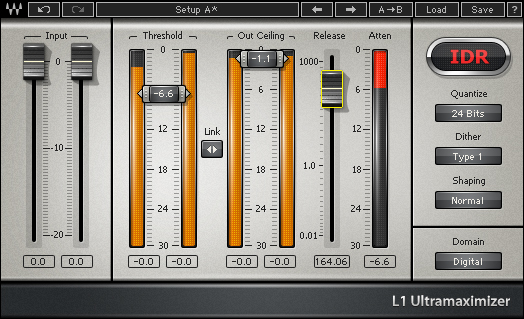
Much like the CLA-2A compressor we’ve talked about previously in this article, the L1 is extremely simple to operate. Simply pull down the threshold fader until you’re taming the incoming peaks by the desired amount, then adjust the output ceiling to the level you’d like the signal to sit at.
Check out the video below from Waves for some examples of the L1 and it’s younger brother L2 in action.

My Top-Tips for Using the L1 Plugin
Transparent Limiting: With a totally raw and dynamic vocal track, you’ll often have a few words which are drastically “peakier” and louder than the rest scattered throughout the performance. When using a slower compressor such as the CLA-2A, these loud peaks will cause the compressor to “pump” due to the slow release time. Taming these peaks beforehand by a few dB with a super-fast and transparent limiter such as the L1 will prevent your vocal from pumping your compressors down the line, resulting in a much more natural final vocal sound.
Soften: Sometimes you’ll come across a tacky piano track, pokey snare, or overly “picky” guitar track that simply makes your eyes hurt. Try using the L1 to shave off some of the harsh attack, and allow these instruments to sink back into the mix in a more natural and pleasing way.
5. Vocal Rider
A fairly unique plugin, the Waves Vocal Rider is basically the digital equivalent of having someone manually ride (adjust) the volume fader of a vocal track from start-to-finish, but without all of the time-consuming, boring and frustrating bits that go hand in hand with doing the real thing.
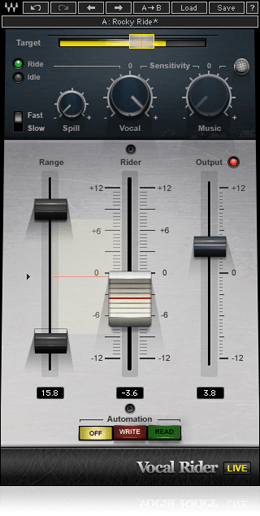
In a nutshell, the “target” slider is used to determine the average level you’d like the vocal to sit at within the mix, then the plugin will automatically increase/decrease (ride) the volume of the vocal based on your chosen speed (fast or slow reaction time) and range (max/min volume increase/decrease applied) settings.
My Top-Tip for Using the Vocal Rider Plugin
Ease the Load on Your Compressors: Compressors can potentially pump and spit in an unpleasant way if the raw performance you’re feeding into them is too dynamic. In order to ease the load on my compressors from the get go and start with fairly even vocal tracks which are all sitting around a similar overall average volume, I’ll often run all of my vocals into individual instances of Vocal Rider as the first step of my vocal mixing chain.
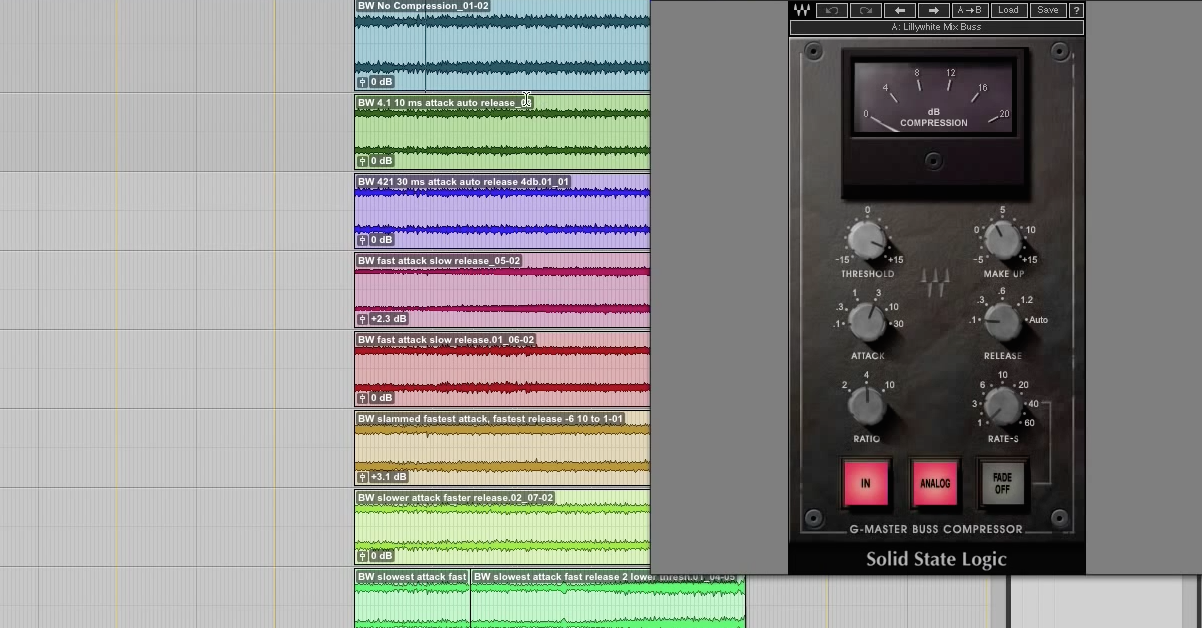
6. SSL G-Master Buss Compressor
When the topic of buss compression comes up, most people will instantly think of the SSL G-Series Buss Compressor. While there are a lot of digital recreations of this classic hardware unit to choose from on the market nowadays, the Waves emulation has always been an industry favorite.
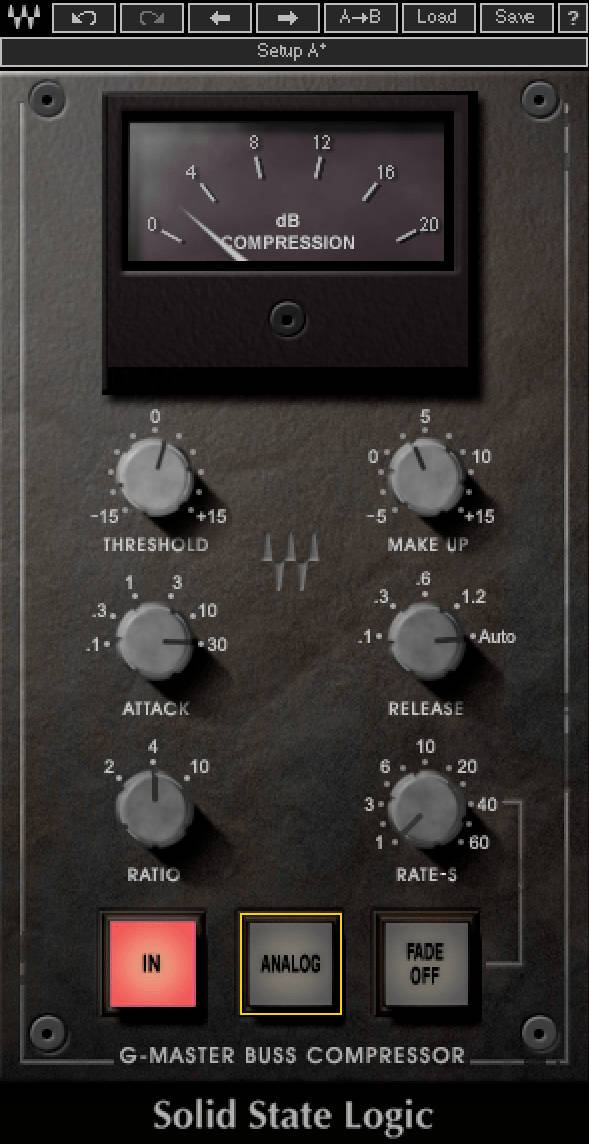
If you’re unfamiliar with the concept: buss compression is basically the act of applying stereo compression to an instrument group/buss (e.g. all drums, all guitars, full mixes, etc.) in order to somewhat unify and “glue” the individual musical elements together dynamics-wise.
Check out the following video by Eric Tarr for some great examples of how the Waves SSL G-Master Buss Compressor can be used in various ways to glue and punch-up a drum track:

My Top-Tip for Using the SSL G-Master Buss Compressor Plugin
The Classic SSL Compressor Settings: For most buss compression applications, a ratio of 4:1, attack time of 30ms and release time of 100ms or auto will do wonders.
Simply pull down the threshold to where you’re getting some nice glue and attack enhancement while making sure not to induce pumping, then apply some after-the-fact make-up gain to match the before/after and call it a day. Simple!
7. PuigTec Equalizers (EQP-1A + MEQ5)
When fat, deep lows and smooth, airy highs are the goal, it’s hard to beat the studio classic Pultec EQP-1A Program Equalizer. But given the fact that a real, single-input hardware Pultec currently costs $4000 ($8000 if you want stereo processing!), the truth is, this sound was basically unattainable for the common man/woman for the first 60-ish years of its existence.
Luckily in 2008, Waves Audio teamed up with legendary producer/engineer Jack Joseph Puig to capture and re-create his original hand-crafted Pultec unit in the digital domain, resulting in one of the most beloved and widely-used equalizer plugins in history, the PuigTec EQP-1A.
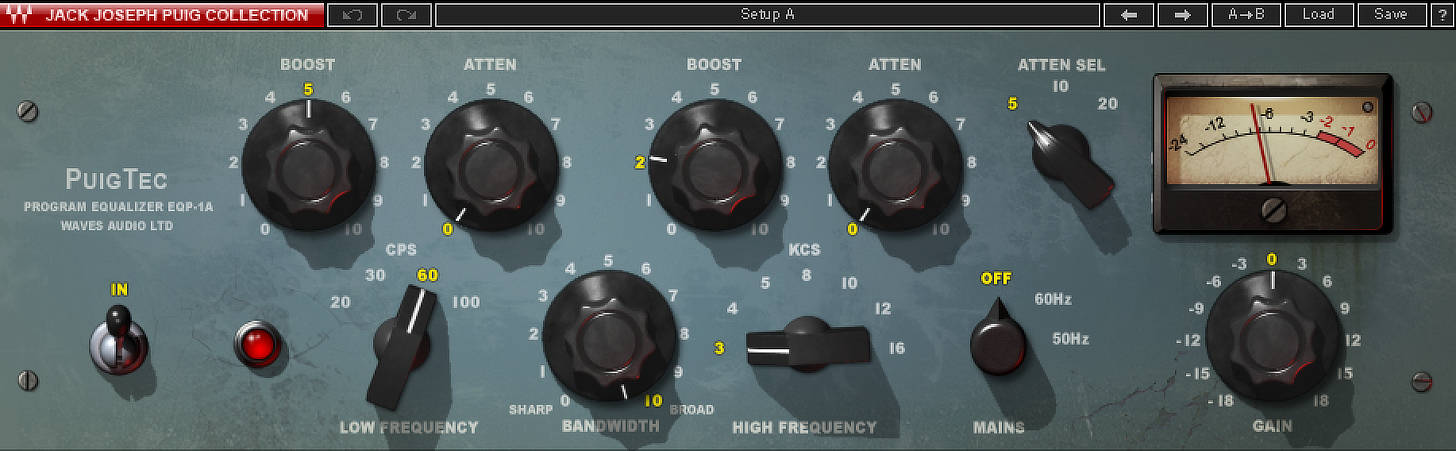
The fact that the sound of this classic equalizer is now available to the masses at the incredibly affordable low price of $35 (bundled together with the MEQ-5 mid-range equalizer) is simply incredible. Here’s a great example from Waves Audio of the Puigtec Equalizers in action:

My Top-Tip for Using the Puigtec EQP-1A Equaliser Plugin
The Tone of the Plugin: While the Puigtec EQP-1A is a fantastic plugin for applying drastic low & high boosts, I’ll often simply insert it on a channel with no boosts whatsoever just to benefit from the tone of the plugin itself. Even on the flat default setting it can add a wonderful low end boost that’s just the ticket when something needs that tiny bit of extra fattening.
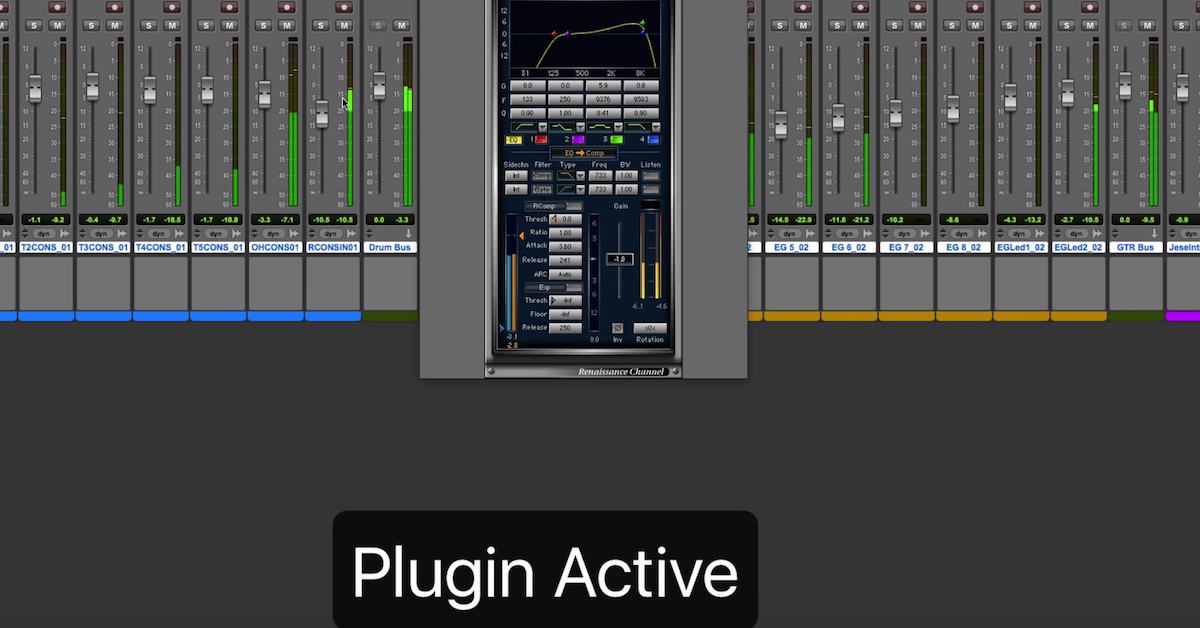
8. C6 Multiband Compressor
Multiband compression is one of the most useful processing tools in mixing. Being able to control dynamics on a per-band, per-frequency basis simply allows for much greater sonic control than is often achievable via regular EQ or compression. It’s often the only solution for getting a voice or instrument sounding totally in-check and natural.
For me, my journey into multiband compression started way back with Waves’ awesome C4 Multiband Compressor plugin. The C6 Multiband Compressor is essentially the C4’s bigger brother, allowing for the same awesome level control and versatility, but with an additional 2 floating bands and the ever-so-useful option to use a sidechain input.

Whether you’re looking to dynamically control the low end bloom of guitar chugs in a heavy metal guitar performance, reduce sibilance/harshness in vocals or simply compress the lows of a bass guitar/synth, C6 has you covered. Here’s an example of the plugin in action by Eric Tarr:

My Top-Tip for Using the C6 Multiband Compressor Plugin
Kick/Bass Low End Juggling: While sidechaining a kick to a bass so that the bass ducks in volume every time the kick hits is common practice in a lot of “synthetic” genres, it’s a fairly blatant effect and often doesn’t work for more “natural” styles of music.
A great solution for making sure you’re still maintaining maximum kick/bass low end compatibility for rock or pop, for example, would be to only duck the low end of the bass every time the kick hits via sidechaining the low band of a multiband compressor like the C6. Give it a go!

Ready to elevate your ears?
It doesn’t have to take years to train your ears.
Get started today — and you’ll be amazed at how quickly using Quiztones for just a few minutes a day will improve your mixes, recordings, and productions!
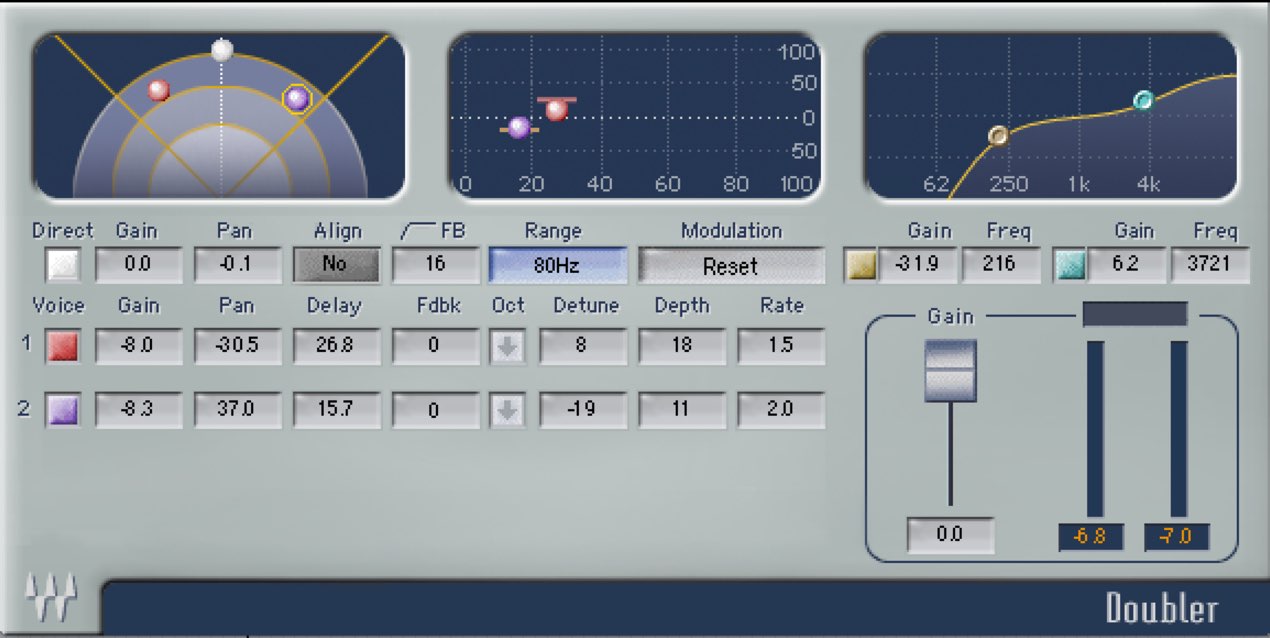
9. Doubler
Artificial vocal doubling has been used to give mono vocals an added sense of width and presence in mixing since the 80s, and is pretty much a given when looking to achieve that pristine “larger than life” mainstream-pop vocal sound you’re used to hearing on the radio.
Originally popularized through Eventide’s classic H3000 Ultra-Harmonizer hardware effects unit, the “doubling” effect basically consists of multiple duplicated “doubles” of the original sound being hard panned left/right, then subtly delayed and pitch-shifted up/down a few cents on each side and blended subtly (or not so subtly) underneath the dry signal. The result is a somewhat “stereo-ized” sound which has a larger sonic signature when played back within a mix.
Waves’ Doubler allows you to recreate and customize this effect to fit any source, and is a tool for adding that final 5% to get your vocals or guitars to really pop. See the plugin in action:

My Top-Tip for Using the Doubler Plugin
Subtle Width: While the Doubler can be a great effect when used heavily and blatantly, when looking to maintain a certain level of natural “realism,” it’s often best dialed in to the point of being “subtly felt” rather than “obviously heard.”
Typically blending in a 100% wet Doubler effect at -20 or -25 dB lower than your original dry signal will do a great job of achieving some nice extra presence and width without sticking out.
10. H-Delay Hybrid Delay
There are tons of great delay plugins to choose from nowadays, but you’ll typically see the same 2-3 being used in all the big studios by all the big-dog mixers. One of them is Waves’ H-Delay.
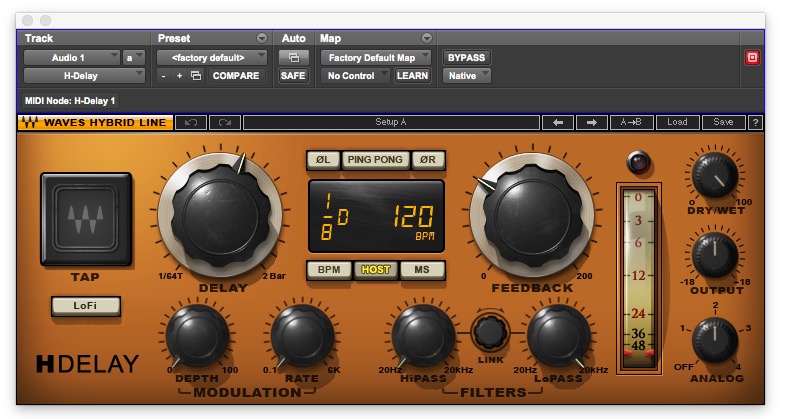
Delay is a pretty simple effect at its core, and most basic delay plugins will do the trick when you’re just looking for clean, simple repetitions of your input source. The area in which delay plugins can differ drastically is in the extra features and tonal options they have to offer. This is where H-Delay really shines. With 4 different analog “characters” to choose from, built in high/low-pass filters, a great modulation section and an instant “lo-fi” mode option, the plugin basically allows you to create the perfect “custom” delay sound to fit any context.
Here’s a great demo from Waves on various ways you can use H-Delay to create cool effects within a mix:

My Top-Tip for Using the H-Delay Plugin
Filter Your Delays: Generally speaking, full-range, full-frequency delays tend to take up far too much space within a mix. They can really muddy up and get in the way of the dry signal you’re applying them to when pushed too far. A classic trick for achieving present, audible delays which don’t contribute a huge amount of clutter to a mix is to simply channel them into the midrange via fairly heavy-handedly filtering out the lows and highs. You’ll be surprised at how much of a difference some basic filters at 250-500 Hz and 5-8 kHz will make towards clearing up your mix!
Final Conclusion
You’ll often come across user comments and software advertisements on the web saying one manufacturer’s version of a plugin emulation is “far more realistic” than another’s. Personally, I say that most of the time the small differences really aren’t worth all the fuss. If you understand how the tools work, you can get great results using any one of them.
Regardless of whether Waves plugins are “the most authentic next to the real thing” or not, they have a sound that myself and literally thousands of engineers love and use on a daily basis. They definitely deserve their legendary status as some of the best audio processing plugins of all time.