Using Compression for Spatial Clarity + Mix Buss Compression for Intimacy
09/8/2016
Welcome to part five in a five part series all about compression.
Today, I’m going to show you how I use compression to enhance the sense of space in a mix.
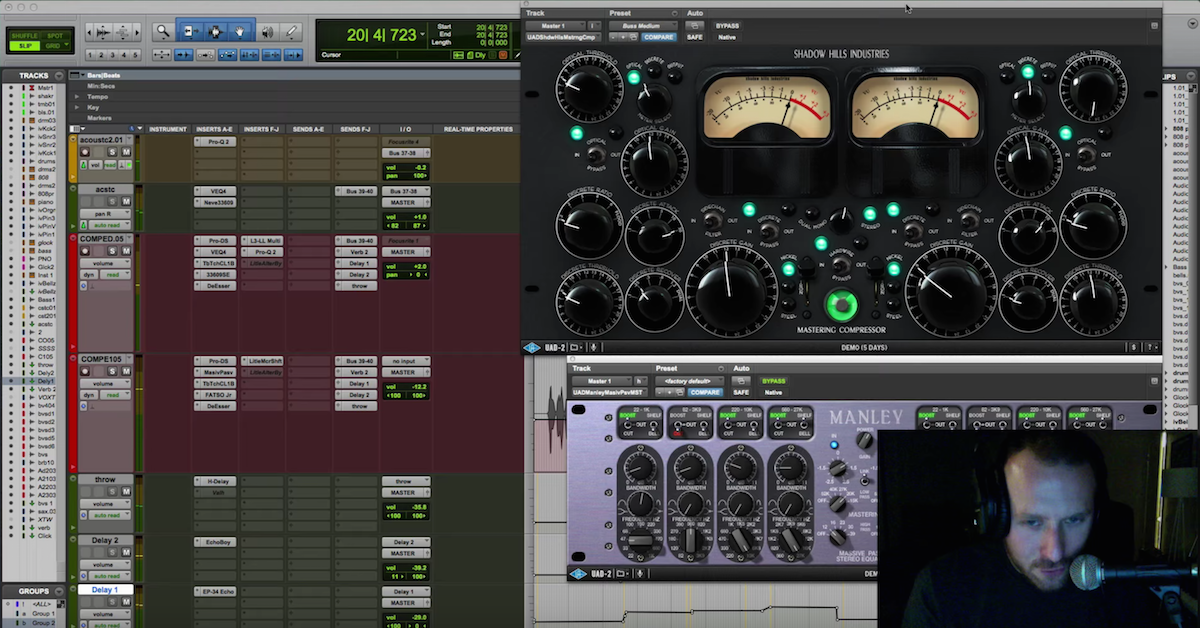
First, I’m going to use the Neve 33609 on drums and bass, and I’ll show you how I use that compressor to enhance the sense of spatial clarity and even vertical spatialization.
Next, I’m going to show you how I used the Shadow Hills Mastering Compressor on the master buss to bring the entire mix closer to the listener.
Alright, I’ve got the Neve 33609 compressor inserted on my drum and bass buss. I am going to use it to enhance the overall sense of space, but also to use it to create a sense of verticality.
I find that it helps make the cymbals sit above the rest of the kit, and the kick drum and lower frequencies sit in the center a little bit better, and beneath everything else.
I would love to engage in a discussion about if you can actually create a sense of verticality using only a left and right. We are not in a Dolby Atmos situation where we have speakers above our heads, but that is an argument I would love to get into. Let’s take a listen to the drums without the Neve applied, and out of context.
[drums and bass]
Okay, I’m going to engage the compressor, and I find that this particular compressor enhances the high frequencies, and that could be how it creates a sense of verticality. I want you to pay attention to the hi-hat, and a little bit later on, the cymbals.
Let’s take a listen.
[drums and bass]
It certainly adds a little bit of liveliness and brightness, but I find that hi-hat definitely feels like it just sits a little bit higher when we have the compressor engaged.
Let’s bring in the rest of the instruments. This is when you really hear this compressor shine.
[mix]
It definitely creates a sense of separation between the drums and the rest of the instruments.
Now, let’s listen with the vocal added in.
[mix]
I definitely hear some additional clarity when I have that Neve added in. It really helps keep things separate in my ears.
Now, let’s listen to the very end of the chorus. First, without the Neve. I want you to pay attention to the space around the cymbals and then when the tambourine comes back, the height of the tambourine, which will be in the right channel, this is without the Neve engaged.
[mix]
Now, with the Neve engaged…
[mix, Neve on]
Definitely to my ears brings that tambourine up a little bit. It gives a sense of space around it.
This is an extremely subtle use for compression, and I’m definitely not saying that this will fix your mixes if there is something fundamentally wrong with them. I am an advocate for volume automation, fader riding, all of those other techniques, but if you could make your mixes 2% better by increasing the sense of space around your drums, I would say go for it, and I find that this particular compressor definitely helps with that.
Another point that I need to make is of course, paying attention to attack, release times, your gain structure, going into a compressor.
So here, I’ve got a very conservative ratio. I’ve got a fast recovery, because remember, I want the compressor to return to its original state after pretty much every drum hit, and I’ve got the threshold set in such a way on both the compressor and limiter that are a part of this plug-in, that I am only doing about three dB of gain reduction.
I’m going to go ahead and alter some of these settings, and you’ll hear that if you’re not subtle with it, you can really negatively affect your signal.
[mix]
That is not a desirable drum sound. Let’s get back to where I’m happy with it.
[mix, adjusting Neve settings]
There we go, much more subtle, much more pleasing, and much more natural sounding.
Next, let’s discuss the Shadow Hills Mastering Compressor, which I’m going to use to bring our content closer to the listener.
I have discussed in this series about compression, which I hope you’ve enjoyed. Several of the uses for compressors, which include changing the tone of material, or making it sound more intense, and I find that this compressor definitely has all of those qualities wrapped into one compressor.
Essentially, we have two different compressors in this plug-in, and three different transformer types, which allow for different tonal shaping options.
Let’s take a listen to the material without this compressor engaged.
[mix, no compression]
Okay. So, this is a big club song. It’s supposed to be in our face and loud and exciting, and I am going to use the Shadow Hills — Or, I am using the Shadow Hills, to increase overall level, but also bring the artist closer to the listener.
Let’s take a listen, and I will A and B a couple of times.
[mix, A and Bing with compression]
Let’s listen one more time, and listen to the kick drum. Listen to how the kick drum goes from being set back a little bit to directly in our face. That’s exactly what I was going for.
[mix]
I do find that the sibilance in the vocal becomes a little bit more intense when the compressor is engaged, so never be afraid to go back to previous processing and alter it if you need to. Just because you EQ first doesn’t mean that once you add compression later in the chain that you EQ’d wrong. Just go back and don’t be afraid to work with the balances between all of your plug-ins to come up with that perfect blend.
Let’s take a listen here to the three different transformer types and how they affect the sound.
[mix, changing transformer types]
Definitely a more robust low end with the Steel setting.
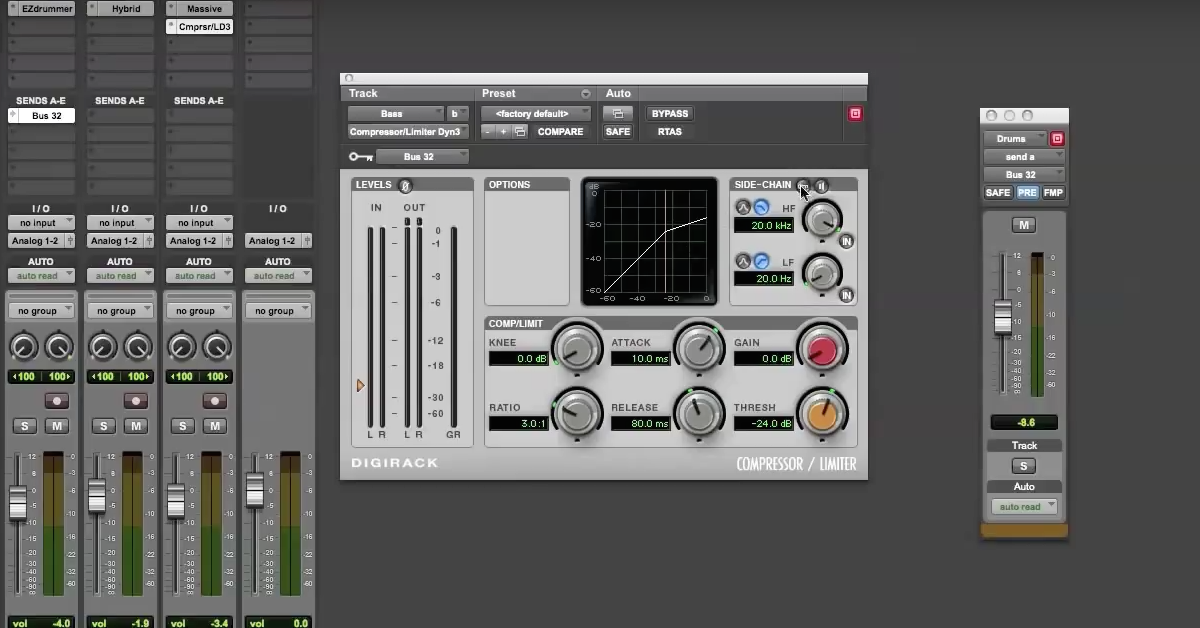
Next, let’s take a listen to the side-chain filter, which is going to the — going to affect the amount of low frequency content that is fed into the compressor.
[mix, adjusting side-chain]
I much prefer it with the side-chain filter in, because it allows the kick to breathe more, because the compressor is receiving less low frequency content, it will affect the low frequencies a little bit less.
Let’s, again, just like I did with the Neve, show you how I could very quickly ruin my signal if I don’t know how to use this compressor, and that is, mostly going to be obtained by using too drastic a threshold, too fast an attack, and too slow a release.
[mix, adjusting attack, release, and threshold]
Let’s work my way back to where I’m happy with that signal.
[mix, adjusting attack, release, and threshold]
Really helps with the punch, the space, the intensity, the tone. Very versatile compressor.
Alright guys, I have quite enjoyed creating this five part series on compression. As many things as compression can do, it is not the be all, end all solution for your mixing problems. It is merely one of the tools. As important as it is, it’s only one of the tools that will help you achieve mixing greatness.
So if you have any questions or need further insight, or anything at all, suggestions for future tutorials, make sure to get in touch. My name is Ian Vargo with The Pro Audio Files. Thanks!