How to Set Up EDM-style Sidechain Compression
08/29/2013

[EDM]
So right now the bass is pretty boring. What I want is for it to follow the groove, have a little bit more excitement going on, and sync well with the drums. So if I play it back right now, you’ll here there’s not a whole lot going on.
[electronic music]
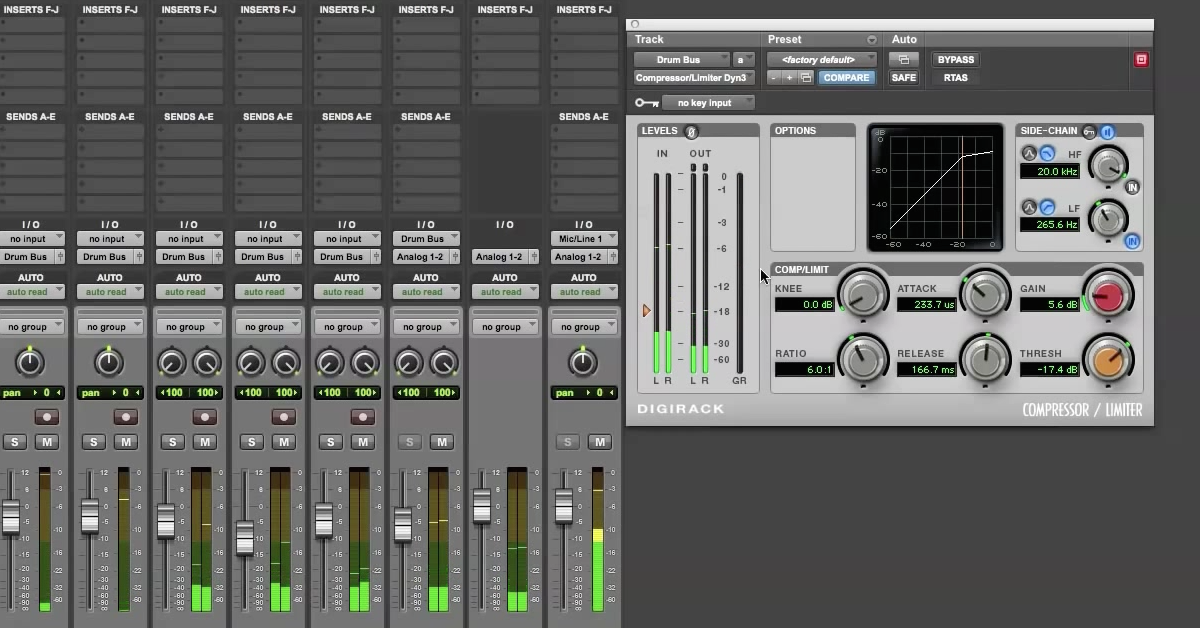
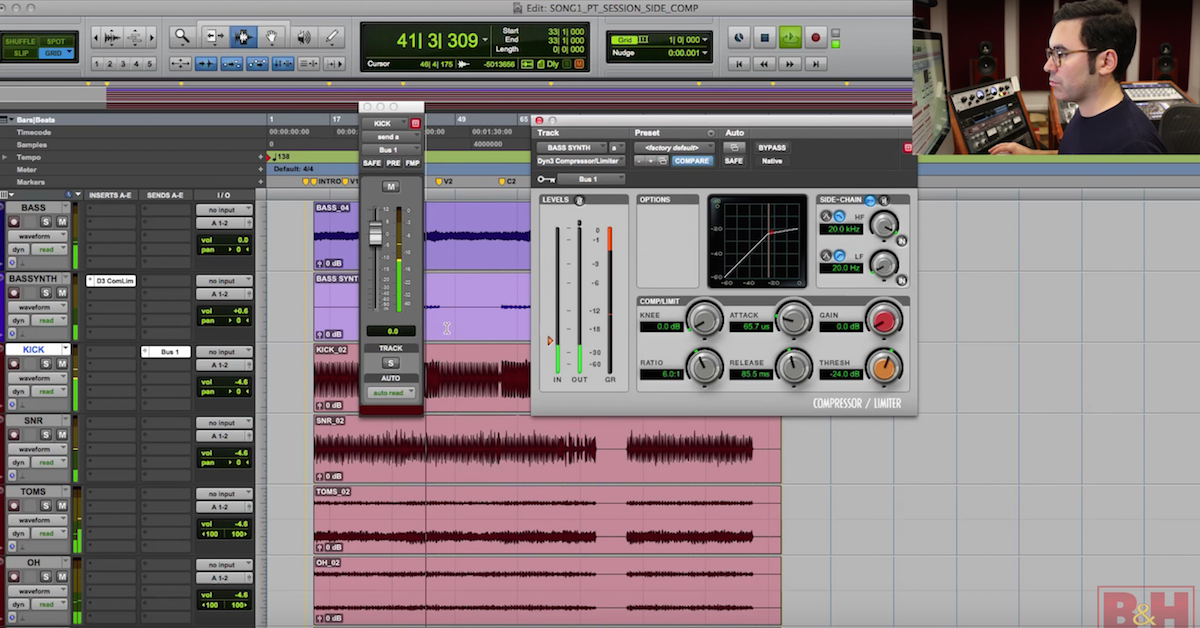
What I want is that very popular pumping effect. So what I’m going to do is bring up the compressor on my synth track. I’ll just be using the stock digidesign compressor. Now, I’ll send some of the signal from my drums over to this compressor. I’ll just find a bus that I’m not using, bring up some volume in it. Select “pre”, that way if I do any solo, muting, or changing of this fader that is not going to affect the signal that’s going into my compressor. Next, what you have to do is go over to this key input on your plug in, find the bus that you selected and bring it in.
Now how this works is you have your drum signal being sent over here to your compressor. So the compressor’s going to be listening to the signal from the drums. Depending on that signal it’s going to decide whether it’s going to compress or let the signal pass through. Next thing that I’m going to show you is you have to select this key input right here for side chain.
Now what’s going to be happening is it’s listening to the drums. You have this “audition” button so you can listen to the drums through this track and then if I solo it, now I’m only listening to the signal on this track. You can focus on the drums and then set your threshold and attack and release based on that. So, let me pay it back.
[electronic music]
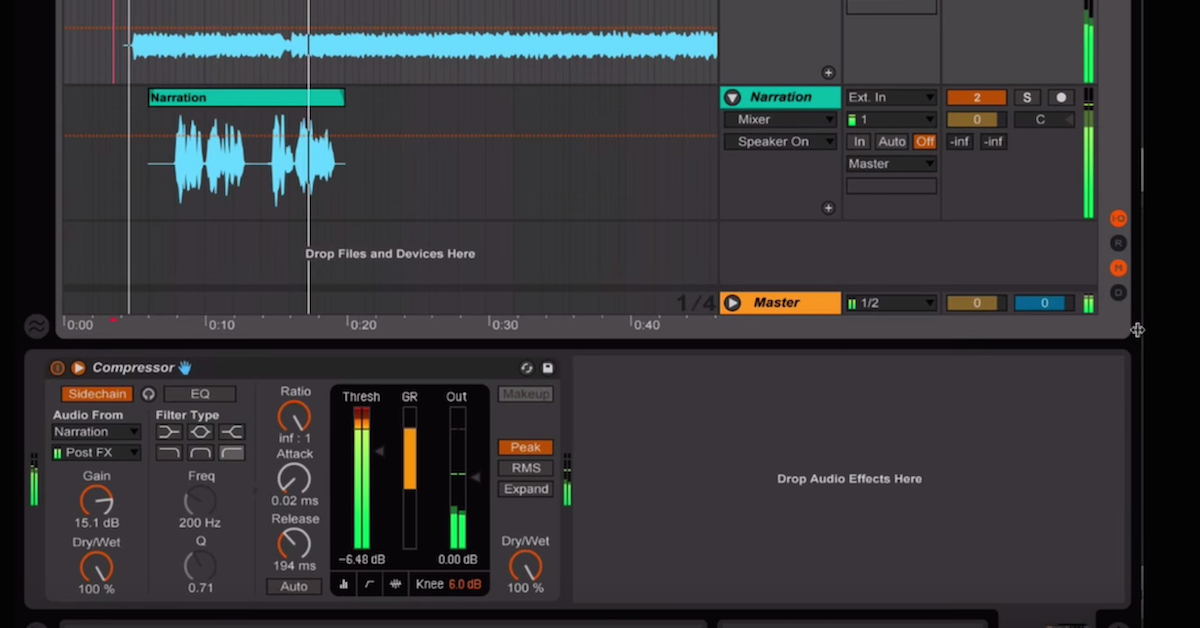
What you should hear is all the instruments and my drums are in place there. What I’m going to use is this low-pass filter that’s high cut. What I’m going to do is bring down the frequency until basically only the kick drum is coming through.
[bass]
Next it’s just a matter of switching this back so now I’m listening on this track through the synthesizer and playing around with the threshold, attack, and release until I get a nice pumping effect.
[bass]
At this point it’s probably a good idea to bring back the other instruments. So now I can set the attack and release time so that it grooves well with the drums.
[beat]
One thing you can do is play around with the ratio. If you want the effect to be more dramatic or less dramatic, just back off the ratio a little bit. That’s all there really is to it.
It’s a matter of setting up the side chain, keying in on just the bass drum, and then playing around with your effects and the context of your mix so you find the effect to be sitting well with all your other instruments.
Elevate Your Ears