Tips for Creatively Using Auto-Tune on Vocals
11/6/2018
Article Content
This article is going to be about Auto-Tune. Go grab your pitchforks … I’ll wait.
For many of you, this is going to be a great article about the creative and practical uses of Auto-Tune in modern music. For another significant portion of you, this will be a great opportunity to make not-so-clever jokes like “the best technique with Auto-Tune is hiring a better singer!”
Love it or hate it, Auto-Tune is a thing. And there are things about this thing worth knowing. So here are a few modern techniques for Auto-Tune.
The Two Categories of Use
In my mind Auto-Tune (or pitch correction in general) is used in one of two modes:
Mode A: A tool for locking in a few stray notes that missed the mark in spite of an otherwise rockin’ performance.
Mode B: An effect used to create a tone, much like a phaser or flanger or reverb or distortion.
Mode A is pretty straightforward — if a dirty note slides on by, hit it with just enough tuning to lock it back in. Generally, using a graphical mode from Auto-Tune, Waves Tune, Melodyne, etc. is the best way to do this. Or simply using an automatic mode and automating the Bypass works as well, unless some serious shifting is required.
Mode B is more fun. Within the world of being effect-y, there are a couple of ways to go. Auto-Tune can be used as a post effect — that is applying it after the initial recording, or the vocalist can sing into the plugin and manipulate it. I’m a fan of the latter. A very good vocalist can control their pitch and delivery enough to play off of how the tuning mechanism reacts and get a number of fun effects from it. Controlled slides and ‘distunes’ (I’m making that a word) can make the happy accident of tuning distortion into a creative tool.
Auto Tone
In today’s music, I often think of Auto-Tune as a tonal device (hence my horrible pun). Most of the time I’m trying to get a bit (or a lot) of sparkly, phase-y distortion. This creation of synthesized harmonics makes a voice sound a bit synth-y, or robotic depending on the approach. For the most part, people just tend to slap Auto-Tune on there and find a retune speed they like and roll with it. I’m a bit more neurotic and like a more refined approach. I’m pretty decisive about whether I’m abusing Melodyne, modern Auto-Tune or the classic ol’ school Auto-Tune. They all have different tones and sometimes one is more fitting than the others.
Melodyne generally has the most transparent tone. It can thin the low-mid of a vocal a little, but sometimes that can actually be a good thing. When abused, it has a specific color but it’s a very evenly distributed harmonic thing that happens — hard to put into words but it feels very “consistent”.
The current version of Auto-Tune is also pretty transparent but does do the quintessential Auto-Tune sound. The classic Auto-Tune, version 5.1 most notably, is really the one that we think of when we think T-Pain — because the formant shifting is the least accurate.
Then there’s the question of how much abuse I want. Just a touch of glitter, or full-on Robotron.
If I want just a touch, one really easy technique is to use two instances of Auto-Tune, both set to very slow retune speeds. The reprocessing of the tuned vocal generates harmonics on top of harmonics allowing for a subtle yet ever-present flavor. Because I’m using slow tuning speeds it also means that the tuning effect is fairly homogenous.
Melodyne Into Auto-Tune
However, sometimes I want a much more printed effect that still stays on the vocal in a consistent way. I find that by coupling Melodyne with Auto-Tune I can get a very even, yet very effected sound.
A great example of this is the vocal tracking for “Comentale” by Ozuna and Akon.

The chain for both vocals was Melodyne first in graphical mode just getting the notes a bit closer to center, and then Auto-Tune with a pretty fast retune speed to create the effected tone. The only place the Auto-Tune really ever varies tonally is when Akon does his faster note runs. When he does this I prefer to let the Auto-Tune glitch up a little because I like the texture it creates. Kon is very smart about where he places these glitches in his delivery — which I’m going to touch on again in a moment. As a side note, both Ozuna and Akon sang into Auto-Tune Pro during the recording in order to make the sound very deliberate — with Ozuna set to the regular mode and Akon set to the “classic” mode. The whole process is a lot more calculated than simply slapping Auto-Tune on there.
That said, sometimes you can just slap Auto-Tune on there.
Automating Auto-Tune
Sometimes I don’t want Auto-Tune to act evenly on everything. As I mentioned before, Akon is very particular about how he blends his voice with Auto-Tune. He will go out of his way to glitch it on purpose in order to create captivating moments. When he does this I take that as a cue to automate the settings on Auto-Tune to emphasize the effect.

Ready to elevate your ears?
It doesn’t have to take years to train your ears.
Get started today — and you’ll be amazed at how quickly using Quiztones for just a few minutes a day will improve your mixes, recordings, and productions!
Basically, I’m just picking up what he’s putting down. A lot of people associate Kon with heavy Auto-Tune, but when I think of his style I really think of someone with a masterful delivery above all else. He shapes his vocal tone and personality very carefully. For an artist who does this, I actually don’t like the Auto-Tune to be overly heavy. My default here is “classic” Auto-Tune (that 5.1 algorithm sound) with a retune speed of 12ms (maybe less for a more serious song, maybe more for a more club-oriented song). Admittedly this is pretty fast because I do want that distinct tone. But it’s not the T-Pain 0 millisecond sound. On certain runs or moments, I’ll automate the retune speed either very fast to bring out the glitches, or slow it down to keep things a little more subtle.
Manual Formant Shifting
Formant shifting is an underutilized effect. When we speak, our vowel sounds are determined by the shape of our mouths. These harmonic signatures, determined by mouth shape, are called formants. In order to preserve the sound of a voice during pitch correction, the formants have to be adjusted accordingly.
Pitch correction software generally does this automatically — but sometimes it’s not 100% spot-on. So most pitch software will allow us to manually adjust formants when needed to compensate. Higher formants refer to brassier tones like “a”, “ah” and “e” sounds, while lower formants refer to rounder tones like “oo”, “oh”, and “uh”. Sometimes it’s fun to abuse this formant shifting to create a variety of textures. We can do this on background vocals to make them sound less like the lead and more like different voices. Or, we can do this on a lead to make it sound like a singing chipmunk or Frankenstein’s monster.
Getting Creative
What’s the fun in writing an article if we can’t be a little creative? Here’s some next level stuff that my weirdo brain likes to get into.
The first thing that tickles my fancy is the relationship between pitch correction and reverb. You may notice that if you’ve ever printed or committed Auto-Tune it will not null against the original track. That means that the same track printed through Auto-Tune is not technically the same thing as the track with active Auto-Tune on it.
Ok … so what?
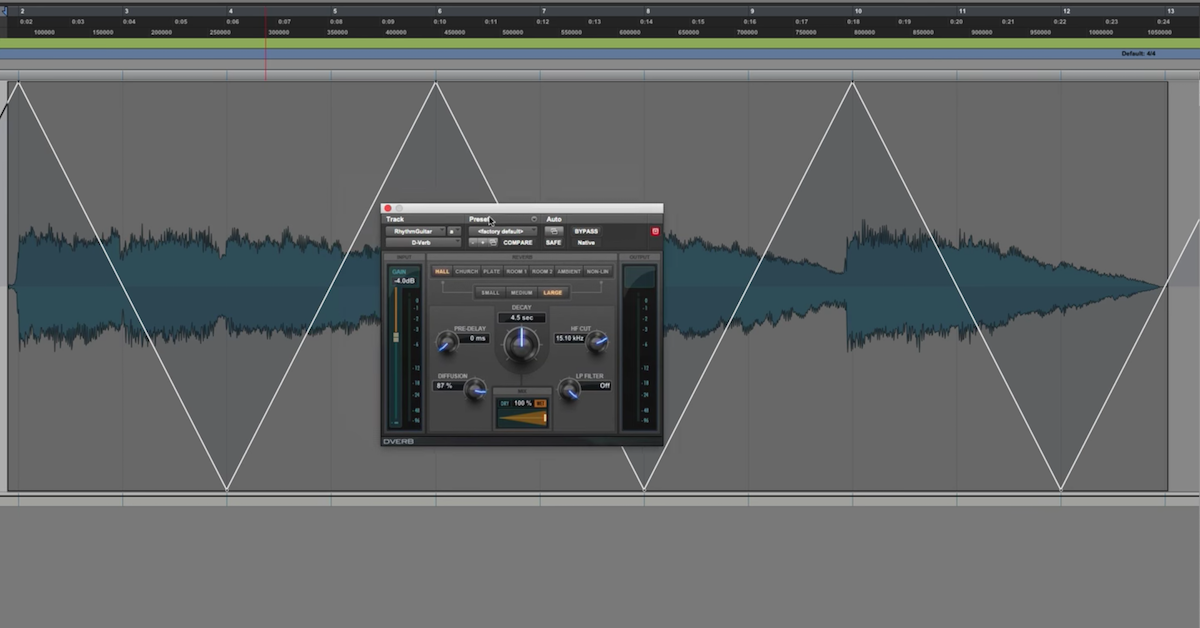
Well, the discrepancy between the two comes down to phase rotation. The micro-timing of the track changes, which changes the phase of the signal. Phase is an extremely important aspect of determining spatiality. Because I often use outboard reverb I found that if I print the reverb back in, and subsequently commit my Auto-Tune settings after the reverb print, the vocal will actually feel a bit more forward and disconnected from the reverb and have a stronger front to back image. Weird little quirk.
We can also do a doubler effect by making three instances of our source track and pitch correcting a left pan version up a few cents higher, and the right pan version a few cents lower, keeping the main version right in the center. This works very similarly to a classic doubler but because there’s movement in the pitch we get a bit of a phaser quality as well as an image that actually expands and contracts a bit. It’s a bit more movement-driven, which can be good or bad depending on what we want.
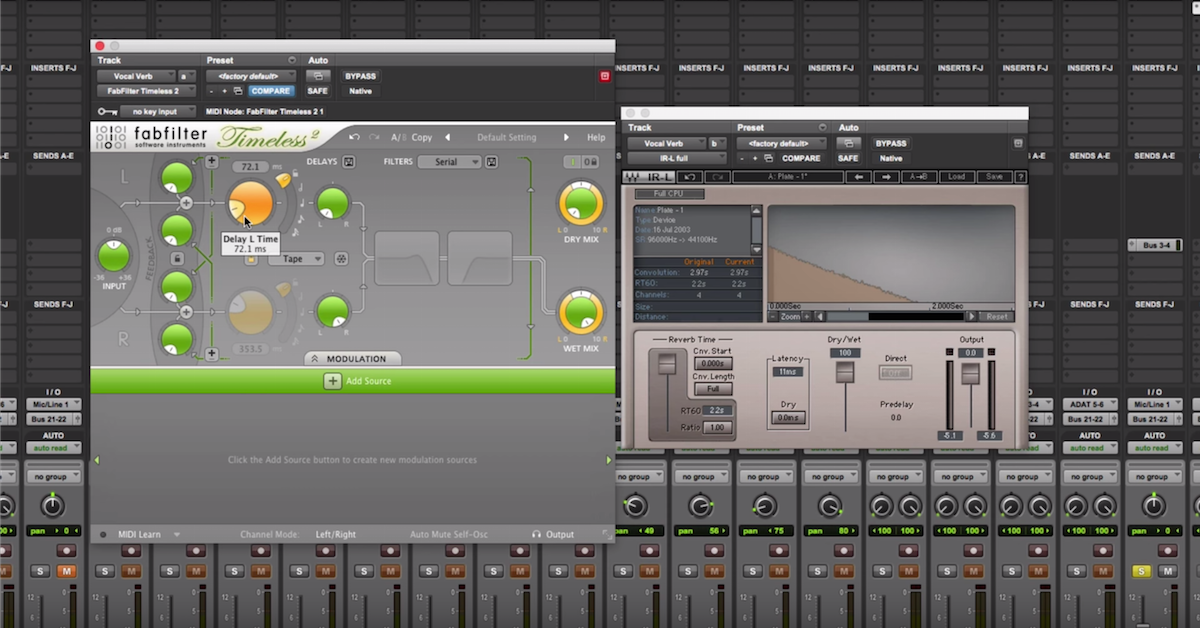
Lastly, I really like delays into Auto-Tune. We can get the glitchiest sound in the world and it sounds very futuristic and cool as a delay. Great for something we want to have a hint of sci-fi sound to it.
Conclusion
Auto-Tune is part of our musical landscape. Personally, I prefer to look for ways to expand the use of the tool rather than try to fight the cultural wave.
How do you find yourself using Auto-Tune? Have any of your experiments gone right?
Eleveate Your Ears