Tips for Humanizing Drum Loops and Samples
10/4/2016

If you’re anything like me, in the music that you make and the songs and productions that you work on, I like to use a lot of drum samples. It’s a quick and easy way to get a good drum sound.
An issue that comes up though is as soon as I start dragging and dropping these loops or samples into the session, I duplicate them. So I get the same repeating pattern, over and over and over again.
Well, for some styles of music, that works great. For other styles, that’s not going to cut it. It doesn’t sound like a real drummer.
Why? Because when a real drummer plays, there are some slight variations to all of these things, like how hard they’re hitting the drum, the small variations in pitch, and all that kind of stuff going on.
So what we’re going to do here is introduce artificially these kinds of variations to our loops so that it sounds more human. We’re going to humanize it.
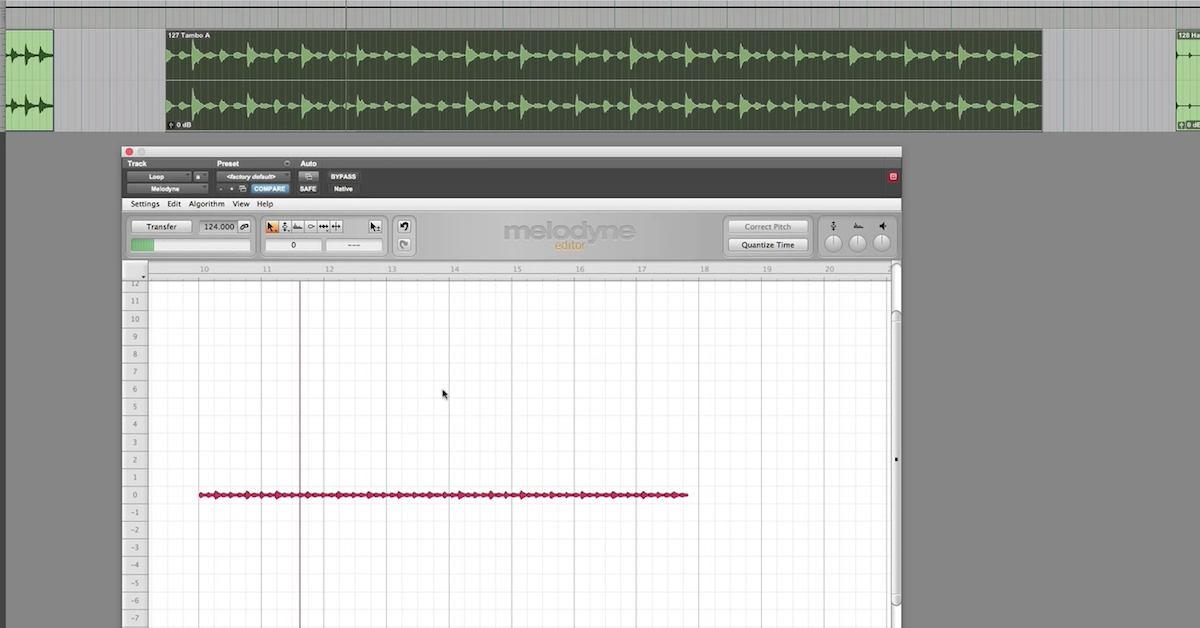
So what have I got already in my session? I dragged and dropped in here just a single bar loop. Kick, snare, hi-hat. This is a loop from the guys over at That Sound drum samples. They make some of the best stuff out there. Definitely check them out.
So here, I’ve got the single loop, and I’ve duplicated it four times. I can play it back, and you’ll hear that it’s just the same thing repeating over and over again.
[drums]
So it sounds good, but could be a little bit boring, depending on the context of the mix.
So let’s look at some things that we can do just with this single loop.
My first idea here is, let’s introduce some small variations just to the pitch. We’re not going to do huge pitch changes. We’re just going to do small variations. So a couple of things here. I’ve pulled up this plug-in. This is the one that’s built into Pro Tools. A stock plug-in. It’s called Pitch II. It allows you to do changes to the pitch in almost real time through the plug-in.
So what I’m going to do is actually make use of this Fine control. So the coarse control, that will change entire notes, but the fine control allows us to go minus 50 and plus 50. So we can make very small changes to the pitch, and the idea here is just to introduce small enough variations that it makes it a little bit more interesting, but not entirely large changes that it starts to sound weird.
So what I’m going to do here is actually automate this one. So what I’ll do is use Control+Option+Command and click on this parameter and enable automation.
So now, I can draw in the position that I want for this knob, and here, the right and the left are actually linked to each other. So they’re going to follow each other. That’s great.
So the next thing is to come over here and select on the pitch plug-in, I’m going to automate this shift control right here. The Fine shift.
Alright, so now we’ve brought up where we can even draw in, if we wanted to, right? I’ll click on this freehand. I can draw in whatever kind of thing I would like. And that’s great, right? As just an engineer, drawing these things in, I can be very creative.
One thing I can suggest though is a good way to go about doing this is you don’t want these variations to all of a sudden change in the middle of a note, so what I’m going to do here is synchronize the grid to the beat of the song.
So I’ve gone up here to grid and I’ve selected eighth notes. That’s generally about the fastest notes that are being played by the kick and the snare in this groove.
So then what I’m going to do is switch over to this pen tool down here to random. So now random, now it will introduce more of a human sort of thing, where you know, when an actual drummer is playing, you don’t really know. Are they going to be a little bit – is the variations going to be a small amount, a large amount? It might just depend on the hit, how hard they hit the drum, the bend of the drum head, all of that kind of stuff.
So now watch. When I play this one back, what’s going to happen is there are just subtle changes. Just a few cents in each direction to make each note slightly different.
[drums]
So what does that mean? The tone of the snare drum, the tone of the kick drum, each time it’s just a little bit different. It’s a way to introduce some of that human feel, rather than making it so repetitive. To avoid it sounding like a machine gun.
So we can also do this, not just with loops, but also with some ideas with just individual samples. So I’ve got these other tracks here already brought up. These are just individual one shots that I’ve added in layers, right?
A lot of times, when you’re working with samples, you like to layer them. That opens up a whole other dimension of things that we can do to kind of vary the sound. So let me play it back for how it is right now, with the kick and the snare. You can hear all of these things together.
[drums]
Alright, the idea now is we can go in and do a similar sort of thing, where we can bring this pitch plug-in down, and on each one of these tracks, also go in and automate this one, switch it over, Fine shift, and also this one here, the Fine shift.
Let’s draw in a different, random thing here for the pitch. So we can draw it in. Cool. Right. We don’t want to get too crazy, or else it will start to sound weird. So just make small variations to the pitch. This way, right, the variations in pitch on this first track are going to be different from the next one, and so on.
Give it even more sort of a each note is going to be more and more different from the previous ones.
[drums]
So the last thing I’ll show you then is besides changing the pitch, now that we’re layering these samples, another cool thing that you can do is you can go in and change the volume. Right?
So this volume control is more of a relative amplitude of these samples, compared to the first one.
So in this case, if I were to randomize, I’m even going to slow down the grid in this case for these notes, because I don’t have them going on that often, what’s going to happen is, as I draw these things in, right? I can be a little bit more liberal in how I adjust this.
The idea is that by making these things different, some of the samples, the volume will be louder compared to this other one, and other ones, it’s going to be quiet.
So by changing the volume, now the tone is going to shift from each hit to the next one. So it’s not just the pitch, but also, you know, the kick drum from this one, kind of take over, or the kick drum from this one is going to be different.
And those are additional variations that help give it a human feel. So let’s listen to this one.
[drums]
So those are just a few ideas for how you can humanize the sound of your drum samples, whether that’s with individual one shots, or also with loops. The idea here is to introduce random, small variations in pitch, and also in amplitude.
That’s all I’ve got for today. Take care, guys.