Tips for Manipulating Pitch and Timing of Drum Loops in Melodyne
08/20/2015

I’ve got a quick tip for you today. Recently, I was inspired by watching a video from David Glenn. He’s one of the other contributors here at The Pro Audio Files. In that video, he’s working through a drum mix and demonstrating several different places where he likes to use subtle volume automation as a way of adding extra interest of variation to the drums to prevent them from sounding boring or repetitive.
Now, that’s a problem that comes up all the time if you’re the kind of mixing engineer that ends up working with a lot of drum samples or loops. His video is very in depth, and I highly encourage you to check it out.
The concept, though, got me thinking. What are some other characteristics of a signal besides just the volume where I could add subtle variations to it, so that my drums don’t sound repetitive?
In this video then, I’m going to focus on subtle changes in pitch and timing.
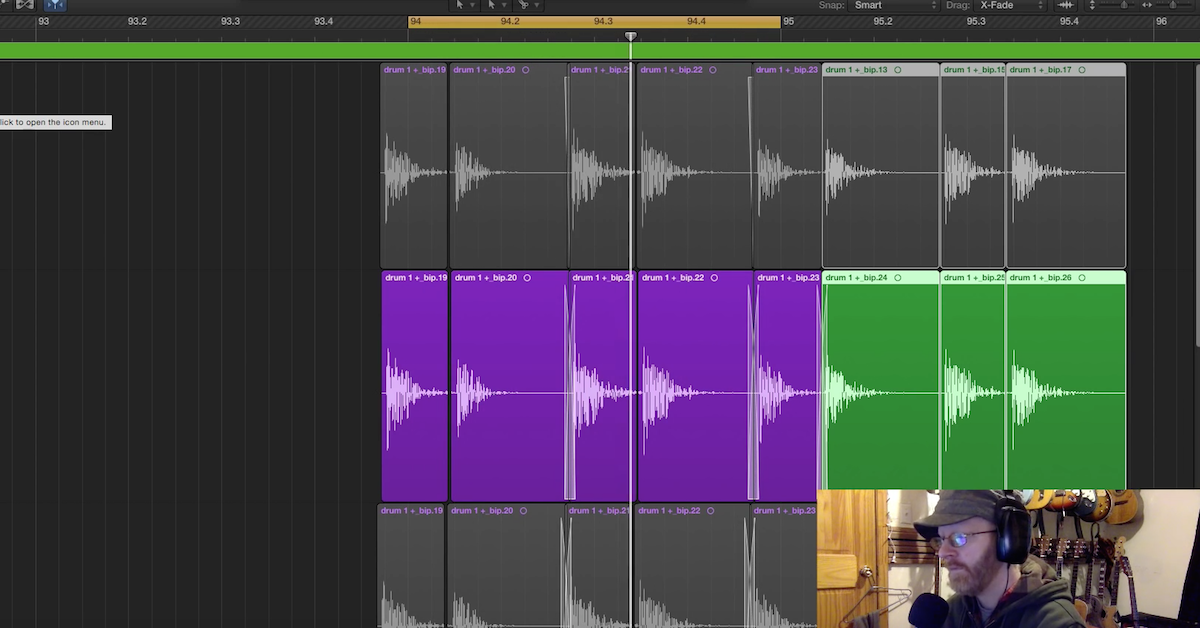
Here’s a session that I’m working with. This is a situation that comes up all of the time with loops. Let’s say I’ve found a loop that’s one bar or two bars long. I’m going to fill up maybe the chorus or a verse of my song.
So what I’ll have to do is copy and paste that loop, or duplicate it several times. So now, I actually do have the same exact drum hits being repeated over and over and over again.
So what I want to do here is first, I’m going to add some subtle changes to pitch so that it doesn’t sound as repetitive. Now, rather than drawing in all of the automation myself by hand, I’m actually going to make use of a tool here that will do a lot of the work for me.
I’m going to go ahead and pull up one here. This is Celemony Melodyne, a very popular plug-in.
Now, when most people use this plug-in, they think about using it where you have a problem in a recording or a performance, like a vocal that needs to be tuned where it’s out of tune, and you need to bring it into tune.
I’m actually going to be using this plug-in for kind of the opposite purpose. I’ve got a drum loop, but what I want to actually do is intentionally detune some of the different hits by very small amounts so that the pitch is not constant, or the same thing over and over and over again.
So, in order to use it, I have to transfer a signal in here.
[drum mix]
As you can hear, it did get pretty repetitive very quickly. So what I’m going to do is highlight all of these drum hits. You’ll notice that the algorithm automatically selected being percussive. Now, if that didn’t happen with your own loop, it’s probably best to go ahead and select that algorithm.
Then, there’s really not a whole lot to this. If you want to add slight variations to the changes, go up here to the Edit menu, go down here to Add Random Deviation.
Now, first up, I’m going to do pitch. You have three different options. You can do slight, which is the smallest amount, moderate, or drastic, obviously. So I’ll do slight to begin with and we’ll listen to it.
[drum mix]
Now, one thing you have to be careful of is you don’t want it to sound unnatural a lot of times. So, the more and more drastic you get, it might not sound as good.
[drum mix]
But that’s the kind of fundamental trade off you have. The more drastic you make it, then the less repetitive it’s going to sound.
Now, the cool thing here is that you can actually do these things in sequence. So I could undo this, start from the beginning… Maybe I start out and I add a slight variation, and then I take this one, and I add a slight variation to it again, and the third one…
So you can try out all of these different randomizations and see which one you like best.
[drums]
Alright. Let me move on then and demonstrate the timing ones. There’s really not a whole lot different to adding the timing ones in, but here, I’ll start out with a tambourine loop, and then I’ll manipulate that.
[tambourine]
Alright. So if I highlight these parts here and go down to Add Random Deviation and pick Timing, this will give it a little bit more human feel. Right? It’s the same idea – a lot of times, people will think about doing quantization of the timing of notes so they line up with the grid. Well, if you want to add a little bit more human feel to it, you can manipulate these things here very, very easily within Celemony.
[tambourine]
Lastly, I’ll put these two things together over a loop with hi-hats. I’ll throw this one in.
[hi-hat]
Obviously, a very repetitive sound. Make these drum machine hi-hats. Maybe add some pitch changes, and then also add some changes in timing to give it a little more of a human feel.
[hi-hat]
So, besides just taking advantage of all of these random deviations that you can do very simply from this menu inside of Melodyne, by playing the sounds in, you still have all of the control that you would have with Celemony otherwise that you’re used to doing basic manipulations of tuning and all of that kind of stuff.
So that’s all there is to the trick. Hopefully this gave you some more creative ideas about adding subtle variations to things. Volume was one thing David Glenn focused on a lot, so here you’ve got pitch and also timing of manipulating your drum sounds, so they don’t sound as boring or repetitive.
Elevate Your Ears