How to Split Stereo Files to Mono & More
11/17/2014

Today, we’re going to talk about splitting stereo tracks for bigger and wider mixes.
There’s different reasons why you may want to split a stereo track to make it mono. I’m going to cover a couple of those right now, and I’m going to go over a couple of the ways you can then export them and prepare them for mixing.
So in this case, I have a client that sent me a Pro Tools Session. They didn’t send me just tracked out wavs. So that could be good, it could be bad. There’s pros and cons to all ways of dealing with it, but a little bit of extra work to do in this case, so we’re going to show you how I’m going to handle that.
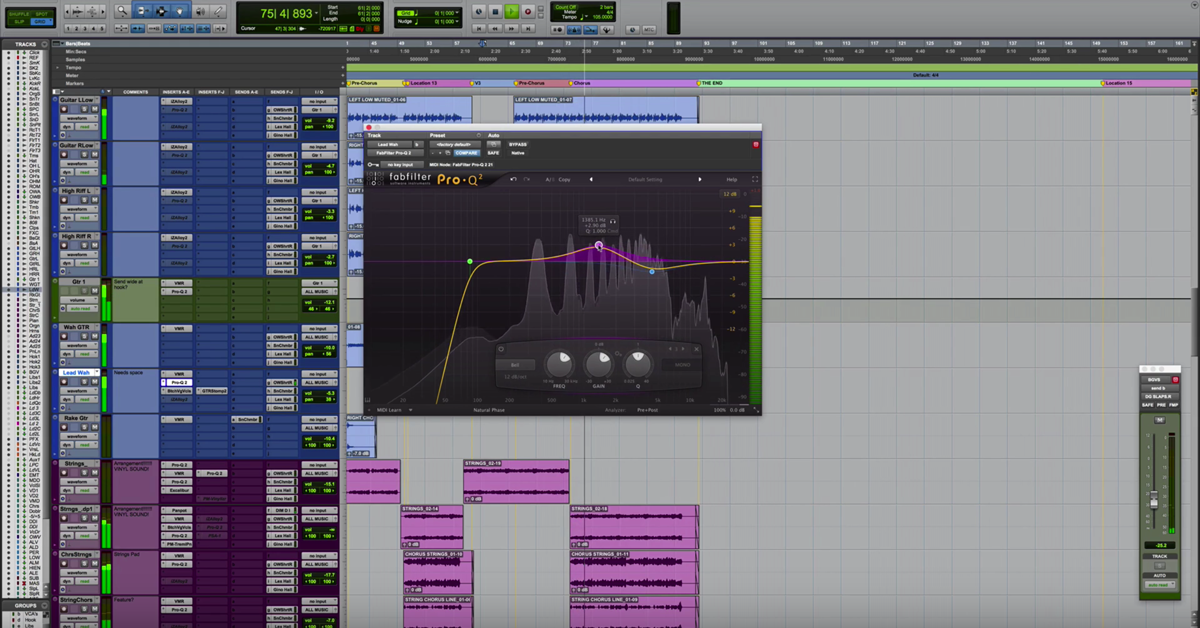
Jumping right in, the first thing I’ve got up on the screen is a bass. Now, it’s a bass guitar. There’s no left or right differences, this is just a mono bass, it just happened to come from probably Logic and it’s a stereo track. So I’m going to listen…
[bass guitar]
…double check it, it is. Right click in Pro Tools, split into mono. I’m going to click the stereo file, I’m going to command click there, and I’m going to delete them.
Now, before I delete them, it’s important to know that when I get a session from a client or I get files, I’ll import those files to a blank Pro Tools session. You can go download my free mix prep training over at davidglennrecording.com/free-training-course. I cover a little bit of this more extensively. It’s important to Save As or save a copy so that if you accidentally delete something that your client has sent you, sometimes it happens to all of us. You go and you delete, you get going, and then they call you up and they’re like, “hey man, what happened to the lead guitar part?” It just happened to me today, and I forgot to put it in the mix. So good thing I had a backup. I could go to his original files, find it, see where I goofed, and import that right back in. I got him a mix revision in 15 minutes.
So before I delete this, note that I already have a backup in a saved session called “Client Prep.” So I’m going to delete this, then bam. I now have one bass track, I’ll put it down the middle. We’ll look at how we’ll export that in a minute.
Moving on, they’ve got these bells. Let’s take a listen. It looks like he’s already got the panning all the way to the right, so it kind of defeats the purpose of having a stereo file, but let’s listen to what’s going on.
[bells play]
So that’s the same thing. I would do the exact same thing for the bass. I’ll split it into mono, delete the stereo file, pick a side, and move on.
Let’s see… The cymbals. This is worth noting. These are programmed drums, so this is a track of just the cymbal crashes and the ride, and then he broke up the hi-hat, but whatever drum software he uses, it sounds like Superior Drummer, the thing that I want to check is are those overheads, the left and the right, should the right be louder than the left? Because if you look if I inflate the graphic here, you’ll see that the right is slightly louder than the left.
So, what I want to do is I want to solo and I want to listen to that, and I want to see if the reason for it is he’s doing something different on the right, and the right should be louder, or is it off balance, and should I split it and treat it with some gain staging and balance those out?
So, I’m going to solo that and take a listen.
[drum overheads play]
And, sure enough, it’s the ride cymbal. The ride cymbal is drummers perspective, and it’s on his right, and it should be louder, so I’m not going to need to do that. However, if I did need to do that, this is the process for it.
Right-click, split, and then here you go. You have control over your clip gain. You could then bring up your left channel, match the right, give it a listen, keep it, delete the stereo file, and now you have an overhead left and an overhead right.
Moving on from the cymbals, we’re going to look at the hi-hat, this would be the same process.
[hi-hat plays]
For me, I’m pretty sure there’s no reason to have that extra stuff on the right. In my template, I use room mics and I create vibe off of the cymbals, the hi-hats, sometimes using some delays and stuff to give it a little bit of a feel on the right side if I want it.
So, I’m going to do the same thing there, I’m going to split it, delete the right channel and the stereo file, and now I have one hi-hat track.
The kick, this kick in particular, does have some room noise to it.
[kick drum plays]
Cool, but I don’t want it and I’m probably going to replace that kick anyways, so for me, I would split that, go mono, same thing for the snare, and move on.
Now, let’s look at something like a violin. So let’s solo that.
[violin plays]
Okay, so you hear action on the left and the right that’s different. Different string sections doing different things.
So in this case, what I would do personally just as a creative choice, right now, I would split it, delete the stereo file, but keep the left and the right, and then what I’d do in the mix is probably treat them differently, or I may end up stacking them over the top of each other, but now I’ve kept the difference that exists in the left side different from the right side so that those parts are still the same. I’m not changing what the artist played or the producer played, but I’m going to give myself that flexibility to control it in the mix a little bit different, so you may control the top-end differently, you may brighten up the left side and dull the right so that it’s got a little bit of a vibe, you may use distortion on one and not the other, there are all kinds of stuff you can do with it, but if it’s a stereo file, whatever you do is going to be done equally to both sides, and it may not give you the same flexibility, or it won’t give you the same flexibility.
Toms, I’m going to mostly mix drummers perspective. That’s how I prefer to hear it. If the producer or artist asks me to change it, then I will, but if I get a set of stereo toms, hopefully there’s enough of the – so like, rack one I want on my left side, so hopefully when he plays rack one, that’s what’s dominant in that side, so if I have rack one, I’m going to split it, keep the left channel, delete the stereo and the right channel, and then for rack two and the floor tom, I’m going to delete the stereo file and the left channel so I get the right, and then use mono toms and put them into place where I want them.
So, a couple ways to look at breaking them down. Let’s say that we go back up here, I think we had some chimes. Let me solo these, I don’t think these are stereo.
[chimes play]
Okay, he’s got them panned to the left. Let’s say they were stereo.
[chimes play]
Okay. They’re not. They’re mono, but let’s pretend for a second that maybe there was some delay or something that the producer committed to and it was on the right.
What I would do in a situation like this, he had them panned to the left. So let’s say we left his panning alone, but we don’t want to lose the creative delay that he put on the chimes or whatever’s different on that side. It may be something important. We don’t want to miss out on that, so what I would do in Pro Tools is I would buss that out to buss 23-24, I’m going to select the track, make sure it gets everything… I’ve got muted regions there, we’ll touch on that in a second. Triple-click, throw some fades to get that little section there, and I’m going to consolidate it, and then now I’m going to right-click on the routing, and I’m going to bounce that as is, give it a name, we’ll call it chimes L for left, interleaved is cool, we would do .wav, and yadda yadda. So offline, let’s see how long this takes.
Damn. Okay. Now I can go to that folder, and it should be right here. Chimes left, drag it into a new track, and there you go. See, there was a little bit on that side, but now I have his panning committed and I can import that into my track, I can get rid of this one, and whenever I drag it in, it’s already where he’s going to expect it to be on the rough mix.
So going a little bit further to maintain that. It’s not as important as just splitting it and doing what you want to do with it, but just another way to look at it.
Something else I want to note about when you’re working with a session that the client has sent you is you want to make sure you have proper editing. It takes, you know, five minutes to go through, maybe ten, to make sure that you have what you need. See, these muted regions here. If I hit play and solo – for you guys who aren’t on Pro Tools, there’s nothing there. It’s muted. You could hit Command+M and bring that back, but he had it muted, so I’m going to assume hopefully accurately – probably worth shooting him a text or an e-mail or whatever and making sure, “hey, muted regions, do you want those gone?” This particular producer will say yes, I’m just going to delete them.
Now remember, I have a backup, so if he changes his mind, I can always go to that backup and export the wav from there and drag it into my mix once I get in there, but for me, I’m going to go through, I’m going to clean all those up. A lot of times, when you start deleting muted regions, you’ll see a little audio clip in there of nothing. This producer had some clip gain with everything dropped down on some spots, so you want to make sure you go through and you check – I prefer to go track by track. I’ll go all the way to the top, I’ll look at this first track, and I’ll examine it and look for anything that needs to be faded in and out, add the fades, any clip gain issues, anything that I need to do to this first track, I’ll do it, I’ll consolidate it, and I’ll name it.
So let’s say in this case I did that, I’ll consolidate it. Let me get my smart tool going on, double-click it, and I’ll call it bass DI.
Cool. Now, that track’s ready to go. Then I’ll move on to the next one, and work my way through the entire session until things are properly edited, nice and cleaned up, and ready to be exported.
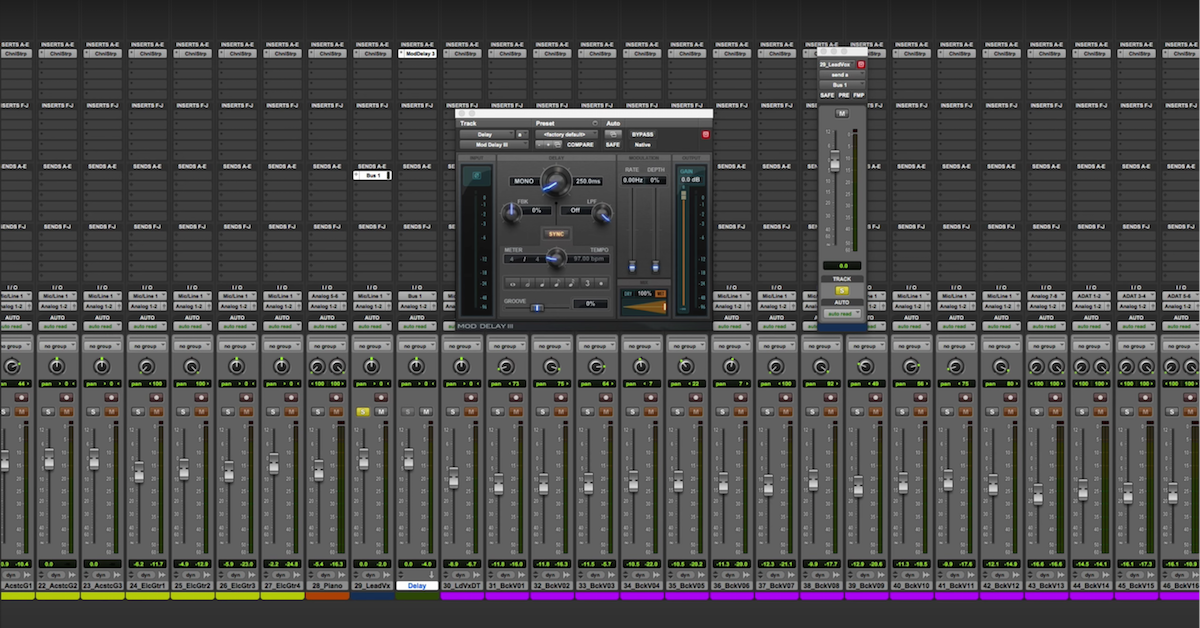
Then, for Pro Tools guys, if you didn’t know, you can select everything in this session. Assume that these would be consolidated and nice and pretty, everything would start at the beginning, so that whenever I drag them in or have my assistant drag those into the session, they’re all starting at the same time. I’m going to consolidate them, but them I’m also going to hold Command+Shift+K, and I’m going to export them as interleaved 24-bit, 44.1 kHz, whatever the format is, and they’re good to go.
So a couple things on editing. Before you get to mixing, if you get a client that sends you sessions that are files that are in stereo, there’s a couple ways that you can look at it. I hope that helps you guys, check out theproaudiofiles.com, send me e-mails to david@davidglennrecording.com. If you have any future tutorials you’d like to see, feel free to hit me up. Don’t forget to check out themixacademy.com, just $27 a month. You’re going to get session files that have been professionally recorded. Great music, all kinds of genres, help you build up a resume, start to finish tutorials, exclusive and private forums, you’ve got tutorials, interviews, all kinds of stuff. Can’t speak enough about it. Love it, I’m putting a lot into it, I hope that you’ll dig it too.
Check out theproaudiofiles.com, and we will catch you on the next one. Thanks again, guys.
Elevate Your Ears