How to Use Dialogue Isolate in iZotope RX 6
04/20/2017

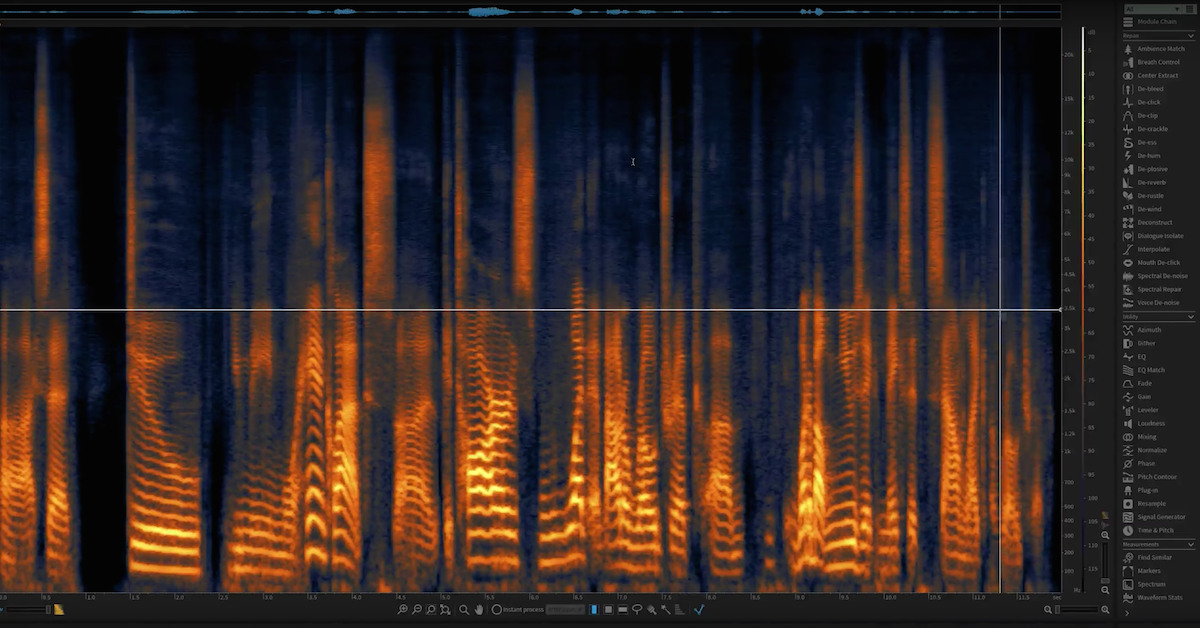
Once you’ve downloaded the test file called, “Post Production_Dialogue Isolate,” for this tutorial from the RX web page, and opened it in RX 6 by clicking and dragging it into the RX application window, or by opening RX 6 and pressing Command+O or Control+O on a PC to locate and open the sample, your RX window should look like mine, with the file, “Post Production_Dialogue Isolate” in a tab on the top-left hand side of the screen.
Informed by machine learning to recognize and separate spoken dialogue from non-stationary background noise, such as crowds, traffic, footsteps, weather, or other noise with highly variable characteristics, Dialogue Isolate can be particularly effective at increasing the level of dialogue in challenging, low signal-to-noise ratio conditions.
Have a listen to this sample, which features some dialogue, and a very noisy background.
[voice sample]
Let’s use Dialogue Isolate to bring the dialogue center stage, and attenuate some of that background noise.
First, we see some parameters in the module. Dialogue gain controls the gain of the components in your audio recognized as speech. We can leave this slider at 0dB to reduce noise, or lower the slider to reduce the level of spoken dialogue.
In this case, we want to reduce noise, and bring the dialogue center stage, so we’ll leave it at 0dB.
Noise gain controls the gain of the components in your audio recognized as noise. We can keep the slider low to increase dialogue intelligibility, or increase it to 0dB while turning down dialogue gain to only hear the isolated noise.
Given the nature of our example, I’d like to really bring down the noise gain so that we can focus on the dialogue as much as possible.
Next, we have separation strength. For large values, meaning if I slide it to the right, the processing will more strictly define what it classifies as dialogue, which can result in more background noise reduction at the cost of possible reduction of speech.
For small values, if I slide it to the left, the processing will more broadly define what it classifies as dialogue, which will allow more background noise through, but will reduce the possibility of speech loss as a result of the processing.
Again, dialogue is king in this example, so I’ll bring my separation strength to 10. I should note that Dialogue Isolate will still process, even when the reduction strength is set to zero.
Let’s press process and listen back to our results.
I’ll press space bar to play our newly dialogue isolated track.
[voice sample, processed]
Here’s before.
[voice sample, unprocessed]
And here’s after.
[voice sample, processed]
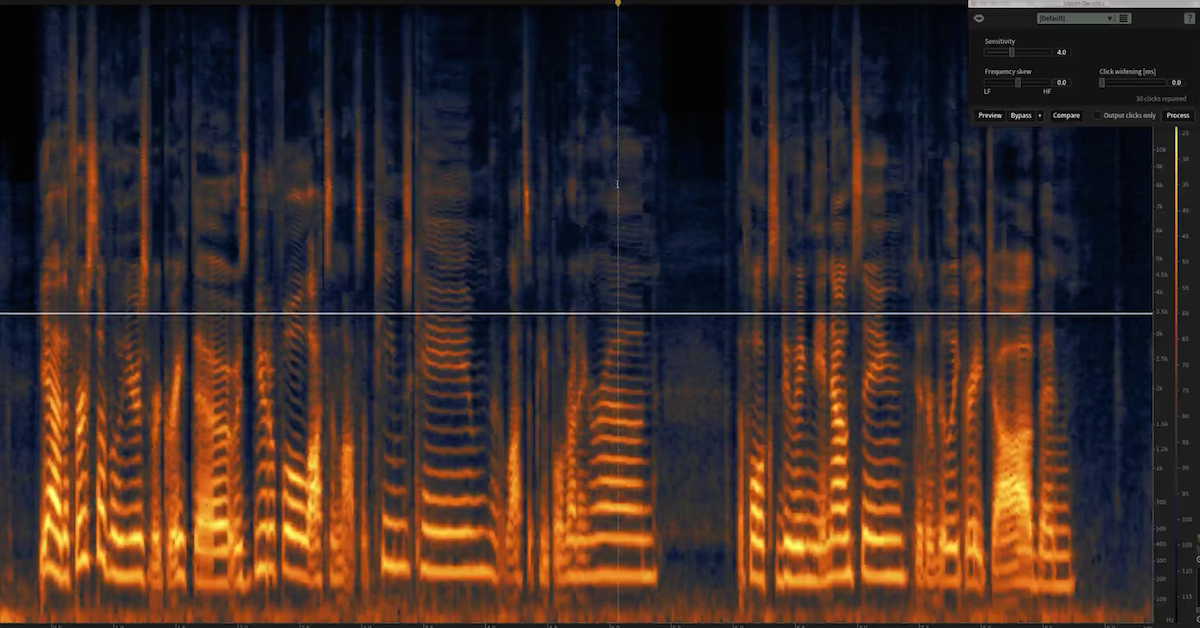
Now, I’m still hearing a few clicks in the background, so I’m going to run Dialogue Isolate once more with the same settings to really get the best possible results, given this noisy sample.
Let’s hear the results.
[voice sample, processed twice]
So here’s the initial state before we did any processing with Dialogue Isolate.
[voice sample, unprocessed]
And here’s after.
[voice sample, processed]
For more information, tutorials, and to download your own samples to use with RX 6, head to izotope.com/RX.