The Complete Guide to Recording Vocals
05/28/2019
Article Content
Most of the music I record is Pop, RnB, and Hip Hop. I’ve been the recordist for Akon for over a year now. I’ve recorded Dizzee Rascal, SisQo’, Becky G, Ozuna, and countless other incredible vocalists. I say all that to say this: I record a lot of vocals in genres which are heavily vocal-centric.
Recording vocals is an interesting process. There’s a technical side and an artistic side to it. There’s an ideal way to do it, and a practical way to do it. Ultimately as an engineer or producer, it’s our job to facilitate the artist’s performance, so we’re always catering to that.
Let’s start with …
The Sound
My default approach to the sonics of vocals is to be as clean and clear as possible. Unless we’re specifically going for something that’s stylistically dirty or effected, that is. Clean and clear means low harmonic distortion (i.e. no noise in the signal, no weird resonances, no comb filtering and minimal room ambience).
This means having a high-quality signal chain that is appropriate for the singer, in a well-designed recording space … which means basically never.
The idea that vocals are consistently cut in premo studios is flat out incorrect. The sheer proliferation of today’s performing artist vastly exceeds the accessibility to high-end recording studios. And even when all of those things seem to line up, it doesn’t always work out as expected.
In reality, we rarely get perfection — but we strive for it. Find a space that works and bring equipment or make sure there is equipment there that does the job. I try to call ahead to the facility and arrive a little early if it’s a place that I’m not familiar with. Usually, I travel with a JZ V67 and I eventually plan to start traveling with a BAE 1073 as well, although I’m less particular about the preamp than the mic.
If you’re recording yourself or for others in a project studio/home studio, I recommend the signal chain I just mentioned. It’s fairly inexpensive and consistently gets the job done. Of course, there are hundreds of options for signal chains and that’s just one. I just know it works for me one hundred percent of the time. More importantly, and very often overlooked, is the need for sound treatment and good mic placement.
First off, get your mic out of your closet. It doesn’t belong there. Neither do people. And neither does sound. That leads to comb filtering and low end build-up, and you’re turning even the most high-end microphone into something that’s going to sound cheap.
Don’t put your mic in a corner or up against a wall. You’re just putting your mic closer to where the reflections are occurring and where bass builds up in a not nice way. You want distance from reflective boundaries, not to be surrounded by them.
Second, get that damn Auralex off your wall. It looks ugly and it’s not helping much. Get some rigid fiberglass panels or make them yourself.
If you’re really handy, put them on mic stands and create a makeshift booth by doing four panels placed in a semi-circle behind the vocalist, and hang two on the wall that the vocalist is projecting toward. If there’s a little room ambience, that’s ok, it won’t kill you.
Comb filtering, an abundance of ring, washy echoes, or heavy low end build up will kill you — dead.
Microphone Choice
We have options when it comes to our microphone of choice. Our big categories of mics are condensers, dynamics and ribbons. The standard choice for vocals is condensers. They have the most even and extended frequency response with a fast transient response, which all adds up to a clean and clear signal.
Dynamics and ribbons are still options though. Dynamics are a very good choice for high-SPL screamer type vocalists, or when you’re in a room that is less than flattering. Ribbons are good if we’re going for a vintage or earthy vibe. All of these are perfectly viable options. Dynamics and ribbons might just require a little more love on the EQ side of things to get spot-on but can still sound great.
Within the condenser category, we generally want a tone curve that compliments the natural tone of the singer. For bright vocals, we want a darker mic, and for darker vocals, we want a brighter mic. And we usually want to cater to the feel of the record.
U87s sound very “in your face”. 251s have a particularly “shimmery-smeary” top end and slightly fluffy low range. C800s are very even and snappy. You learn the personality of each mic and go with what matches.
In my own mic closet, I have a U89 (a U87 with a darker tone curve), M147, Telefunken AK47, Slate VMS mic, JZ V67 and JZ BH. The most affordable of the bunch are the JZ mics and the Slate mic, and I highly recommend them as a solid choice to start with.

As far as dynamics go, I have two main recommendations. The first is the SM7B, which is probably the most neutral mic. It takes a lot of love in the mix because it’s so flat but will almost never sound bad regardless of vocalist, room or preamp.
My other recommendation is the RE20 which is very colored (Radiohead and Stevie Wonder vocal mic) but has a really cool sound to it as a vocal mic. Both handle close proximity very well. SM57 and 58s also make for good vocal microphones if you want that very live feeling to the record.
With ribbons, my general preference is to go for something with a very distinct sound. I like RCA44s and the Blue Woodpecker because they sound naturally effected. If I’m grabbing a ribbon it’s because I want something that sounds like an effect — so why go for something even and natural sounding? I guess if your mic locker is limited, which is ok, take the Royer off the guitar cab and put it up on the vocalist. It’ll work.
Mic Placement
Believe it or not, you can customize your sound just by getting the mic placement on the voice right.
As a rule of thumb, dead center in line with the singer’s mouth, with about six inches of space is pretty fail safe. I recommend getting the distance by placing the pop guard a little away from the mic grill — particularly with vocalists who eat the mic. That said, proximity, spatial placement, and angle can all have an effect on the vocal sound.
I actually did a fairly comprehensive video demonstration on how placement can create different sounds (see below).
There are some common techniques such as straight-on-axis, below-aimed-up for a brighter tone and above-aimed-down for a warmer tone. You can also get more “air” and “3-dimensionality” by going farther from the mic and compensating tone shift with EQ (usually needs more bass and treble to feel “closer” while still having air), or getting right up on the mic for a very “in the ear” intimate effect.
The Performance
All that being said, the sonic quality is really not the number one thing that’s going to sell your record. Aside from the song and composition itself, the biggest influence on the outcome of a recording is the performance.
Performance direction can be a bit sticky for a tracking engineer. If you have a relationship with the artist, it’s usually fine to give feedback, if not, you kinda have to feel the situation out (or ask).
If there’s a producer in the room, the general rule of thumb is to keep the commentary to a minimum. If there isn’t a producer it really just depends on what the artist wants. The one thing I would say is that it’s not a bad idea to offer a touch of feedback just to let the artist know you actually give a damn and aren’t just pushing the record button. It may even inspire a little confidence.
But what are we listening for when we listen for performance? It’s really four things, but they all play together.
1. Emotion
This is the quintessential quality that needs to come through in a performance. Everything else can be off — sound, timing, tone, whatever — but if the emotion is there, you win at life.
The challenge is that emotion is the most subjective quality. Timing is either off or on, but the emotion can be right for one person and wrong for another. The best bet is to ask the artist what they’re trying to convey in the song (if it’s not apparent) and use that as a beacon.
2. Timing
Timing is how well the vocal and groove lock together. I keep my nudge value set to 300 samples, ready to go (if recording at 44.1k samples/second … which is approximately 7 milliseconds). I find that a nudge left or right is sometimes necessary to glue a vocal to the music.
This kind of micro timing is pretty tricky to get a feel for, but when something is locked in, the vocal will seem to have an almost drum-like groove. If there are percussive elements present, the vocal will feel like it’s highlighting them.
3. Pitch
Pitch is how accurate the vocalist is to the note being sung. By default we want the singer to be note accurate, with sometimes a bit of exception for stylistic choices or transitions between notes. Most of the time: tighter is righter.
Now, you might be thinking, “What about Auto-Tune? How does that come into play?” Well, that’s a good question that requires some unpacking — I’m going to talk about it in-depth in a moment, don’t you worry.
4. Tone
This refers to the harmonic quality of the voice. Tone can be bright, dark, nasally, whispery, raspy, clean, jaw-heavy, chest-heavy, balanced … there’s a world of tones out there that the human voice can present. The tone is oftentimes a conscious choice, more so than timing, pitch, or emotion, and it’s a good place to give feedback as the recordist. A great tone can sell a part, even if that part isn’t inherently all that interesting or special.
These four things come together to create the performance. Ultimately the timing, pitch and tone are all supporters of our number one quality: emotion. As long as the feel of it is right, everything else is secondary.

Ready to elevate your ears?
It doesn’t have to take years to train your ears.
Get started today — and you’ll be amazed at how quickly using Quiztones for just a few minutes a day will improve your mixes, recordings, and productions!
What About Effects?
Effects are devices that modify or enhance the vocal. It’s fairly common for all sorts of effects to end up on a vocal at the end of a mix, but what about when we’re tracking? Do we use effects, or do we track the vocalist dry? Generally, I track with certain effects but it’s important to understand the ramifications of doing so.
Effects like Compression, EQ, Reverb, Delay, and Auto-Tune can all help the performer feel better by augmenting what they hear on playback. The caution is that the performance rarely sounds as good once the effects are removed. For that reason, it’s important to have a concept of how the record is going to sound at the very end after mixdown.
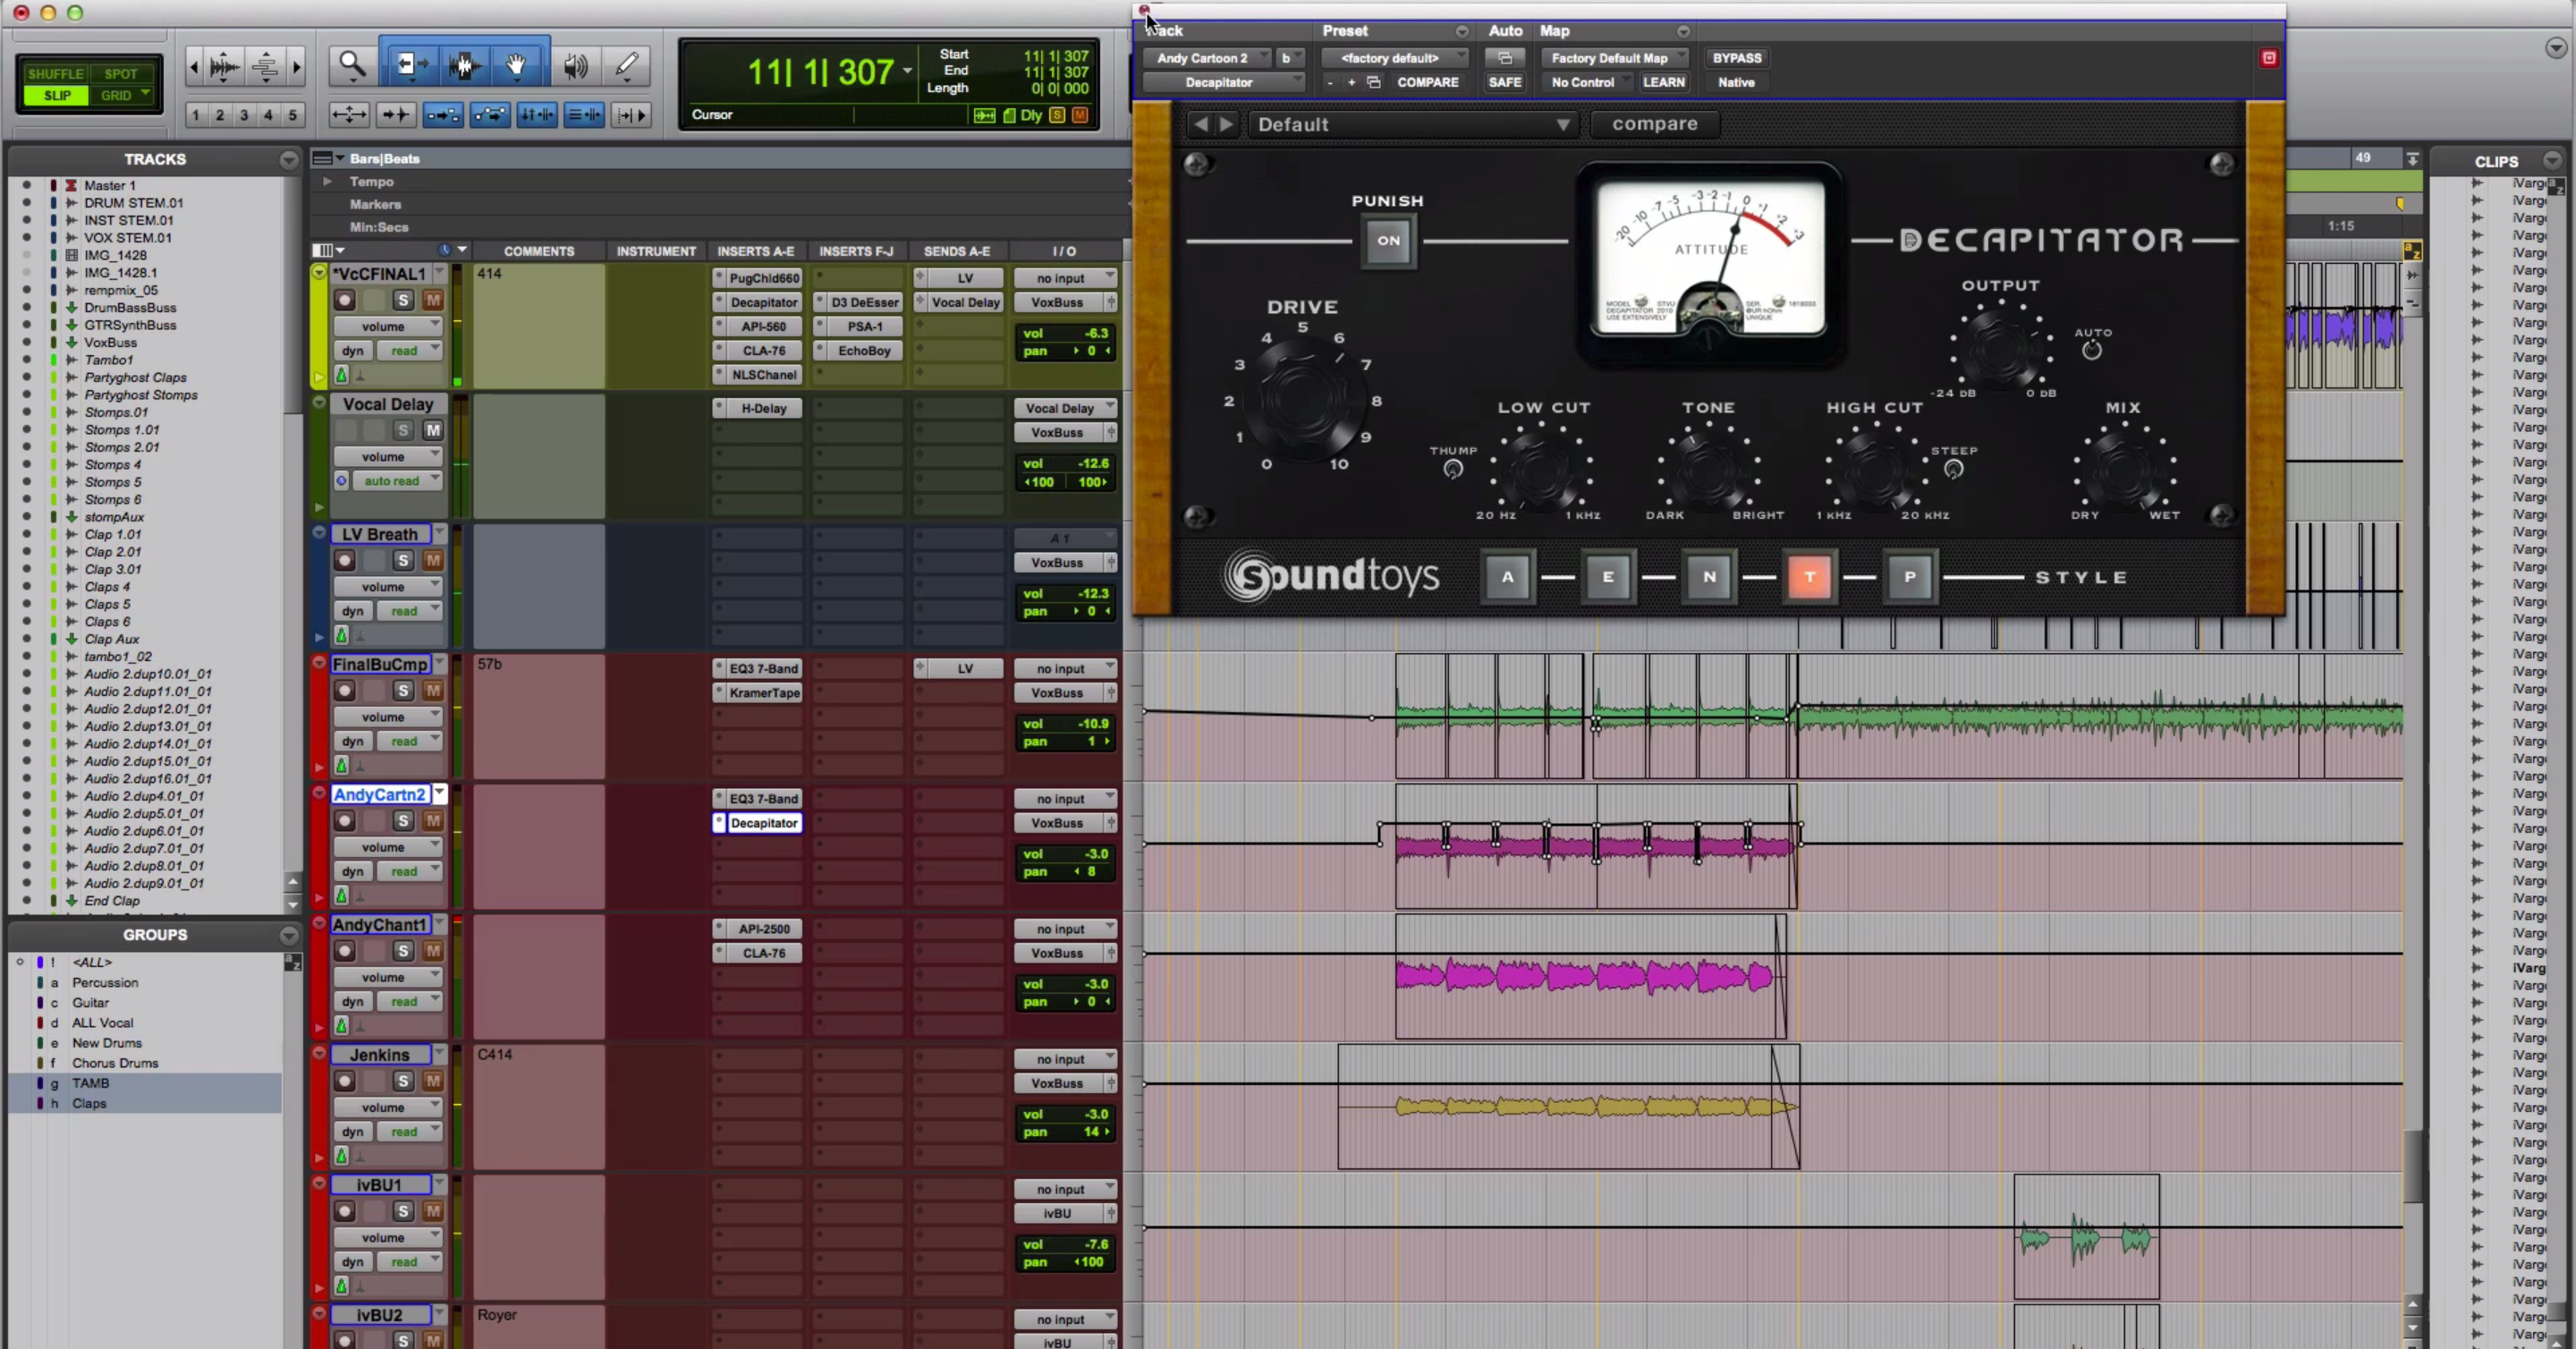
I usually use Compression and EQ on the front end of the tracking chain. I use these in a utilitarian way, with Compression just evening out the overall performance (I like the ol’ 4:1 ratio, medium attack and release speed combo, it’s pretty fail-safe), and for EQ it’s just to take out some room tone and add a little brightness where needed. Nothing crazy.
Inside my DAW I usually have a 1/4 note delay tucked way down, and a Hall reverb at about two seconds just giving the vocalist a little love. I find this helps the performer feel a little more like they’re “in the spotlight” and less like they’re in a laboratory.
Then there’s the subject of Auto-Tune. Personally, I like Auto-Tune.
One thing I appreciate about Auto-Tune is that sometimes the perfectly emotional take is not perfect pitch-wise, so having something to just lock things in a bit allows for the performance to be the best it can be while also never being out of tune.
The second thing I like is that a good singer can manipulate the effect of Auto-Tune by purposefully bending off-pitch.
What I do not like about Auto-Tune is that sometimes going out of tune can actually create a good effect and be more emotive than being perfectly in tune. The other issue with Auto-Tune is that once it really kicks in, the vocalist begins to sound less like who they are and more like how Auto-Tune wants them to sound.
Too much pitch correction can remove some of the vocalist’s identity by masking it with a vocoder effect. It’s really up to you as the vocal producer to decide how “tuned” and effected the vocal should be and what’s best for the feel of the song.
The other caution about using effects is that a performer will naturally conform to the feel of the effect. This means if the effects are later removed, the feel is rarely the same. I think it’s important to play “mix engineer” a little bit and commit effects like compression, EQ, and Auto-Tune, and possibly swap other effects later, but at least have solid stand-ins for what they should be. For example, I track with Waves RVerb because it sounds good and it’s low latency. Later I may swap out my Bricasti M7 or the Lexicon PCM, but I try to match the sound of the RVerb somewhat and then improve on it.
It’s also worth noting that effects like distortion change based on the performance dynamics. So I try to record through distortions and modulations as well, this way the vocalist can push more or less to get the desired distortion effect.
Lastly, it’s OK to commit effects if that’s the vision of the record. In fact, it’s preferable. As long as you like what you’re hearing in the studio, roll with it.
Editing On The Fly
Natural performance isn’t perfect. Sometimes the tone, timing, dynamics, pitch, etc. are all spot-on and the emotion is there. But that’s not how it’s going to be line for line. This is why it’s important to be able to comp, nudge and clip edit quickly.
When it comes to timing adjustments I find the magic number is 300 samples when recording at 44.1k samples/second … which is approximately 7 milliseconds. A little nudge left or right can lock an out of time word or phrase right into place. It takes a minute to get the ear for it, but it’s an irreplaceable skill at the end of the day.
With clip editing, it’s good just to be able to even out the dynamics. It’s pretty common for a word or phrase to get delivered with extra emphasis when the performer is really getting into it. Likewise, softer sections may need a little gain just to compete with the louder segments around them.
All of this exists prior to comping. Recording too many takes is the devil’s work. It’s a mark of an insecure artist and an insecure recordist.
My number is eight, and my preferred number is three. Three takes is reasonable to comp between even with a very secure direction. If you hit eight or more takes, it’s just too much. There’s a lack of vision for the record and that needs to be addressed off mic.
Additionally, it’s not effective to do twenty takes and comp the best word of each. Even after the best syllable is selected, it’s going to need to be edited and still might not sound cohesive. Better to scrap a dud take and only save the really good stuff.
This is extra true on backgrounds and harmonies. As a matter of principle, I don’t do backup takes on backups, only on leads. This is why Auto-Tune and Vocalign exist. Fake the backgrounds; they’re in the background, no one will know, and no one will care.
Heck, I’ve invented harmonies that were never even recorded with Melodyne/Auto-Tune and it’s worked. Romanticizing about the sanctity of vocal performance doesn’t do anyone any good if the record never gets done.
Aftercare
If you are the vocal producer — do not — I repeat … do not leave the editing for the mix engineer.
When I’m mixing, I assume I’m being sent things the way they are intended. I assume the imperfections are there to be imperfect unless otherwise instructed. If I have to make a phone call, there’s about a 150% chance the producer/vocal producer/artist isn’t going to pick up, and if they don’t, I’m mixing what I got.
The mixer has enough to do — do not leave the editing in their hands. Not only will it open the door to cause problems, it’s also going to kill the mixer’s vibe if they have to edit as well.
Now with Akon’s records, I do the editing on the fly and do a little aftercare when I get home. We get things so close to spot-on in the studio that the after session editing requires maybe about a half an hour of work at most, and sometimes none at all. But, not every vocalist is Akon.
For those who are less precise, it may take longer. If you’re also the mixer, my suggestion is to do the editing the night of the session (or next day) and do the mixing on a different day when you can approach the record fresh again.
If you’re sending the project out for mixing I recommend sending the Pro Tools session. Given, not every engineer uses Pro Tools, but most serious mixers at least have a copy and are familiar with it enough to track out and mix in their preferred DAW.
The reason I recommend sending the session is so that any effects are kept for the mixer to model their choices after. At the very least, be sure to send a studio bounce/rough mix so that the engineer isn’t shooting in the dark.
Eleveate Your Ears