How to Set Up Mix Buss Compression
06/23/2015

In this video, we’re going to take a look at buss compression. I was just over at my membership site, themixacademy.com, and I was preparing some videos for members on taking this mix called “Tu Yo Soy” by my good friends Samantha Encarnacion, and her brother Victor Encarnacion.
I was looking at taking it to the finish line. Referencing, doing some notes, and I thought it’d be a great opportunity to do a video on setting up buss compression.
A couple things. I do buss compression from the very beginning. I kind of do a rough mix and then get the buss compressor setup, and I mix into it as I go, and I’ll be checking a few times as I mix, and that’s how I choose to work. That’s not for everybody, but you may prefer to get into buss compression and deal with that at the end of the mix process before you send it off to mastering or before you master it yourself.
However you do it, this is kind of a walkthrough of – I didn’t create this process, I didn’t invent it, but a walkthrough of how I do setup my buss compression, and I think it’ll be valuable to you.
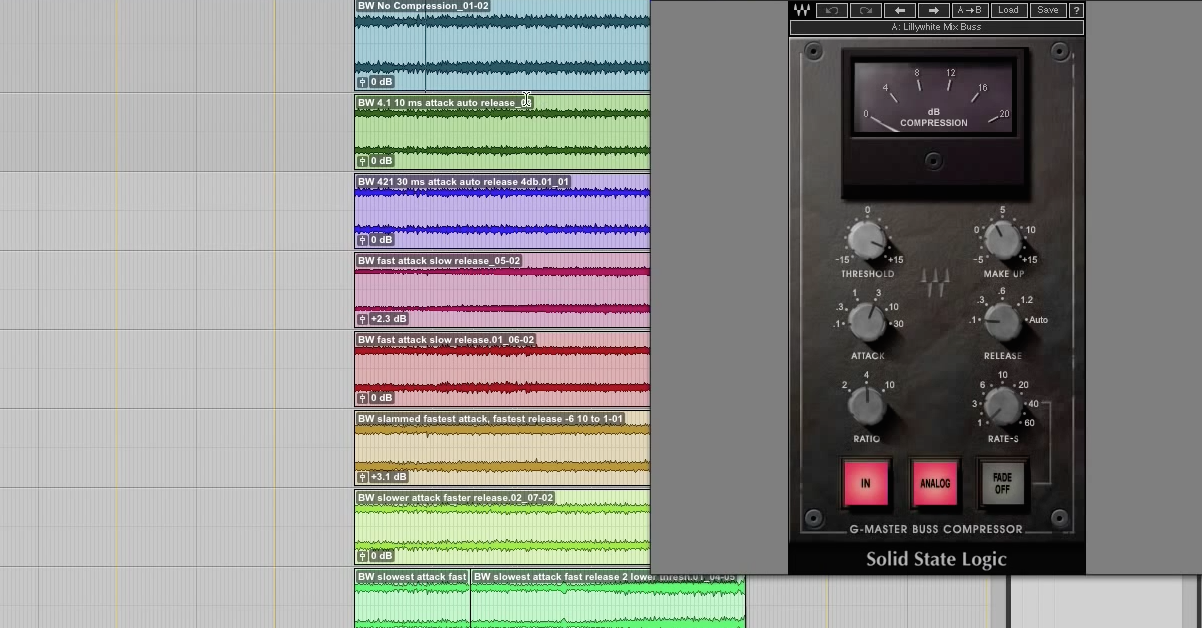
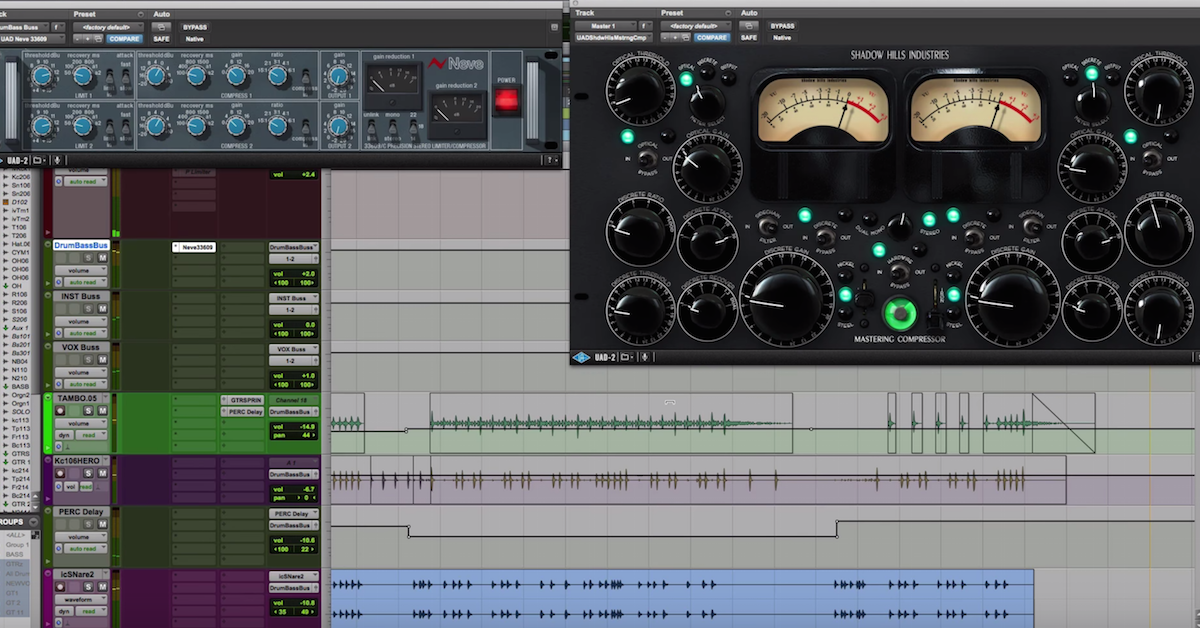
Actually, I’m going to feature my new favorite buss compressor. I picked up this from Plug-in Alliance. It’s the Vertigo Sound VSC-2, partner with Brainworx and Plug-in Alliance. This thing sounds incredible. I’ve used a ton of compressors – I was just doing a compressor shoot-out earlier today, and I just keep coming back to this one.
So I’m going to feature this guy, but the principles, the strategies, the techniques, all that stuff will apply to most buss compressors. The first thing I do want to note is I’m going to instantiate this side-chain filter, and if you don’t know what that’ll do, that’s going to prevent the low-end information from triggering the compression, and on the Vertigo Sound VSC-2 you’ve got a 60Hz high-pass filter, and the option to go up to 90Hz.
Really, really great. Pretty much always use the high-pass filter/side-chain filter when I’m doing buss compression. So anyways, I’m going to hit play and let you actually hear what I’ve done with the buss compression, then we’ll work our way backwards. We’ll start over actually with the factory default, and I’ll walk you through the process.
So here’s a snippet of this song. Again, “Tu Yo Soy,” my friends Victor and Samantha Encarnacion.
[music]
Okay, so cliché words, glue, warm, fatness, uh… Fill in the blank there, but I’ve hit this, what is it… Like, two, maybe three dB at the peaks. Sometimes they get a little more aggressive, sometimes I’m barely seeing that needle move. It just depends on the song, depends on the vibe, and in this case, I actually don’t mind it hitting a little harder, because I really like the sound of the Vertigo.
So let’s dive in. Let’s actually bring this in. I’m going to set it to factory default. Let’s take a quick look.
I’m going to do completely slow attack, and I’m going to do a really fast release. I’m going to engage the side-chain filter – I’m going to go with 90Hz. We’ll maybe test it out at the end once we get it going, but I’m just going to smash this thing. I’m going to hit it really hard. Lots of compression. I’m just going to listen to what the compressor’s giving me. We could actually probably increase the ratio and just try to get 10 to 20 dB of reduction. Just going to hit it until it sounds fun here.
[music]
So we’ve got some heavy compression going. Now let’s look at the attack. I’ve got this set to the slowest setting, and we’re just going to click over. As we listen, we’re going to listen to how the compressor’s reacting to the faster attack, and really focus in on the kick, snare, and the transients.
I want to hear them kind of get cut off. I don’t want them to be completely botched, but I want the compressor to be grabbing them, and I’m going to play with that setting, and then I’m going to back off a click from where I feel that, just to be a little bit more gentle with it.
So let’s take a listen.
[song]
It didn’t take long. I already feel that’s where the compressor is just killing it. So transients are getting lost like crazy. I’m going to back this off one click, and I may actually come back and set this all the way slow at the end, but I think this is going to help us moving into setting the release, which I’m going to do with the vocals, the percussion, low end bass, music, all of this stuff I’m going to take out high ends where I send my cymbals, reverse crashes, all kinds of stuff, and we’re going to listen to the shells of the kit.
What I’m going to do is I’m going to listen to the kick and the snare for when they start to be in rhythm of the tempo of the song. I want them to return – excuse me, the meter to return back to zero before the next hit, and because we have a double-time section in this song, I want it to be really quick, and I don’t want the compressor to be getting in the way of any of that.
Here we go. With the release, we’re going to start really fast, and then I’m going to back this off.
[drums]
That feels pretty good. Let’s try…
[drums continue playing]
Starting to get a little bit of a shift in time whenever I go to the medium release, and it’s kind of throwing me off a little bit.
So, we’re going to go to the next two examples just because.
[drums]
You really feel it pulling there.
Alright, I’m digging the faster release. We have an uptempo song here with a double-time drum section. I think that the aggressiveness that it adds, it brings it forward. I like that.
But we didn’t look at the auto-release. With the auto-release, the compressor is going to react to what it’s hearing; what it’s being sent. So it’s possible we’ll like that better.
So I’m going to keep in mind the faster release times, and I’m going to switch between those and auto-mode, and see if the compressor does better at responding to what it’s hearing, as opposed to a fixed rate.
So let’s take a look at the faster release versus auto.
[drums]
Alright, it’s a tough call, but you be the judge for you, I’ll be the judge for me. This is as much of a taste thing as anything we do in mixing. I’m going to go with auto-mode. I felt like it was a little more open, a little more gentle, and I like that about it.
So moving on from that, I’m going to drop the make-up gain back down, I’m going to reset the threshold, and pull this in. I’m going to look for the needle to move. I’m going to feel that. Maybe get to two to three dB of reduction, possibly as much as four. It may be some of the peaks, but you want to be careful to push anything past four dB, but again, it’s taste. If you want to hear the compressor really, really aggressive, you may push it past four dB.
Anyways, let’s take a look at that. I’m going to bring everything else back into the mix here, and let’s see what we get.
[song]
Okay, that sounds pretty good. I like the little bit of action. The needle is doing more than just kind of flicking, but I think we can maybe push it a little harder if I back off the ratio and maybe slow down the attack a little bit. Let’s leave the attack where it is; I’m going to see what happens with just a two to one ratio as opposed to the four to one ratio.
[song]
A bit much.
[song continues playing]
Okay, so now we’ve compressed a solid three to four dB. I’m going to boost the make-up gain to make-up the difference so we can get a proper comparison when we bypass. I want to make sure we’re hearing apples to apples.
[song]
Okay. So, I’m not mad at that. I think it sounds pretty good. We’re getting the warmth, the fatness. I’m going to back off the attack, I’m going to test that out, and see if I can push it just a little bit more.
Alright, well, I’m digging the slower attack, I’m digging the auto-release. I like the two to three dB. Don’t really want to go too much further than that for me personally. The needle moving, I wasn’t mad at that either. If you have seen my stereo buss master class, I do quite a bit on the stereo buss. I do some top down mixing, but I hope you enjoyed that. A nice walkthrough.
I dig it. Vertigo Sound, you can’t beat that. Their other box is incredible. I heard it in a session, and I still got to go pick it up, but the… Forgive me, I don’t even remember. The yellow VSM-3 distortion box? Incredible stuff.
Thanks for checking it out. David Glenn, davidglennrecording.com. If you liked this video, subscribe to the mailing list over at davidglennrecording.com. I have a free VIP mix training bundle, where I give you two free courses at this point. There might be a third one soon, but free courses, free session files, multi-tracks you can use in any DAW, two songs. Incredibly talented artists, similar to this in English.
More on that to come. Davidglennrecording.com, themixacademy.com, theproaudiofiles.com, and we’ll catch you in the next one.