iZotope Neutron — Smart Processing?
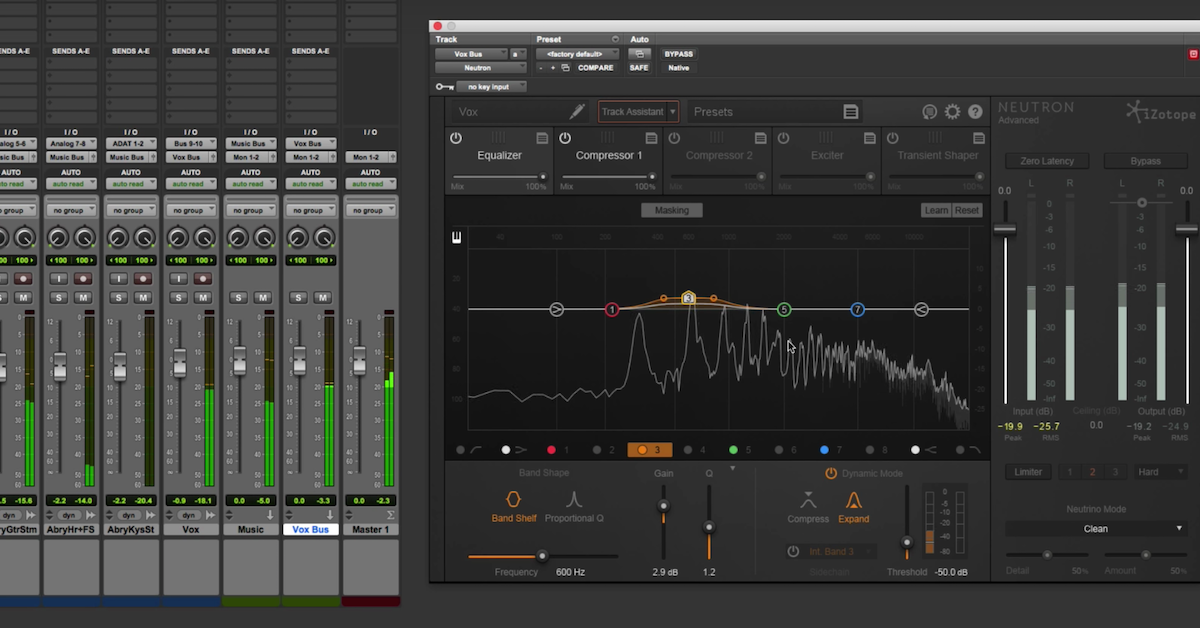
This is a follow up video to a tutorial that I made previously looking at the Neutron plugin from iZotope. This plugin has a lot of cool, unique features built into it that you don’t really find in other plugins.
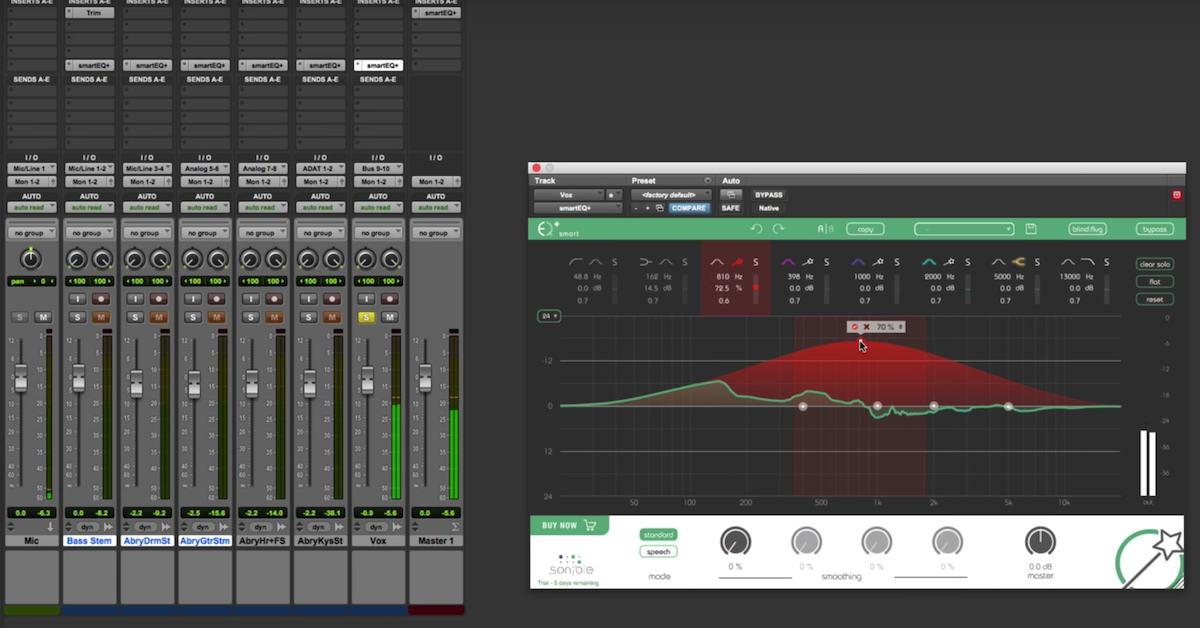
We’re going to take a closer look at those things here, specifically, what I’ll call some of the smart processing, or smart mixing analysis tools that are built into it, with the idea that the plugin is able to analyze your tracks and figure out how they should be processed. Equalized, compressed, and all that kind of stuff.
We’re going to look at, now, how smart are these smart mixing tools? Are they going to put an audio engineer out of the job yet? Do we have to be worried as mixing engineers whether we’re going to be replaced by a computer?
So let’s take a closer look at that. I’m going to be looking at the plugin on this multitrack session. This is one we’ve been using over at mixpractice.com. I do some stuff over there too, and in fact, this month for Mix Practice, what I did is an entire full length tutorial, start to finish, mixing this multitrack session, just using Neutron to see what kind of results I could get using some of these features to allow me to dig a little bit deeper into the plugin, and see what I thought about it.
So I’m going to show you this session here, and then take you through a few things with Neutron, but if you want to find out more about it, definitely head over to mixpractice.com to check it out.
So here’s the track. It’s a heavy rock sound. Right now, it’s kind of a blank slate. I haven’t really set anything up on this particular session file, but you’ll hear how it sounds, and then we’ll get into processing it with Neutron.
[mix]
Alright, I think you get the idea.
Let’s go in here and start using this plugin. The idea is this plugin, in theory, could be inserted on every single one of your tracks, and it should be able to — it’s kind of an all purpose mixing tool, so if you want to use it on drums, guitars, whatever.
So I’m going to go in here and label this instance of it as the kick, and then it has this cool button here called Track Assistant. It’s an analysis that’s going to take the incoming signal, and figure out and suggest to you how it should be processed.
So this is my kick drum. I’ll go ahead and click on Track Assistant, and it’s going to wait for me to play in sound. It’ll analyze it and suggest how it should be processed.
[mix]
So you can see, kind of running it behind the scenes, the equalizer was kind of moving around and finding settings that it thinks would be a good idea to use here. It came up with the drums and percussion, and you’ve got the equalizer, you’ve got an exciter, you’ve got a compressor, and I guess it decided five-to-one ratio with some knee, and attack and release settings.
So let’s go over here and check out the snare. Let’s see what would happen if we inserted this one on our snare.
Okay. So we’re starting from a blank instance. Let’s say snare. Like this. So let’s hit Track Assistant and have it analyze my snare and suggest how it should be processed.
[mix]
So it’s done analyzing that one. Let’s compare our results, then, and what we have between these two processors.
So over here on my right is my snare, and the left is the kick. Look at the equalizer. Now, I will say that it suggested things that are slightly different from each other, but the thing that I’ve noticed, at least initially working with the plugin, is you’re getting similar kinds of results. It kind of starts from a template, and then fits that template to your incoming signal.
So for instance, it kind of boosts down here in the low frequency near the fundamental of the kick drum, and then for the snare, it boosts a little bit higher, closer to the fundamental there, then it’s got a couple of scoop kind of EQs just to pull some maybe ringing out of the lower mid-range, and then up here at the top, maybe around 3kHz, it’s going to have a little bit of a boost. Right?
So that’s kind of the stock, or the template that it’s working off of. Same thing here. The exciter, very similar. Right? Compressor, we’ve got five-to-one, knee of 30, attack, basically the same on these things, right?
So I’ll give them credit and say, “You know what, you’ve got — it’s a smart analysis. The snare probably is going to have a different EQ compared to the kick drum,” however, you know, if you’re looking for it to give you all of these different suggestions and have these unique things, it might not be what you’re going to anticipate.
So let’s come over here and check out some stuff on the electric guitar. Same sort of thing. At this point in the song, we’ve got a heavy kind of riffing electric guitar. You can see what’s going to happen here. So this will be electric 1, and let’s run Track Assistant on this.
[mix]
So it did come up with a different analysis than the drums. It has this as a guitar instrument — kind of has this EQ curve with this unique kind of dynamic EQ right below the high shelf. So that’s great.
Let’s check this out over here at another part in the song where the electric guitar is clean. So we don’t have heavy distortion and all of that kind of stuff. So it’s on this track right here. Let’s insert it and see what it comes up with. So this would be our Neutron.
Again, starting from scratch, and running the Track Assistant.
[mix]
Alright, so what we can do is compare what we’ve got for the heavy riffing guitar over here with what we’ve got over here for the kind of clean ringing out sort of guitar, and it’s pretty close, right?
You see that there’s a pattern to this. It kind of suggests a similar sort of thing when it detects that there’s a guitar on each one. You know, it’s changing the low pass — or, the high pass filter, the low cut over here. Let’s see what we’ve got on the compressor. Probably similar kinds of settings here to begin with too.
You know, I’m not trying to overly criticize the plugin, but I am trying to point out, at least for those of you that haven’t had a lot of time working with it what you’d be getting into. It does some smart sort of analysis, but it does kind of work within some constraints, and it says, “Okay, if this is a guitar, this is what we’re going to suggest.”
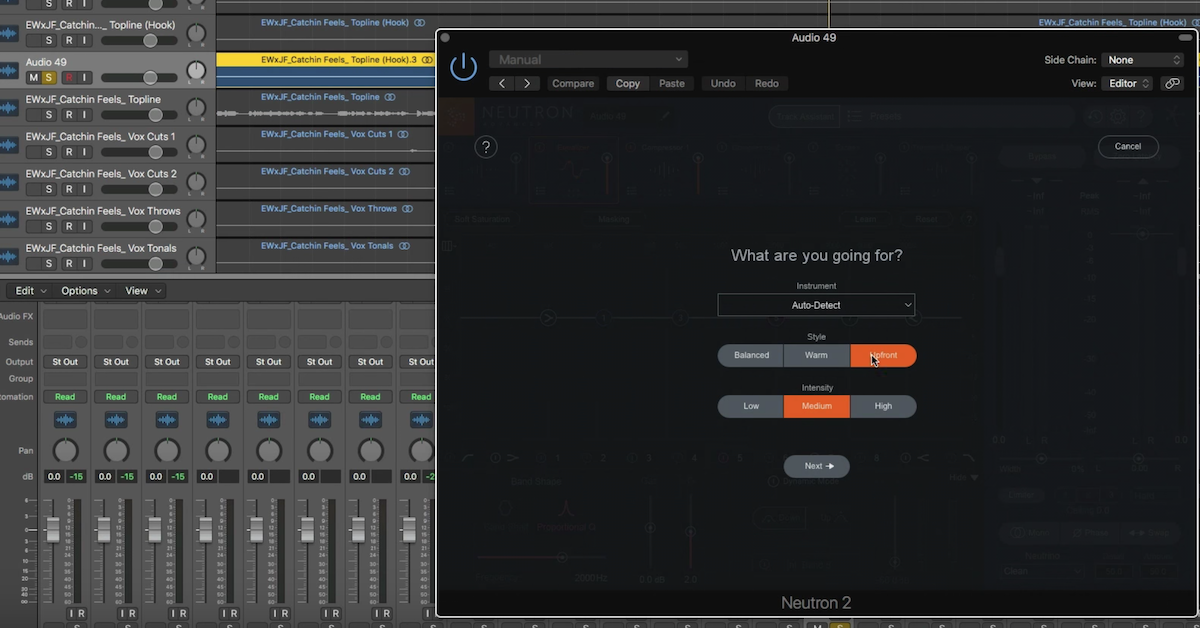
Now, the one thing that I will point out is that there are a couple of different modes that you can work with from medium, subtle, and aggressive, and also, whether you want broadband clarity, open, and up front mid-range, those will give you slightly different results, but what I found is each one of those different options kind of starts from a working template too.
So if you insert it on an electric guitar, the different sounds, it’s going to kind of — this is the template that you’re working with that you’re going to get for the electric guitar, regardless of the settings that you end up with it.
It might make some adjustments, but it’s somewhere between having a preset, where you just pull up a preset in any old plugin, any old equalizer, and it spits you out the different parameter settings as part of that preset. It’s somewhere between that and doing a human mix for you, where it can say, “Okay, this particular guitar needs to have a high pass filter at some frequency, and this particular guitar needs to have a high pass filter at some frequency here.”
So the long and short of it, I guess that I would say, is that audio engineers, you know, this is a good tool. It can help you kind of get up with a rough mix very quickly that you know you’re going to have to be boosting some things, cutting some things, using a high pass filter.
Using the Track Assistant can kind of get you a good starting point, rather than just starting from nothing, but it’s not going to put you out of a job just yet, in my opinion, where it’s still going to be the case that the human that can come up with lots of more different possibilities is going to be able to really dial in the parameter settings for that particular song, rather than just, you know, here’s one of our — I don’t know, dozen different templates to kind of start out with, and then move the equalizer frequencies around to kind of fit that tone.
So you know, the tool itself in kind of my review of it, I think it has some uses, but you know, for all of the hype about, “Oh, this is so smart, this can do all this kind of stuff,” I think iZotope — I hope that they will at least continue down this road and continue, you know, improving the way that it analyzes the tracks, and comes up with the suggestions then of how it should process the sound, because I think that it is an awesome idea, and I hope to see more and more of this sort of thing showing up in other plugins.
So this is a great start. We’ll see where it goes from here.
Anyway, I’ll catch you all next time. Take care, guys.


