The Complete Guide to Mixing Vocals
02/14/2018
Article Content
Mixing vocals is an overwhelming task, particularly for those that are newer to mixing in general. Explaining how to mix vocals is a bit overwhelming because there are simply so many possibilities. There is simply no formula for approaching vocals because every voice, every song and every recording setup is different. I’m going to start on a little prologue to the article, but I highly advise you read it because it will help you navigate the information I’m going to present afterward.
Establishing Concept
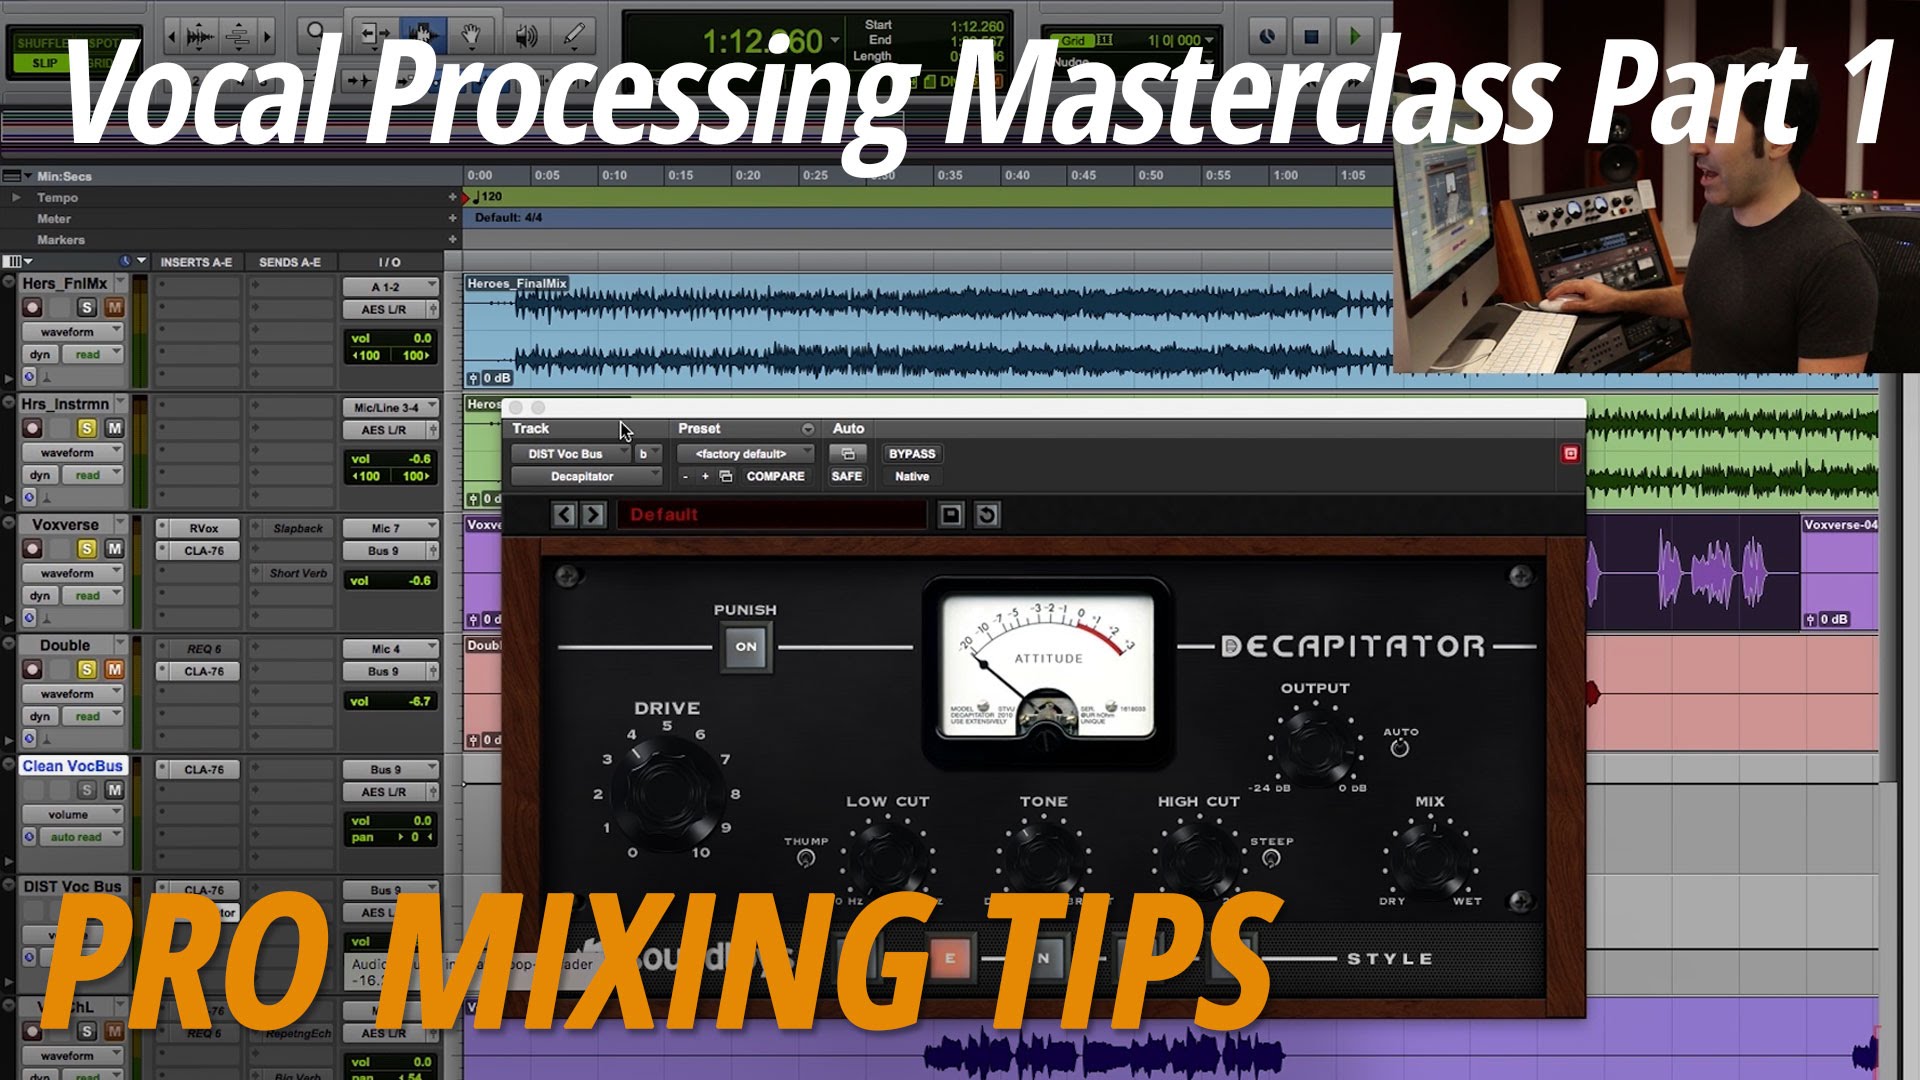
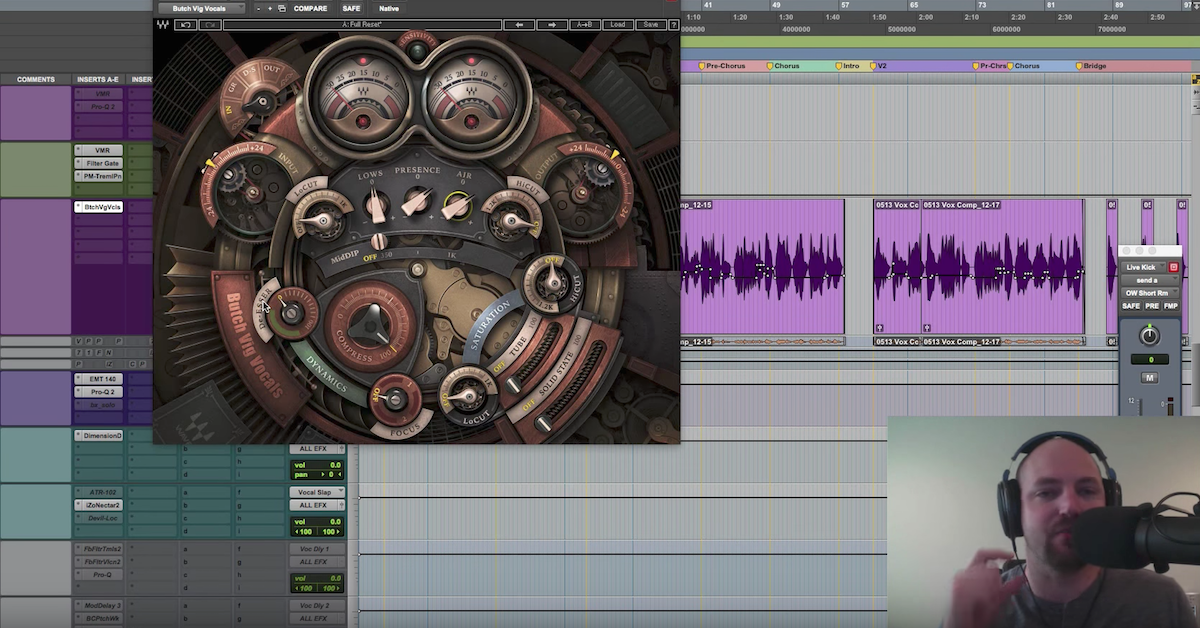
What I can say is the actual processing we use to treat vocals is relatively simple. We use equalization to adjust the tone, compression to control dynamics, reverb or delay to create ambience, and occasionally some kind of special processing like distortion, excitement, or modulation to add some secret-sauce.
It’s actually a pretty short list of tools. It’s possible to go pretty deep down the rabbit hole with each of these processors. I have in-depth courses on EQ, compression, and reverb for those interested in stepping into some upper-level understanding. But for the most part, we can get a solid foundation with just a cursory understanding.
In order to understand how to treat vocals, we have to really understand what we are trying to do. For me, I always start from the idea that we want to make the song enjoyable (or effective) for the listener. There’s a whole lot of stuff that can be enjoyable. Sometimes we want something really pristine that shows off the vocal performance and lyrics. Sometimes we want something really dirty or vibe-y to convey a feel outside of what’s inherent to the performance. A super crisp, forward rap vocal is inherently just as enjoyable as a distorted, fuzzy rock vocal. And this is where I get to the main principle behind everything I teach:
We need to define good to get there. As I just pointed out, good can mean a lot of things. As long as we put a definition to what we’re aiming for — we can get there. But if we don’t define our good, we’re just trying to hit our target with a blindfold on. It’s still a task to hit a bullseye, but it’s much easier when we know where the bullseye is — and even if we miss the mark we still get some points. I think I stretched that metaphor enough but I think you get the point. It seems obvious: create a concrete concept for what makes your treatment good and then work towards it. However, it seems to be the step most people skip!
By this point you’re probably saying “dude, just tell me how to do it already, I’m just trying to get my record sounding decent so I can put it out.”
Fair enough, imaginary reader who is judging my pacing, fair enough. What I’m going to do is provide a roadmap to help mix toward some archetypical vocal treatments. You’re going to have to use your own judgment based on your own taste and what you have in front of you. I know some of you may have been hoping for a simple rubric to follow, but, I’m an actual mixing engineer who wants you to mix your vocals really well. The “cut 500 Hz, boost 2k” formulas are from people who spend more time blogging than mixing. 🙂
The In-Your-Face Vocal
This approach is very common in a lot of genres: Pop, Rock, Rap, EDM, certain styles of Jazz — you name it. Vocals are often the star of the show and the concept is to put them front and center. Words like big, punchy, tall, and forward come to mind.
Most of this approach starts with the volume fader. Honestly, that’s like 75% of the job right there. Once the level is right, the next steps become much easier because it’s pretty simple to tell what comes next.
When setting the vocal level, I like to start on one of the quieter passages. If we get one of the quieter passages loud and proud then most of what we’re going to do after will be various forms of attenuation. Once our quieter phrases are up we can use level automation to take any phrases that are now too loud, down.
Here’s a pro-tip: start with pre-insert level automation. This means that the level change occurs before any additional processing. In Pro Tools, the easiest way to do this is to select the phrase in the Edit window and use clip gain to turn it down.
In other DAWs, you may need to place a utility plugin on the first insert space of the audio channel. The reason we want to do this pre-insert is that we want our compressor acting uniformly across different phrases. If we leave our automation for the channel output, our compression is going to act differently on every phrase and it will be difficult to set it correctly.
Once our phrases are generally even, we can use compression to lock it in. As we listen from phrase to phrase, we may notice there are still words or syllables that either leap out of balance or fade back too far.
There are a lot of ways to effectively lock in vocals. My method for setting punchy vocals is to set the attack and release very fast and turn the ratio pretty high. Then I turn down the threshold until my compressor is constantly acting (slightly) on every word. From there I adjust the attack until only the words that jump out the most get any noticeable compression. I should hear the compressor kick in on the loudest syllables. Then I back off the ratio until the compression is no longer offensively noticeable (I generally end up in the 4:1 to 6:1 ballpark). It still may be a bit noticeable — and that’s ok — but it’s just not clamping like two hands around the vocalist’s throat. Lastly, I’m going to adjust the release to clean up any distortion the compressor is imparting. For very forward vocals, I’m going to want that release time as fast as I can get away with.
Oftentimes, I’ll follow this up with a second layer of compression later in my chain. I’m going to set the threshold a bit lower, set the attack a bit slower, and adjust the release within the faster settings to find what sounds smoothest to my ear. The key here is to use a much lower ratio (between 1:1 and 3:1). I’m not looking to do a lot of gain reduction. The sound should be pretty subtle. The vocal should just sound a bit more thick, dense or husky — whatever word makes the most sense to you. If you level match the before and after on this second layer of compression, it should feel like the vocal just puffs out a bit at you.
After all this compression it’s pretty normal for breaths and sibilance to really jump out. For breaths, I like to manually clip gain them down or simply cut them out, which is a bit of a process — but such is life. For sibilance, placing a de-esser after the compression will work just fine.
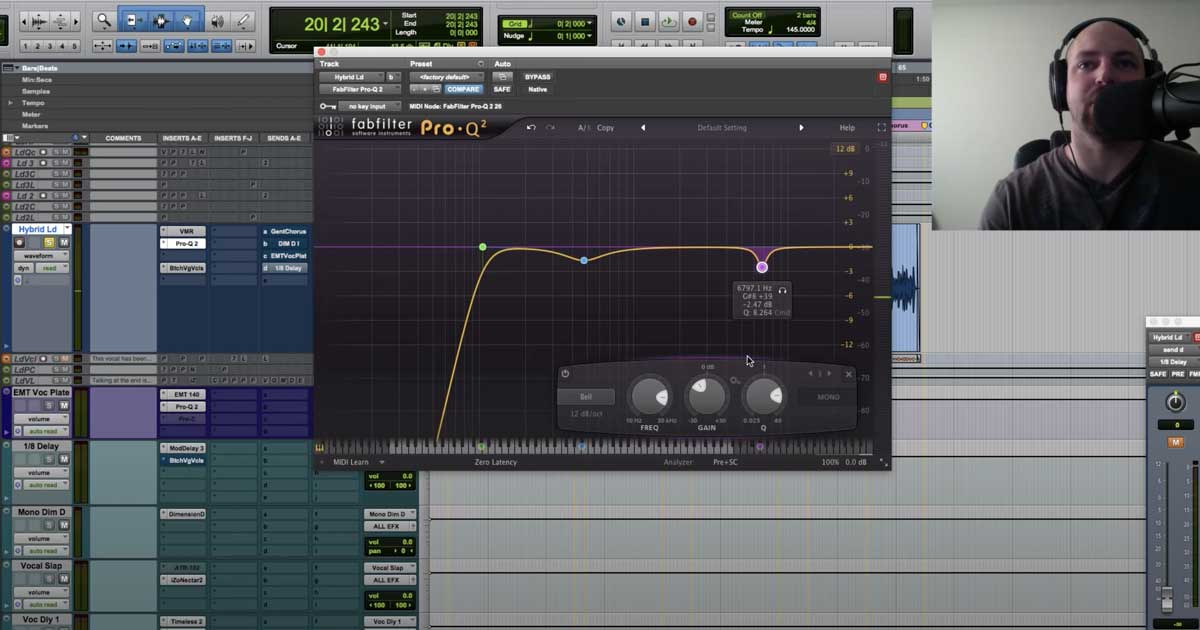
As for EQ, my tone treatment tends to go early in the chain. I either hear some dirt in the capture that I want to get rid of immediately (I’m looking to do clean up on my first insert), or the first bit of compression brings something out that I don’t like. The key is that I’m listening to get rid of something I don’t like, rather than enhance stuff I do like.
In order to make a vocal clean and crispy, I find it’s easiest to start with the clean part. Once it feels tonally balanced and like a voice rather than a voice with extra stuff going on, then I will start looking at bumping up top end or low end to add crispiness or weight.
The less extra-stuff I have to subtract out the better. Very good vocal recordings will have very few odd resonances and low-mid build up. The less I can get away with taking out the better. In my own studio using my CS-4 or Manley Ref, the only sort of build up I get is 1-3 dB around 600 Hz. If I can get the vocalist at exactly the right distance from the mic I can sometimes get away with no cutting here at all. This is ideal. I’m looking to do as little as possible.
This scenario can change quite a bit. For example, if I swap in an RE20 mic I get a different curve. The RE20 is less sensitive to the space because it has better side rejection than my condenser mics and that 600 Hz bump pretty much goes away. However, because of the tone curve of the mic, I get a bunch of build-up around 400 Hz.
The moral of the story is that there really is no one-size-fits-all when it comes to the variables in a vocal recording. The only thing that stays constant is that I try to aim to do exactly what is needed to clean it up — no more and no less.
Once the cleanup is done, the rest is a matter of seeing what I can get away with. For in-your-face vocals, I want something bright with a lot of body. I’m going to see how much top end I can get away with before the vocal starts sounding hashy, stressed or edgy.
I tend to like gradual shelf boosts starting from the upper-mids, coupled with wide bell boosts in the treble range. That’s just me — ultimately how you get there is going to depend on what you like to hear.
I also want to make the vocal feel as weighty as I can without feeling “boofy” or sluggish (technical terms, I know). So I’m going to try to push some low range. Mind you, the low end of a voice can vary a lot, particularly across genders. Low male vocals could be at 80-100 Hz, high female vocals can be 250-300 Hz.
In the world of Pop and Rap, in particular, there’s a bit of competitiveness when it comes to getting the most in-your-face vocals, and there are some advanced concepts that come from this. Like I said before, digging into the advanced stuff is for those who really want to go there, but I’ll drop a couple gems that I like.
Multiband compression is a great solution to getting vocals clean and forward. The issue with going overboard with subtractive EQ is that while we are taking out stuff, we are also removing part of the vocal as well. With multiband we can set it to attenuate tones based on how much is there, allowing us to sort of have our cake and eat it too. Similarly, we can use multiband compression to “lock” a tone in place.
If we have a nice little frequency band for our vocal to poke through our mix, we can create a band with a very restricted dynamic range right there so that our vocal is always present. There are a lot of potential artifacts such as transient smearing or audible phasing that can come from multiband compression, so these techniques are definitely best handled with care.
Another technique I like for Pop vocals is the “Pultec Bump”. This technique involves pushing a wide band of treble way up on a Pultec-style EQ. You push the treble until a sizzly texture starts to show up on the top end. From there, you then attenuate with the Pultec set at 20 kHz until that sizzly quality goes away. If you A/B the vocal you’ll quickly hear how it has become much shinier and lifted without sounding hashy.
Lastly, there’s the matter of reverb. In the case of in-your-face, less is more. I’d look to short plates tucked really low, or opting to use quick delays instead of reverb. Or sometimes no reverb at all.
The Inside-The-Mix Vocal
Functionally this is a lot like the in-your-face vocal, except … less in-your-face. If you simply let go of the extra compression layer and go for a more dynamic vocal, in general, you basically get there. The biggest difference is in the reverb. If you want the vocal to live a bit more inside the mix, you can be a bit more generous with the amount of reverb applied.
Currently, in 2017-18, we don’t hear a lot of “inside-the-mix” vocals in our mainstream genres. However, there are cases in more cinematic Pop, 90s-influenced Pop, R&B, Alt and Indie Rock where the vocals live a bit more inside the record.

Ready to elevate your ears?
It doesn’t have to take years to train your ears.
Get started today — and you’ll be amazed at how quickly using Quiztones for just a few minutes a day will improve your mixes, recordings, and productions!
It’s also worth noting that we sometimes have both approaches occurring in the same record. In Pop, for example, it’s common to have a more “storytelling” style verse where we want the vocals to be super upfront, and then shift to a hook with a big synth lead taking the forefront. When we have a dominating, sustaining lead like a synth or big distorted guitars we actually want to keep our heavy compression.
It’s a bit counterintuitive, but in order for the vocal to still cut we actually may want to go even heavier on the compression, incorporate a slight bit of limiting and push the tone of the vocal a bit more into the upper-mids. We balance the vocal behind our big lead, but because of all the extra push it still stays present, and the artifacts we created along the way get masked.
I understand I just wrote a bit of advice and then completely wrote the exact opposite advice one paragraph later, but that’s only to serve the idea that mixing is so dependent on what is in front of you. Under some circumstances, you need less compression and midrange push to seat a vocal inside the mix, and under other circumstances, you literally need the exact opposite.
Welcome to the art of mixing.
The Dirty Vocal
It’s important to recognize that not all vocals want to be super clean and crisp. To be honest, I have more fun figuring out fun ways of fu…, uh, messing a vocal up, than making something super pure.
There are more or less infinite ways to grunge up a vocal. Before getting into a few techniques, I’m going to make three very general statements that should really help in getting it right.
First: Start with a concept. Since there are so many possibilities, it really helps to know what you’re trying to evoke. Trying to add really aggressive distortion into a really smooth and somber sounding tune might not work out so well (unless you want really deliberate contrast). Likewise, making a vocal seem really washy and smeary will probably just sound like a mistake in a power punk tune. So, get a basic concept of what you want first and foremost.
Second: You have to get clean before you get dirty. This isn’t always true, but, my experience has taught me that stylizing a vocal usually works out better when you’re starting from a fairly blank canvas. If you have a muddy vocal or edgy vocal, when you dirt-ify that mud or edge becomes really exacerbated.
It can help a lot to clean things up before, or maybe just tame things down a bit after. As always — there are exceptions. In fact, sometimes a vocal starts so dirty you kind of have no choice but to roll with it. In this case, all you’re really trying to do is make the dirt sound like a deliberate stylistic choice instead of a mistake (spoiler: it’s almost always a mistake).
Third: Work on refining your dirt. Just slapping a distortion plugin on there and calling it a day might be cool if it’s your first go of it, but the listening public wants to hear something compelling. Compelling means unique. So don’t just settle for a preset unless you happen to get really lucky.
Try to envision the perfect sound, or, take random pot shot guesses at coupling different distortions (what happens if I flange it, and then bit crush that?) and see what happens. Worst case scenario: you familiarize yourself with a combination of effects. It’s happened often enough that I do something on one record that doesn’t really work, but I make a note of it and use it on another record where it does.
The Weird Vocal
Sometimes a vocal just needs to be out there, in which case on conventional rules go out the window. The first is understanding that a vocal doesn’t necessarily need to be processed passed the point of recording to work in a mix. There are a ton of lo-fi Hip-Hop vocals from artists like MF Doom, Madlib, older Wu-Tang, or indie-rocker Elliot Smith where the vocal is balanced with no or little to no additional processing (except maybe a reverb throw). To my ear, this actually sounds a bit weird because most recording setups (even good ones) present an inaccurate sound to the human voice.
Then there are artists where the processing is crazy — think Foster The People — where there’s just reverb and/or distortion all over the place as an effect. To repeat the theme of this article, the secret to doing this is to do it with intention. For example, in this record, “On The Way To Luton” by King Midas, I use a number of effects on the vocal to create the feeling of discomfort and despondence (mono room reverb, distortion, EQ, and comb filtering in this particular case).
Odd processing choices can yield very cool and sometimes signature results. Roger Troutman became famous for his use of the talkbox which made his voice sound like a guitar, or his guitar sound like a voice depending on how you look at it. The distinctive vocal on “No Quarter” by Led Zeppelin is the result of a narrow chorus effect.
Another example would be AutoTune. Once upon a time the abuse of AutoTune on vocals was considered experimental and reserved for Electronica artists like Daft Punk or Euro-Dance artists like Eiffel 65 and that one Cher song. Then it became a weird effect that just, kinda caught on. To me, hearing it on every song is about the equivalent of the “No Quarter” chorus vocal just magically becoming the signature sound of a generation of vocals — but hey, whatever makes people happy.
Experimenting with flangers, phasers, doublers, insane reverbs, hyper-fast delays, pitch shifters, formant shifters, vocoders, and anything else you can find can yield all sorts of interesting results.
The point is, there’s always room to throw the rules out the window. In fact, wherever a rule can be applied it’s always a fun idea to try something completely different just to see what may come of it.
Regardless if you are doing the big and bold, the tight and blended, the dirty, or the just plain weird, the key is to know what kind of effect you’re trying to have on the end listener. With infinite possibilities out there, that’s the only way to know if you got it right.
Eleveate Your Ears