4 Tips for Perfect Digital Gain Staging
05/4/2021
Article Content
There has been some debate about the merits of proper gain staging in recent years, with message board gladiators having it out over whether old rules still apply in the digital era. In this article, I’m going to make the case that yes, proper gain staging is still important, but that the landscape has most certainly changed. If the concept of gain staging is new to you, it might be a little difficult to understand why there’s even a conversation to be had about it. For that reason, it’s probably worth it to start by asking:
What is Gain Staging?
In general terms, gain staging is about adjusting the volume at each point of amplification a signal passes through on its way to the master buss. “Points of amplification” can include preamps, channel faders, plugins or hardware signal processing — basically anywhere you have the option to adjust volume as signal passes through. The goal is to set levels at each point of amplification so that the following point receives an ideal level of signal.
The practice has its origins in the olden days of analog recording. Engineers had to keep the signal hot enough to stay above the noise floor introduced by just about every piece of gear in the signal chain (especially the tape machine), but not so hot that it would begin to distort or even clip. Though small amounts of analog distortion can really add something to recordings when used artfully, overdoing it can cause tracks to become unusable. It’s like the difference between putting a nice char on the outside of a steak and burning it through entirely.
The balancing act required to stay in that sweet spot is gain staging. The arrival of digital recording technology meant that noise floor became less of an issue, but the harshness of digital distortion and clipping ensured that gain staging best practices were still a must for engineers.
Things Have Changed
Fast forward to the present day, and things have changed a bit. The advent of 32-bit and 64-bit recording has ushered in a new era of greater dynamic range, replacing the fixed point at which digital clipping was introduced (0 dBFS) with a floating point that allows limitless gain with no clipping.
My heavens, what a day to be alive! I guess people can finally start making some good music, now that we don’t have to waste our lives away worrying about clipping.
So… Does This Stuff Even Matter Still?
No doubt about it, not having to worry about digital clipping within a DAW session gives us all a nice bit of breathing room. It’s tempting to come to the conclusion that gain staging doesn’t really matter anymore. If going above 0 dBFS doesn’t cause clipping or sound bad, there’s really no reason to avoid it… right?
Not so fast there, buddy! Just because you can’t clip within your DAW doesn’t mean we’ve moved past the risk of clipping. Even though DAWs all offer floating point recording, digital consumer audio still comes with the same limitations on peak level we had during the fixed point era.
The More Things Change, The More They Stay the Same
Beyond release formats, there’s another other big catch with regard to digital gain staging in the floating point era. As great as the flexibility allowed by digital recording is, it turns out a lot of people still like the sound of analog gear.
You won’t necessarily find a ton of analog outboard gear in the average home setup, but recent years have seen a huge surge in demand for analog-modeled software. That demand has been met with some impressive and astoundingly accurate digital recreations of analog favorites. The problem with the accuracy of these recreations is that we have to take the good with the bad. Being able to add pleasant amounts of analog-style distortion comes with the risk of adding too much. You can’t get that char on the proverbial steak without accepting the possibility that you might burn it.
We’ve been on quite a journey here, haven’t we? From needing good gain staging, to not needing it at all, right back to definitely still needing it. If you were hoping to read here that gain staging is over… sorry to disappoint you, but it isn’t. But there’s good news! Yes, gain staging still matters. But getting it right in a DAW is way easier than getting it right in an all-analog studio.
And now, without further ado, I present to you those four tips you were promised for doing just that!
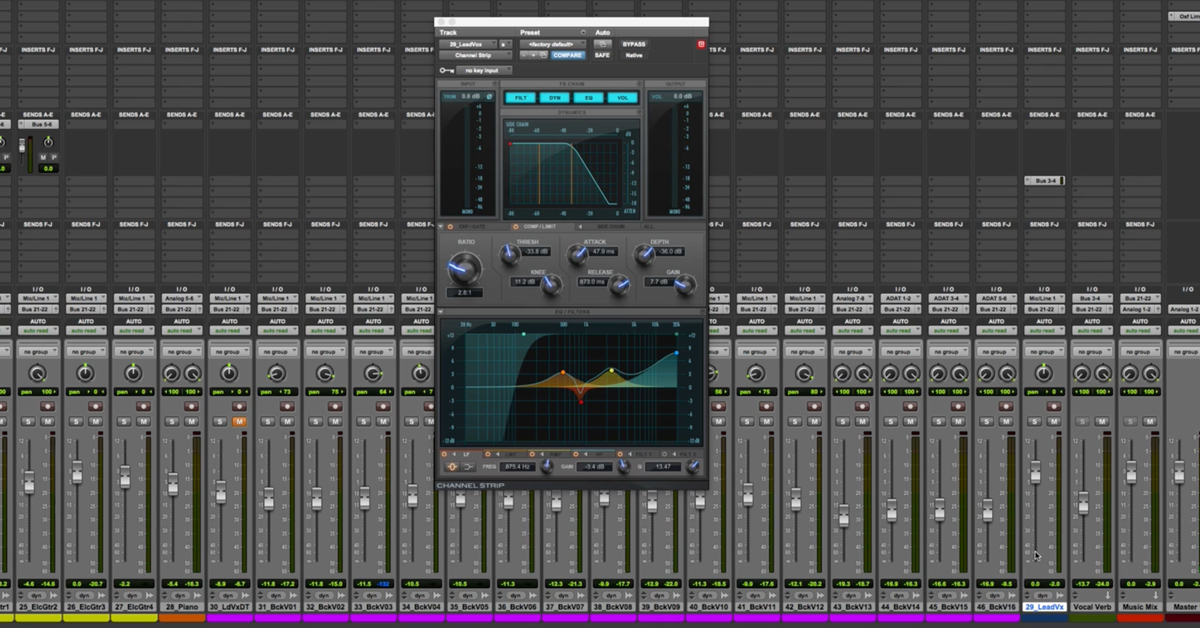
1. Use Pre-Fader Metering
Most DAWs offer you a couple options with regard to the type of metering used on channels in a session. Post-fader shows you the signal level after adjusting for whatever gain is added or subtracted by the fader position, while pre-fader lets you see signal level irrespective of fader position. Because each plugin you add on a track potentially can add unwanted distortion, or even clip, knowing the level of the signal coming into it is crucial.
Let’s do a little thought experiment to understand why pre-fader metering can be helpful. Let’s say you’re not using pre-fader metering. You watch the meter on a track, and see that it’s coming in kind of hot — say peaks of around -3 dBFS. We’ll look more closely at ideal levels momentarily, but I’ll assume you already know that your plugins like to see peaks around -12. So you turn the fader down by 9 dB, and now your meter is showing healthy peaks at -12. You should be good to go, right?
Hell no! Adjusting your fader isn’t going to change the level of signal that insert effects receive, because those effects sit before the fader in the overall signal chain. This is where pre-fader metering comes in. Clipping or adding distortion within a plugin is one of the main pitfalls of poor digital gain staging. It’s much easier to know if you’re setting yourself up for trouble there if your meters are giving you the right info to work with.
Sidenote: Find Out What Signal Level Your Favorite Plugins Are Optimized For
Remember that -12 dBFS number I mentioned earlier with regard to peak levels? That wasn’t a random choice. A lot of insert effects (analog emulations and otherwise) are optimized to receive incoming signal with an average level of -18 RMS, with peaks around -12 dBFS, a convention that harkens back to the analog days.
That said, it isn’t a hard and fast rule. I know it’s kind of a drag, but it really is worth consulting the manuals of any effects plugins you use regularly to find out what level of signal they work best with.
2. Use Clip Gain or Trim/Utility Plugin to Get a Healthy Signal
Ok, so you’ve got your pre-fader metering set up, you’ve read your plugin manuals and your tracks are coming in too hot. We know the channel fader isn’t going to solve the problem. How can you make sure your plugins see a healthy signal?
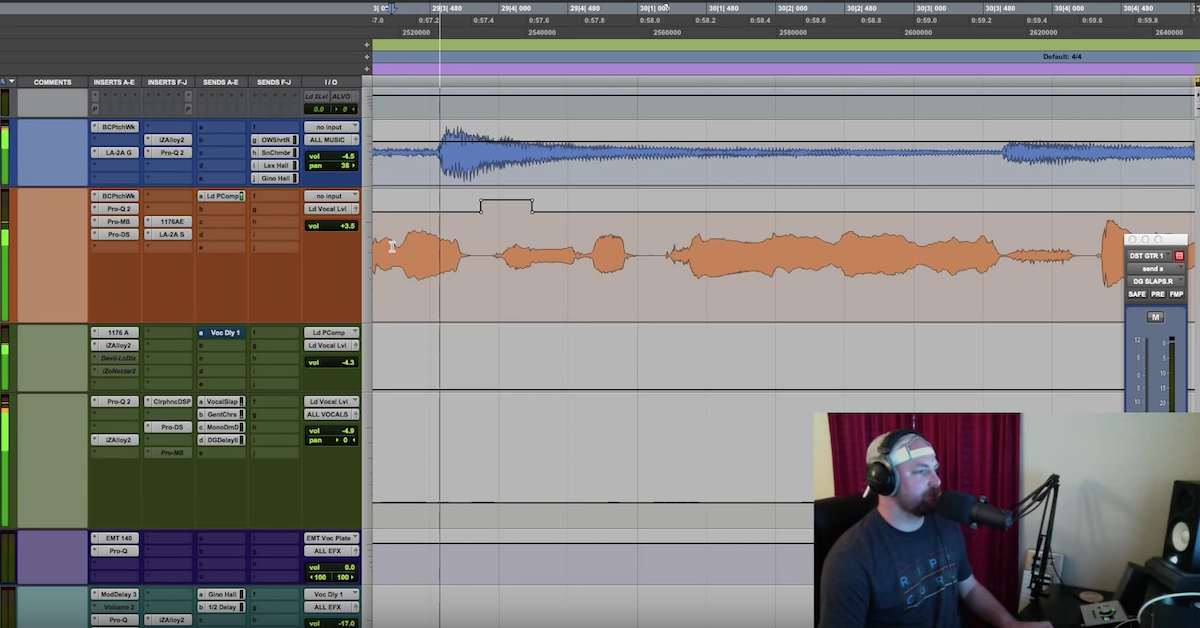
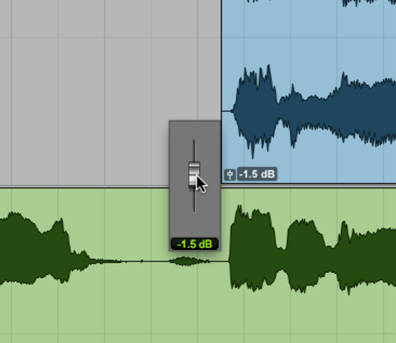
Depending on what DAW you’re using (as well as what plugins), you have a few options here. One is to adjust the gain of the clip itself until the signal is optimal for the plugins you plan to use. Where you do this depends on your DAW. In Pro Tools you can do it right on the clip:
In Logic, it’s found on the sidebar on the left:
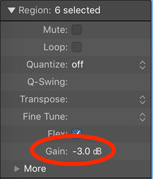
In Ableton Live it’s in the clip window at the bottom:

Ready to elevate your ears?
It doesn’t have to take years to train your ears.
Get started today — and you’ll be amazed at how quickly using Quiztones for just a few minutes a day will improve your mixes, recordings, and productions!
Another option is to insert a utility/trim plugin at the top of your chain. You can adjust the gain there, and then every insert that comes after it will receive signal that reflects that gain change.
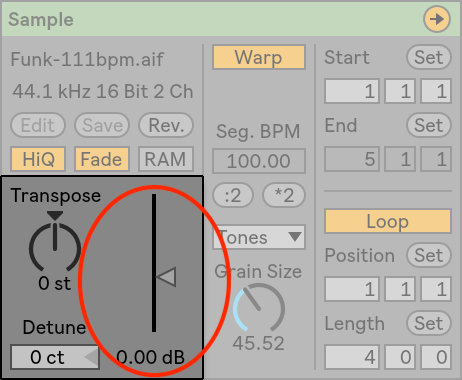
Yet another solution is to adjust the input gain using controls within the plugin. This option isn’t always going to be available, though — authentic software emulations of an LA-2A, for instance, have no input gain control, so you can’t necessarily count on it.
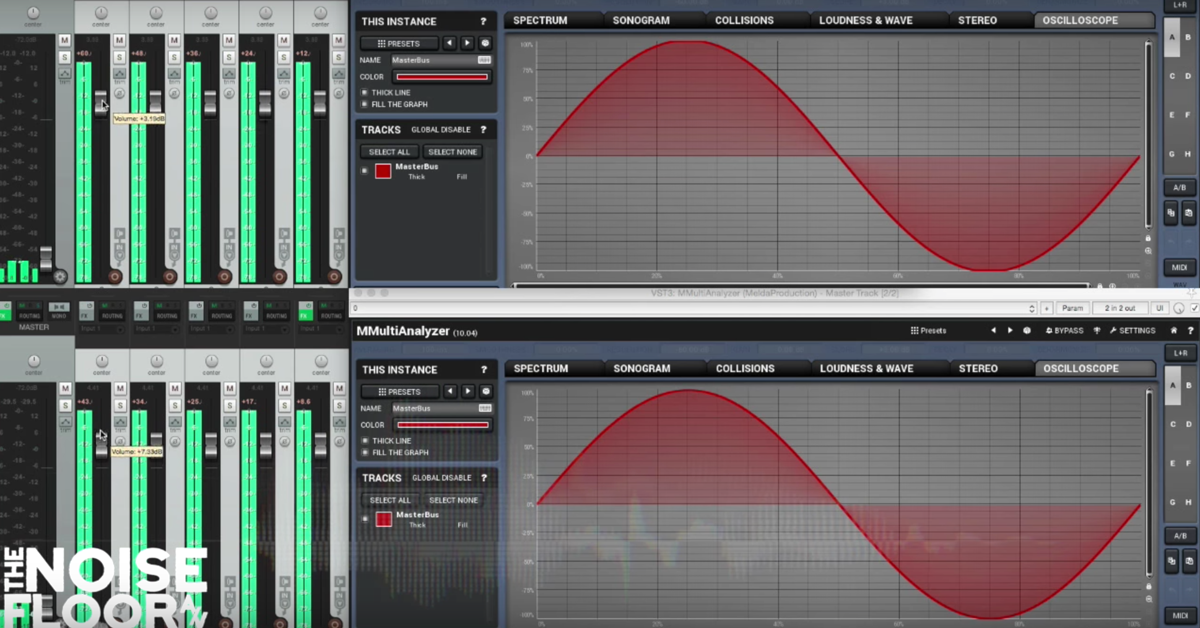
3. Set Buss Processing For the Loudest Moments
Though the analog and old-school digital problem of clipping a buss is a non-issue in a 32-bit session, the same considerations necessary to avoid overloading insert effects on channels also apply to buss processing. By their very nature, plugins meant to function as buss processors will be able to handle higher peak levels than those meant for use on individual tracks — it stands to reason that a group of tracks routed to a buss will collectively peak at a higher level than one track will alone.
That said, many plugins intended for use on busses (and certainly any analog-modeled ones) are still not going to be designed to handle incoming signal levels above 0 dBFS. No, you can’t clip a buss when working in 32-bit floating point; yes, you can still clip your buss compressor.
A good way to get a handle on incoming signal for buss processing is to find the loudest moments and note what level they’re peaking at. If a buss is coming in too hot, you’ve got a couple options for dealing with it.
One is the time-tested approach: go to the tracks that are feeding that buss and turn them down. If need be, compensate for that change by raising the fader level on the aux track.
The other option is a floating-point specific approach, similar to how you’d deal with a channel coming in too hot: drop a utility plugin at the front of the buss processing chain, and reduce gain until you’ve reached the optimal level. Again, compensate on the fader as needed.
4. Leave Headroom on the Master
Apart from clipping or overloading plugins, the other potential problem area for digital gain staging is on your 2-buss. If you’re working in a floating point session, the same rules apply as for clipping a channel or group buss — that is to say, levels above 0 still won’t technically be clipping. Of course, your 2-buss is your mix’s final stop on its floating point journey, before it has to rejoin the unforgiving world of fixed point audio where clipping is once again a concern.
In the days of analog or early digital recording, simply turning down the master fader was not a solution to a clipped mix. The clipping would be occurring before the fader, so lowering the level would just result in a quieter, still clipped mix.
In a floating point session, you actually can just turn down the master fader and hand off a mix with dynamics intact for mastering. But you’ll still have to observe some precautions if you use any 2-buss processing in your mix. If you plan on using compression, tape emulation or any sort of processing that might react badly to overly hot levels, you’ll get better results using the “utility plugin at the top of the chain” fix.
Or, of course, you could always just do things the old fashioned way and make sure that your faders are set so the mix comes in at a healthy level. Whatever you do, make sure you don’t “fix” 2-buss meter peaks with aggressive limiting. Your mastering engineer will hate you for sending them a finished mix that peaks at 0 and looks and sounds like it got 8 dB of gain reduction with a limiter.
Conclusion
There’s no doubt that digital gain staging is a simpler and less unforgiving process than its analog-era equivalent, but we’re still not off the hook of having to worry about it at all just yet. Truth be told, though I’m willing to acknowledge that some previously unavailable gain staging solutions are nice options to have (the utility plugin fix, for instance), I remain unconvinced that they are necessarily better than observing conventional best practices. I happen to think that taking the time to ensure that individual tracks, group busses and the entire mix are coming in at the levels you want them to is a beneficial process for getting a handle on a mix, irrespective of whether it’s actually necessary to avoid clipping or distortion. Of course, everyone’s process is going to be different, so find what works best for you! The good news is that there are really only a few basic precautions to take to ensure a clipping-free mix.
Eleveate Your Ears