Drum Buss Processing: Mixing Home-Recorded Drums (Without Samples)
01/14/2020

Specifically, we’re going to talk about mixing drums that maybe were not recorded so great. I did an article about this pretty recently where I cleaned up some drums that I recorded a few years ago in a practice space, which was a room with a lot of problems, just sort of an ugly sounding concrete block. Not really treated, the kit was not miked especially carefully. It was a few years ago, cut me some slack.
I opened the session back up and looked at some things that you can do to resuscitate some drums that need a little love like this. I did a lot of things in my full process that I talk about in the article. Today, in this video, I’m going to focus only on what I did to process the drums on the buss.
So what I mean when I say drum buss processing is I have all of my individual drum tracks routed to one buss here labeled, “Drums” in Pro Tools. So when they hit that channel, they’re all being processed together. The idea behind this is that no one part of a drum kit exists only on its individual mic. When you hear the kick drum in a recording of a drum kit, the kick drum is not only coming from the kick mic, it’s also in the snare mic, it’s in the overheads for sure, and the room mics.
Every part of the kit is going to be a little bit in every mic, so it’s a little bit safer to kind of process things from the top down like this.
So anyway, before I get into what I did on the buss, let’s take a listen to what the kit sounded like with absolutely no processing whatsoever. So here is that.
[drums]
Uh, I guess I’ve heard worse, but it leaves a lot to be desired. It’s kind of cardboard-y, it’s not especially strong, and for comparison, here’s what the kit sounded like after all of the processing that I did.
[drums with processing]
So let’s get into the nitty gritty here.
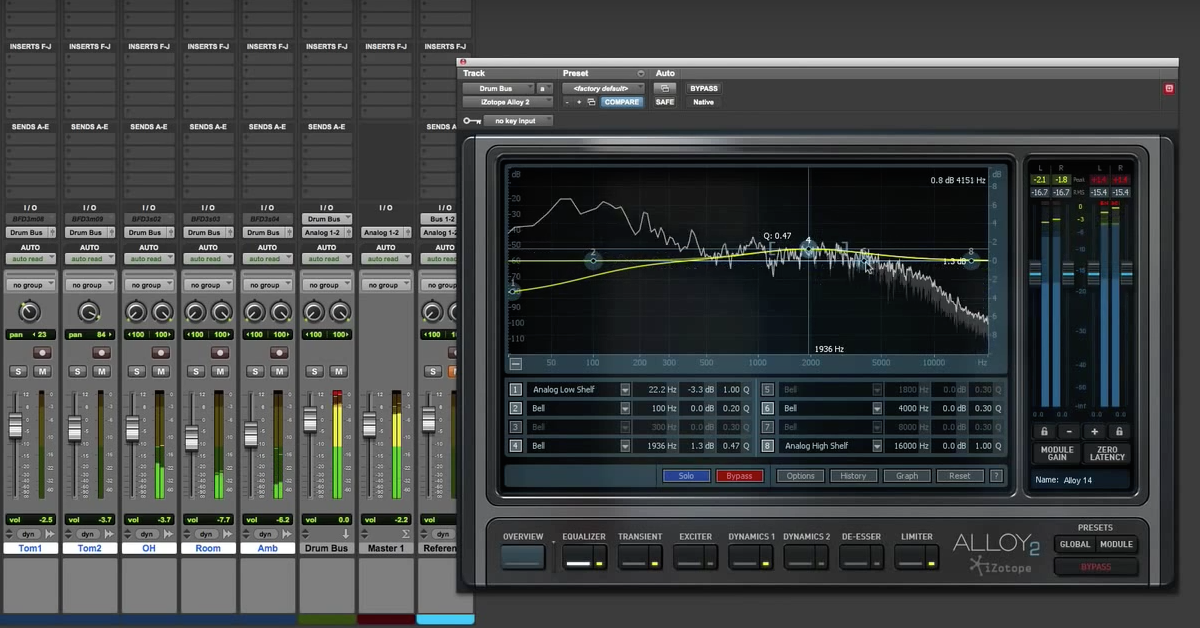
First thing I did on my buss was some EQing with my sort of go-to EQ, which is FabFilter’s Pro-Q 3. You can see in this instance, it’s really just all cuts. High pass filter, which is pretty standard, some sort of targeted mid and low-mid cuts, and then some high-mid cuts taming some sort of shrillness in the cymbals.
So let’s take a listen to this same sample again. I’m going to mute some of these other points here, and let’s start with this big mid-range dip, because this is kind of an important one around 400Hz. A lot of the time I find stuff that I don’t like in drums around 400Hz. 300-500, 250 maybe.
Take a listen to — here is that same clip without any of these mid-range cuts.
[drums, no mid-range cuts]
And now, I’m going to throw on this 400Hz cut.
[drums with cut]
Here it is without. And with again.
Really cleans it up to my ears. Let’s listen one more time without.
[drums, no EQ cuts]
And with.
There’s just a lot of what you don’t want really happening around there. It’s not really helping strengthen anything, it’s just sort of getting in the way.
Take a look at some of these other cuts. I have a pretty tight, targeted cut here at around 220Hz, which was going after the ring in the snare drum. I’m going to solo this band, that’s the nice thing about the Pro-Q is you can just isolate a single band and listen to it. This is sort of where the snare ring lives, so take a listen.
[snare ring soloed]
Here it is without.
[drums, no 220 cut]
And with.
Really cleans up the snare to my ears. And again, the reason for this is that if the snare has a ring, it’s not in a microphone. It was in the snare, and that ring is in the snare mic, it’s in the overheads, it’s bleeding into other mics on the kit, so rather than putting a bunch of individual EQs on all of those tracks, trying to get rid of this ring, I’m just doing it to the whole kit.
So I’ve also got this sort of very low-mid cut right here around 100 just taming some of the woof, just extra sort of flubby low end from the toms and kick. Take a listen with that on.
[drums with 100Hz cut]
And without.
And one more time with. Especially listen to how it cleans up that tom fill at the front. And lastly, I’ve got these targeted high-mid cuts up here, which were sort of aimed at specific spots where I hear this sort of shrill ringing, especially in the cymbals. And it’s not always just the cymbals. Sometimes you hear it in the snare.
Up here around 2000 to 5000, I’ve got a few different narrow cuts at places that I heard specific resonances on the cymbals. So I’m going to play that initial cymbal crash without, and then I’m going to go back and play it again with, and you can kind of hear the difference.
[drums]
That was without. Here’s with.
I’m going to solo one of these bands so you can kind of hear exactly what it is that we’re notching out.
[soloed EQ band]
You can kind of find the resonance that you most want to remove. If you have an EQ like the Pro-Q where you can sweep through and find exact spots where you really hear it ringing like what we just heard, that’s kind of where you know your problems are going to be.
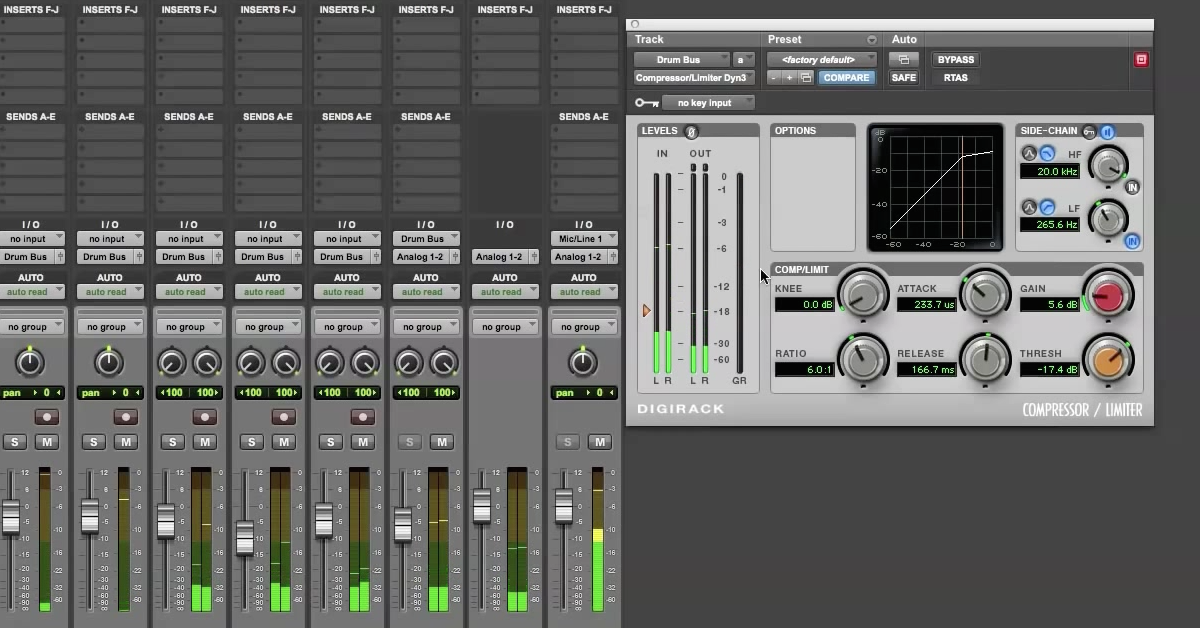
So moving on, next thing in my chain is my go-to drum buss compressor, API’s 2500. UAD’s emulation. This is a pretty standard sort of setting for this kind of compressor for me. Attack is set to 30 milliseconds, that happens to be the slowest attack setting on this compressor. It’s also the slowest attack setting on lots of compressors, and it’s a pretty common attack setting to have on compressors that have stepped attack values like this, and it happens to be pretty much exactly the length of a drum transient. It sort of lets you keep the snap while sort of taming the transients and sort of sculpting the attack of the kit in general, so we’re kind of still keeping the pop, which allows the kit to cut through the rest of the mix a little better, while kind of getting more weight to everything else that happens afterwards.
The release is timed to the song. In this case, it’s around 150 milliseconds. You’ll see when I play back this example, the needle on the meter up here is going to be dancing in a certain way that you want to look for it to react mostly to the snare. Those are typically the hits that are going to trigger the drum buss compressor the most, and you want to see it kind of jump on those snare hits, and kind of clear back down before the next big hit, whether that’s the next snare hit, or even the next kick hit, it sort of depends on the tempo and the feel of the drum part.
All of this buss processing is kind of broad stroke stuff. You’re not looking for any one element in this chain to do any sort of heavy lifting. So I’m not crushing the hell out of the kit here, I’m just sort of gluing it together a little bit.
Ratio is three-to-one, not too extreme, and this compressor also happens to have a mix knob, which I have dialed to a little less than 60 percent. Again, just not going crazy with this buss compression. So let’s listen without.
[drums, no buss compression]
And with.
So again, watch — see how that needle dances. I’m doing about 2dB of reduction on those snare hits. I’ll play it back again from the top of this section, you’ll see it does a lot of reduction on that first big crash, maybe 4-5dB, but that’s the most that it gets to and it’s really just that once.
One more time. Here it is with the compression, from the top.
[drums, with buss compression]
Moving on down the chain, the next one that I have here is my FabFilter Pro-MB multiband compressor. Really, really useful multiband dynamics processing, not just compression, but also expansion, and four bands is pretty typical for me for a drum kit. I’ve kind of got it separated into the low end oomph that’s going to be a big deal for the kick, obviously, and then also the toms.
I’ve got the sort of bulk of the mid-range, low mid through the rest of the mid-range, where there’s just going to be a lot of boxiness, and just kind of ugly stuff that you’re going to want to tame generally. High mids, 1kHz to about 5kHz where things can get kind of harsh, and then above 5kHz, this sort of air frequencies.
This kit, the kick especially was not particularly heavy, it didn’t really have much weight to it, so that’s why you see I have this bump to the low frequency bands. As I play this back, you’ll see these bands dancing around. None of them is doing more than about 2dB of reduction.
So here it is with this multiband, and watch those meters dancing, and by the way, I also have it particularly for these lower and low mid bands, relatively slow attack. Pro-MB uses percentages rather than millisecond times, but 35% attack, 20% release. Relatively slow attack, and then fast release on the low end, because I want it to be kind of punchy, and then slower release on the low-mids, because I want to kind of tame some more of that mud, and then faster attack times up high, because that’s sort of where the harshness lives, and I want to keep that in check.
So take a listen to this.
[drums]
Here it is one more time without.
[drums]
And with.
So again, not doing anything huge, but as we start to stack these plugins up, you start to hear a subtle change that eventually turns into a pretty big change.
So the last steps in my buss chain here are two saturation plugins. One is Kush Audio’s Omega 458A transformer saturation modeling plugin, and the other is UAD’s Studer A800 Tape Machine emulation.
Love both of these on a drum kit. The Studer is set to the drum buss preset with then some tweaks that I like to make. I set it to 30 ips instead of 15. Both of these bring some great glue to the sound of the kit. They sort of liven it up with some additional harmonics, kind of exciting the sound, so I’m going to throw these on and play back from the top this loop. Have a listen.
[drums]
Here it is again without them, and I’m going to switch it on partway through.
And with.
The Studer in particular really does a ton to my ears to just kind of fatten up the sound of this kit. Just bigger, heavier, more exciting.
So that’s my whole chain. On the buss at least. So one more time, let’s go back and listen to that original, unprocessed kit. Totally unprocessed.
[drums, no processing]
And then here’s the kit after — not just the buss processing, but the other stuff that I talked about doing in the article, but here’s the kit after that processing that we did.
[drums, processed]
So one plugin at a time, each doing just a little bit, you can make a really big difference in the sound of a drum kit.
Anyway, I hope this was helpful for you. This drum recording was certainly not the only time I’ve ever had to work with drums that were recorded in a less than ideal environment, and I’d bet you’ve probably dealt with the same at some point.
If you’ve got any favorite secret weapons for cleaning up a kind of bad sounding drum recording, let me know in the comments. I always love hearing other people’s ideas.
Once again, this is Danny Echevarria with The Pro Audio Files, I hope this was helpful. Take it easy.