6 Common Reverb Mistakes
12/2/2019
Article Content
Reverb can be an easy thing to get wrong in music production. Ruining a mix with too much reverb is almost a rite of passage for beginning producers, and chances are if you’re reading this, you’ve had that experience at some point. You start adding reverb to things because it “just seems to make everything sound good,” and by the time you’re bouncing the track you have a cloudy, indistinct mess. What happened? Maybe everything just sounded too good?
Reverb can elicit strong reactions from some people. There are artists and producers who hate hearing any kind of noticeable reverb on a track, and there are plenty more who can’t live without it. Wherever you fall on that spectrum, updating your relationship to reverb is a good way to make your productions more effective.
In this article, I’m going to look at a few of the most common ways we tend to get reverb wrong and suggest some ways to get it right.
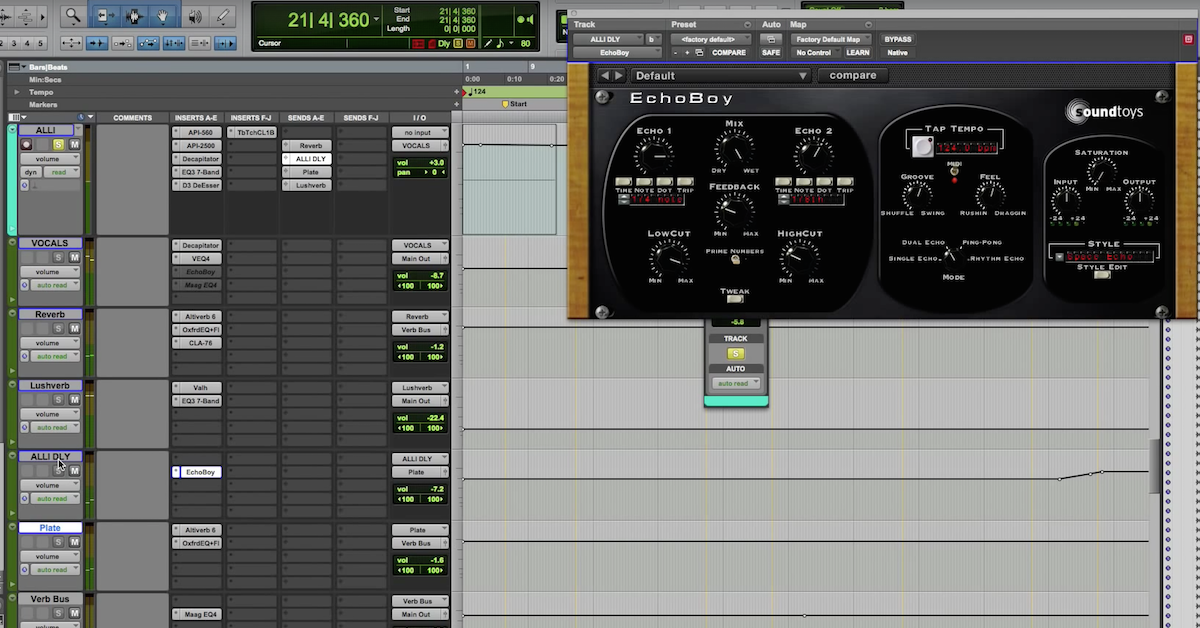
1. Using an Insert Instead of a Send (& Vice Versa)
The way in which you use reverb is almost as important to getting the right sound as the type of reverb you use. Using reverb as a send rather than an insert, and vice versa, can have a tremendous effect on the sound you get.
For those who are confused about what I mean by “send vs. insert”, I’m talking about the difference between placing a reverb plugin directly on a track (insert) and using an aux channel for reverb that other tracks get sent to (send). Reverb on a send tends to be better for “natural” reverb sounds that give a subtle sense of dimension or glue a mix together. Insert reverb tends to work well for more extreme reverb effects and sound design.
I’ve seen sessions where the same subtle reverb is copied as an insert on half the tracks in the song. This is not only an inefficient way to dial a reverb tone, but it’s also an inefficient use of the computer’s processor power. If you want to use the same reverb for a few different sounds in a mix, put it on an aux and send those tracks there. You can vary the amount of send for each track to make some seem closer (less reverb) and others farther away (more).
On the other hand, if you want one track to stand out with an intense reverb effect — or to completely bury it with one — putting reverb on an insert is the way to go.
2. The Decay Is Too Long
Basically all reverb units and plugins will have some kind of control for decay time, meaning the length of the reverb’s tail. Reverb works best when the decay is timed to the song. I often find it helpful to look up millisecond lengths for different note values (eighth, quarter, half, whole…) in the tempo of the song to help determine decay time. If you’re not much of a “numbers person,” it’s also fairly easy to time reverbs intuitively.
For reverb on a vocal or a melodic instrument, the decay should feel like it finishes before the beginning of the next phrase. If there’s a natural pause in the part, the reverb should feel like it decays down to nothing in that space. For longer reverb on more rhythmic parts like a snare drum, the same basic principle applies. The reverb should feel like it dies before the next snare hit, so it “breathes” with the pulse of the song.
You can hear a classic example of this kind of snare reverb in the intro to Ronnie Spector’s “Be My Baby.” Listen to the way the snare reverb decays in time for the next hit.
If it’s especially important for the reverb to feel like it has a very long tail, try using compression, saturation, or both after the reverb. You can dial the reverb tail so that it doesn’t cover up the next phrase, but still have the decay feel long and remain noticeable the whole time.
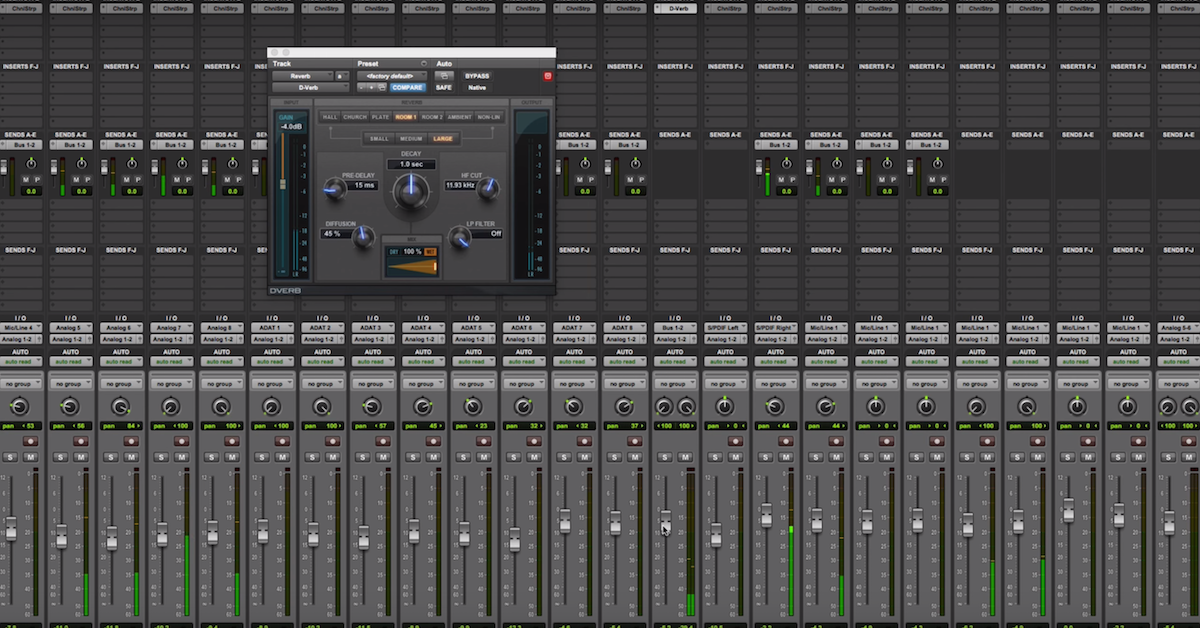
3. Not Using Filters or EQ
A quick dive into the controls of most reverb plugins will reveal some sort of option for filtering or EQ’ing the incoming signal. Reverb below a certain frequency — usually somewhere in the low midrange, as high as 500 or 600 Hz — can be difficult to hear in a dense mix, but can still hurt the overall clarity.
Similarly, frequencies above 10 kHz are somewhat antithetical to the nature of reverb (darker sounds seem farther away) and can safely be rolled off as well. If the reverb doesn’t have filter controls, using a separate EQ works just as well if the reverb is on an aux track and not being used as an insert. This sort of filtering is sometimes referred to as the “Abbey Road Reverb Trick.”
Filters will produce different results depending on whether they’re used before or after the reverb. Filtering the incoming signal can keep muddy frequencies from getting muddier. Still, some reverbs create their own subharmonics and resonances (especially if the reverb is combined with saturation) that may need to be EQ’d after the fact as well.
4. Using the Wrong Type of Reverb
Though different reverbs are broadly used for the same set of reasons, the various types of reverbs can add distinct flavors to a track. TPAF’s Matthew Weiss wrote a great article breaking down the differences among six common types of reverb: room, hall, chamber, plate, ambiences, and nonlinear. I would also add spring reverb to the list — it’s a distinct flavor of ‘verb that you’ve probably encountered in a guitar amp at least, if not as a standalone effect.
Which type of reverb you use depends largely on what the desired effect is. If the goal is to create an intimate space to glue together instruments, a lush plate reverb is most likely not going to sound as natural as a well-dialed room reverb. Similarly, the austere quality of a room reverb probably won’t touch the silky tone of a plate or hall reverb on a lead vocal.
Many DAWs’ stock reverb plugins will have a few options for different styles of reverbs. There are great third party emulations of every kind of reverb imaginable, from digital hardware to realistic spaces, to unrealistic spaces, to lush spring reverbs and beyond.
If you’re on a budget and need one reverb plugin to do lots of heavy lifting, it’s hard to beat Valhalla’s Vintage Verb. It has options for just about any type of reverb you’d want, and easy to use filter and mod controls. At $50, it’s kind of a no-brainer.
5. Not Enough Variety
With so many types of reverb available, why limit yourself to just one?
Consider this scenario: a mix has drums and rhythm guitar glued together with room reverb, but the bass is bone dry. The vocals have a cool vintage chamber reverb, and the backup vocals are absolutely dripping with it. The lead guitar has a dramatic spring reverb, and the string section is sweetened with a long hall reverb. Sound crazy? It shouldn’t! Chances are you’ve heard something like what I just described many, many times before.
You can hear some great multi-layered reverb in Ennio Morricone’s score from Once Upon a Time in the West. The “Man With a Harmonica” theme offers a prime example:


Ready to elevate your ears?
It doesn’t have to take years to train your ears.
Get started today — and you’ll be amazed at how quickly using Quiztones for just a few minutes a day will improve your mixes, recordings, and productions!
The harmonica enters alone, drenched in what sounds to my ears like a plate reverb with a very long tail (remember the “insert vs. send” point from above? Use a reverb as an insert for this extreme type of effect). As the orchestra creeps in, it’s softened by a subtle but lush hall reverb. Throughout, dulcimer and banjo fade in and out, sounding like they got no additional reverb treatment beyond the sound of the room they were recorded in. Electric guitar pushes its way in at 1:05 with a fuzz tone and spring reverb typical of this kind of spaghetti western style. The fact that the whole mix doesn’t sound natural doesn’t diminish how effective it is — Morricone kind of threw “natural” out the window the moment he decided the audience would hear a single harmonica so far in front of the orchestra swelling behind it.
The score creates its own world, and the reverbs used help define that world.
6. Using Reverb Instead of Delay
I’ve had clients describe a reverb they like on a reference track, and when I go to check it out the reverb in question was not a reverb at all, but a delay. For applications like softening up a lead vocal, or adding a sense of space to an instrument, sometimes delay is actually the best tool for the job. Decay times tend to be much easier to rein in with delay, and delay rarely adds the sort of complex harmonic clutter that reverb sometimes does. If what you want is space or smoothing that still feels tight and controlled, delay might be what you’re after.
Listen to the lead vocal in “Red Eyes” by The War on Drugs. A hazy reverb is part of the vocal sound, to be sure, but to my ears the element that really makes it is a nice, rich delay, perfectly timed to the spaces between phrases:

The examples I gave in this article are more or less all taken from early experiences I had as a producer and engineer.
Getting reverb right can be tricky, and I hope that you walk away from this article feeling like you’re ready to nail it.
The overarching principle is pretty basic: ask yourself what you hope to get out of adding reverb, and use the answer to inform the choices you make and the tools you choose. Did I miss anything? Let me know in the comments what your favorite tricks are for making reverb work on a track.
Eleveate Your Ears