The Complete Guide to Recording & Mixing Cajon
04/6/2020
Article Content
The cajon is a wonderfully expressive percussion instrument that has become increasingly popular in recent years as a more intimate, minimalistic alternative to full drum kits in a lot of acoustic music.
But how do you go about recording and mixing what is essentially a wooden box?
In this article, we’ll be looking at three ways you can mic up a cajon for great sounding recordings, and how you can make them sound even better with a few simple mixing moves.
Recording The Cajon
The way you go about recording a cajon is entirely situational. There is no definitive “best way” to do it, as the best way is whatever works given your particular context and desired sound.
Before you start miking up your cajon, you first need to have a basic understanding of how the instrument works, and how percussionists tend to play it.
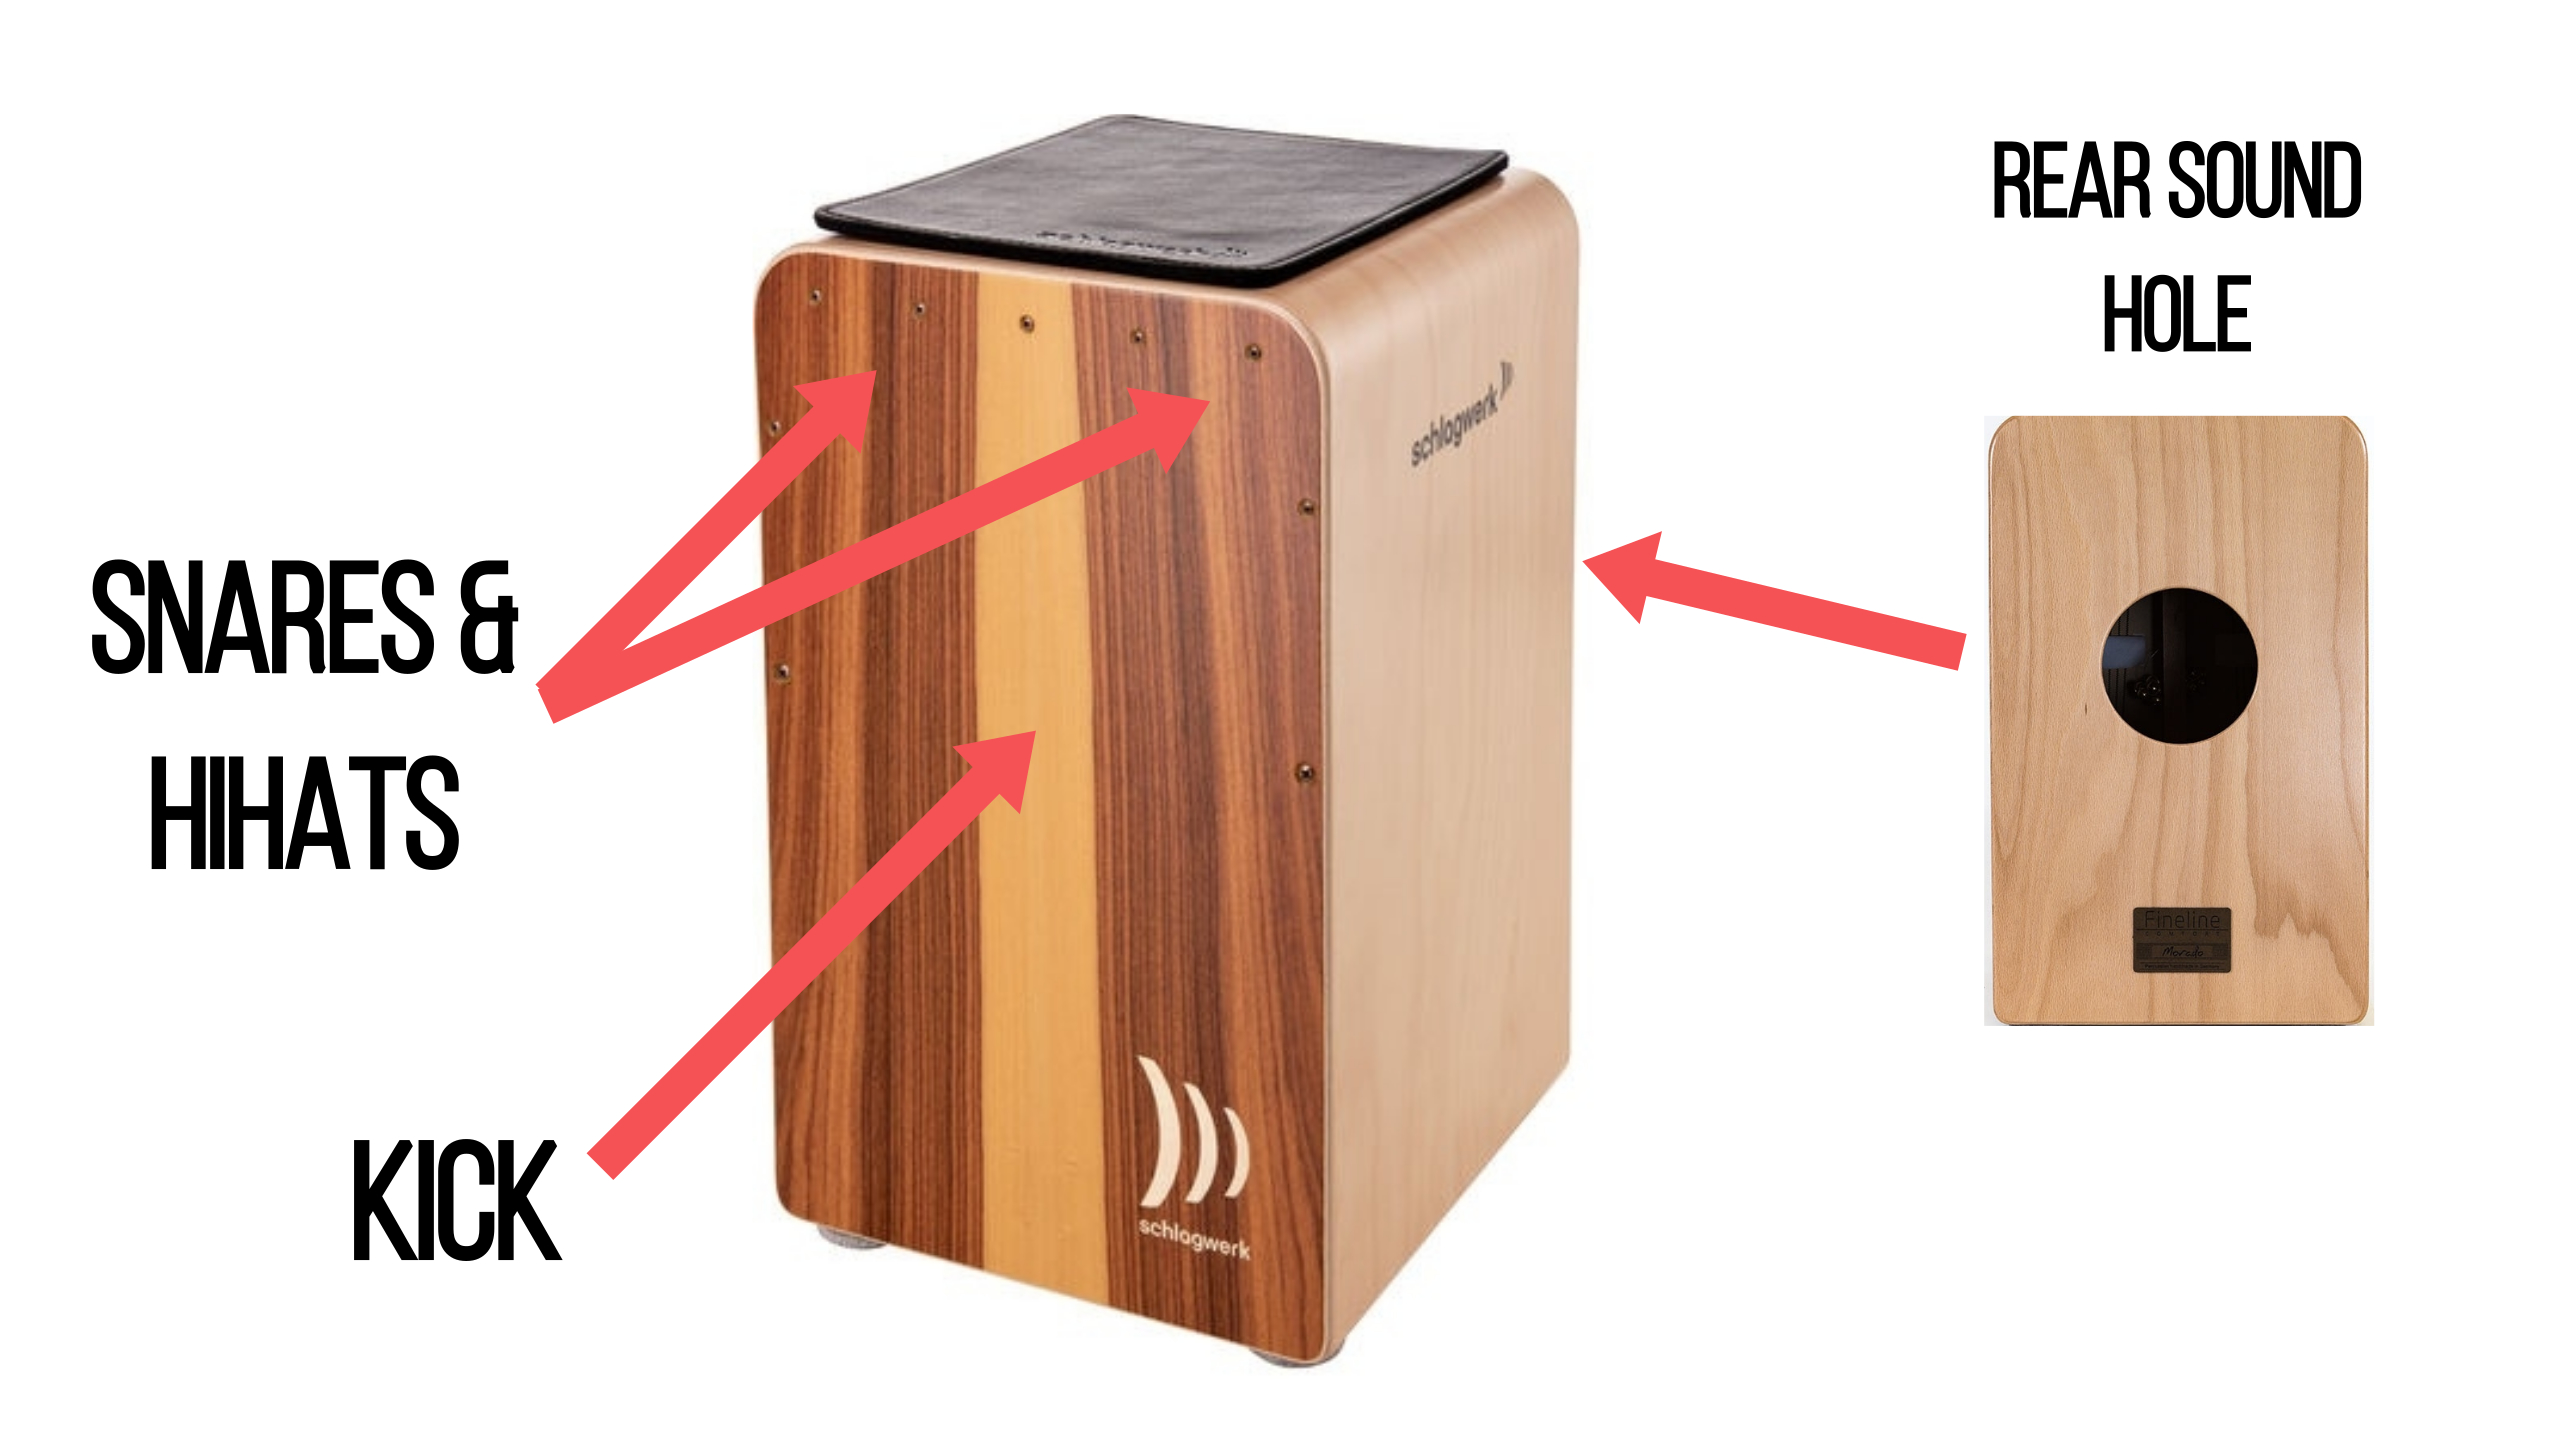
In layman’s terms, different areas of the front playing surface emulate a different part of a basic drum kit. Much like a regular, skinned drum, striking somewhere near the center of the cajon will result in the most resonance/head movement, and consequently the most low-end (almost resembling the sound of a kick drum), while striking closer to the edges will result in more high-end snap and sizzle (resembling the sound of the snare & hi-hats, depending on where/how hard you hit).
In my own playing, from an audience perspective, I’m typically using the top left corner of the cajon’s playing surface as my primary snare (harder hits near the edge, almost like rimshots), the top right corner as my primary hi-hat (softer hits, slightly further in from the rim), and aiming slightly above the center of the playing surface for my kick drum sound (depending on how much low-end I want on a per-hit basis). For fast consecutive hits, my hands will constantly switch roles and alternate between hard/soft velocities depending on what the part calls for.
Here’s a clip of me playing my Schlagwerk CP609 Fineline series cajon in the context of an acoustic pop cover to give you a better idea of what I’m talking about:

Now that we know where each sound on the cajon is coming from, let’s take a look at three options for miking it up that I think all work well.
Option 1 — Two Mics (Front & Rear)
Probably the most popular method of capturing the full frequency range of a cajon is to use two separate microphones, one aimed somewhere near the top of the front playing board in order to capture the high-end snares & hi-hats, and another aimed at the soundhole at the back to capture the low-end thump of the kick.
For the front microphone, condenser microphones are often preferred in order to capture all of the high-end detail and tiny dynamic nuances of the performance, although dynamic microphones will work just fine. Usually a distance of around 10-15 inches (or pretty much as close as you can get without getting in the way of the percussionist’s hands) with the microphone pointing either dead center or at a 45° angle at the top third of the playing board will usually work nicely.
For the rear microphone, we’re looking to capture a nice, clean, punchy low-end with minimal high-end bleed or low-end “boominess”. Basically, any microphone you’d use on a kick drum will work well for this purpose. The key here is positioning the microphone at an angle that will prevent the big bursts of air that occur during playing from hitting the capsule directly. A dynamic instrument microphone such as the Audix D6 positioned 8-10 inches from the hole slightly off to one side at a 45° angle will do a great job here. You can also experiment with positioning the rear microphone so that it’s just poking inside the soundhole and aiming down towards the bottom of the playing surface, this way you’re capturing mostly low-end information and minimal high-end snare/hi-hat from the get-go.
P.S. When combining these two channels, later on, you’ll most likely want to flip the polarity on the rear microphone channel and roll off some of its high-end so that all you’re left with is a nice, clean low-end.
Option 2 — Single Mic (Front)
Personally, I’m not a huge fan of double miking a cajon for two reasons:
- I don’t like having to combine multiple mic signals, as I often don’t really feel like it ends up sounding like a single cohesive instrument, and would rather just deal with a single channel with absolutely no phasing issues during mixing.
- As you can see in the video above, I tend to tilt my cajon back and move around quite a bit while playing, meaning a rear microphone’s distance to the soundhole would constantly be changing, and there’s the risk of my cajon hitting it if I tilt back too far.
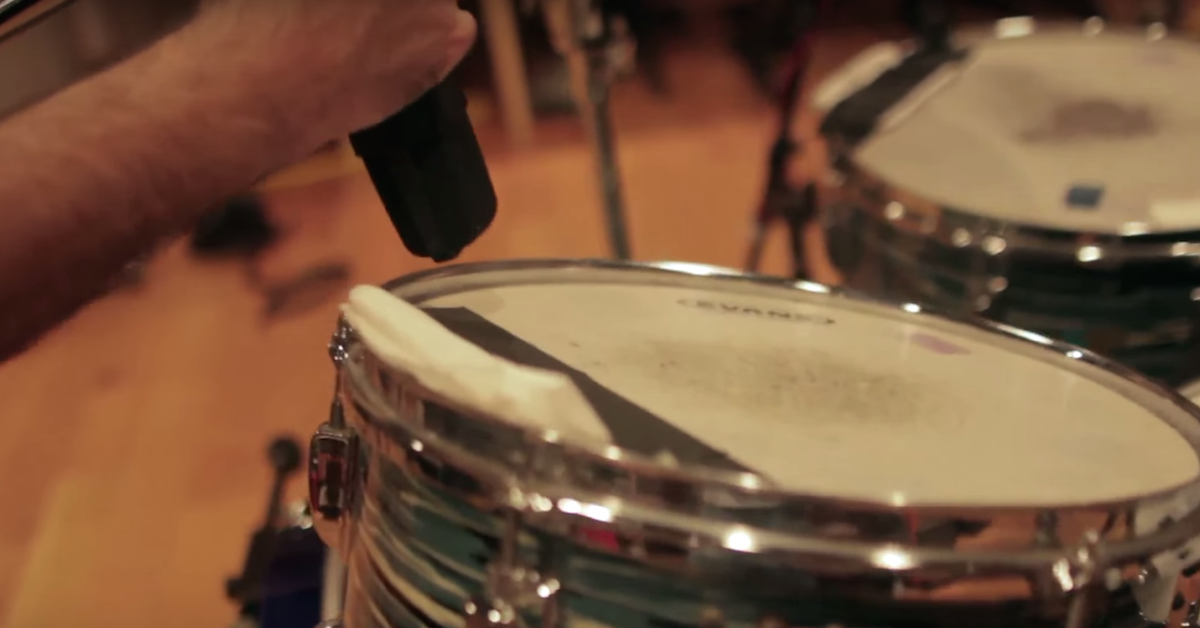
On top of these reasons, when I did a comprehensive cajon mic shootout a few years back comparing several mic choices, combinations and positions, I came to the conclusion that funnily enough, my favorite method for recording a cajon is with a single Shure SM57 aimed at the top third of the playing board (somewhere in between the center “kick” and top “snare/hi-hat” in order to capture all of our sounds), slightly off to the right side at a 45° angle.
Check out the following clip to see exactly where I position an SM57 to record my cajon.

Option 3 — Single Mic (Inside)
Another great method for recording a cajon, albeit better suited to live scenarios, in my opinion, is to place a boundary mic such as the Shure Beta 91a inside the cajon with the mic cable running out of the soundhole.
A few reasons you might consider recording your cajon with an inside boundary mic:
- No positioning involved. Simply place the mic on a piece of foam in the bottom center of the cajon and you’re done!
- Reduced bleed from outside instruments, great for live performance scenarios where a full band and a lot of stage bleed is present.
- No mic stands involved. More aesthetically pleasing when performing live for an audience and more comfortable for the player.
P.S. You can also experiment with using a boundary mic in place of the rear mic mentioned in option #1. The sky’s the limit!
Mixing The Cajon
From a technical mixing standpoint, the cajon is actually a rather imperfect instrument … even with the best of cajons, the lows often aren’t quite low enough, the highs tend to have too much sizzle in certain areas, and the mids are ironically rather boxy sounding.

Ready to elevate your ears?
It doesn’t have to take years to train your ears.
Get started today — and you’ll be amazed at how quickly using Quiztones for just a few minutes a day will improve your mixes, recordings, and productions!
P.S. Pretty much everything that applies when mixing drums also applies when mixing the cajon.
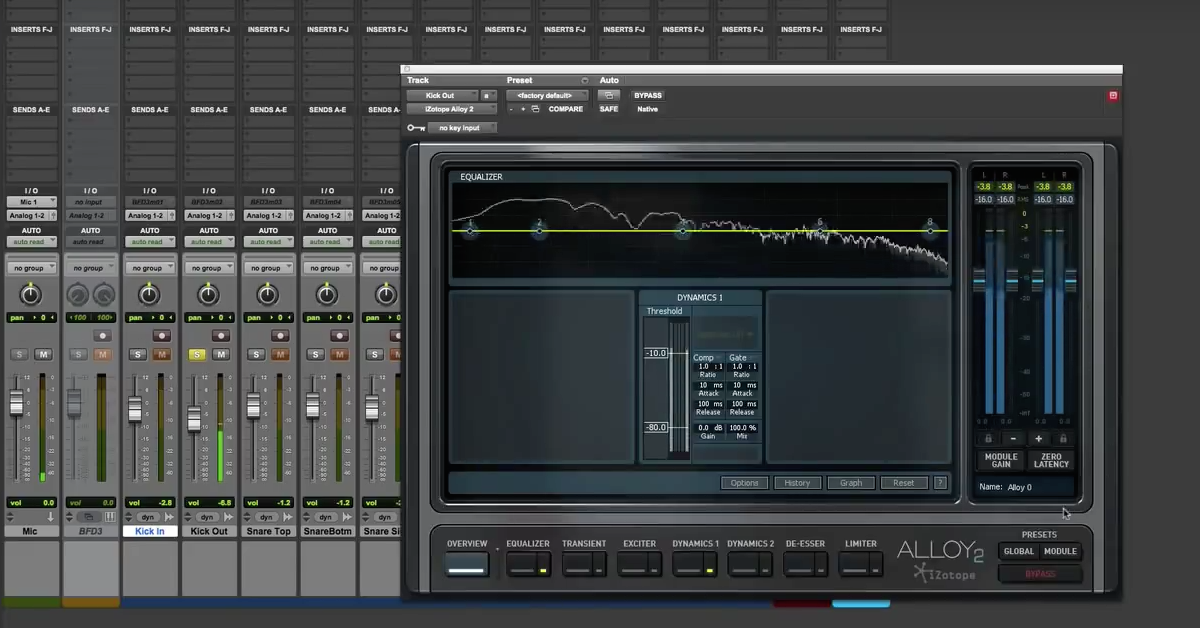
EQ
The first thing I like to do when starting to mix pretty much any drum is to apply a broad high-end shelving boost starting somewhere between 5-10 kHz in order to give the instrument some additional transient punch and clarity.
My go-to tool for this purpose tends to be an SSL E-Series Channel Strip plugin with a high-band boost at around 8 kHz, with anywhere up to +8-10 dB of gain depending on the sound I’m after. Depending on the quality of your cajon and how the snare wires sound, you may need to scoop out some upper-mid harshness after-the-fact in order to get your high-end boost to sound right.

Next, I’ll take a look at the low-end. In the case of a cajon which has been recorded using a single SM57 and no rear mic, you’ll often need to apply a fairly significant amount of low-end boost to get it to really thump you in the chest. While on a regular kick drum your low-end fundamental might live somewhere between 50-80 Hz, on a cajon, we’re talking more along the lines of around 80-140 Hz. I tend to prefer a shelving boost over a bell for this purpose, as I simply find it to sound less resonant and more natural.
After applying our broad high & low-boost “happy face curve”, our next step is to address any remaining issues in the mid-range. Much like you would while mixing the kick/snare/toms on a full drum kit, you can afford to scoop out quite a lot of 250-500 Hz “muddiness/boxiness” and 800-1000 Hz “flatness” if necessary. Unfortunately, I can’t give you exact numbers, as this is all entirely situational and you’re just gonna have to listen for yourself.
Compression
When it comes to compressing drums and percussion, I’m a huge fan of SSL style compression with a 4:1 ratio, slow-attack and fast-release, aiming for around 4-8 dB of gain reduction (depending on playing style and musical genre). The primary goal here is to somewhat even out the performance while adding some extra punch without obliterating the dynamics or causing any weird pumping on the hard hits.
Given the peaky, transient nature of the cajon, I’ll often top-off my processing chain with a brick-wall limiter shaving off the largest peaks in order to give myself more headroom later on for mastering while also preventing the cajon from making people’s eyes wince every time a loud snare is hit.
Reverb
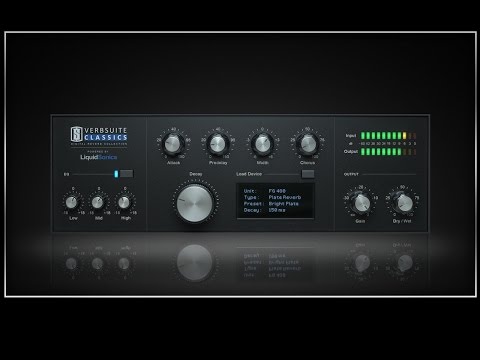
For the cajon, and drums in general, I’m not a huge fan of plates or algorithmic reverb, as I find they sound a bit too “spitty” and fake in the high-end for my liking. Instead, I’ll often opt for a convolution reverb of a large hall or wooden room for more realistic results (I’m a huge fan of the Bricasti M7 IRs, as well as Slate Digital’s Verbsuite emulation of the same unit for this purpose).
After choosing my reverb based on the vibe of the song and how large I want the cajon ambience to sound, I’ll then throw an EQ before the reverb and roll off a significant amount of high-end with a gentle 6 dB/oct low-pass filter around 6-8 kHz in order to further subdue any high-end fizz and help the reverb sink nicely into the mix without poking out.
Conclusion
The cajon is a really cool instrument which can be the perfect solution when a full drum kit just won’t fit in a production, if you know how to make it sound good that is …
That being said, don’t forget that your results here are also highly dependent on the quality of the instrument you’re recording in the first place. So if someone turns up to your studio with a $25 cardboard box of a cajon, you’re probably better off just downloading a sample library and programming the whole performance instead!
Eleveate Your Ears